Directions
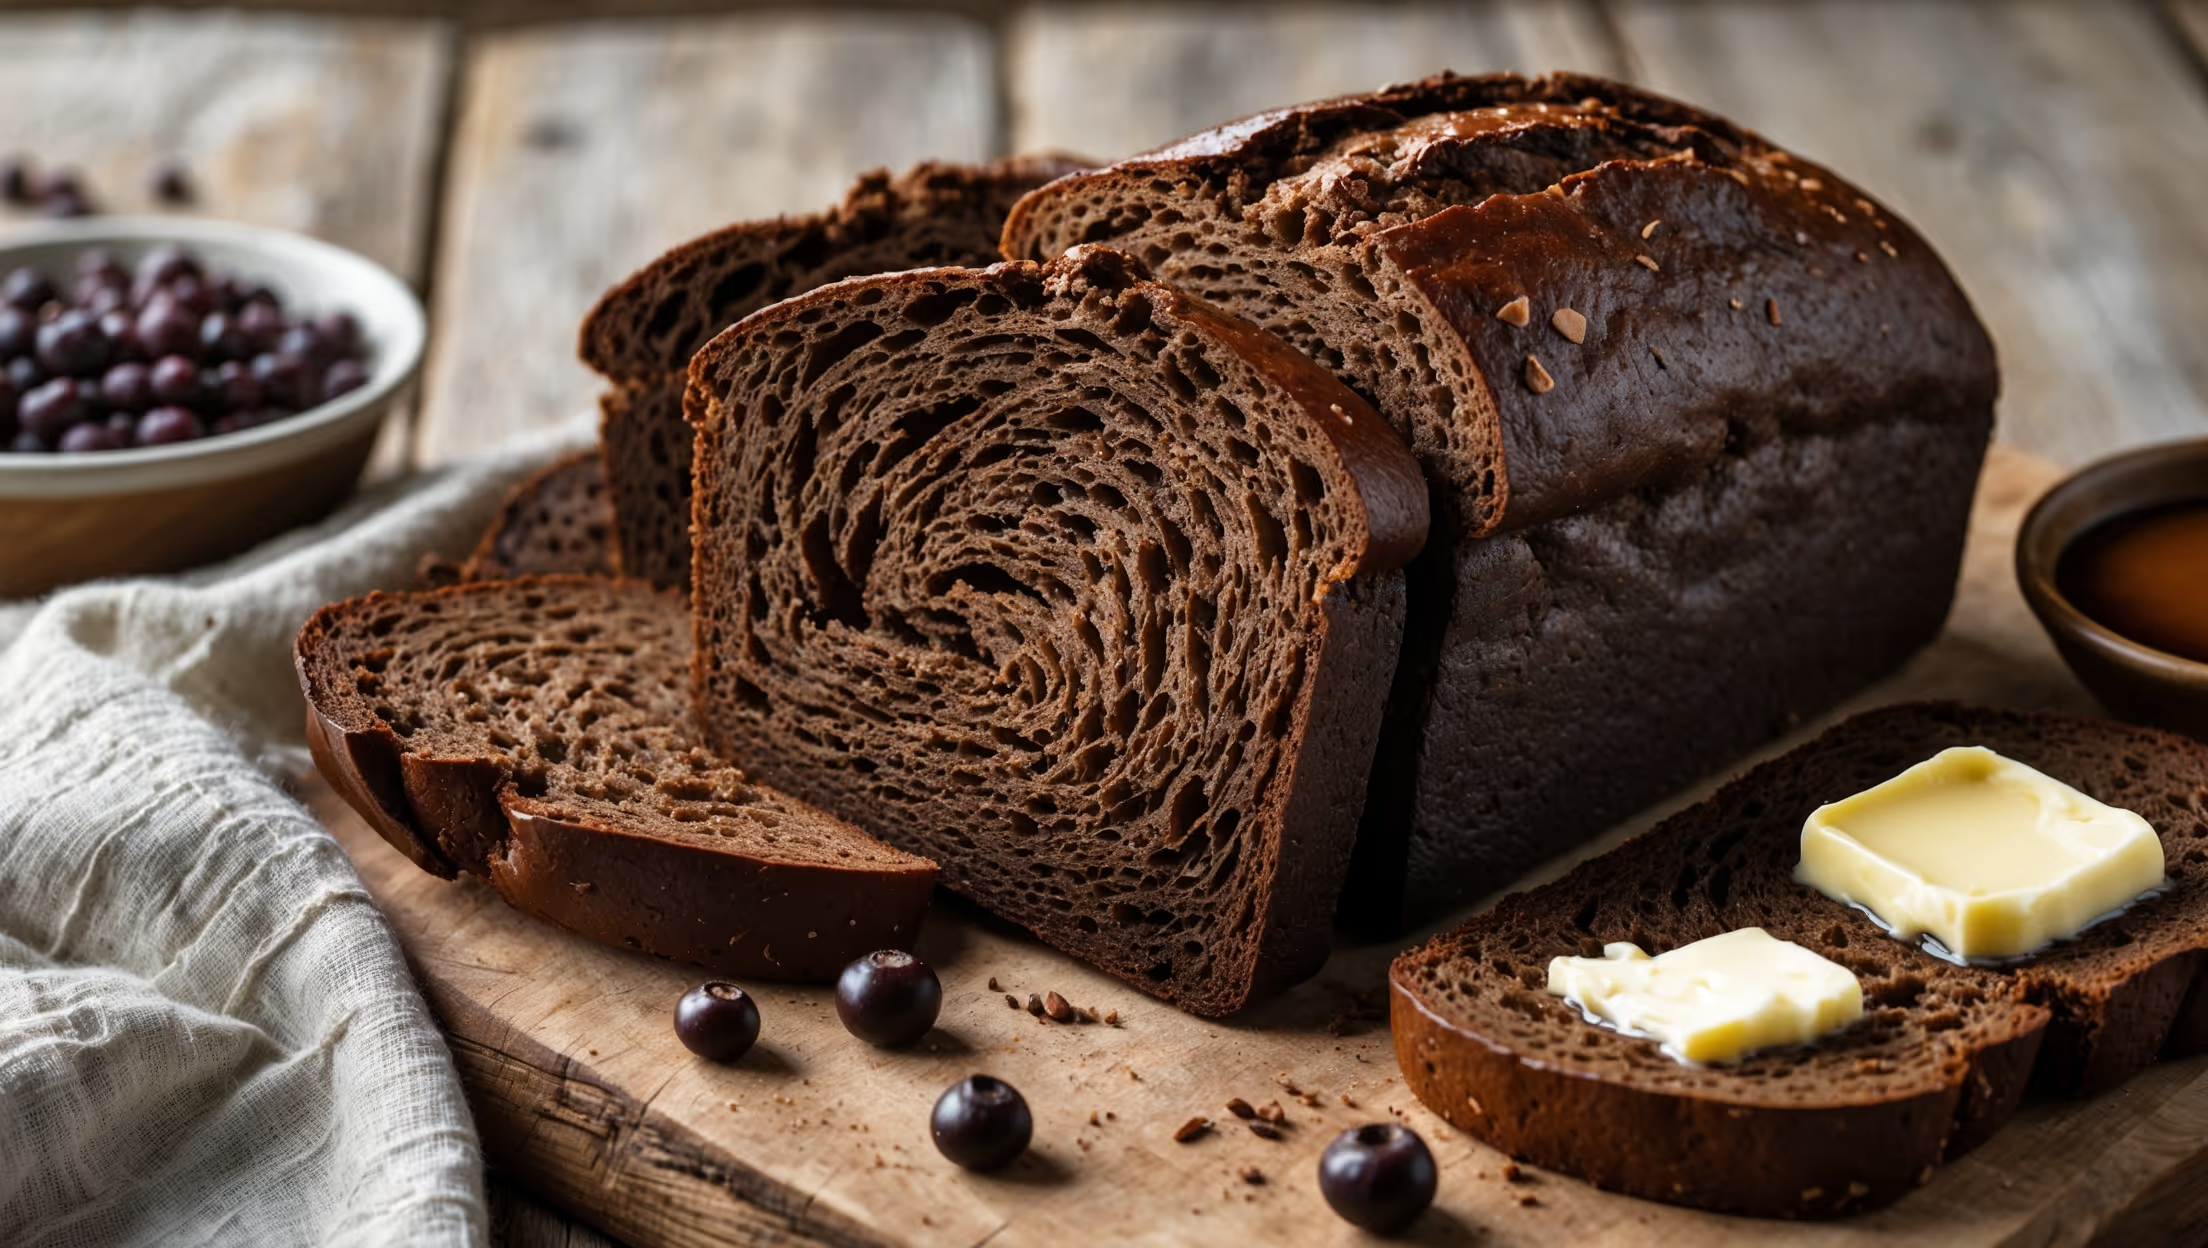
<ol class="no-list-style"><li class="MethodStepper"><h4 class="step-title">Step 1</h4>Dissolve the instant coffee granules in 450ml warm water, then stir in the molasses until fully incorporated. This liquid mixture provides both the signature dark color and complex flavor that pumpernickel is known for.</li><li class="MethodStepper"><h4 class="step-title">Step 2</h4>In the bowl of your stand mixer, combine the rye flour, bread flour, whole wheat flour, cocoa powder, instant yeast, salt, and caraway seeds. Whisk these dry ingredients together to ensure even distribution of the leavening and flavoring agents.</li><li class="MethodStepper"><h4 class="step-title">Step 3</h4>Attach the dough hook to your mixer and turn it on low speed. Gradually pour in the coffee-molasses mixture and the vegetable oil. Mix until the dough comes together, about 2-3 minutes. The dough will look quite wet and sticky at this stage - this is normal for pumpernickel bread!</li><li class="MethodStepper"><h4 class="step-title">Step 4</h4>Increase the mixer speed to medium-low and knead for 8-10 minutes. The dough will remain slightly tacky but should start to pull away from the sides of the bowl. Rye flour contains less gluten than wheat flour, so don't expect the same elasticity you'd see in a regular white bread dough.</li><li class="MethodStepper"><h4 class="step-title">Step 5</h4>Transfer the dough to a lightly oiled bowl, cover with plastic wrap or a damp kitchen towel, and let it rise in a warm place (about 24-27°C) for 60-90 minutes, or until nearly doubled in size. Rye doughs rise more slowly than wheat doughs, so be patient and look for volume increase rather than strict timing.</li><li class="MethodStepper"><h4 class="step-title">Step 6</h4>Once risen, gently deflate the dough by pressing down with your fingertips. Turn it out onto a lightly floured surface and shape it into a loaf by folding the sides toward the center, then rolling it into a tight cylinder that will fit your loaf pan. Tuck the ends under to create tension on the surface.</li><li class="MethodStepper"><h4 class="step-title">Step 7</h4>Grease your loaf pan thoroughly with butter, then place the shaped dough into it, seam side down. Cover loosely with oiled plastic wrap and allow to rise again for about 45-60 minutes, until the dough has risen to about 2.5cm (1 inch) above the rim of the pan.</li><li class="MethodStepper"><h4 class="step-title">Step 8</h4>While the dough is on its second rise, preheat your oven to 190°C (375°F) with a rack in the middle position. Place an empty metal baking pan on the bottom rack - you'll use this to create steam.</li><li class="MethodStepper"><h4 class="step-title">Step 9</h4>When the dough has finished rising, remove the plastic wrap and use a sharp knife to make 3 diagonal slashes about 6mm (¼ inch) deep across the top of the loaf. This helps the bread expand properly during baking and creates an attractive finish.</li><li class="MethodStepper"><h4 class="step-title">Step 10</h4>Place the loaf in the oven and quickly pour 240ml (1 cup) of hot water into the empty baking pan to create steam. Immediately close the oven door to trap the steam, which helps develop a beautiful crust.</li><li class="MethodStepper"><h4 class="step-title">Step 11</h4>Bake for 20 minutes, then reduce the temperature to 175°C (350°F) and continue baking for an additional 25-30 minutes. The bread is done when it sounds hollow when tapped on the bottom and registers about 95-98°C (205-210°F) on an instant-read thermometer inserted into the center.</li><li class="MethodStepper"><h4 class="step-title">Step 12</h4>Remove the bread from the oven and let it rest in the pan for 5 minutes, then turn it out onto a wire rack to cool completely, at least 2 hours. This cooling period is crucial as it allows the crumb structure to set and the flavors to develop - resist the temptation to slice it while warm!</li><li class="MethodStepper"><h4 class="step-title">Step 13</h4>Once completely cooled, slice with a sharp serrated knife. For the best flavor, wrap the loaf in plastic or store in an airtight container and wait until the next day before eating - pumpernickel's flavor improves dramatically overnight. The bread will keep at room temperature for up to 4 days, or freeze slices for up to 3 months.</li></ol>