Directions
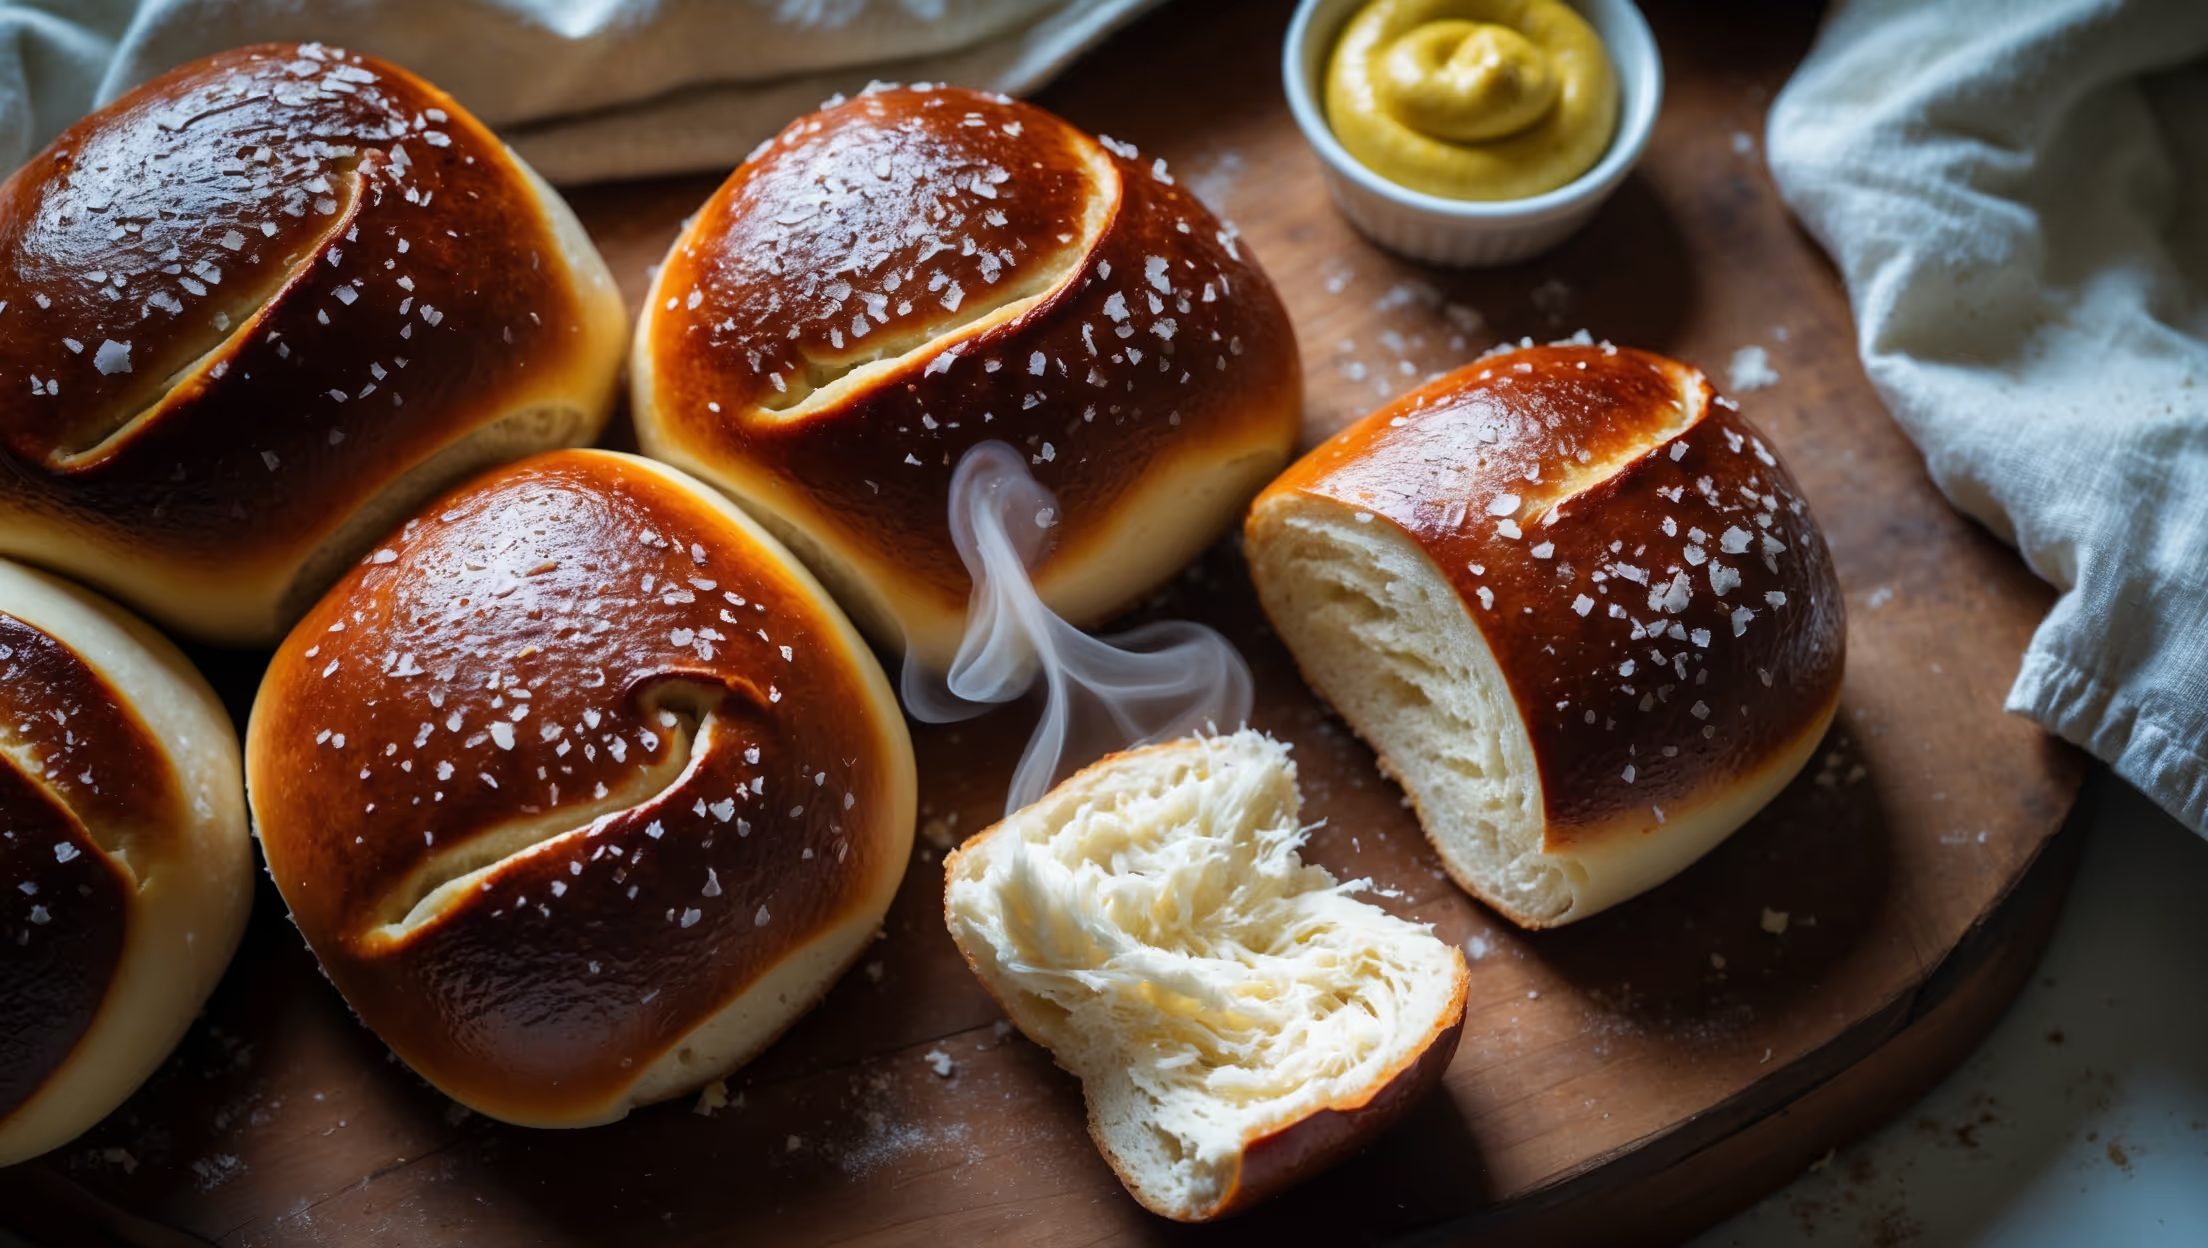
<ol class="no-list-style"><li class="MethodStepper"><h4 class="step-title">Step 1</h4>In a stand mixer bowl, combine the bread flour, instant yeast, salt, and sugar. Keep the salt and yeast on opposite sides of the bowl initially, as direct contact can inhibit the yeast's activity. Make a well in the center.</li><li class="MethodStepper"><h4 class="step-title">Step 2</h4>Add the softened butter and warm water to the well. Using the dough hook attachment, mix on low speed until the ingredients come together, then increase to medium speed and knead for 8-10 minutes. The dough should be smooth, elastic, and slightly tacky but not sticky. If it feels too dry, add a tablespoon of water; if too wet, add a tablespoon of flour.</li><li class="MethodStepper"><h4 class="step-title">Step 3</h4>Transfer the dough to a lightly oiled bowl, cover with plastic wrap or a damp cloth, and let rise in a warm place until doubled in size, about 1 hour. The slow rise develops flavor and strength in the dough structure.</li><li class="MethodStepper"><h4 class="step-title">Step 4</h4>Once risen, gently punch down the dough to release excess air bubbles. Turn it out onto a clean work surface (no need to flour it as you want some friction). Divide the dough into 8 equal portions (about 100-110g each) using a bench scraper or knife.</li><li class="MethodStepper"><h4 class="step-title">Step 5</h4>Shape each portion into a tight ball by pulling the edges into the center and pinching them together, then rolling under your cupped hand on the work surface in a circular motion, creating surface tension. Place the shaped rolls on a parchment-lined baking sheet, cover loosely, and let rise for another 30 minutes until puffy but not quite doubled.</li><li class="MethodStepper"><h4 class="step-title">Step 6</h4>Preheat your oven to 220°C (425°F). Position a rack in the middle of the oven. Meanwhile, bring 2 liters of water to a gentle boil in a large pot, then carefully add the baking soda (it will bubble vigorously). The alkaline bath is crucial for developing the distinctive pretzel flavor and color.</li><li class="MethodStepper"><h4 class="step-title">Step 7</h4>Working with one roll at a time, carefully lower it into the simmering water using a slotted spoon. Poach for 30 seconds on each side, flipping once. The rolls will puff slightly and develop a wrinkly appearance – this is perfect! Remove with the slotted spoon, allowing excess water to drain, and return to the baking sheet.</li><li class="MethodStepper"><h4 class="step-title">Step 8</h4>After poaching all rolls, brush each generously with beaten egg for a glossy finish. Using a sharp knife or razor blade, score the tops with an "X" pattern about 5mm deep – this allows for expansion during baking and creates that classic pretzel roll look.</li><li class="MethodStepper"><h4 class="step-title">Step 9</h4>Sprinkle each roll with coarse salt, being generous but not excessive. Bake immediately in the preheated oven for 18-20 minutes until deeply browned – don't be afraid of color, as a dark mahogany crust is characteristic of authentic pretzel rolls.</li><li class="MethodStepper"><h4 class="step-title">Step 10</h4>Transfer to a wire rack to cool for at least 15 minutes before serving. This cooling period allows the crumb structure to set. Your pretzel rolls will have a wonderfully chewy crust and soft, tender interior. They're best enjoyed the same day but will keep for 2 days in an airtight container. You can also freeze them for up to 1 month and refresh in a hot oven before serving.</li></ol>