Perfect Baked Potato Recipe

Crispy-skinned, fluffy-centered baked potatoes with a golden exterior that delivers the ultimate comfort food experience with endless topping possibilities.
Difficulty:
Beginner
Prep Time:
10 mins
Cook Time:
60 mins
Serves:
4 potatoes
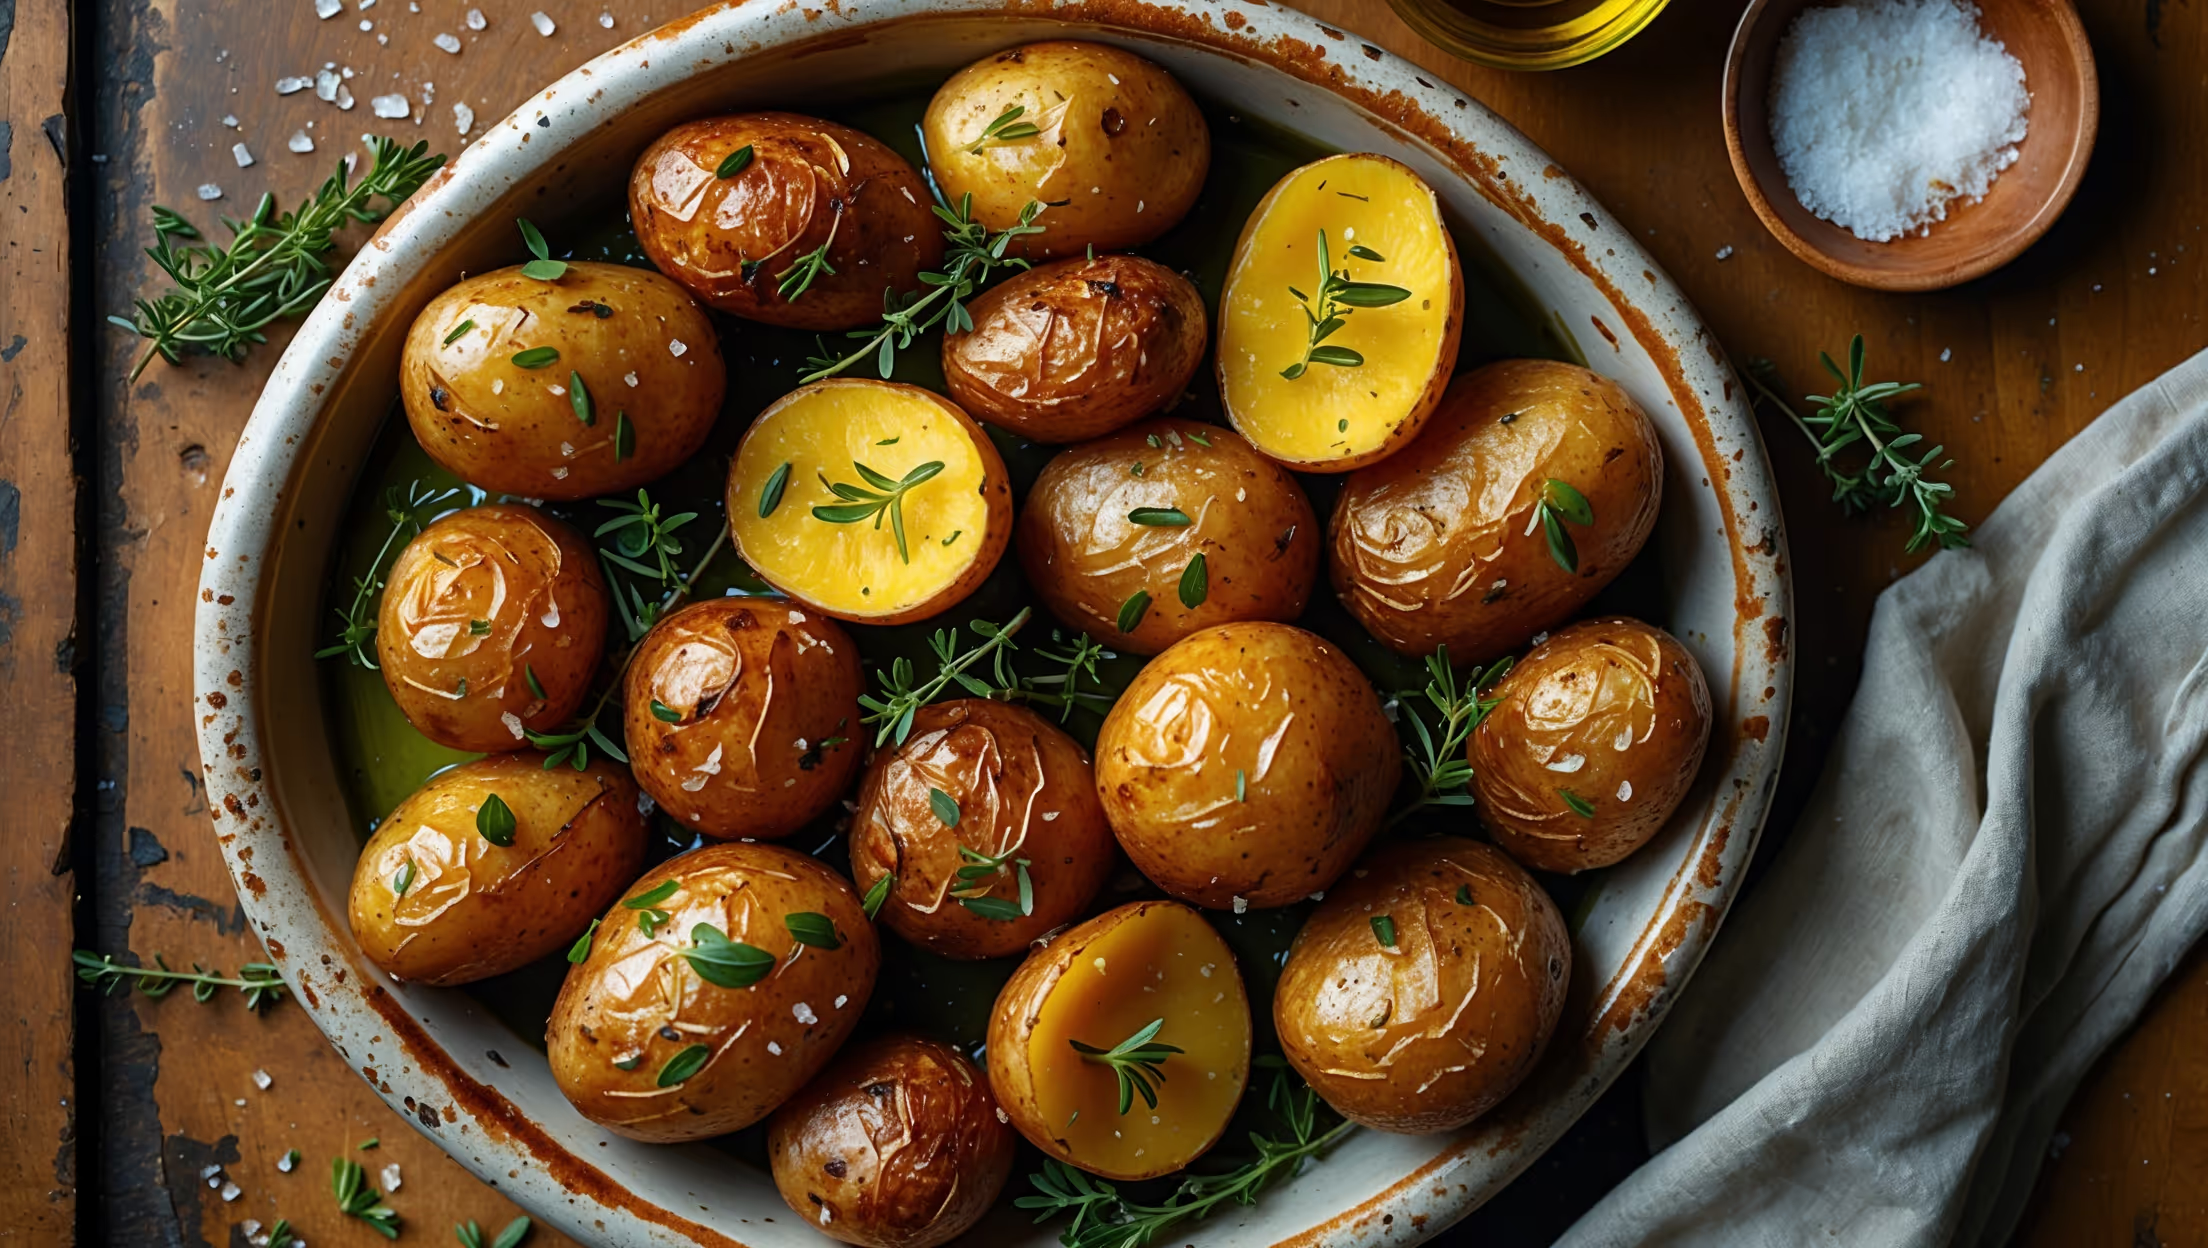
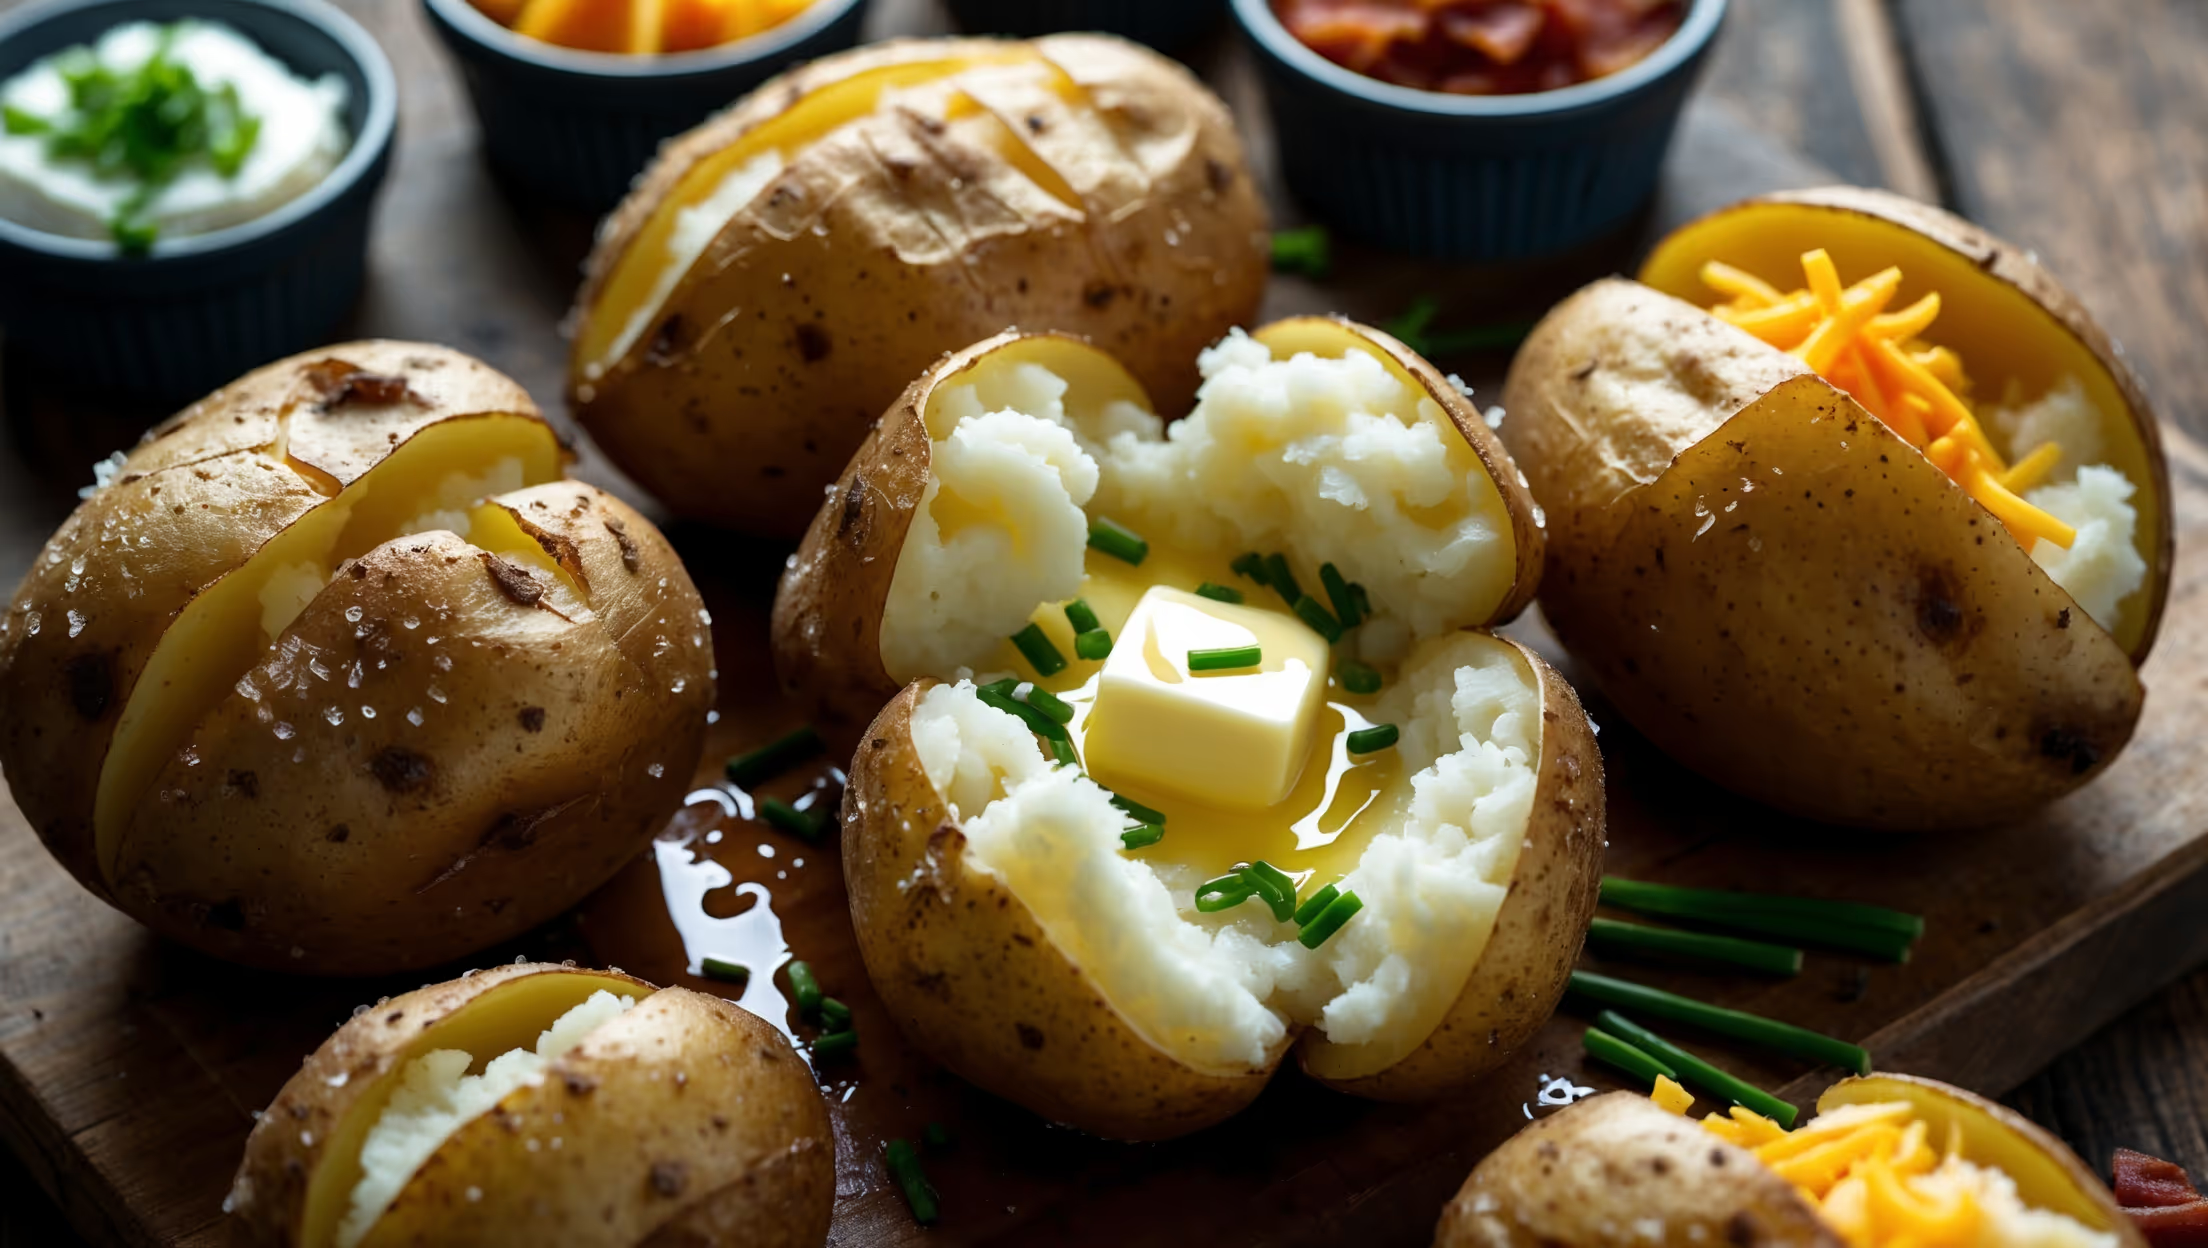
An overhead shot of multiple russet potatoes with perfectly crisp, salt-flecked skins split open to reveal steaming, cloud-like interiors. Soft natural light highlights the contrast between the golden-brown, slightly wrinkled exterior and the bright white, fluffy potato flesh. A pat of melting butter creates a glistening pool in the center, while fresh chives are scattered across the surface. In the background, small ramekins containing various toppings—sour cream, grated cheddar, crispy bacon bits, and chopped green onions—create a vibrant color palette against a rustic wooden board.

Ingredients

<ul class="ingredients-main-list"> <li class="ingredients-single-item">4 large russet potatoes (about 225-275g each)</li> <li class="ingredients-single-item">2 tbsp olive oil</li> <li class="ingredients-single-item">1 tbsp flaky sea salt</li> <li class="ingredients-single-item">Optional toppings: butter, sour cream, grated cheese, chopped chives, cooked bacon bits</li> </ul>

Equipment

<ul class="equipment-main-list"> <li class="equipment-single-item">Baking sheet</li> <li class="equipment-single-item">Fork or skewer</li> </ul>
BAKE SMARTER

Kitchen Converter

Quickly switch between common baking units without leaving the recipe.

Convert
Result—

Volume uses US cups, tablespoons, and teaspoons. Converting weight to volume depends on the ingredient.

Directions

<ol class="no-list-style"> <li class="MethodStepper"> <h4 class="step-title">Step 1</h4> Preheat your oven to 200°C. This slightly higher temperature helps create that desirable crisp exterior while ensuring the inside cooks properly. Position a rack in the middle of the oven for even heat distribution. </li> <li class="MethodStepper"> <h4 class="step-title">Step 2</h4> Scrub your potatoes thoroughly under cold running water, using a vegetable brush if available to remove any dirt from the skin. Dry them completely with a clean kitchen towel – this is crucial for achieving that crispy skin we're looking for! </li> <li class="MethodStepper"> <h4 class="step-title">Step 3</h4> Using a fork or skewer, pierce each potato 8-10 times all over. This allows steam to escape during baking, preventing the potatoes from bursting and helping the interior become fluffy rather than dense. </li> <li class="MethodStepper"> <h4 class="step-title">Step 4</h4> Place the potatoes in a large bowl and drizzle with olive oil. Use your hands to rub the oil all over each potato, ensuring they're completely coated. The oil helps the skin become wonderfully crispy and allows the salt to adhere better. </li> <li class="MethodStepper"> <h4 class="step-title">Step 5</h4> Sprinkle the flaky sea salt evenly over the oiled potatoes, turning them to coat all sides. The salt not only seasons the skin but also draws out moisture during baking, contributing to that perfect crispy exterior. </li> <li class="MethodStepper"> <h4 class="step-title">Step 6</h4> Place the potatoes directly on the middle oven rack with a baking sheet on the rack below to catch any drippings. Baking directly on the rack allows hot air to circulate completely around the potatoes, resulting in more even cooking and crispier skins than if baked on a sheet. </li> <li class="MethodStepper"> <h4 class="step-title">Step 7</h4> Bake for 50-60 minutes, depending on the size of your potatoes. You'll know they're done when the skin feels crisp and a knife slides easily into the center with no resistance. If you'd like even crispier skins, you can increase the oven temperature to 220°C for the final 10 minutes of baking. </li> <li class="MethodStepper"> <h4 class="step-title">Step 8</h4> Remove the potatoes from the oven and let them rest for 5 minutes. This resting period allows the interior to set slightly, making it easier to cut open the potato without it collapsing. </li> <li class="MethodStepper"> <h4 class="step-title">Step 9</h4> To serve, cut a cross on top of each potato and gently squeeze the ends towards the center to fluff up the interior. This creates the perfect opening for your favorite toppings! Add a pat of butter immediately so it can melt into the fluffy interior, then finish with your chosen toppings. </li> </ol>
Nutrition Facts (per serving)

🍽️ Serving Size: 1 potato
🔥 Calories: 210 calories
🥑 Fat: 0.2 g
🧈 Saturated Fat: 0 g
🍞 Carbohydrates: 47 g
🍭 Sugar: 2 g
🍗 Protein: 4.5 g
🫀 Cholesterol: 0 mg
🧂 Sodium: 16 mg

Chef’s Notes

A few helpful details for making this recipe.

Why should I place potatoes directly on the oven rack instead of a baking tray?

Placing potatoes directly on the oven rack allows hot air to circulate completely around them, resulting in more even cooking and significantly crispier skins. This method ensures every part of the potato cooks properly with that desirable contrast between crisp exterior and fluffy interior.

What's the secret to getting really crispy potato skins?

The secret to crispy potato skins is threefold: thoroughly dry the potatoes after washing, generously coat them in oil, and use flaky sea salt which draws out moisture during baking. Increasing the oven temperature to 220°C for the final 10 minutes also enhances crispiness.

Can I microwave potatoes instead of baking them to save time?

While microwaving potatoes is faster (taking only 8-10 minutes), you'll sacrifice the crispy skin that makes baked potatoes special. A compromise is to microwave for 5-6 minutes first, then finish in a hot oven for 20 minutes to develop some crispiness.

Want to try something else in ...

More recipes you might like

Keep exploring with more recipes from What's Baking.