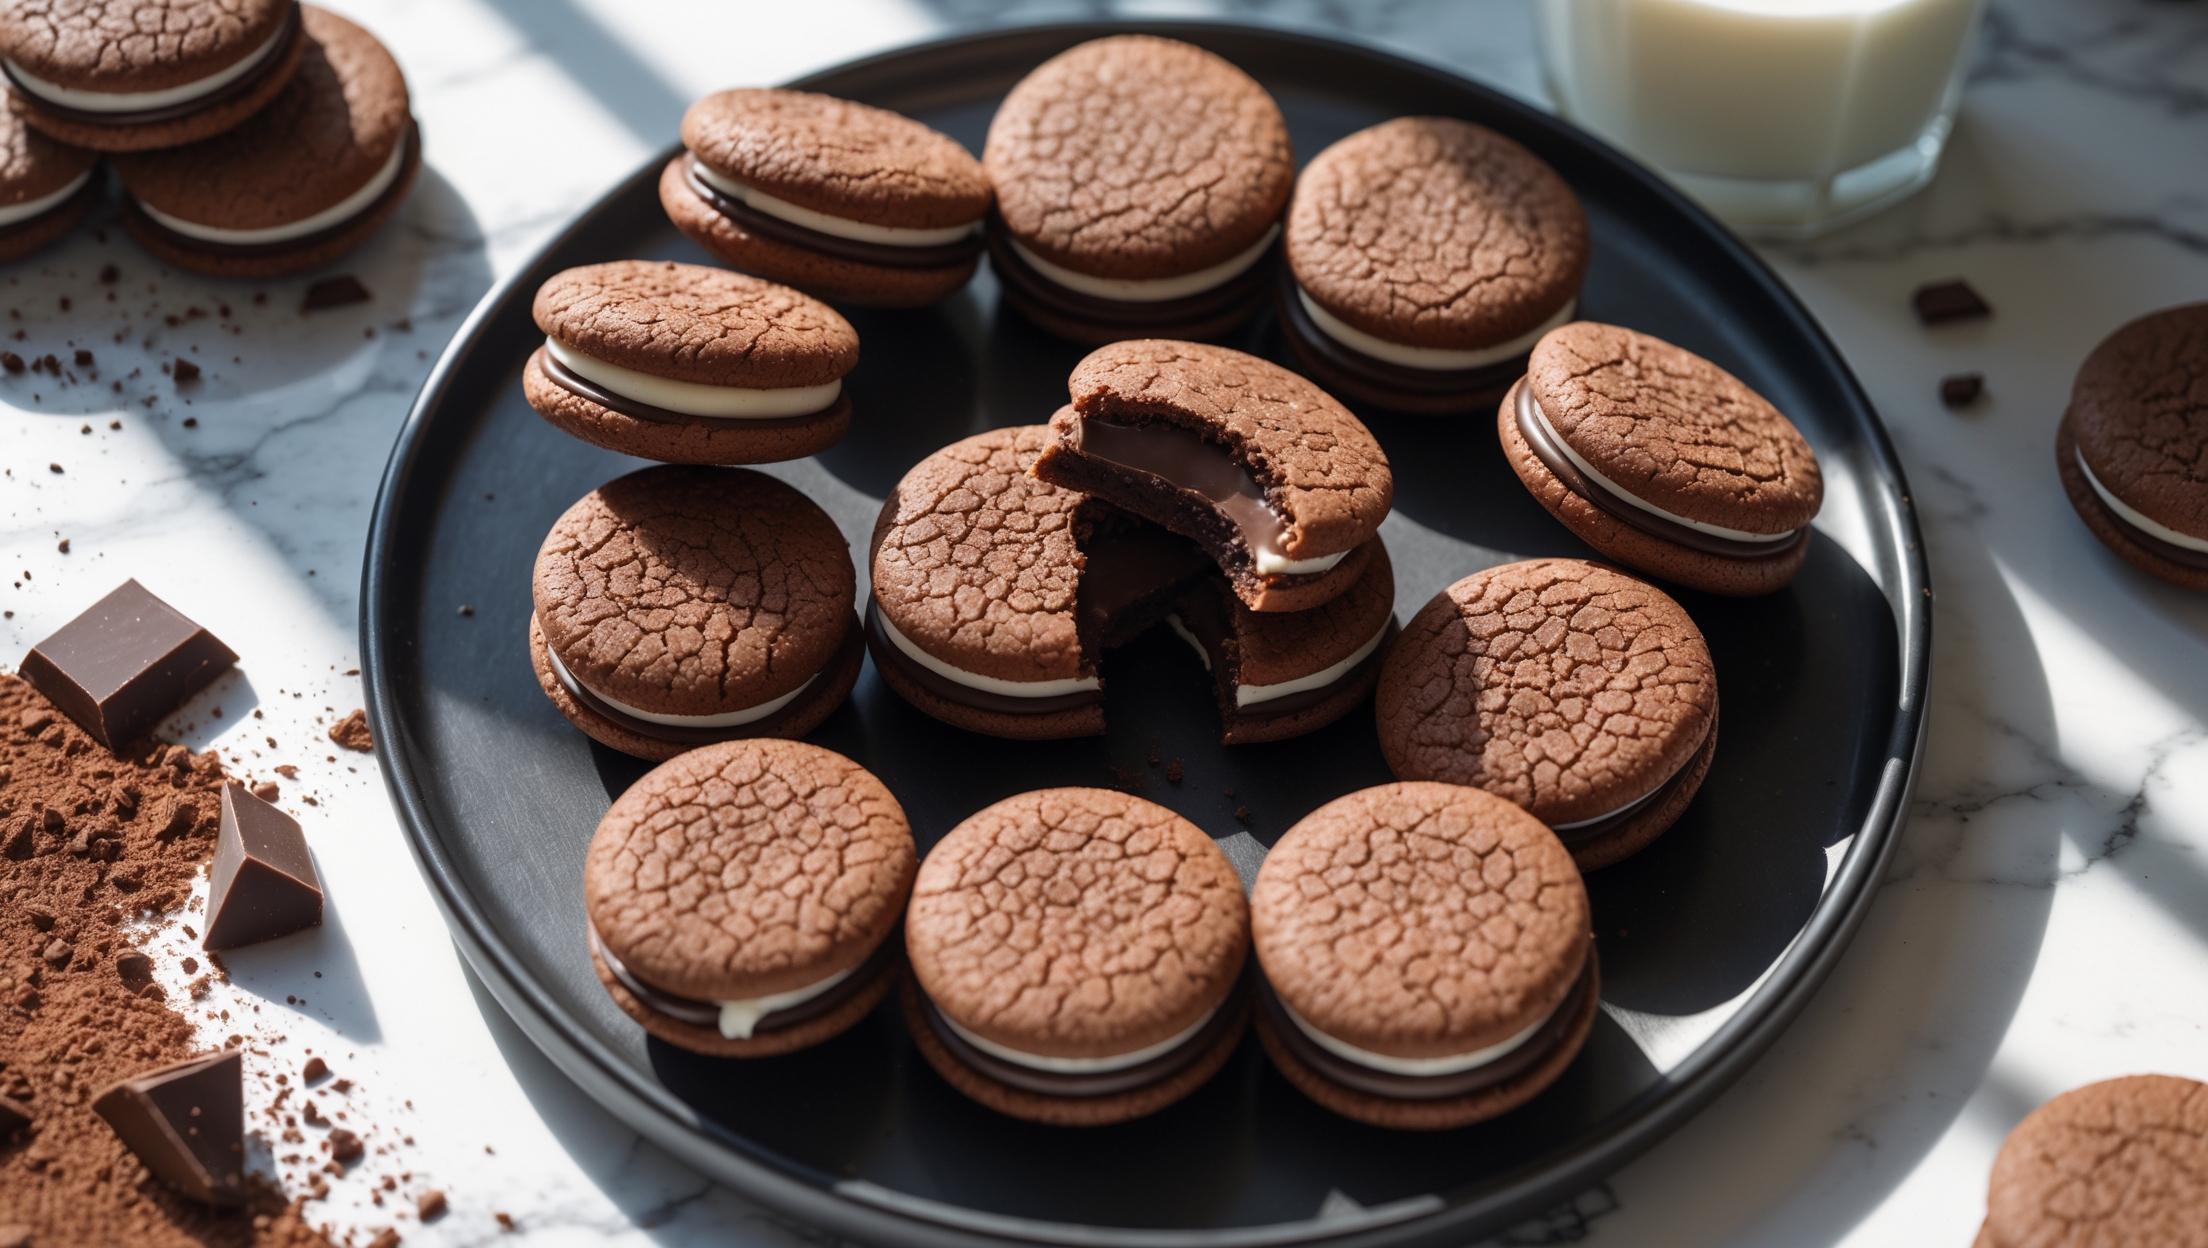
Peanut Butter Cup Sandwich Cookies Recipe
Ingredients
Equipment
Directions
FAQs
Find answers to your most pressing questions about this delicious recipe right here.
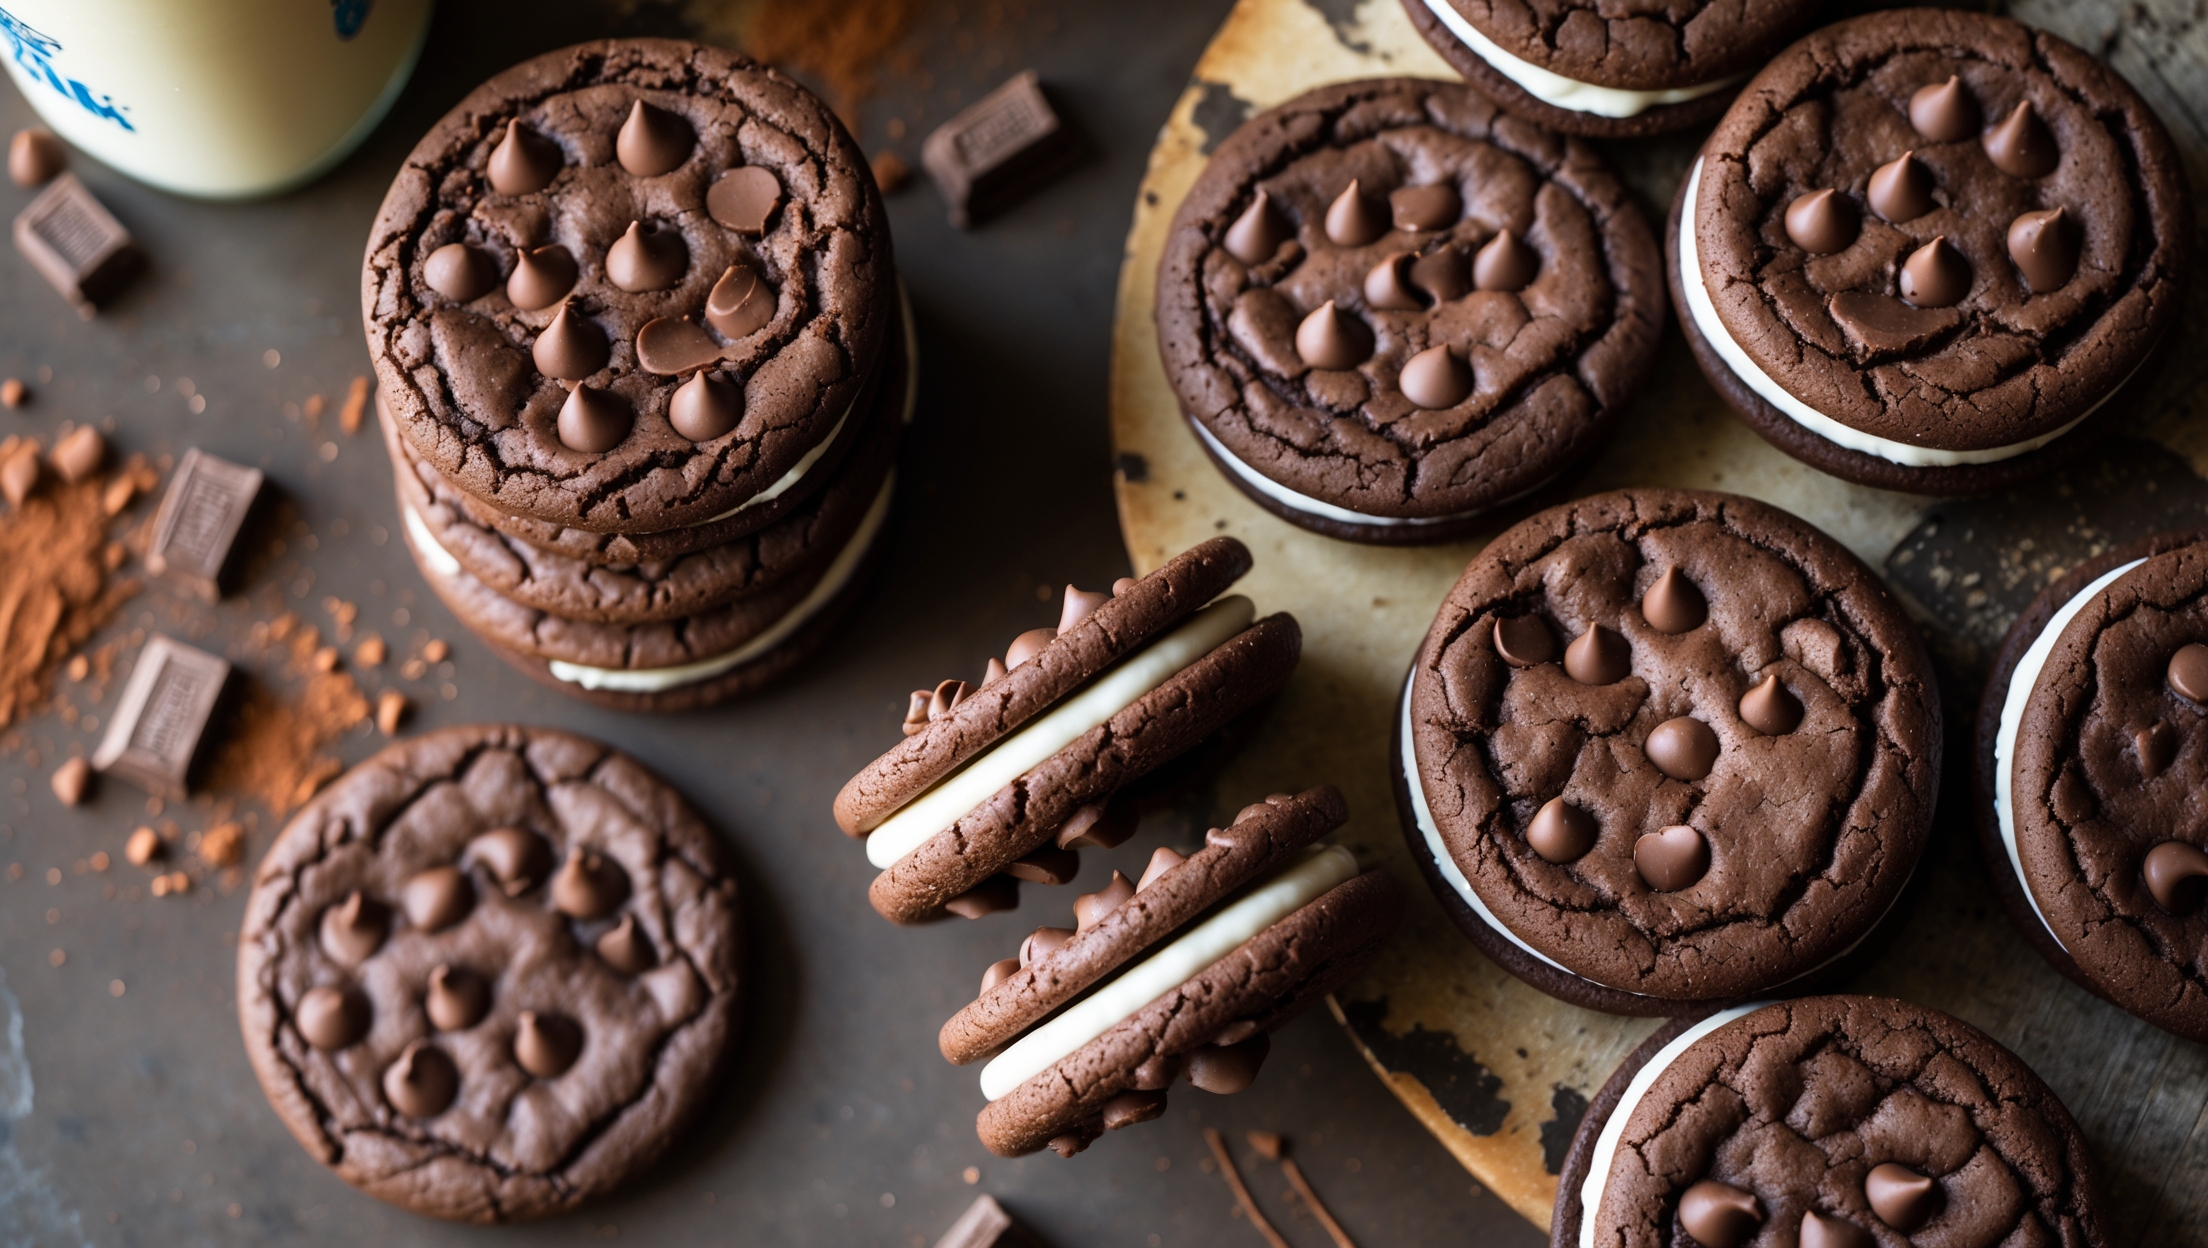
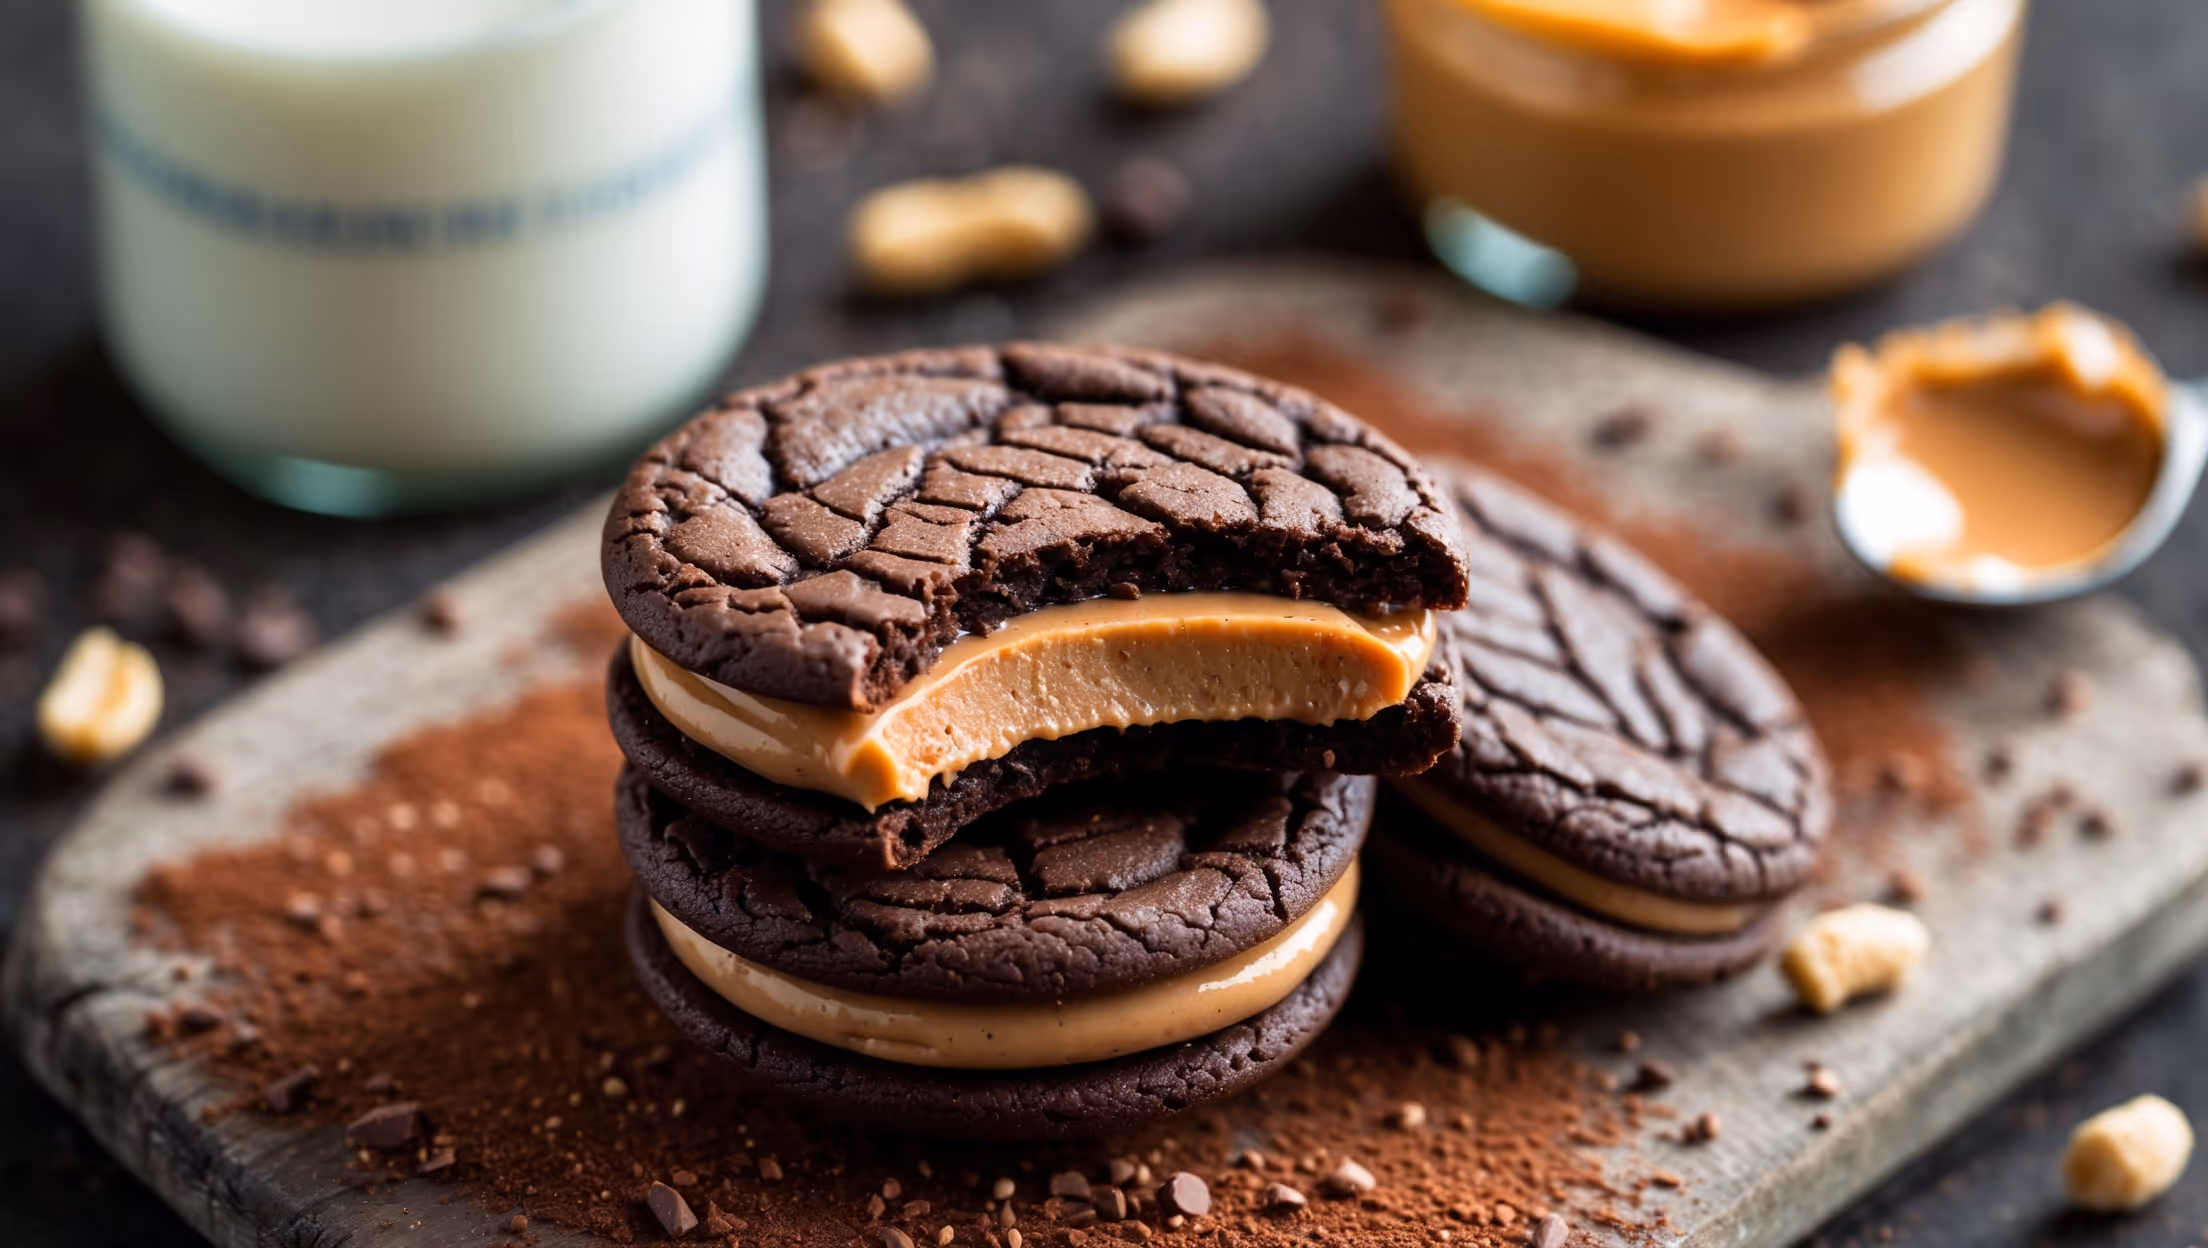
These cookies require flour, cocoa powder, baking soda, salt, butter, granulated and brown sugar, egg, and vanilla for the chocolate cookies. The peanut butter filling needs smooth peanut butter, butter, powdered sugar, vanilla extract and salt.
Learn how to cook Peanut Butter Cup Sandwich Cookies by first making fudgy chocolate cookies baked at 180°C for 10-12 minutes. Once cooled, sandwich them with a creamy peanut butter filling made from beaten peanut butter, butter, powdered sugar, vanilla, and salt. The key is keeping the cookies slightly underbaked for the perfect chewy texture.
Absolutely! These chocolate peanut butter sandwich cookies can be made 2-3 days in advance and stored in an airtight container. You can also prepare the dough and filling separately up to 3 days ahead and assemble them the day of your event for the freshest results.
Natural peanut butter separates and contains no stabilisers, making the filling too runny and oily. Commercial smooth peanut butter (like Skippy or Jif) provides the proper consistency and sweetness needed for a stable, creamy filling that won't ooze out of your sandwich cookies.
Chilling the dough for at least 30 minutes is crucial to prevent spreading. Make sure your butter isn't too warm when mixing, and don't skip the chilling step. Using room temperature baking sheets rather than hot ones and avoiding overbeating the butter and sugar also helps maintain shape.
Sandwich Cookies
Try following recommended recipes