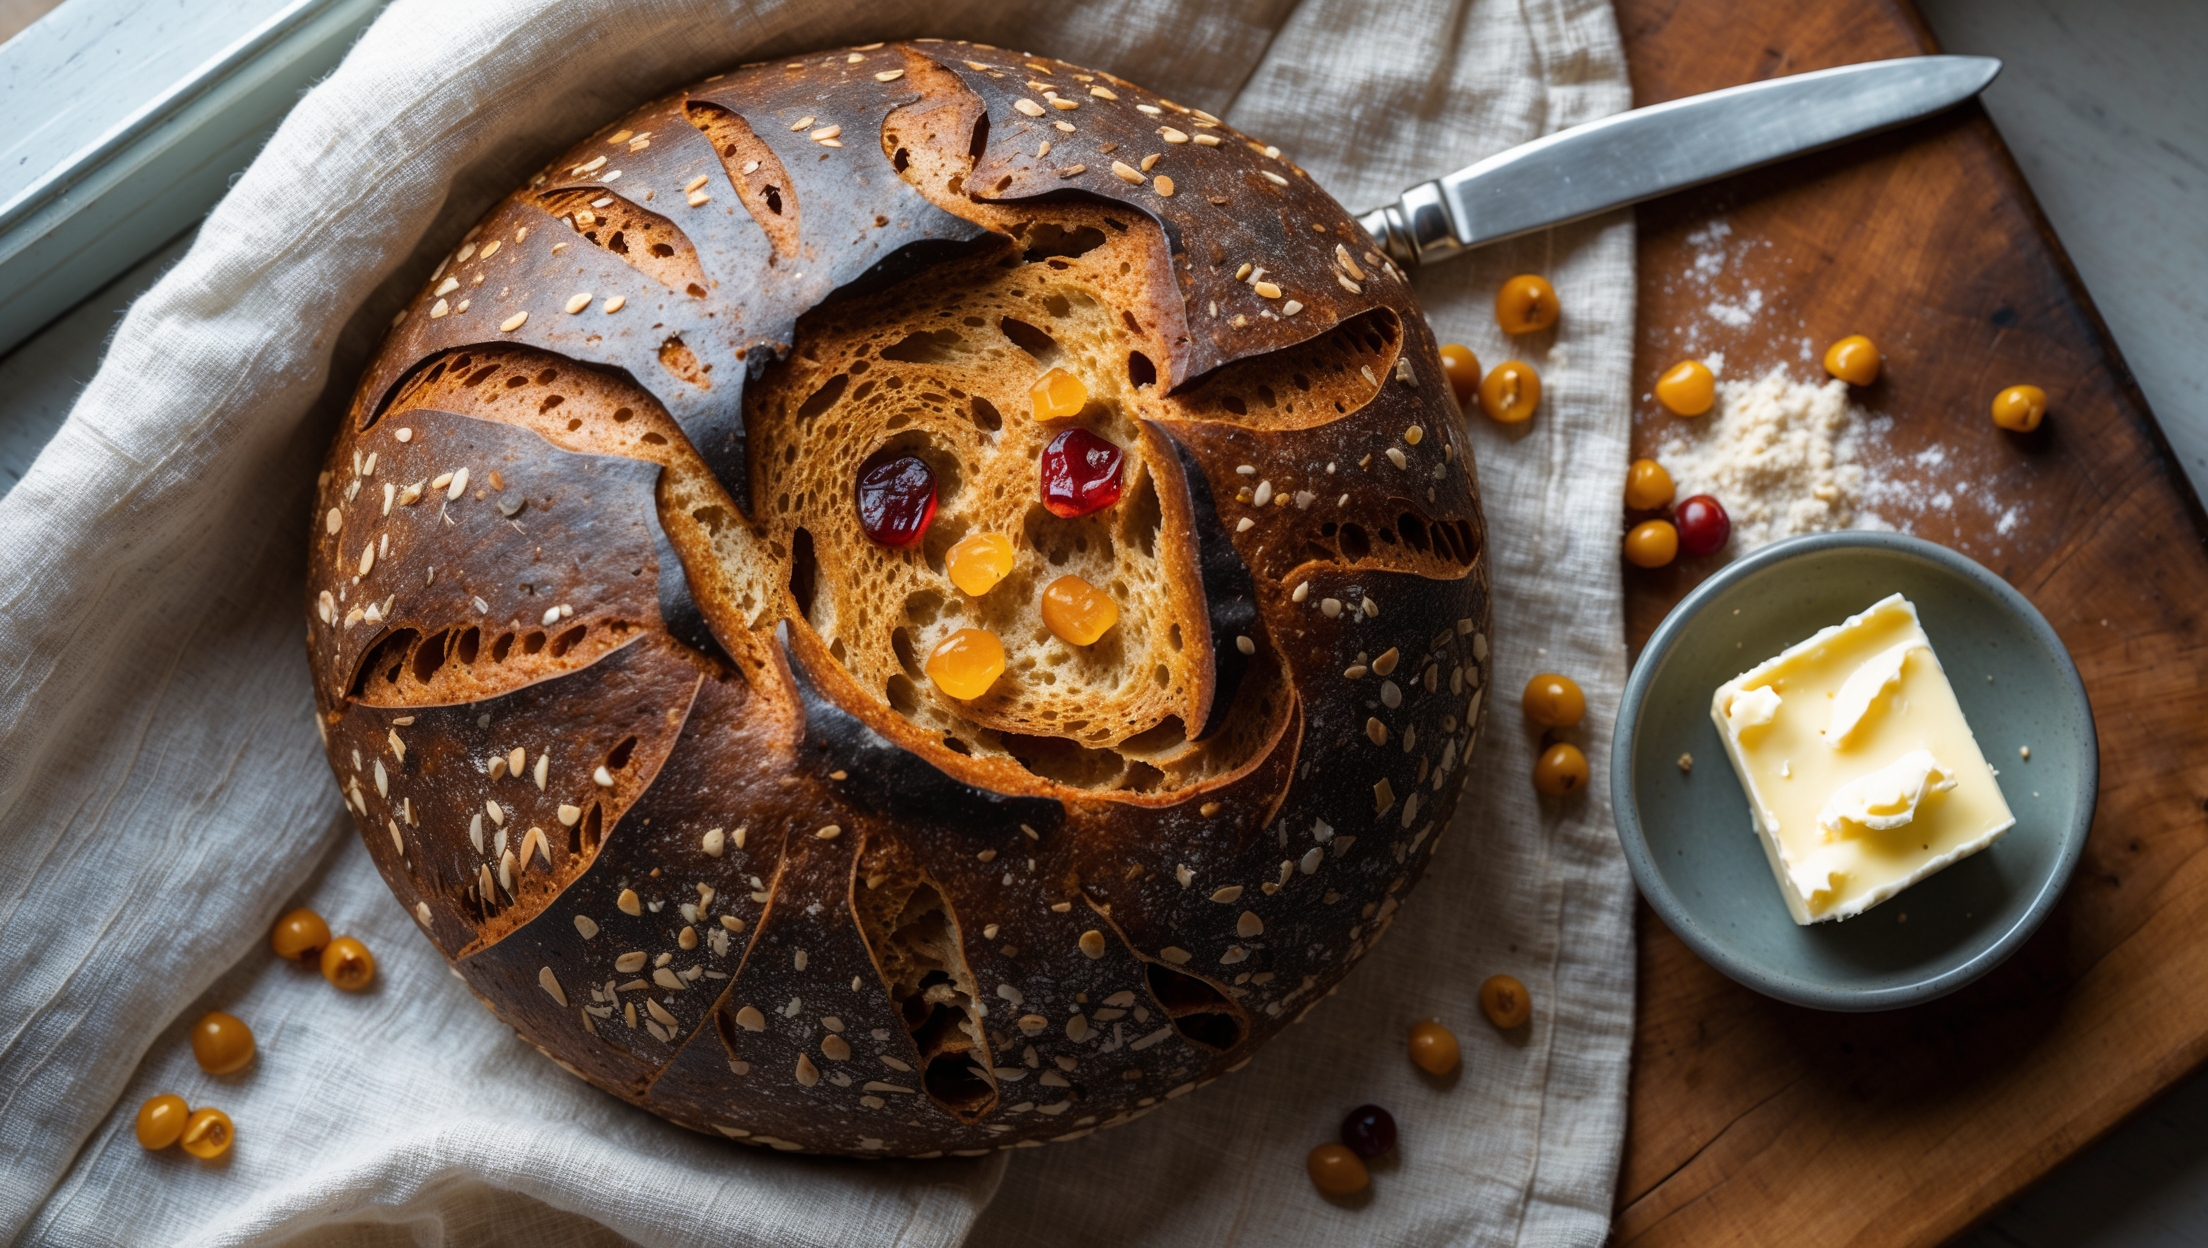
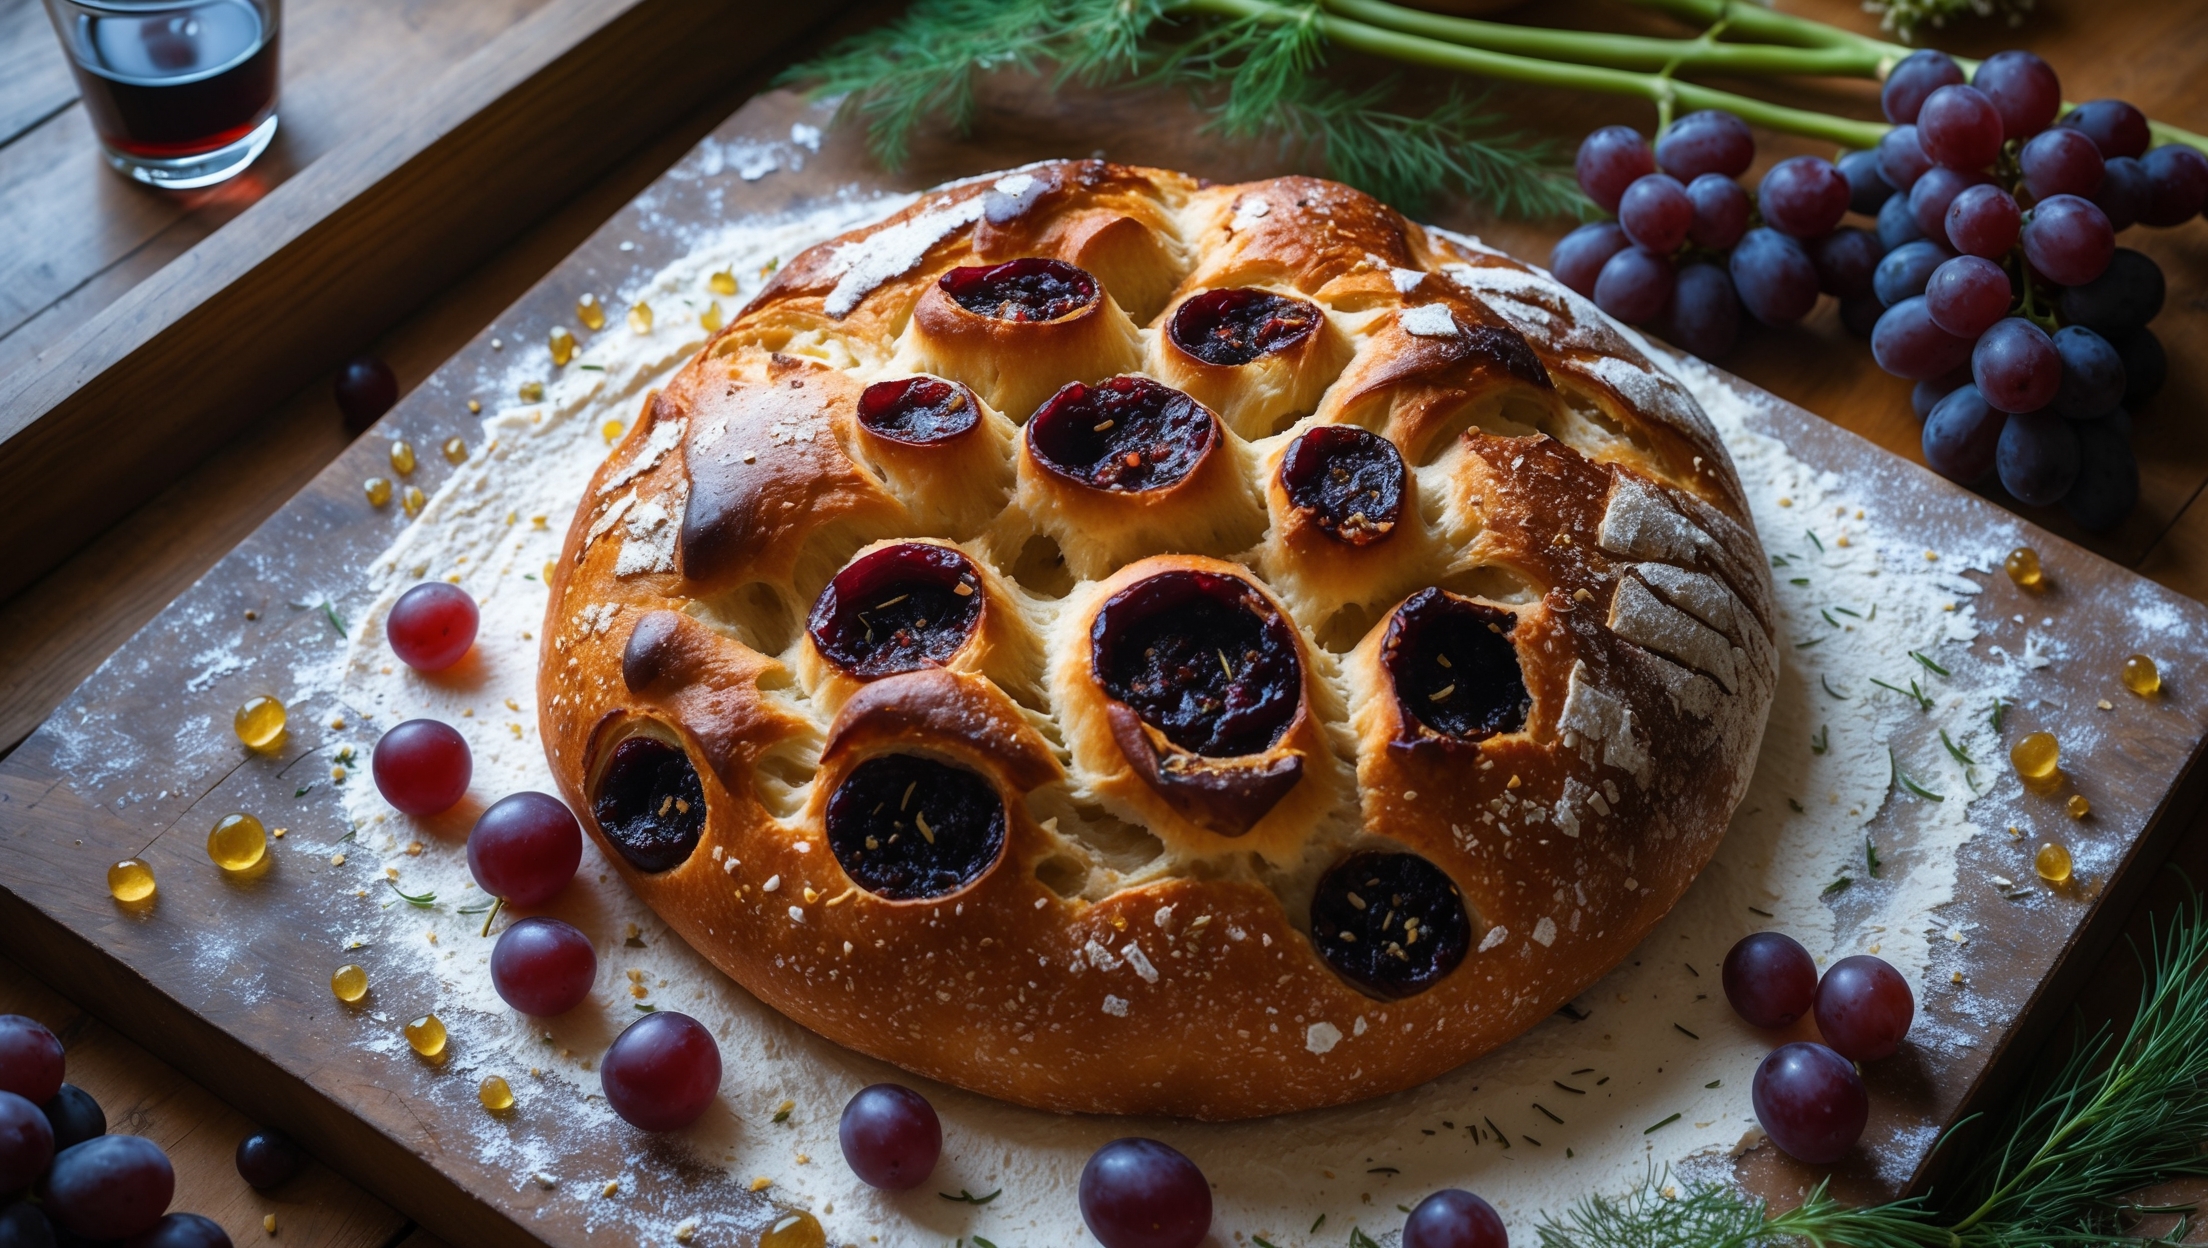
Directions
<ol class="no-list-style"><li class="MethodStepper"><h4 class="step-title">Step 1</h4>Begin by mixing the lukewarm water with the honey or sugar in a large bowl until dissolved. Sprinkle the yeast over the water and let it sit for 5-10 minutes until foamy and activated. This activation ensures your bread will rise properly.</li><li class="MethodStepper"><h4 class="step-title">Step 2</h4>In a separate bowl, thoroughly combine the three flours. The combination of white, whole wheat, and rye creates the distinctive flavor profile of Pain de Campagne. The whole grains contribute complex flavors while the bread flour provides structure.</li><li class="MethodStepper"><h4 class="step-title">Step 3</h4>Add the flour mixture to the yeast mixture and stir until a shaggy dough forms. Cover with a damp cloth and let it rest for 30 minutes. This autolysis period allows the flour to fully hydrate and begins gluten development without kneading.</li><li class="MethodStepper"><h4 class="step-title">Step 4</h4>Add the salt to the dough (salt is added after the initial rest as it can inhibit yeast activity). Mix thoroughly, then turn the dough onto a clean surface and knead for 8-10 minutes until smooth and elastic. The dough should pass the "window pane test" - when stretched, it should become thin enough to see light through without tearing.</li><li class="MethodStepper"><h4 class="step-title">Step 5</h4>Place the dough in a lightly oiled bowl, cover with a damp cloth or plastic wrap, and let it rise in a warm place (24-26°C) for 1.5-2 hours, or until doubled in size. During this bulk fermentation, the yeast consumes sugars and produces carbon dioxide, creating flavor and structure.</li><li class="MethodStepper"><h4 class="step-title">Step 6</h4>Gently turn the dough onto a lightly floured surface, taking care not to deflate it completely. Perform a series of stretch and folds: pull one side of the dough and fold it over itself, rotate 90 degrees, and repeat three more times. This strengthens the dough without aggressive kneading.</li><li class="MethodStepper"><h4 class="step-title">Step 7</h4>Shape the dough into a tight round by pulling the edges toward the center, then flipping it over. Cup your hands around the dough and rotate it on the counter, creating tension across the surface. This surface tension is crucial for a good rise and ear formation during baking.</li><li class="MethodStepper"><h4 class="step-title">Step 8</h4>Dust a banneton or a bowl lined with a well-floured kitchen towel with rice flour (which doesn't absorb moisture as readily as wheat flour). Place your dough seam-side up in the banneton, cover with a damp cloth, and refrigerate for 8-12 hours. This cold fermentation develops complex flavors and makes the dough easier to handle.</li><li class="MethodStepper"><h4 class="step-title">Step 9</h4>One hour before baking, place your Dutch oven or baking stone in the oven and preheat to 250°C (480°F). The preheated vessel creates steam and mimics a professional baker's oven.</li><li class="MethodStepper"><h4 class="step-title">Step 10</h4>When ready to bake, carefully turn the dough out onto a piece of parchment paper. Score the top with a lame or sharp knife, making a decisive cut about 1cm deep. Good scoring allows for controlled expansion during baking and creates that beautiful "ear."</li><li class="MethodStepper"><h4 class="step-title">Step 11</h4>Carefully transfer the dough on the parchment into your preheated Dutch oven, cover with the lid, and reduce oven temperature to 230°C (450°F). The covered environment traps steam from the dough, essential for developing a crackling crust.</li><li class="MethodStepper"><h4 class="step-title">Step 12</h4>Bake covered for 25 minutes, then remove the lid and bake for another 15-20 minutes until the crust is a deep golden brown and the loaf sounds hollow when tapped on the bottom. If using a baking stone, spray the oven with water before placing the dough inside to create steam.</li><li class="MethodStepper"><h4 class="step-title">Step 13</h4>Transfer to a wire rack and resist the temptation to cut into it immediately! Allow your Pain de Campagne to cool completely for at least 1 hour. This crucial resting period allows the crumb to set and flavors to develop. Cutting too soon creates a gummy texture.</li></ol>