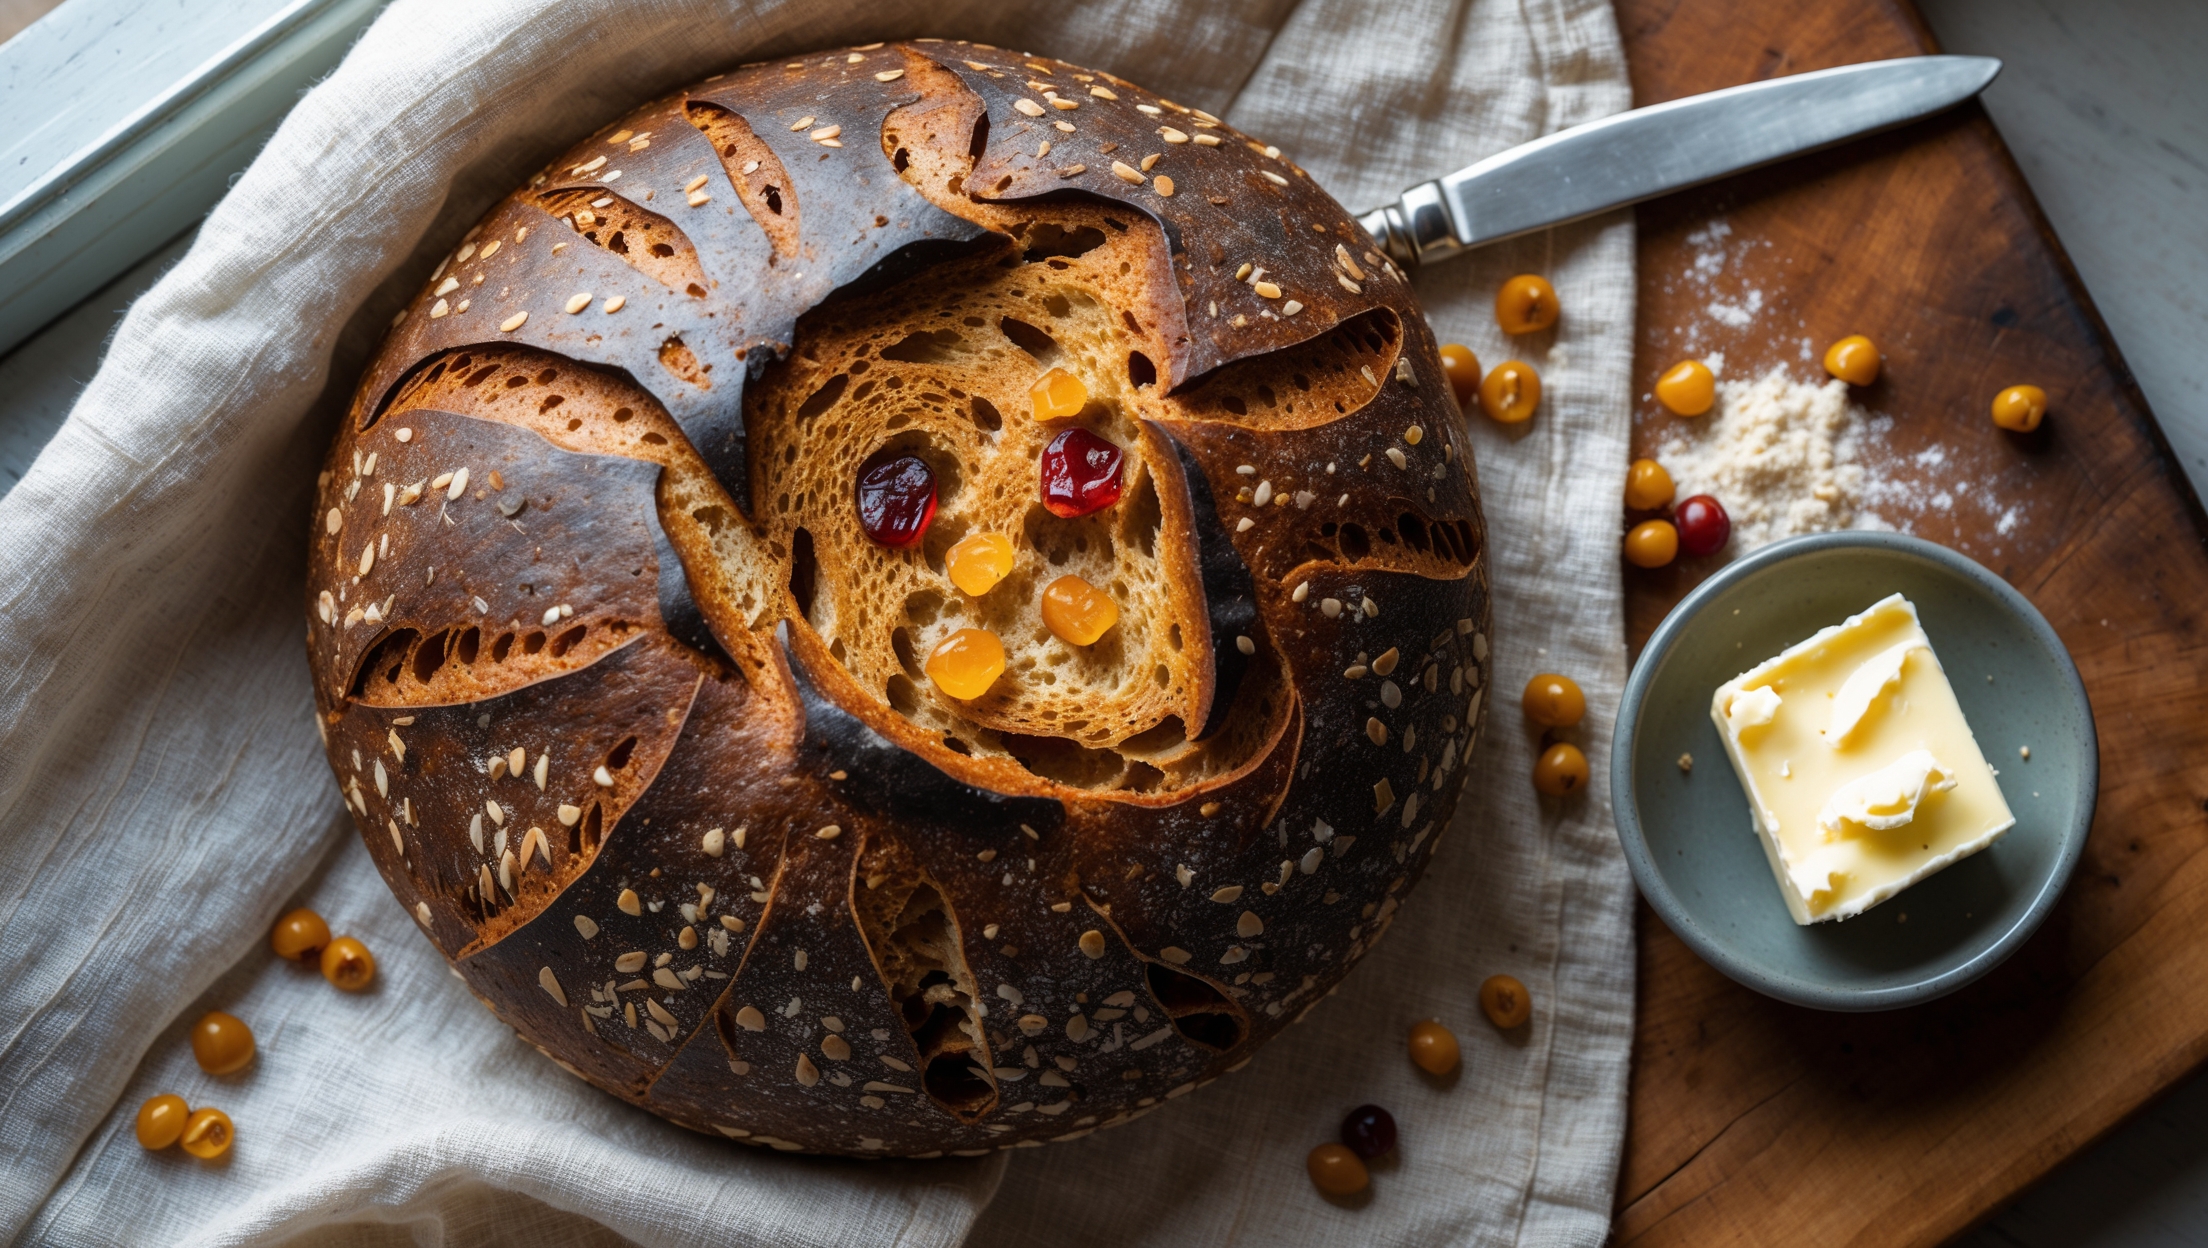
Pain au Levain with Seeded Soaker Recipe
Ingredients
Equipment
Directions
FAQs
Find answers to your most pressing questions about this delicious recipe right here.
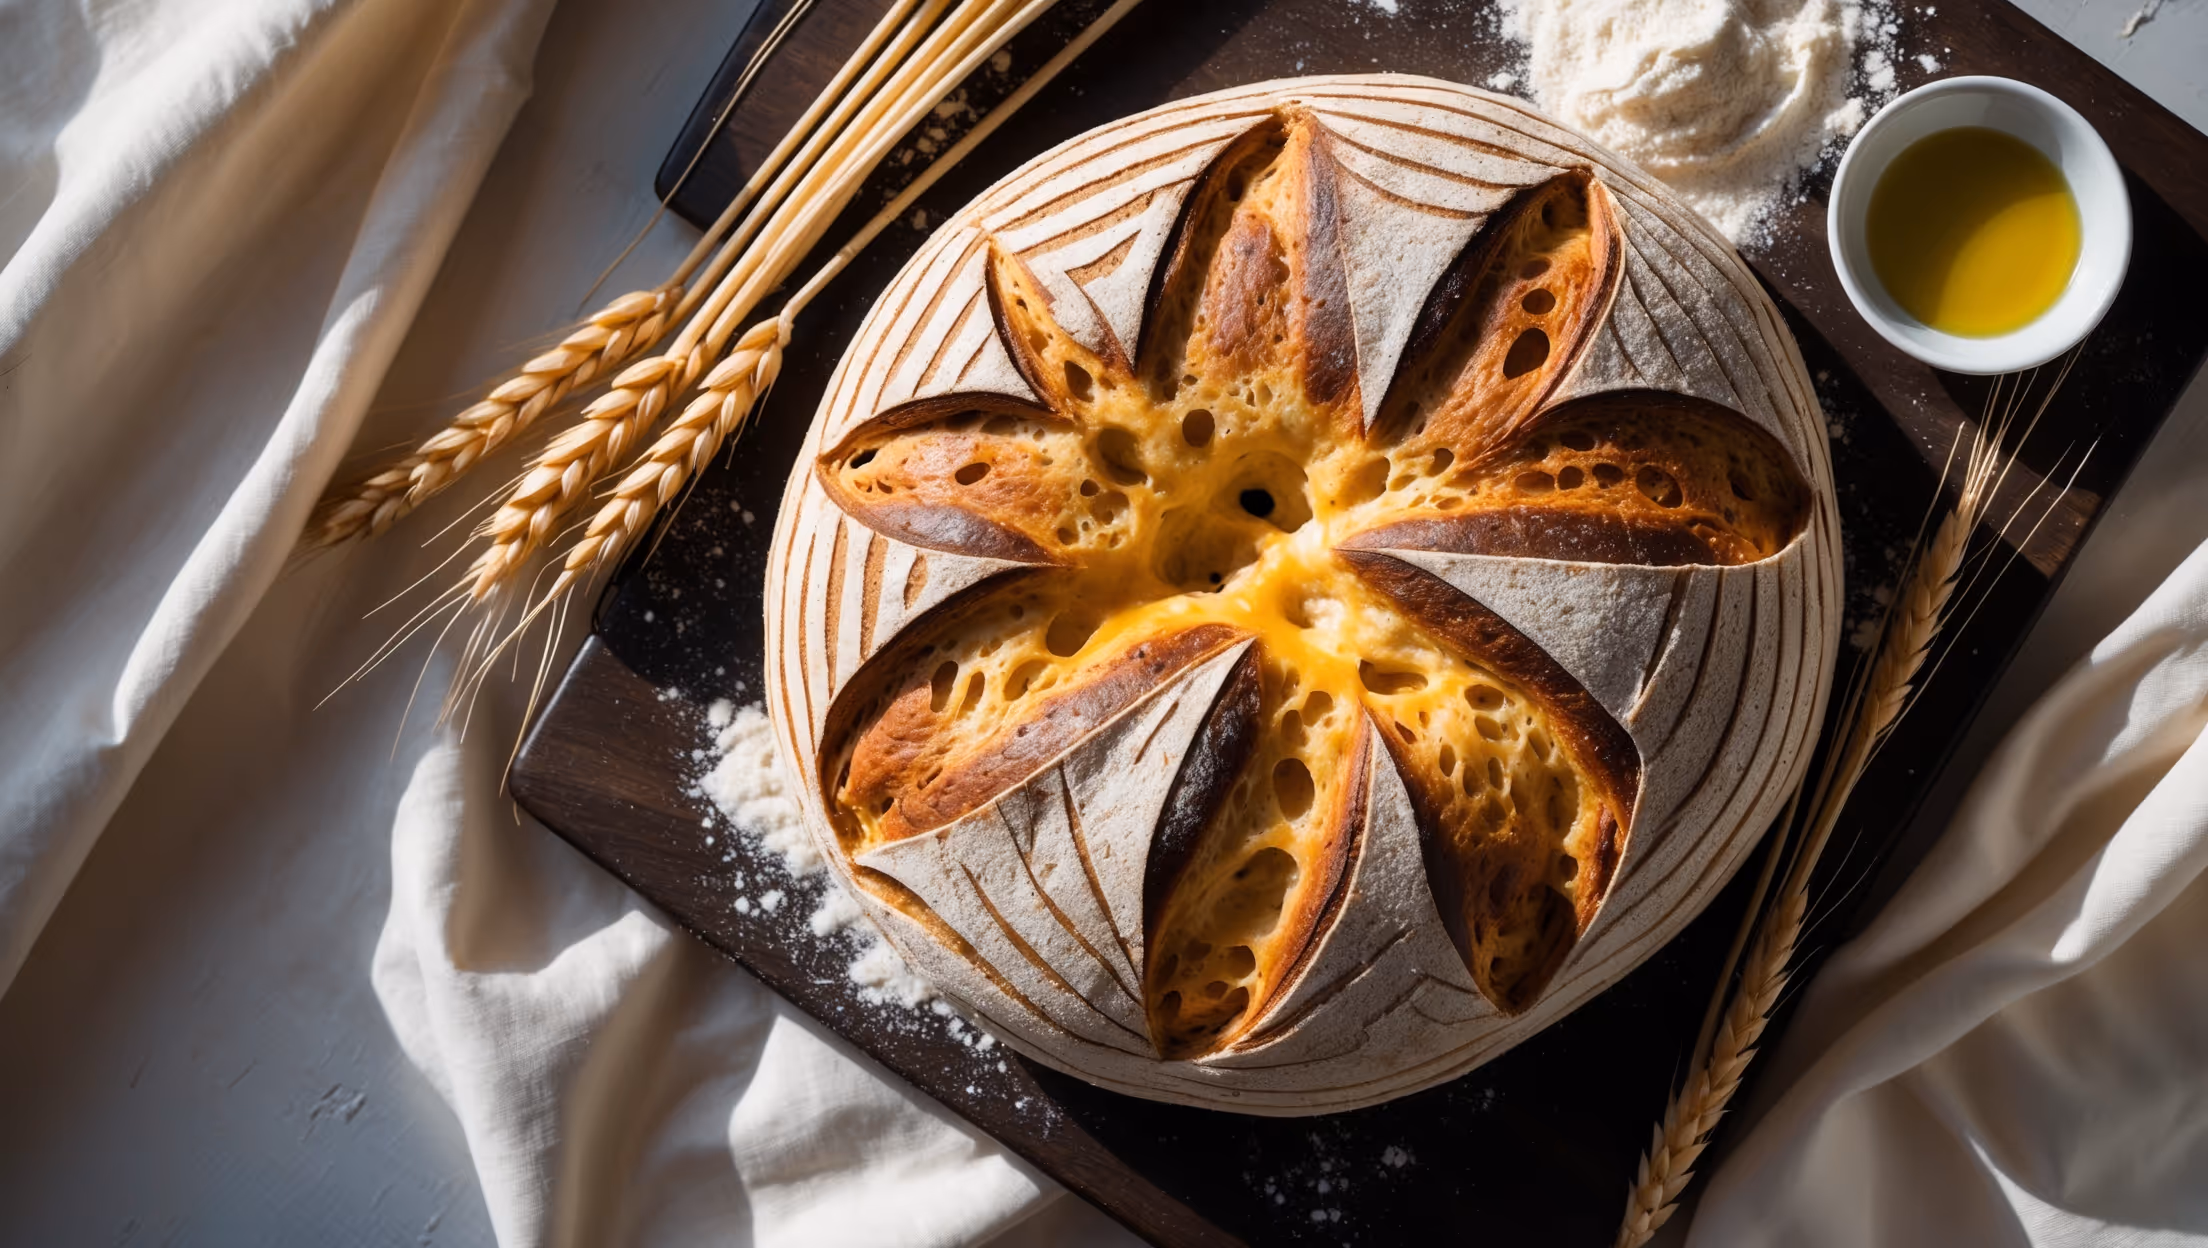
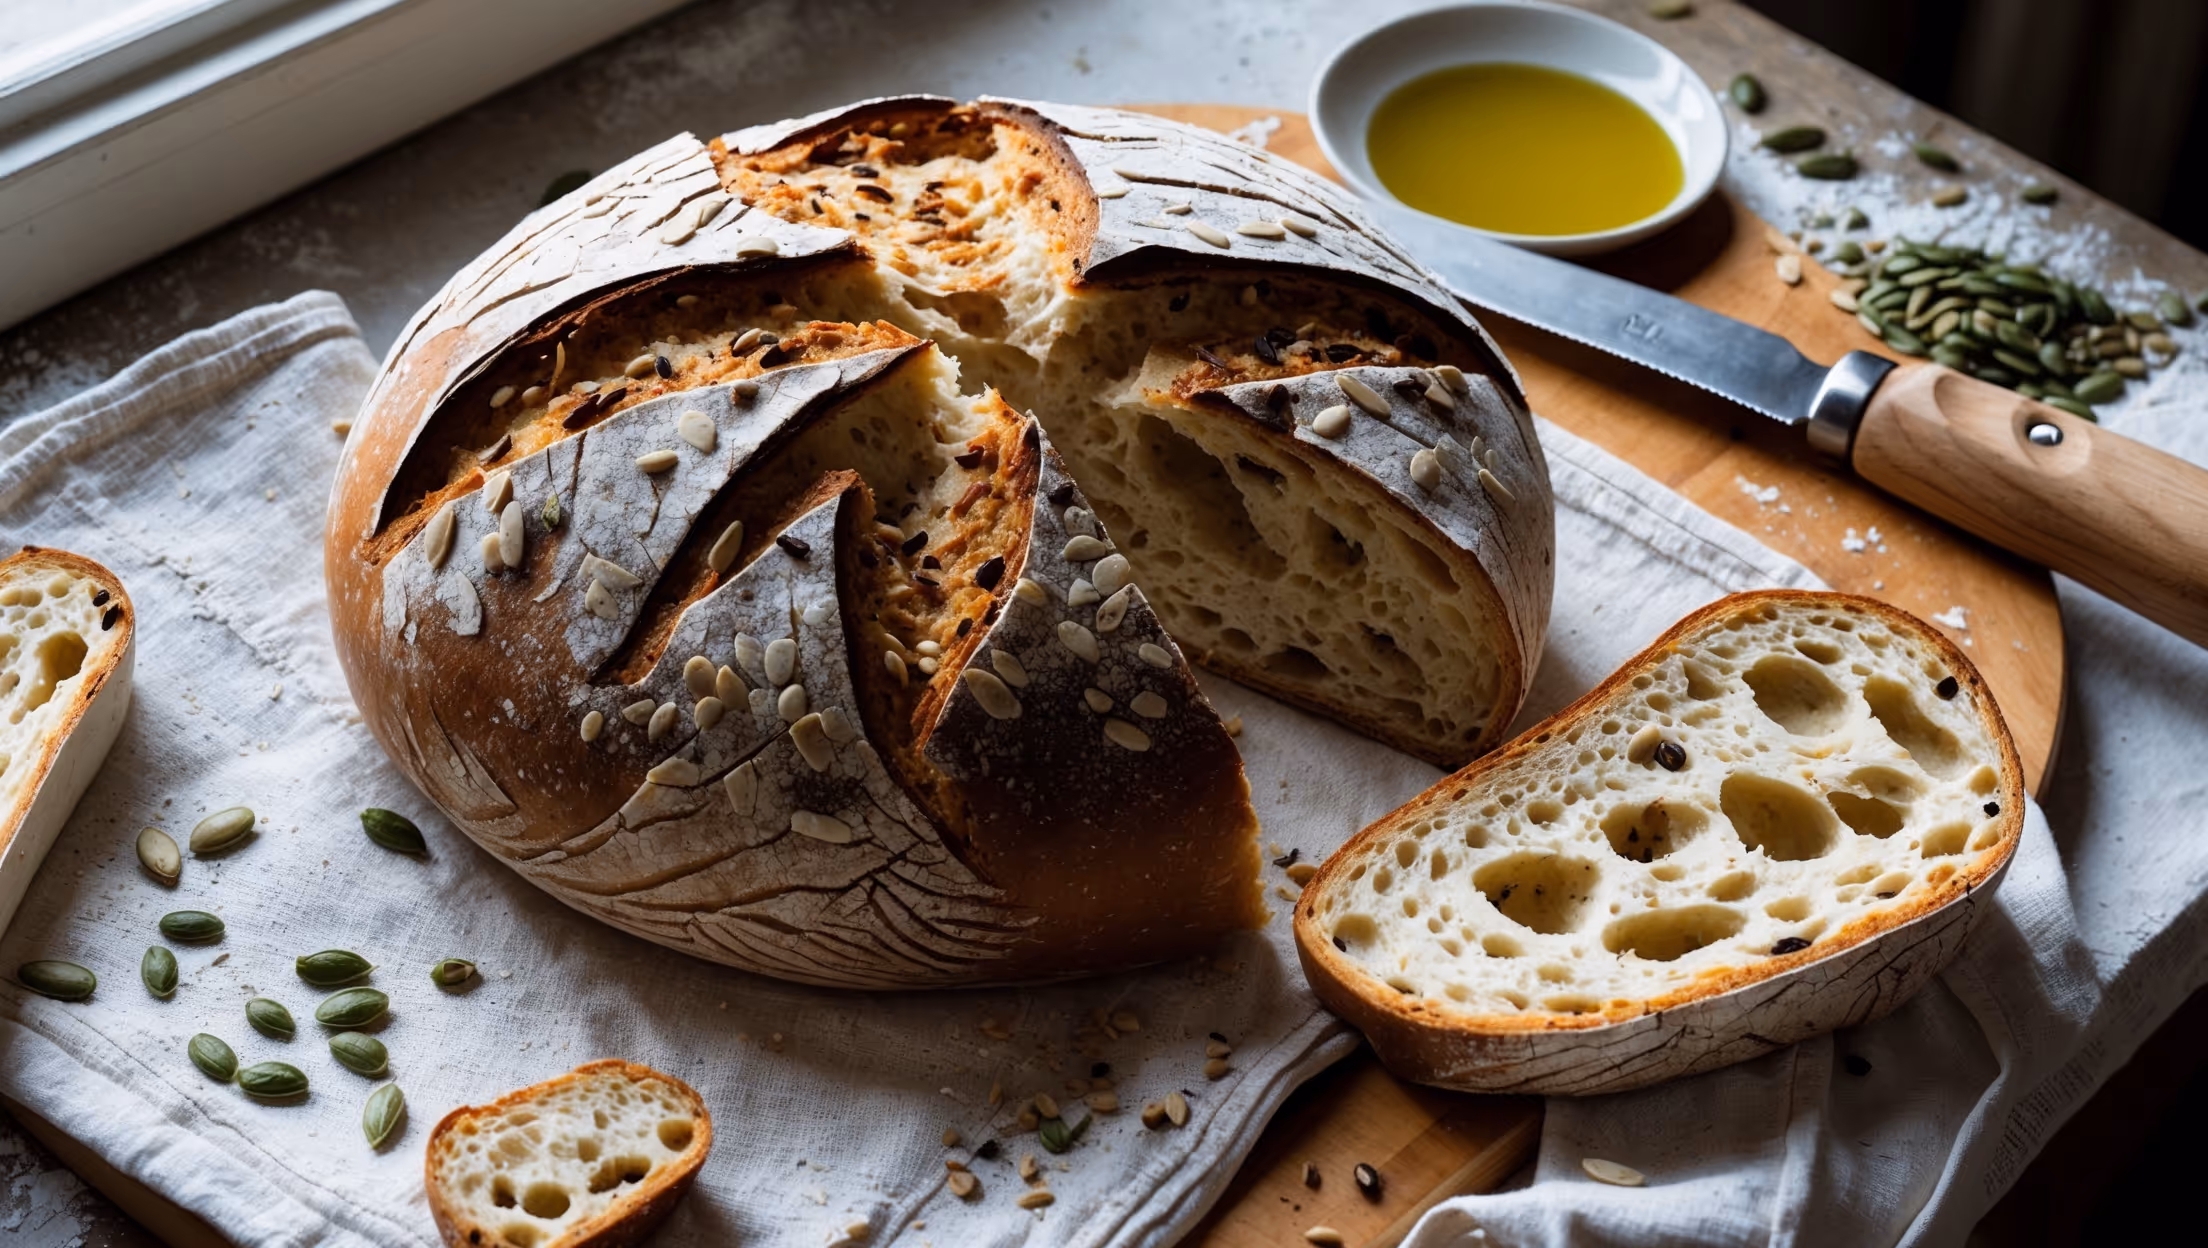
This artisan bread combines bread and whole wheat flours with an active sourdough starter for natural leavening. The signature seeded soaker includes sunflower, pumpkin, flax, sesame, and poppy seeds that add texture and nutrition to the naturally fermented loaf.
Learn how to cook Pain au Levain with Seeded Soaker by preparing a mature levain, creating a hydrated seed mixture, developing the dough through stretch-and-fold techniques, and cold fermenting overnight. Bake in a preheated Dutch oven at 250°C for 20 minutes covered, then 230°C for 20-25 minutes uncovered until deeply golden with a hollow sound when tapped.
Cold fermentation (8-12 hours in the refrigerator) slows yeast activity whilst allowing beneficial bacteria to develop complex flavours. It also strengthens the dough structure, makes it easier to handle and score, and results in better oven spring and a more open crumb structure in the finished loaf.
The crackling crust develops from high initial heat (250°C) combined with steam trapped in a Dutch oven. This steam gelatinises starches on the surface before evaporating when the lid is removed, allowing the crust to become firm and caramelise. The "singing" sound after baking indicates perfect crust formation.
Your levain is ready when it has approximately doubled in size, has a domed surface with visible bubbles throughout, and smells pleasantly sour with yeasty notes. A small amount should float when dropped in water—this "float test" confirms it contains enough gas to leaven your bread effectively.
Artisan Bread
Try following recommended recipes