Pain au Levain Recipe
Ingredients
Equipment
Directions
FAQs
Find answers to your most pressing questions about this delicious recipe right here.
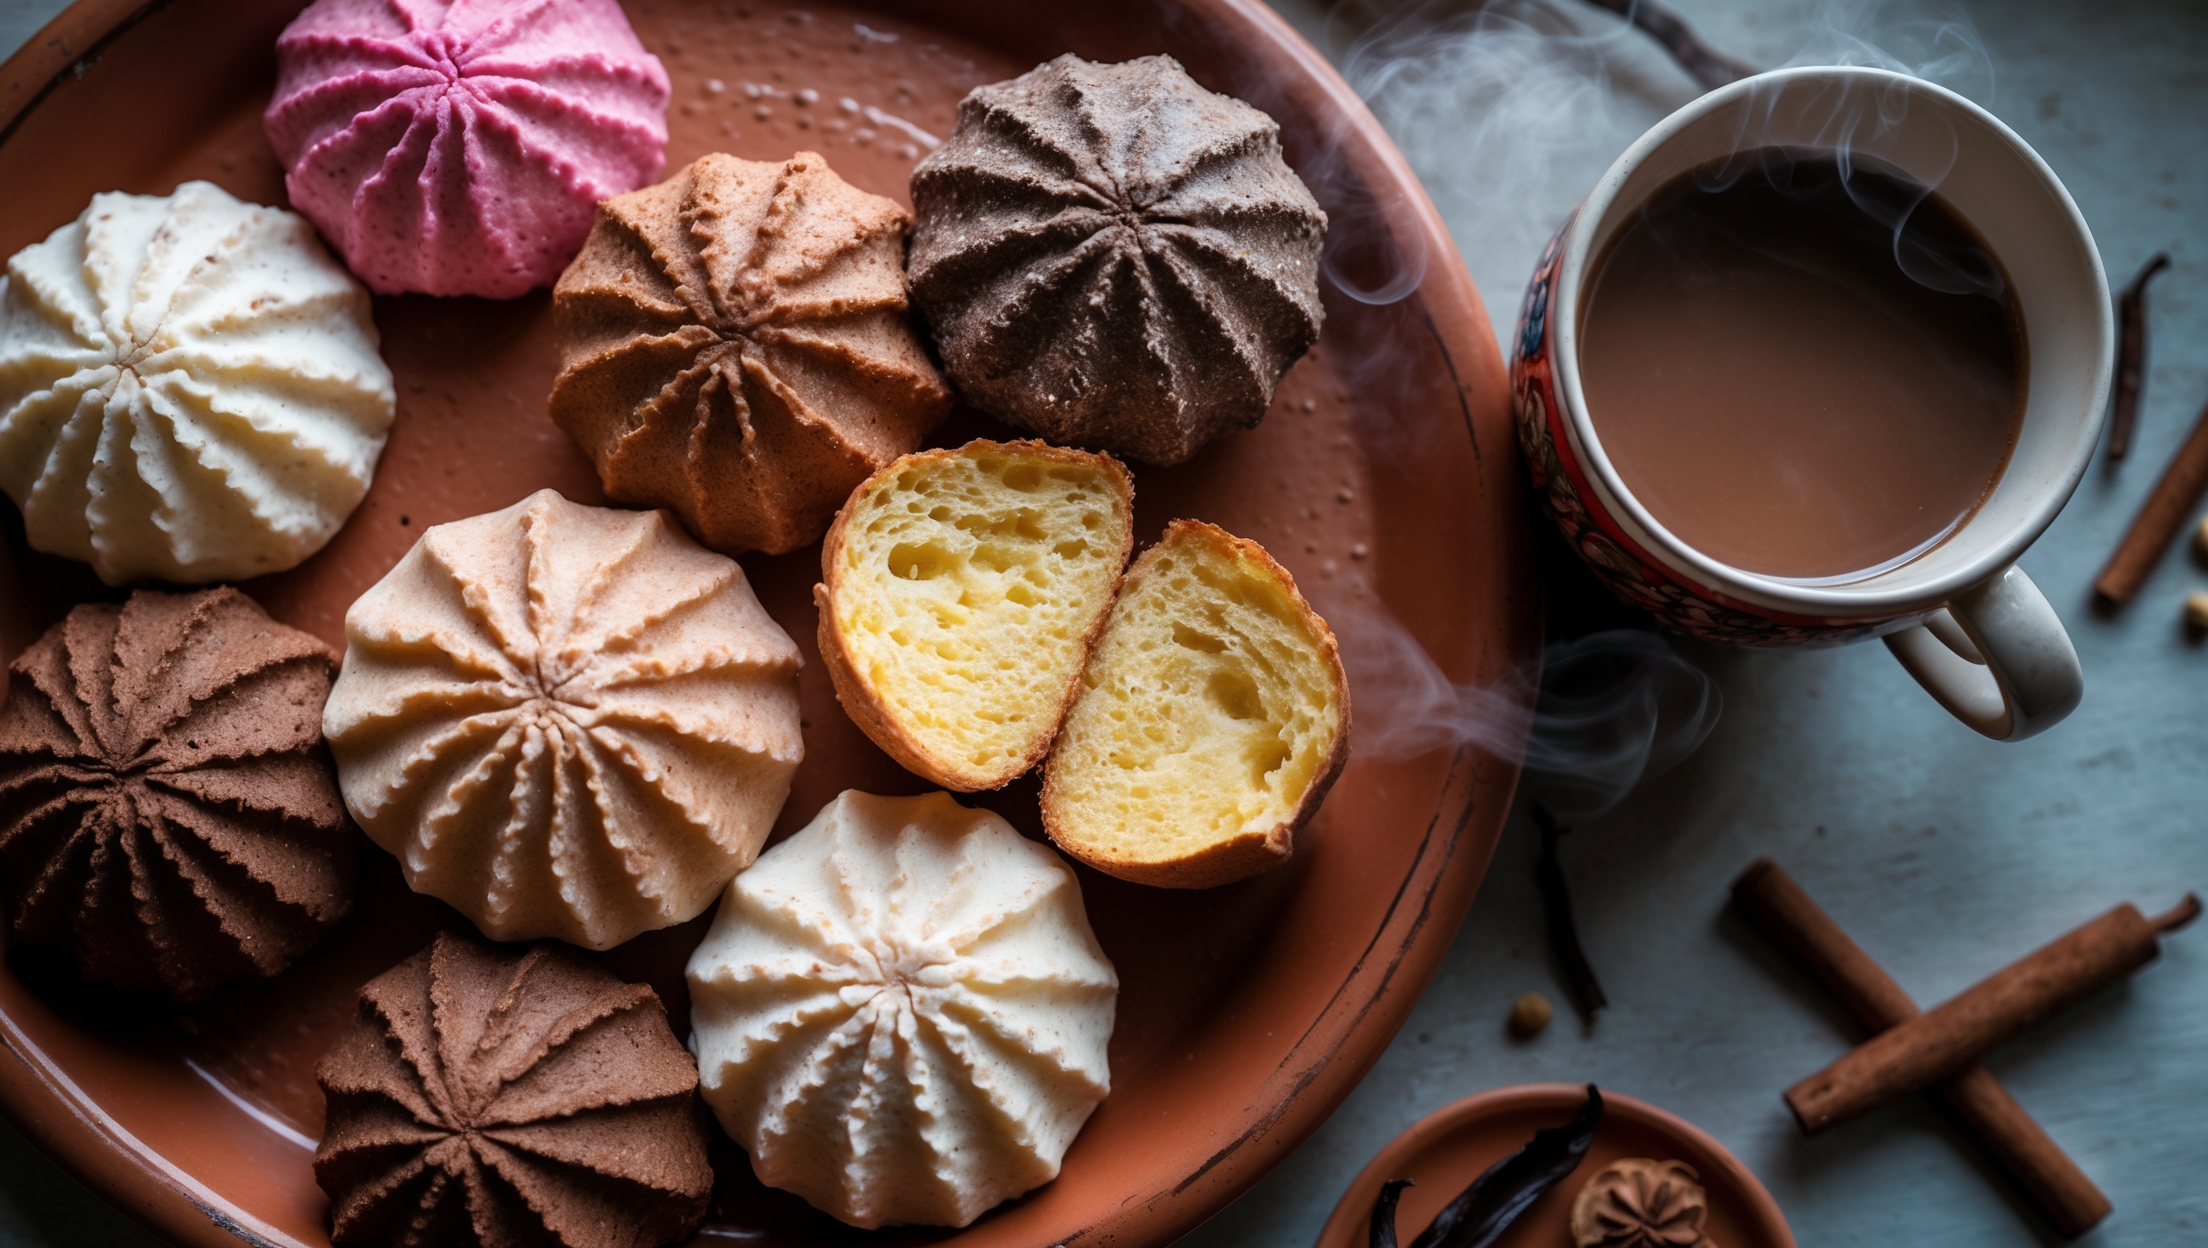
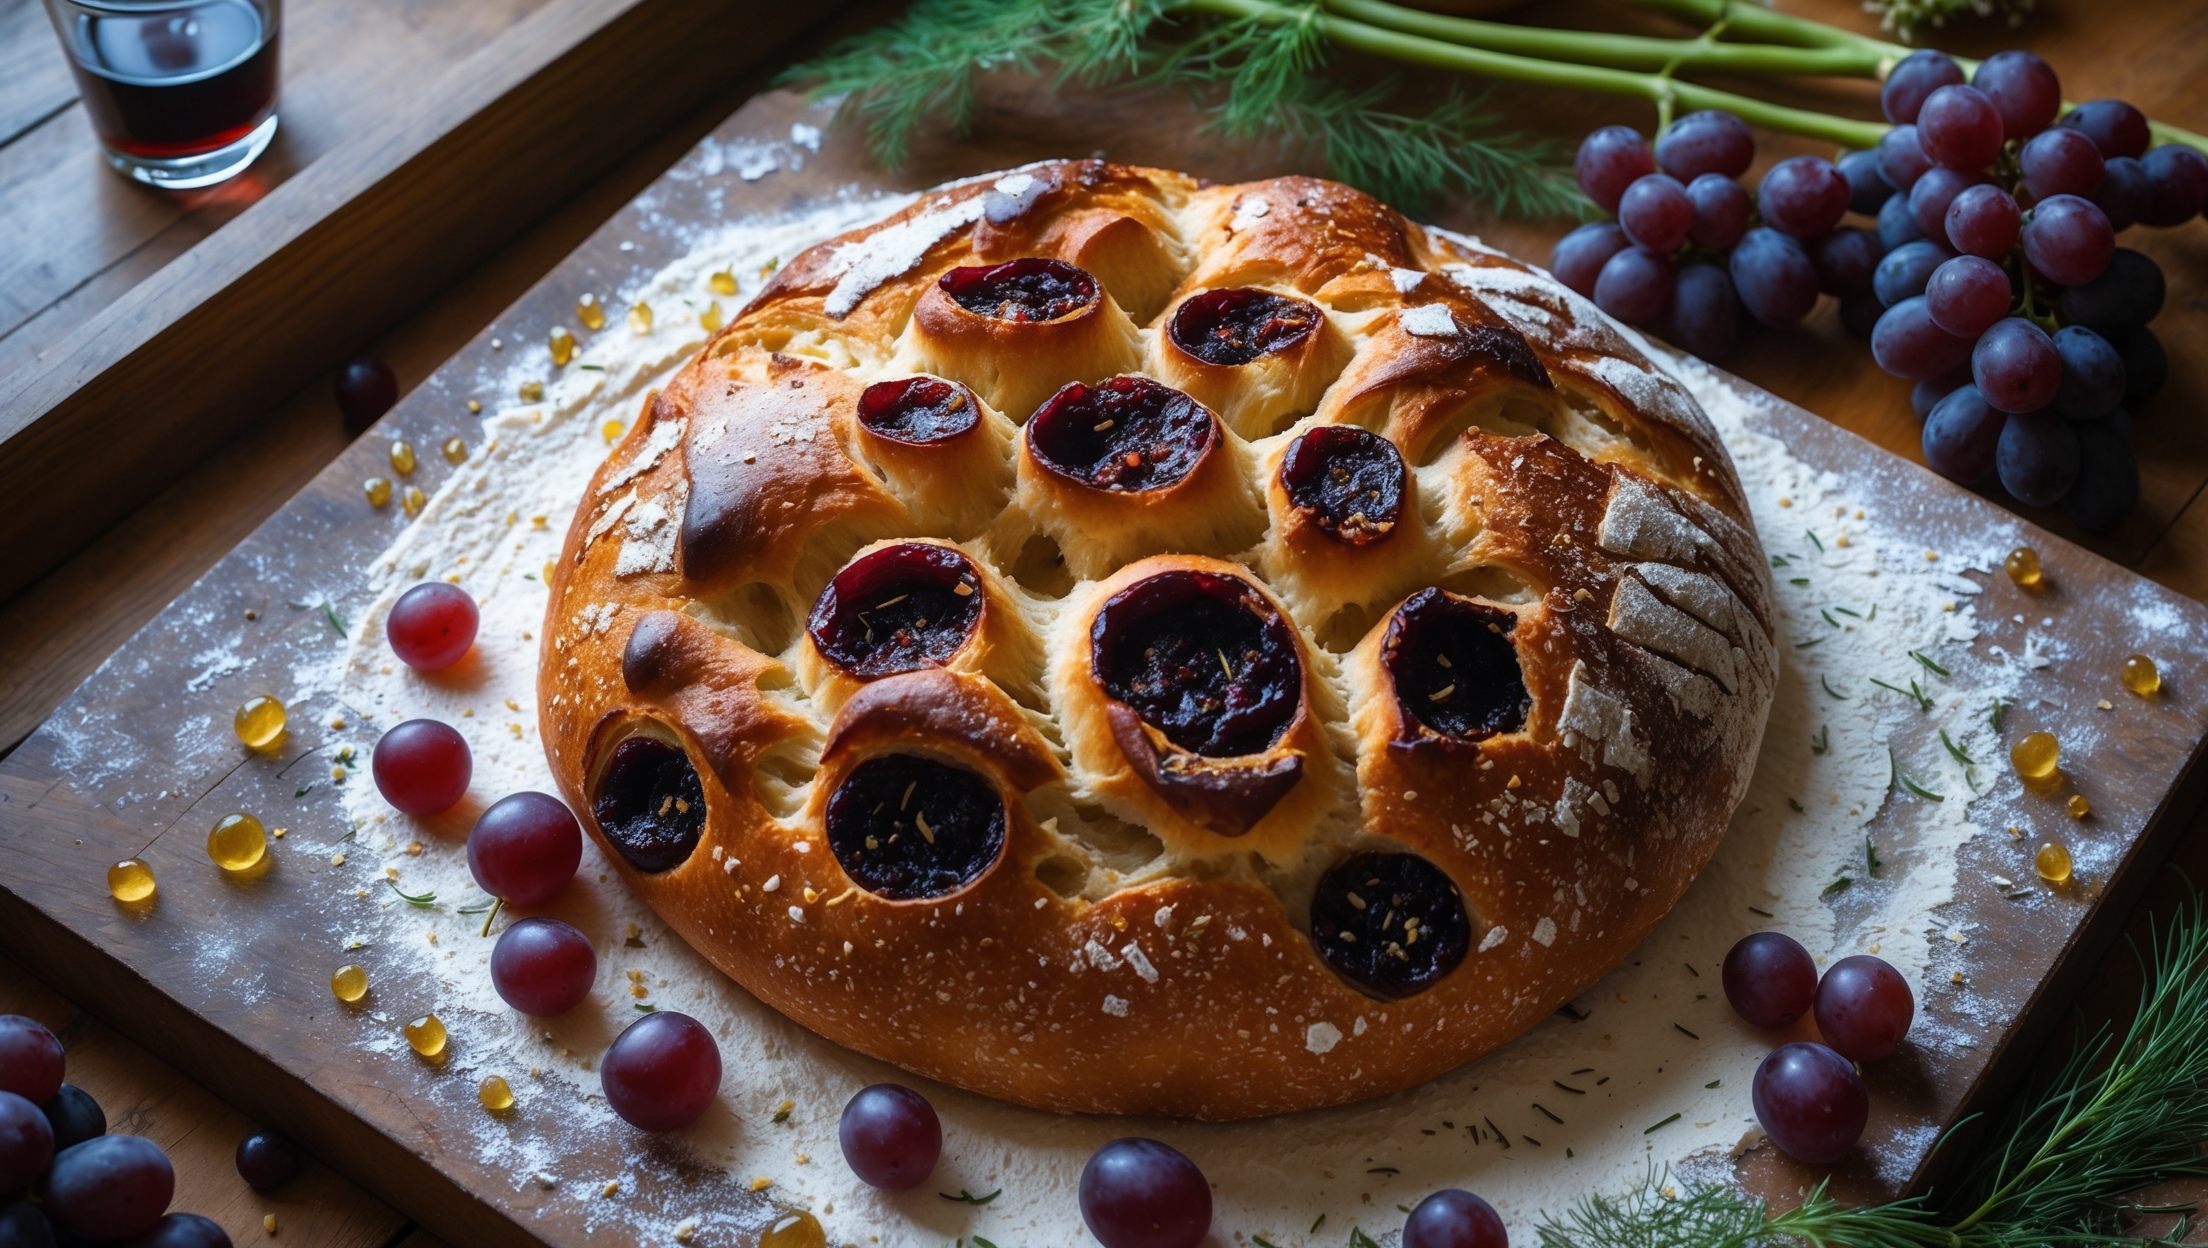
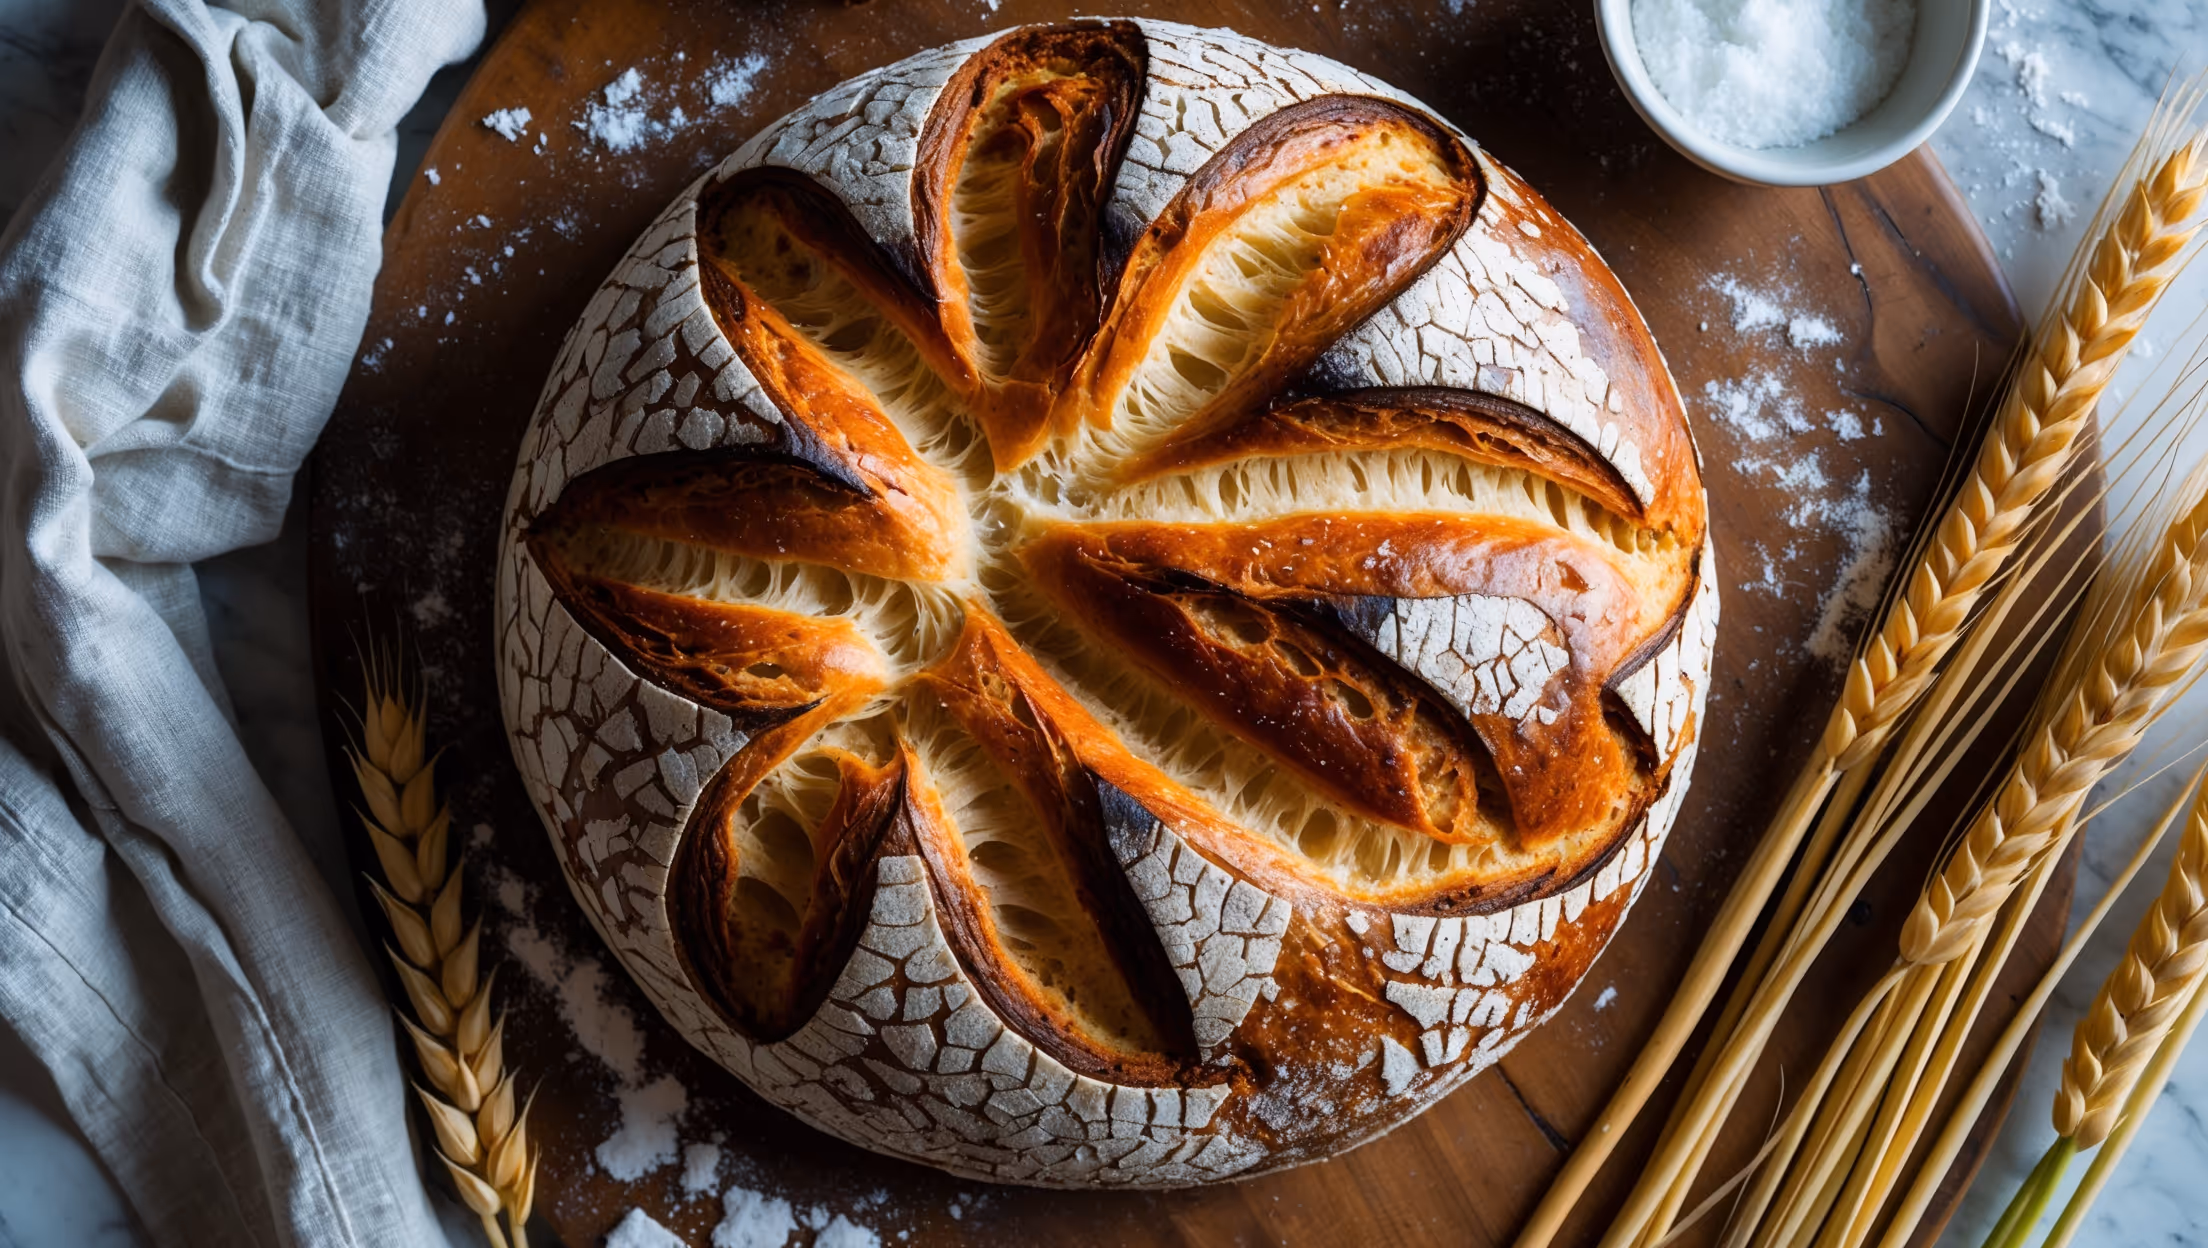
Pain au Levain requires just four simple ingredients: bread flour (500g), water (350g), active sourdough starter (100g), and salt (10g). This minimalist ingredient list showcases the beauty of traditional sourdough bread-making, where fermentation creates complex flavours from basic components.
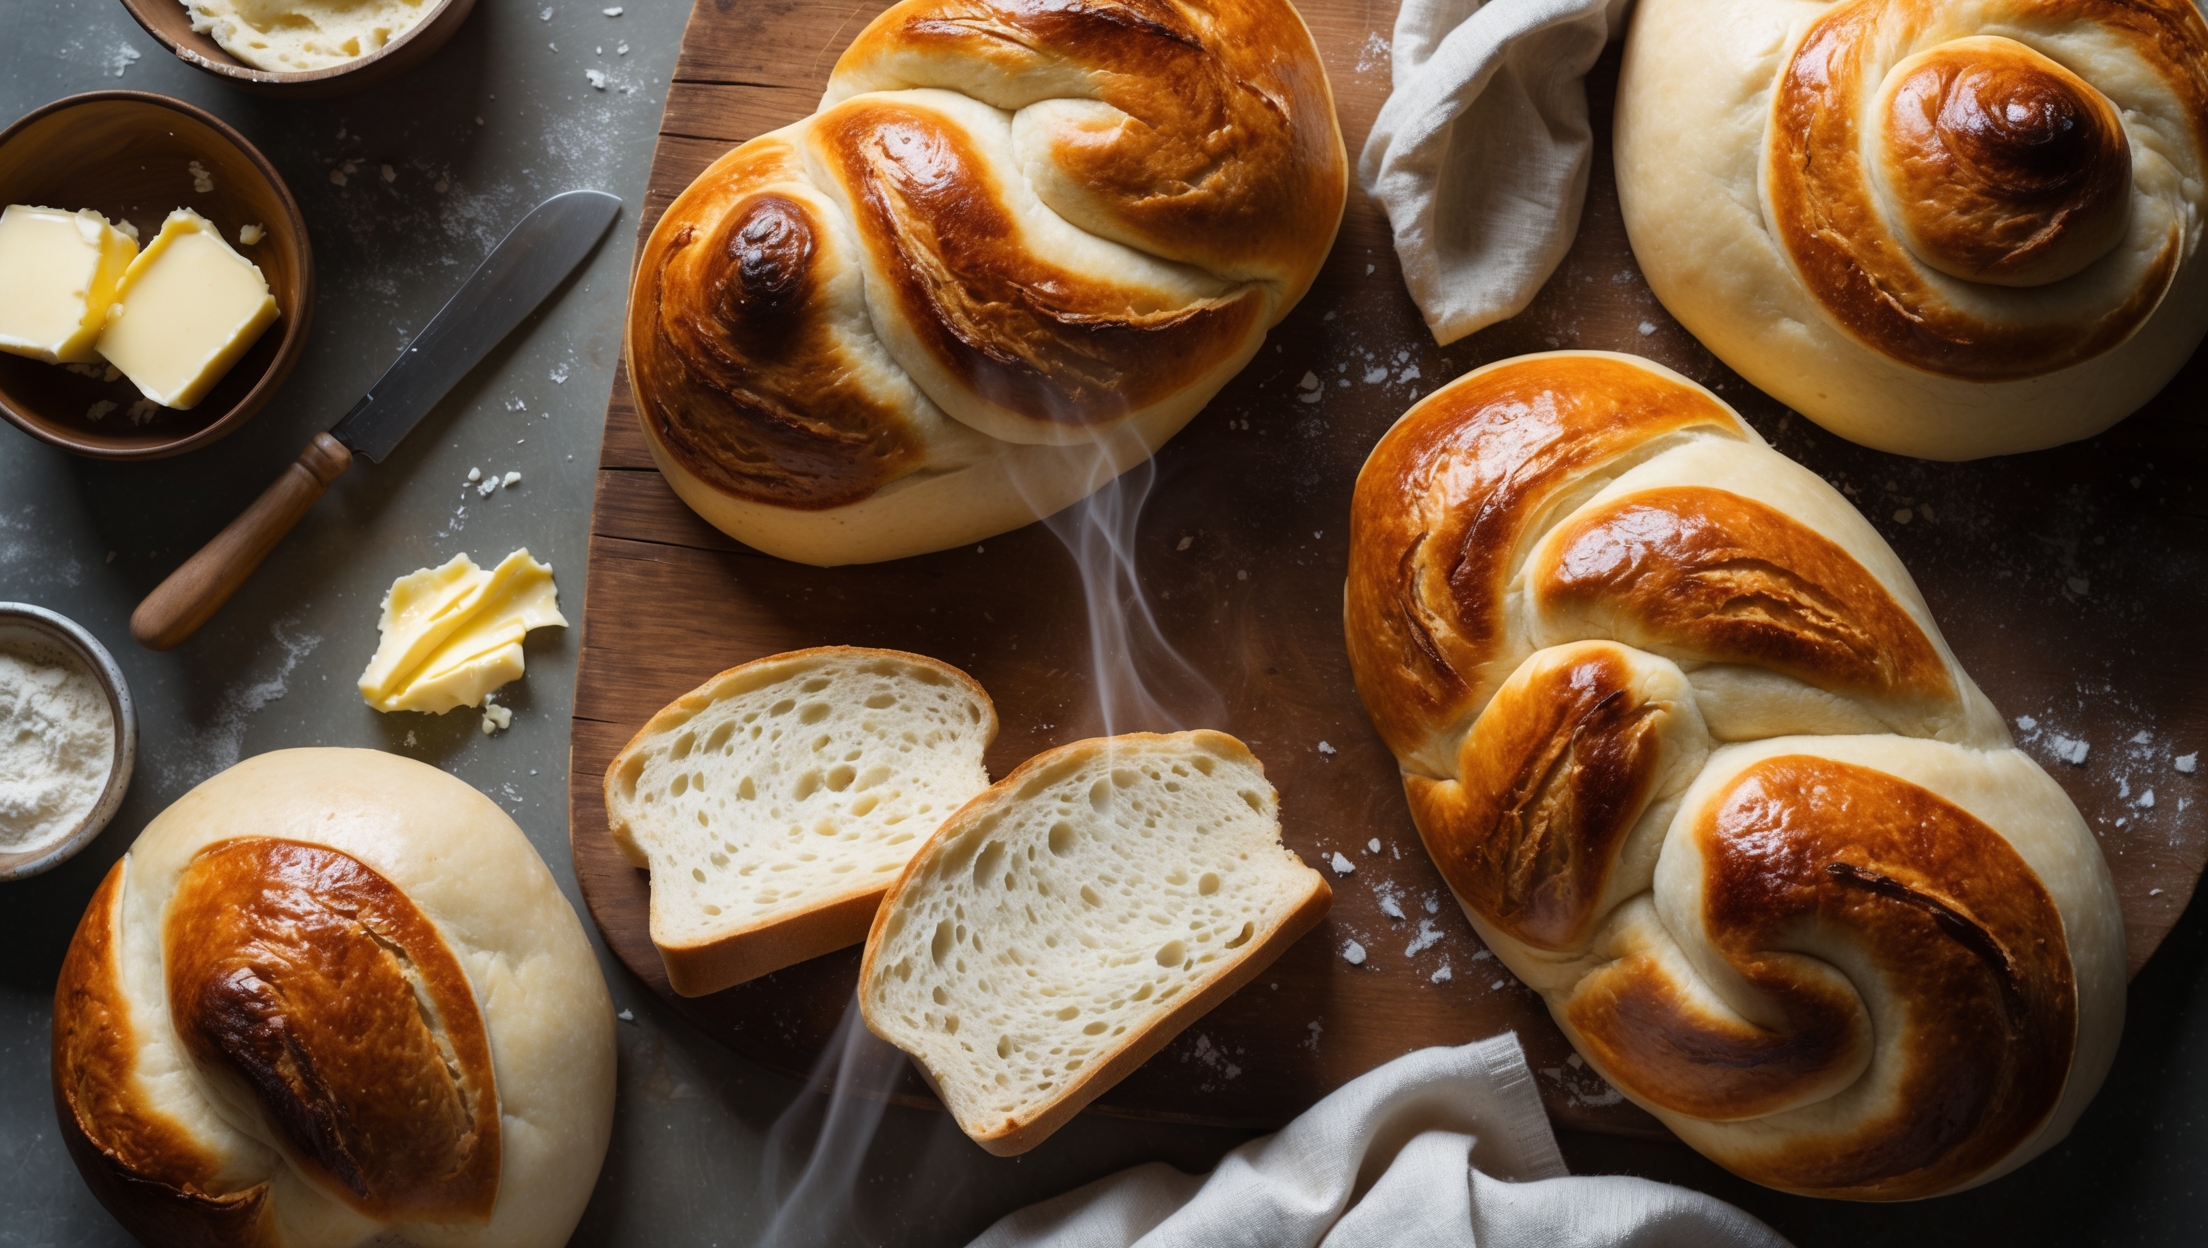
Learn how to cook Pain au Levain by creating a proper sourdough starter first, then mixing flour and water for autolyse, adding starter and salt, performing stretch and folds during bulk fermentation, cold-proofing overnight, and baking in a preheated Dutch oven at high heat with steam for the perfect crackling crust and open crumb structure.
Dense sourdough typically results from insufficient fermentation, poor starter activity, or inadequate dough handling. Ensure your starter is active and bubbly, allow proper bulk fermentation time, maintain adequate hydration (65-75%), perform gentle stretch and folds to build strength, and avoid degassing during shaping.
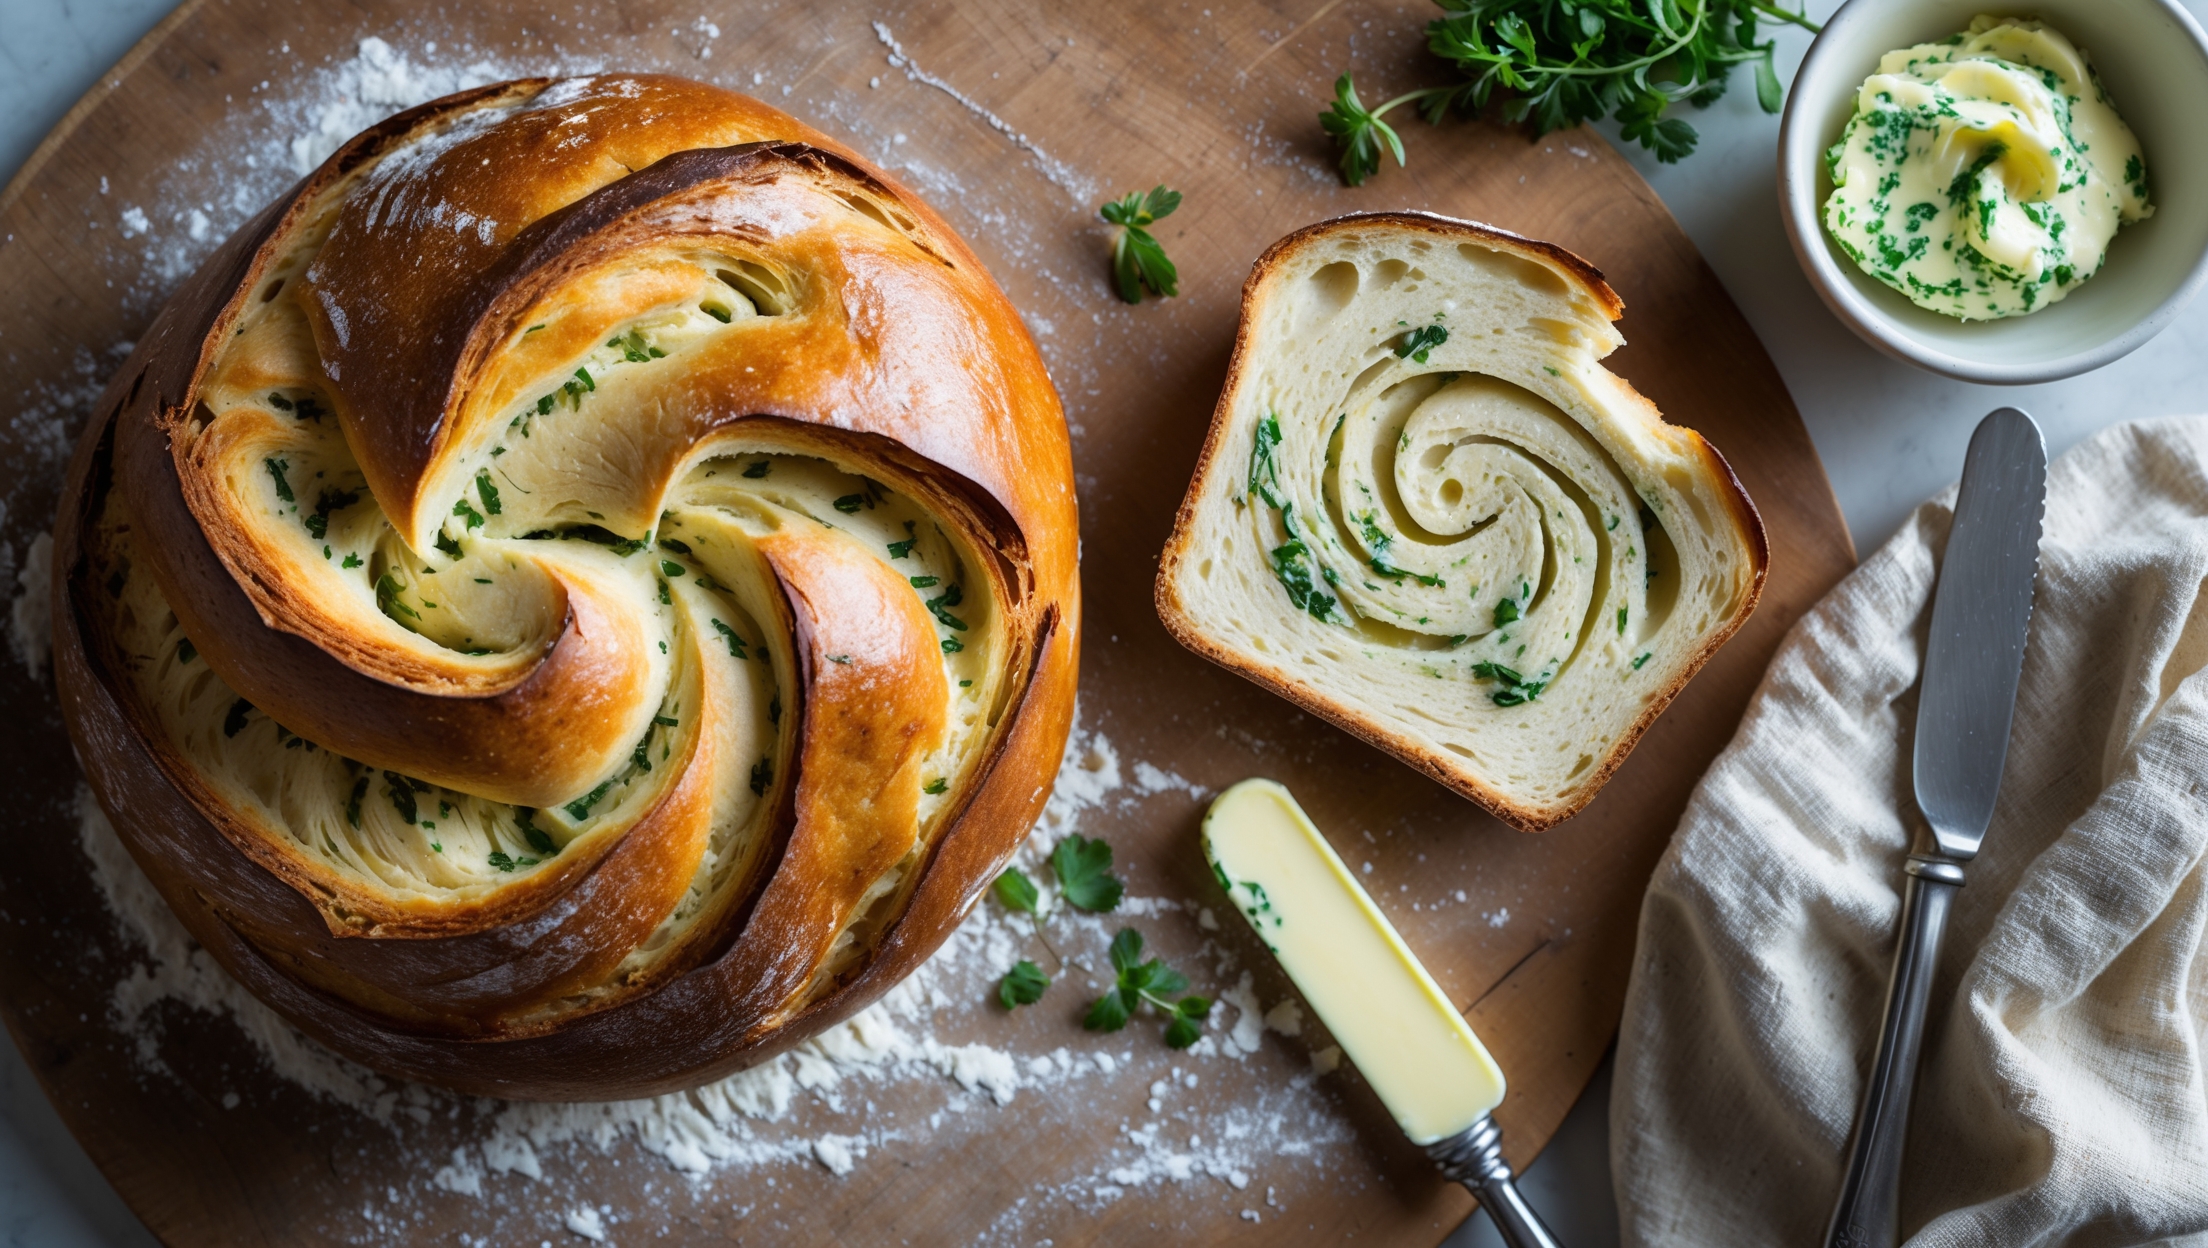
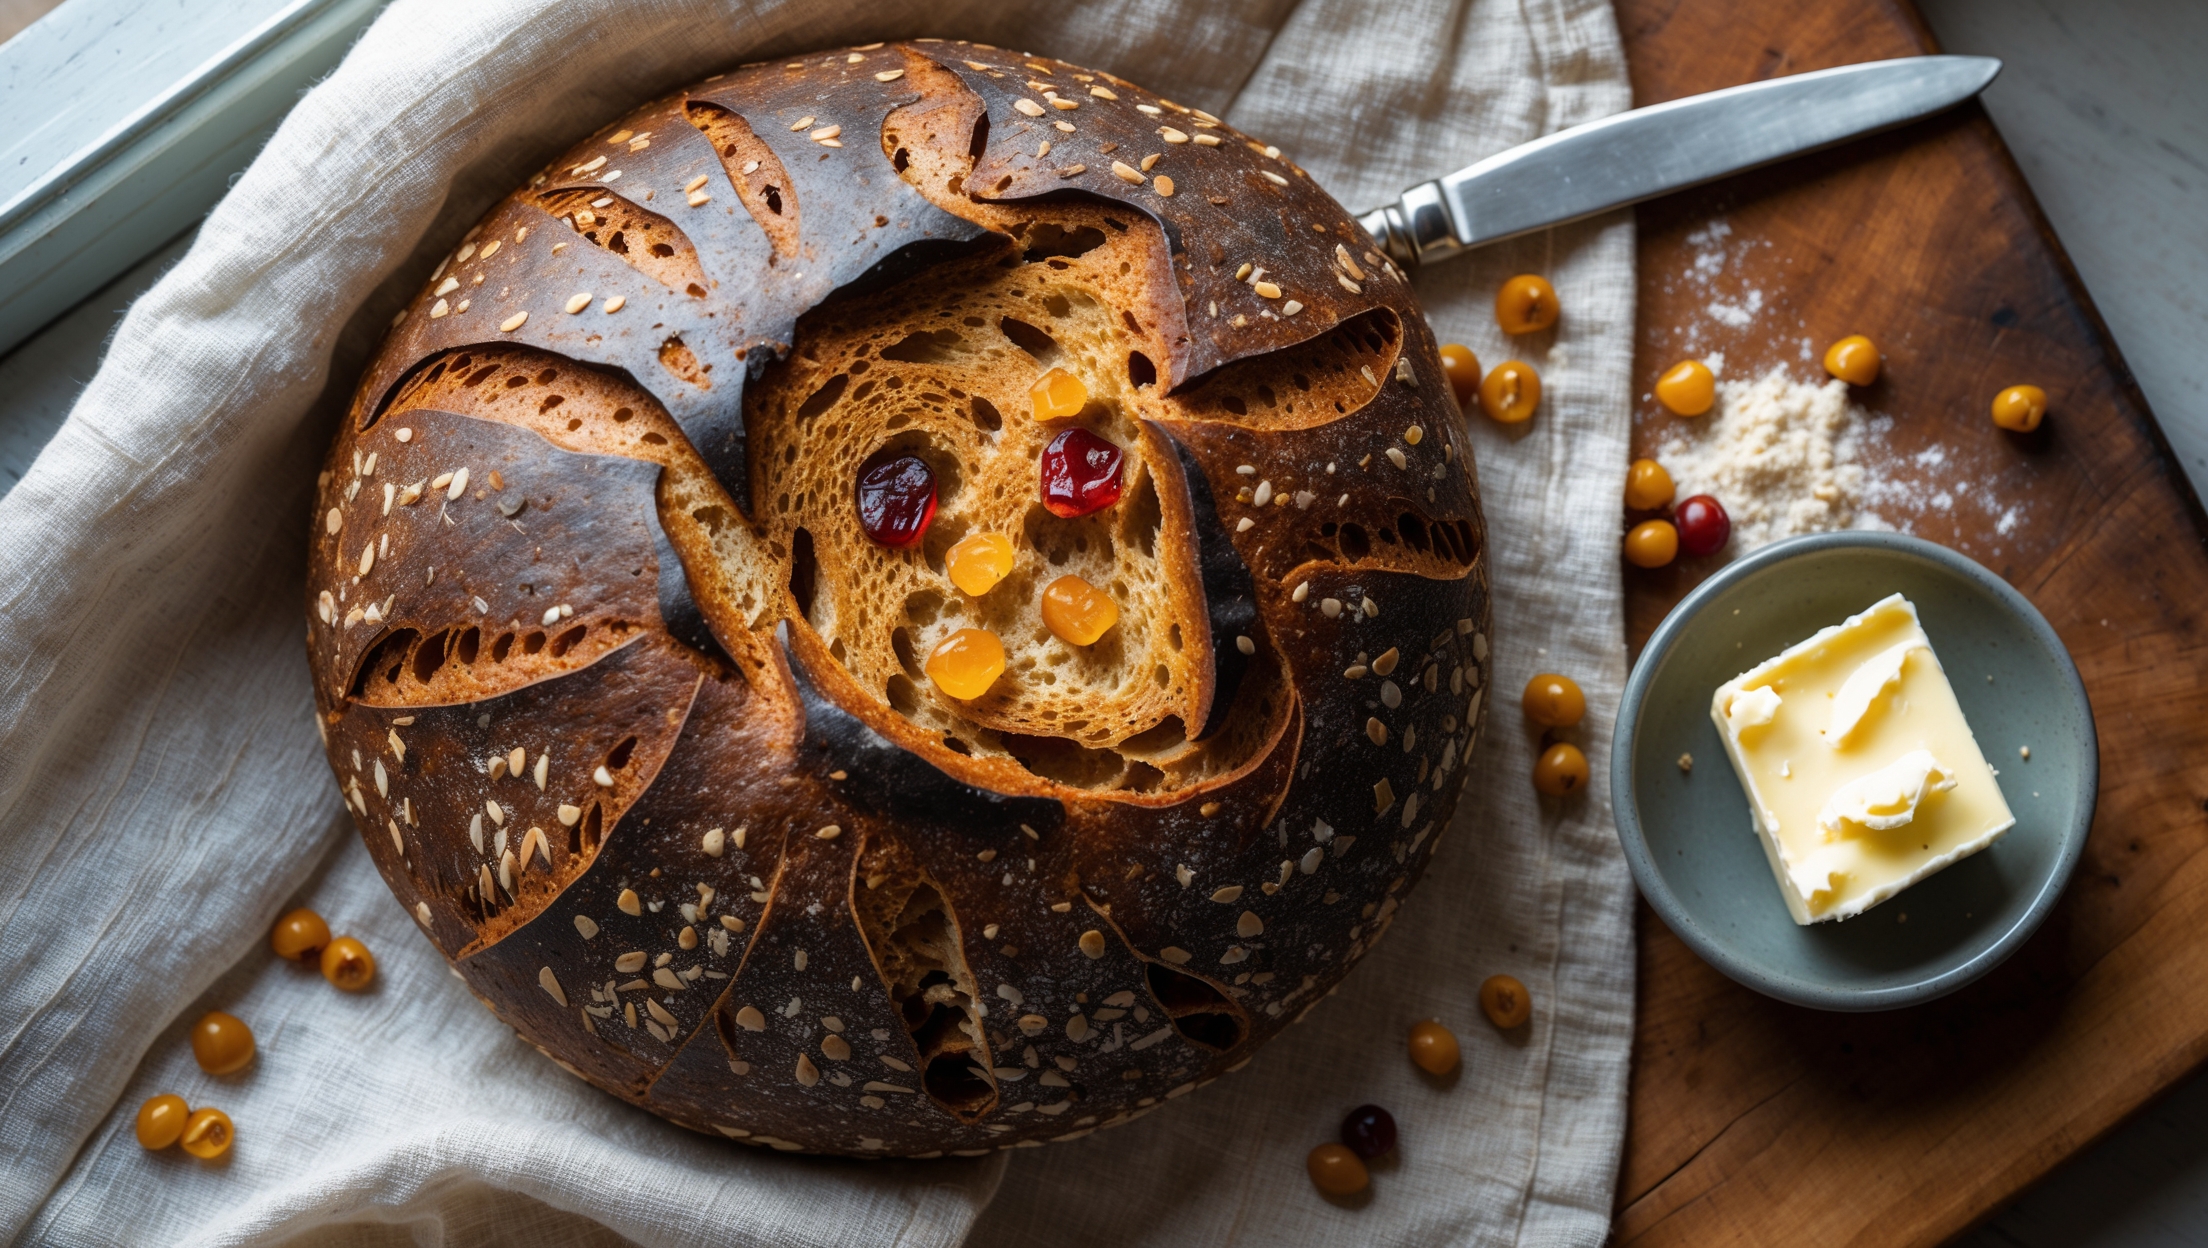
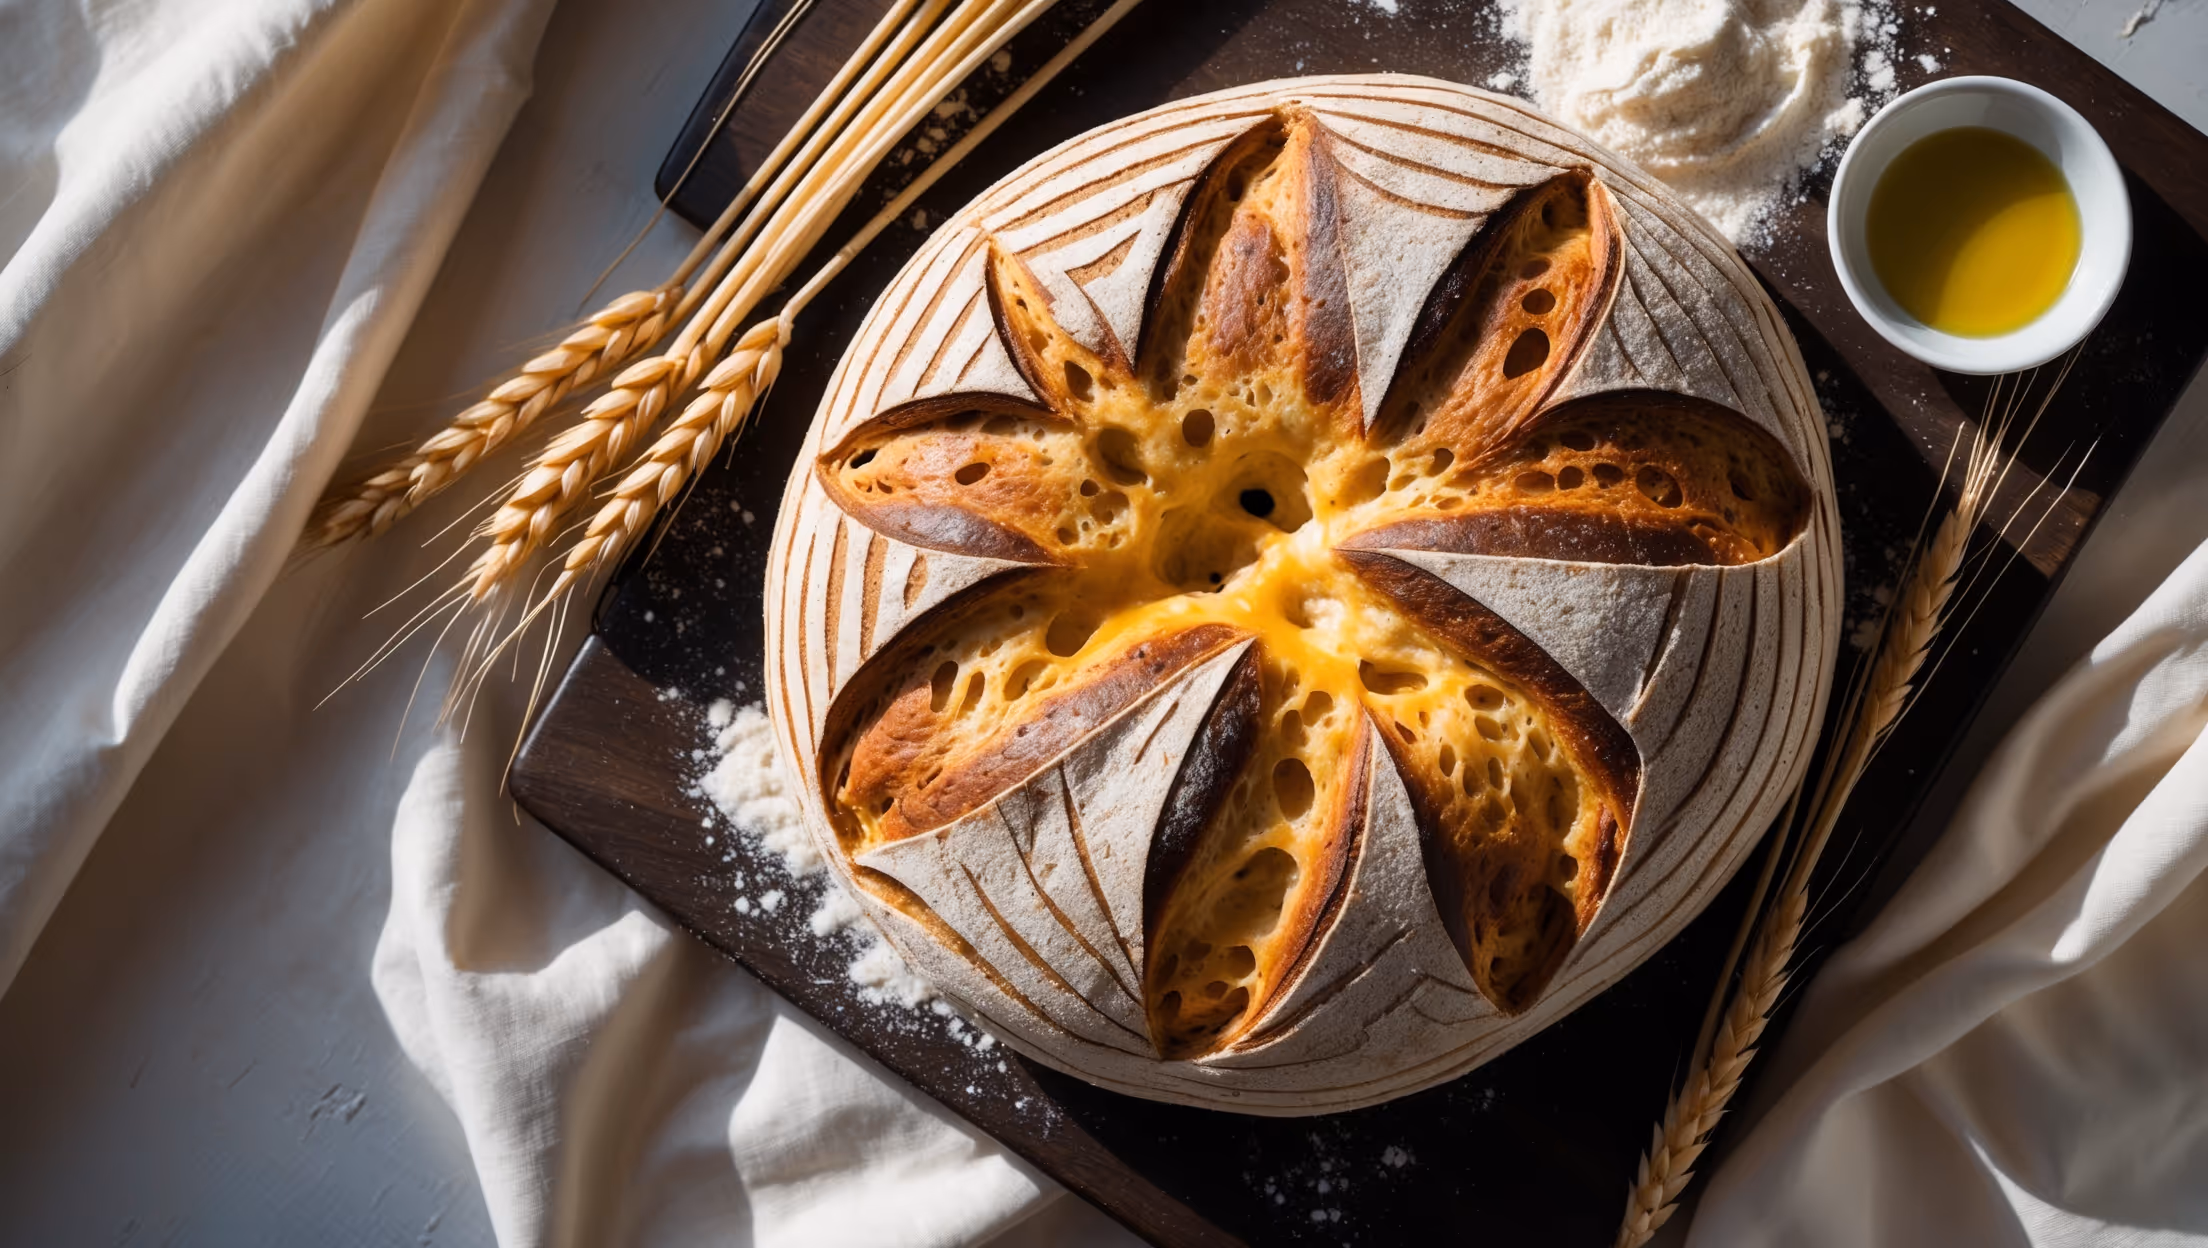
The perfect crackling crust comes from steam during initial baking. Use a Dutch oven to trap moisture, spritz dough with water before baking, ensure your oven is properly preheated to at least 230°C, and finish baking with the lid off to develop colour and crispness. Properly scoring the dough also helps with crust development.
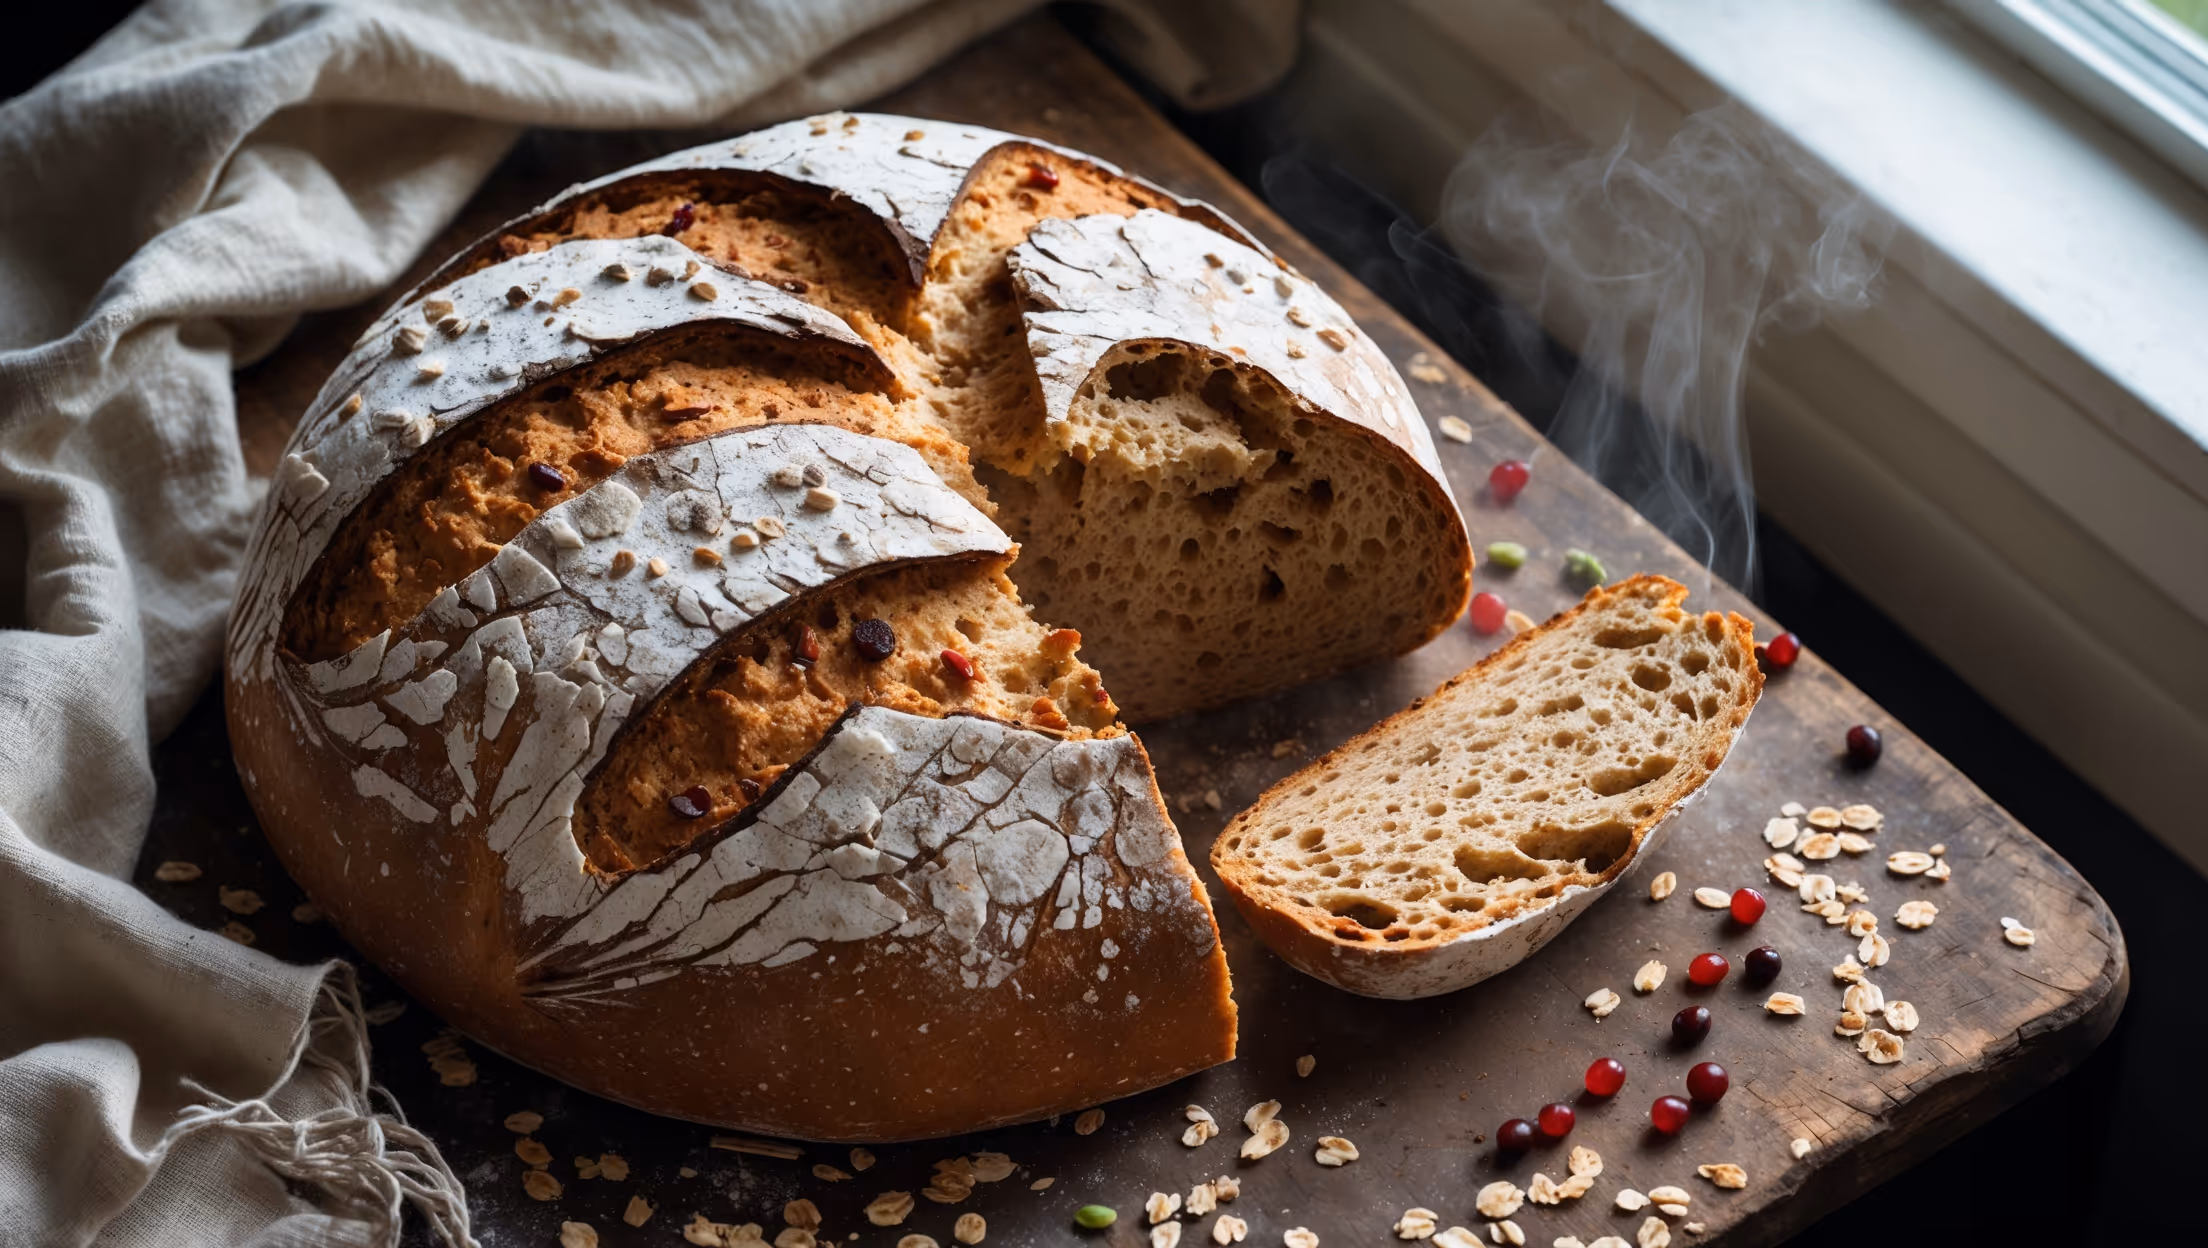
Allow sourdough bread to cool completely for at least 2 hours before slicing. This crucial cooling period allows the crumb structure to set properly and the moisture to redistribute throughout the loaf. Cutting too soon results in a gummy texture and can collapse the delicate internal structure.
Artisan Bread
Try following recommended recipes