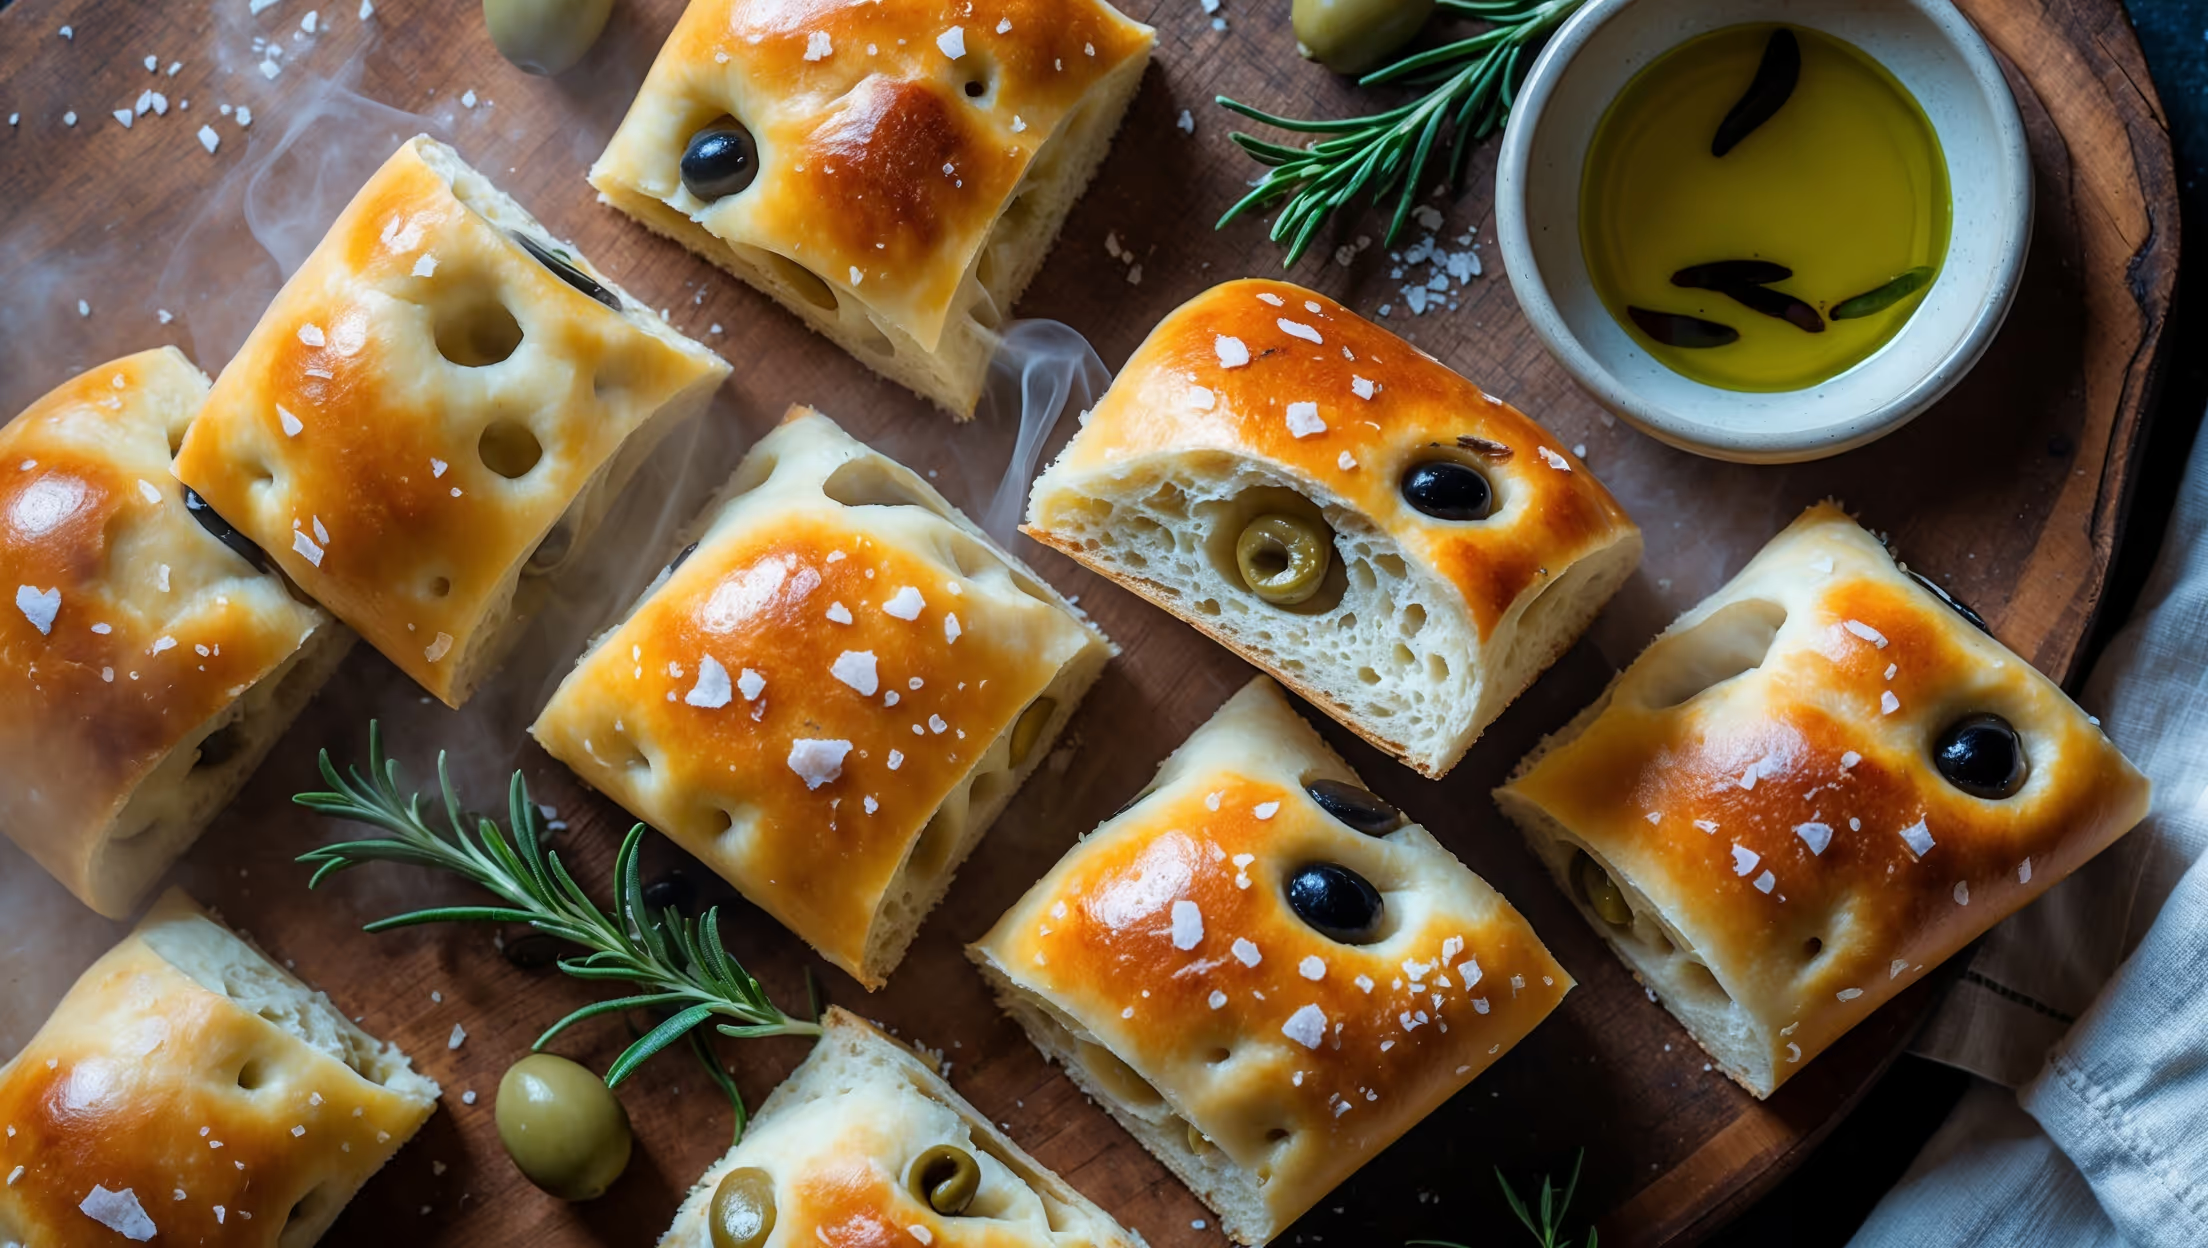
Directions
<ol class="no-list-style"><li class="MethodStepper"><h4 class="step-title">Step 1</h4>In a large bowl, combine the bread flour and salt, mixing well to distribute the salt evenly. In a separate small bowl or jug, mix the lukewarm water with the yeast and let it stand for 5 minutes until foamy (this ensures your yeast is active and ready to work its magic).</li><li class="MethodStepper"><h4 class="step-title">Step 2</h4>Make a well in the center of your flour mixture and pour in the yeast mixture and olive oil. Mix gradually with a wooden spoon until a shaggy dough forms, then either knead by hand on a lightly floured surface for 8-10 minutes or use a stand mixer with a dough hook for 5-6 minutes. The dough should become smooth, elastic, and slightly tacky but not sticky – this kneading develops the gluten structure that will give your rolls their wonderful texture.</li><li class="MethodStepper"><h4 class="step-title">Step 3</h4>Gently fold in the chopped olives until evenly distributed throughout the dough. This folding technique (rather than aggressive kneading) preserves the larger air pockets that give focaccia its characteristic open crumb.</li><li class="MethodStepper"><h4 class="step-title">Step 4</h4>Place the dough in a lightly oiled bowl, cover with cling film or a damp cloth, and leave to rise in a warm place for 1-1.5 hours or until doubled in size. The slow rise develops flavor and texture – be patient here, as rushing this step will result in less flavorful bread.</li><li class="MethodStepper"><h4 class="step-title">Step 5</h4>Once risen, gently tip the dough onto a lightly floured surface, being careful not to knock out too much air. Divide the dough into 8 equal pieces (about 125g each) using a dough scraper or knife. Shape each piece into a ball by tucking the edges underneath and rotating in your hands to create tension on the surface.</li><li class="MethodStepper"><h4 class="step-title">Step 6</h4>Line a large baking tray with parchment paper and arrange the dough balls with at least 5cm between them, as they will expand. Cover loosely with oiled cling film and leave to prove for another 45-60 minutes until puffed up and nearly doubled in size again.</li><li class="MethodStepper"><h4 class="step-title">Step 7</h4>Preheat your oven to 220°C (200°C fan) while the rolls are on their final prove. When the rolls are ready, gently dimple each one with your fingertips, pressing down about two-thirds of the way into the dough but not all the way to the bottom. These characteristic dimples create pockets for the olive oil to pool in during baking.</li><li class="MethodStepper"><h4 class="step-title">Step 8</h4>Drizzle each roll generously with olive oil (about 1-2 teaspoons per roll), allowing it to fill the dimples you've created. Sprinkle with rosemary leaves and flaky sea salt. The oil helps create the beautiful golden crust while the herbs and salt enhance the Mediterranean flavors.</li><li class="MethodStepper"><h4 class="step-title">Step 9</h4>Bake in the preheated oven for 20-25 minutes until the rolls are golden brown and sound hollow when tapped on the bottom. Transfer to a wire rack to cool slightly – they're best enjoyed while still warm, when the contrast between the crisp exterior and soft interior is most pronounced!</li><li class="MethodStepper"><h4 class="step-title">Step 10</h4>Store any leftovers in an airtight container for up to 2 days, or freeze for up to 3 months. To refresh before serving, warm in a 180°C oven for 5 minutes. These rolls are perfect for dipping in olive oil, serving alongside soups, or using as the base for Mediterranean-inspired sandwiches.</li></ol>