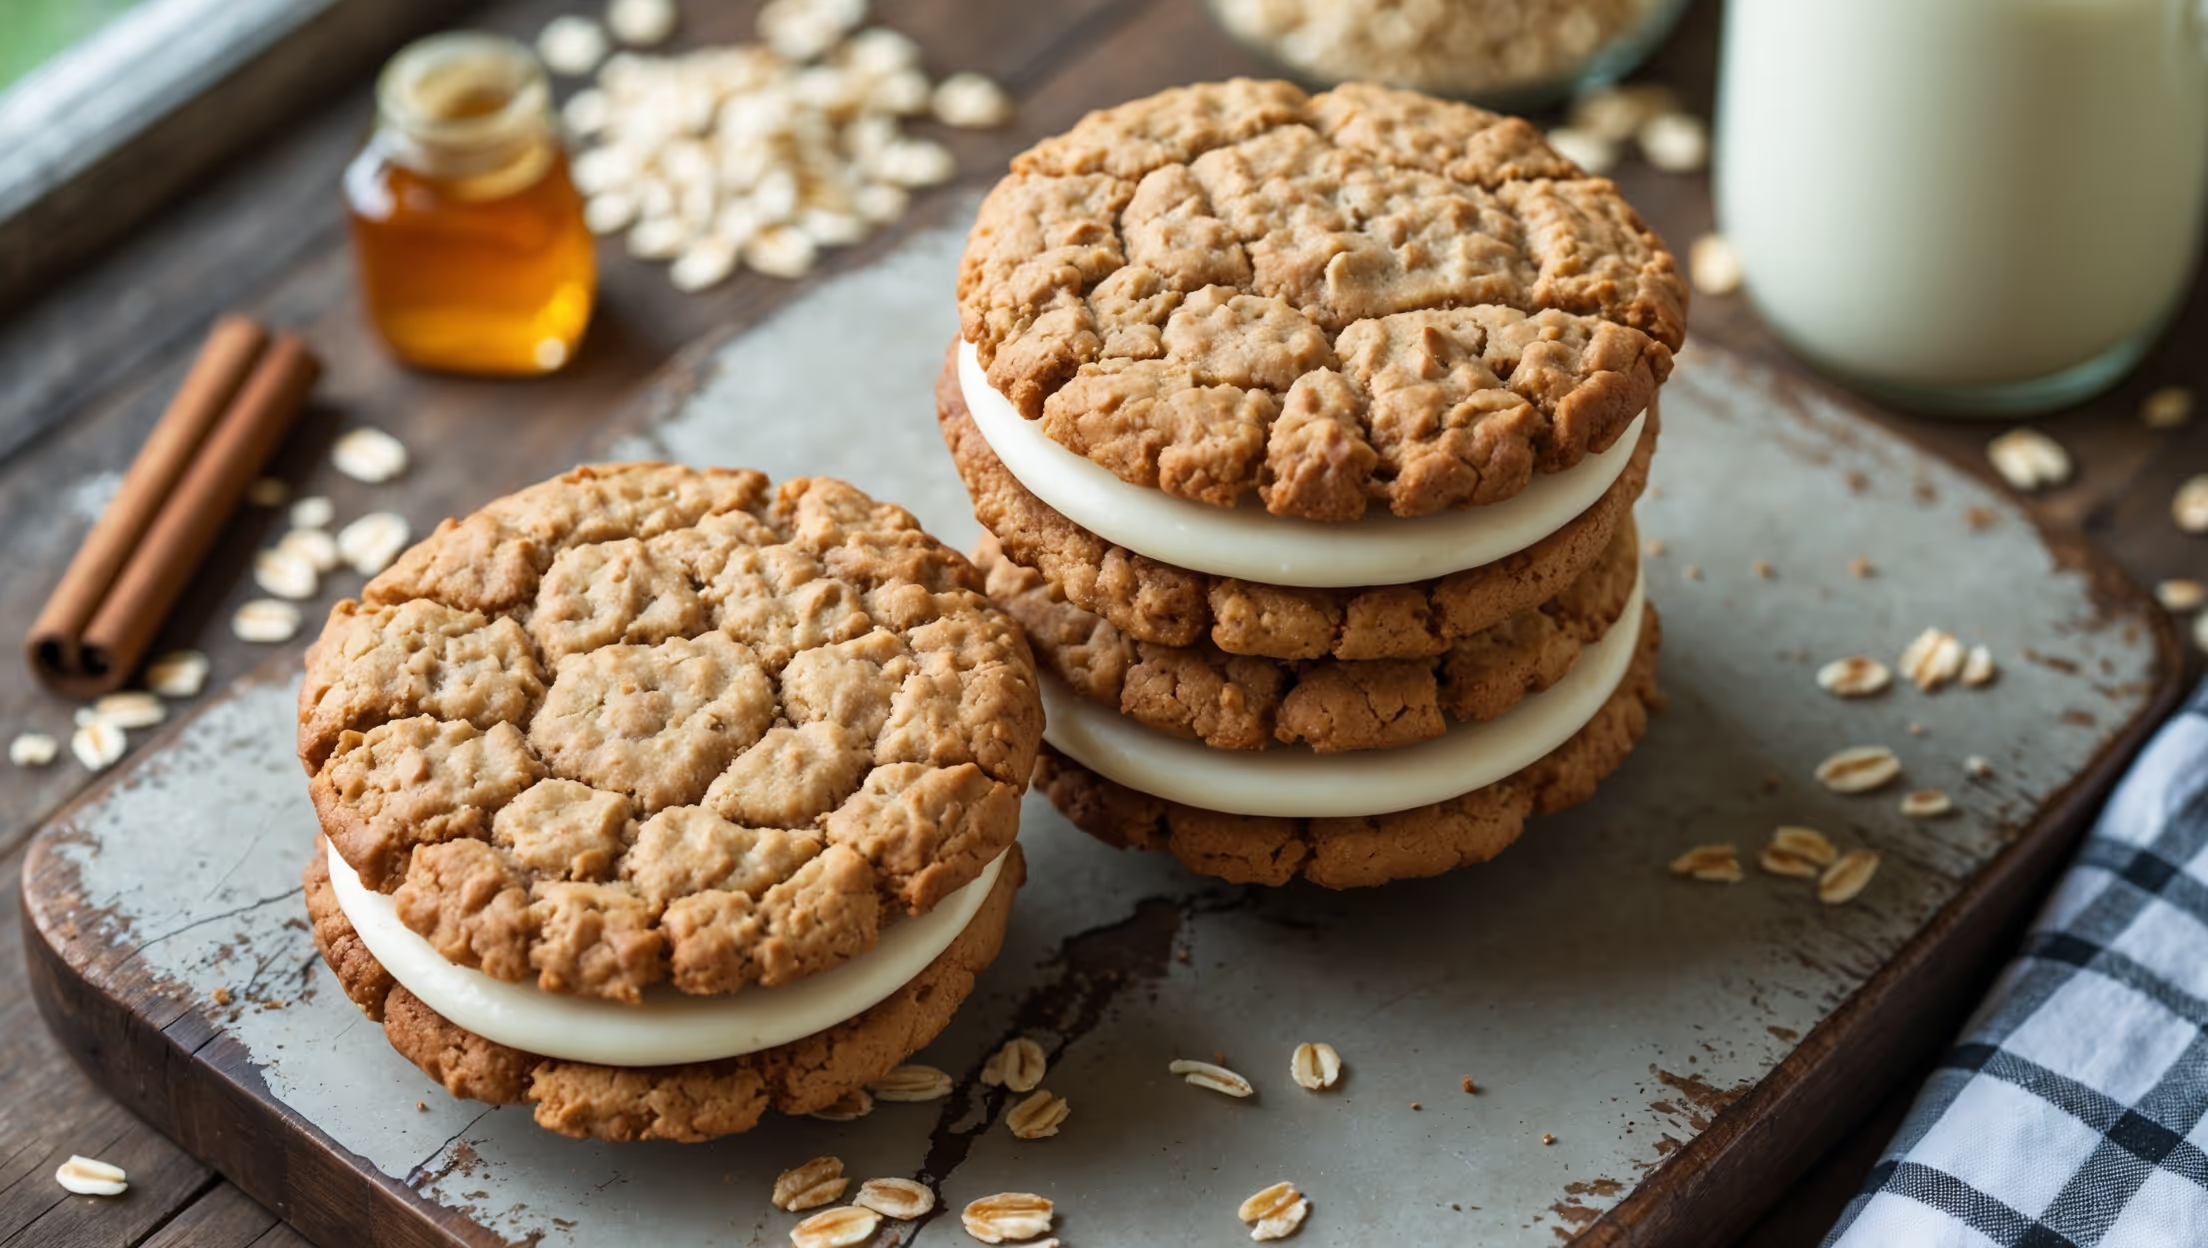
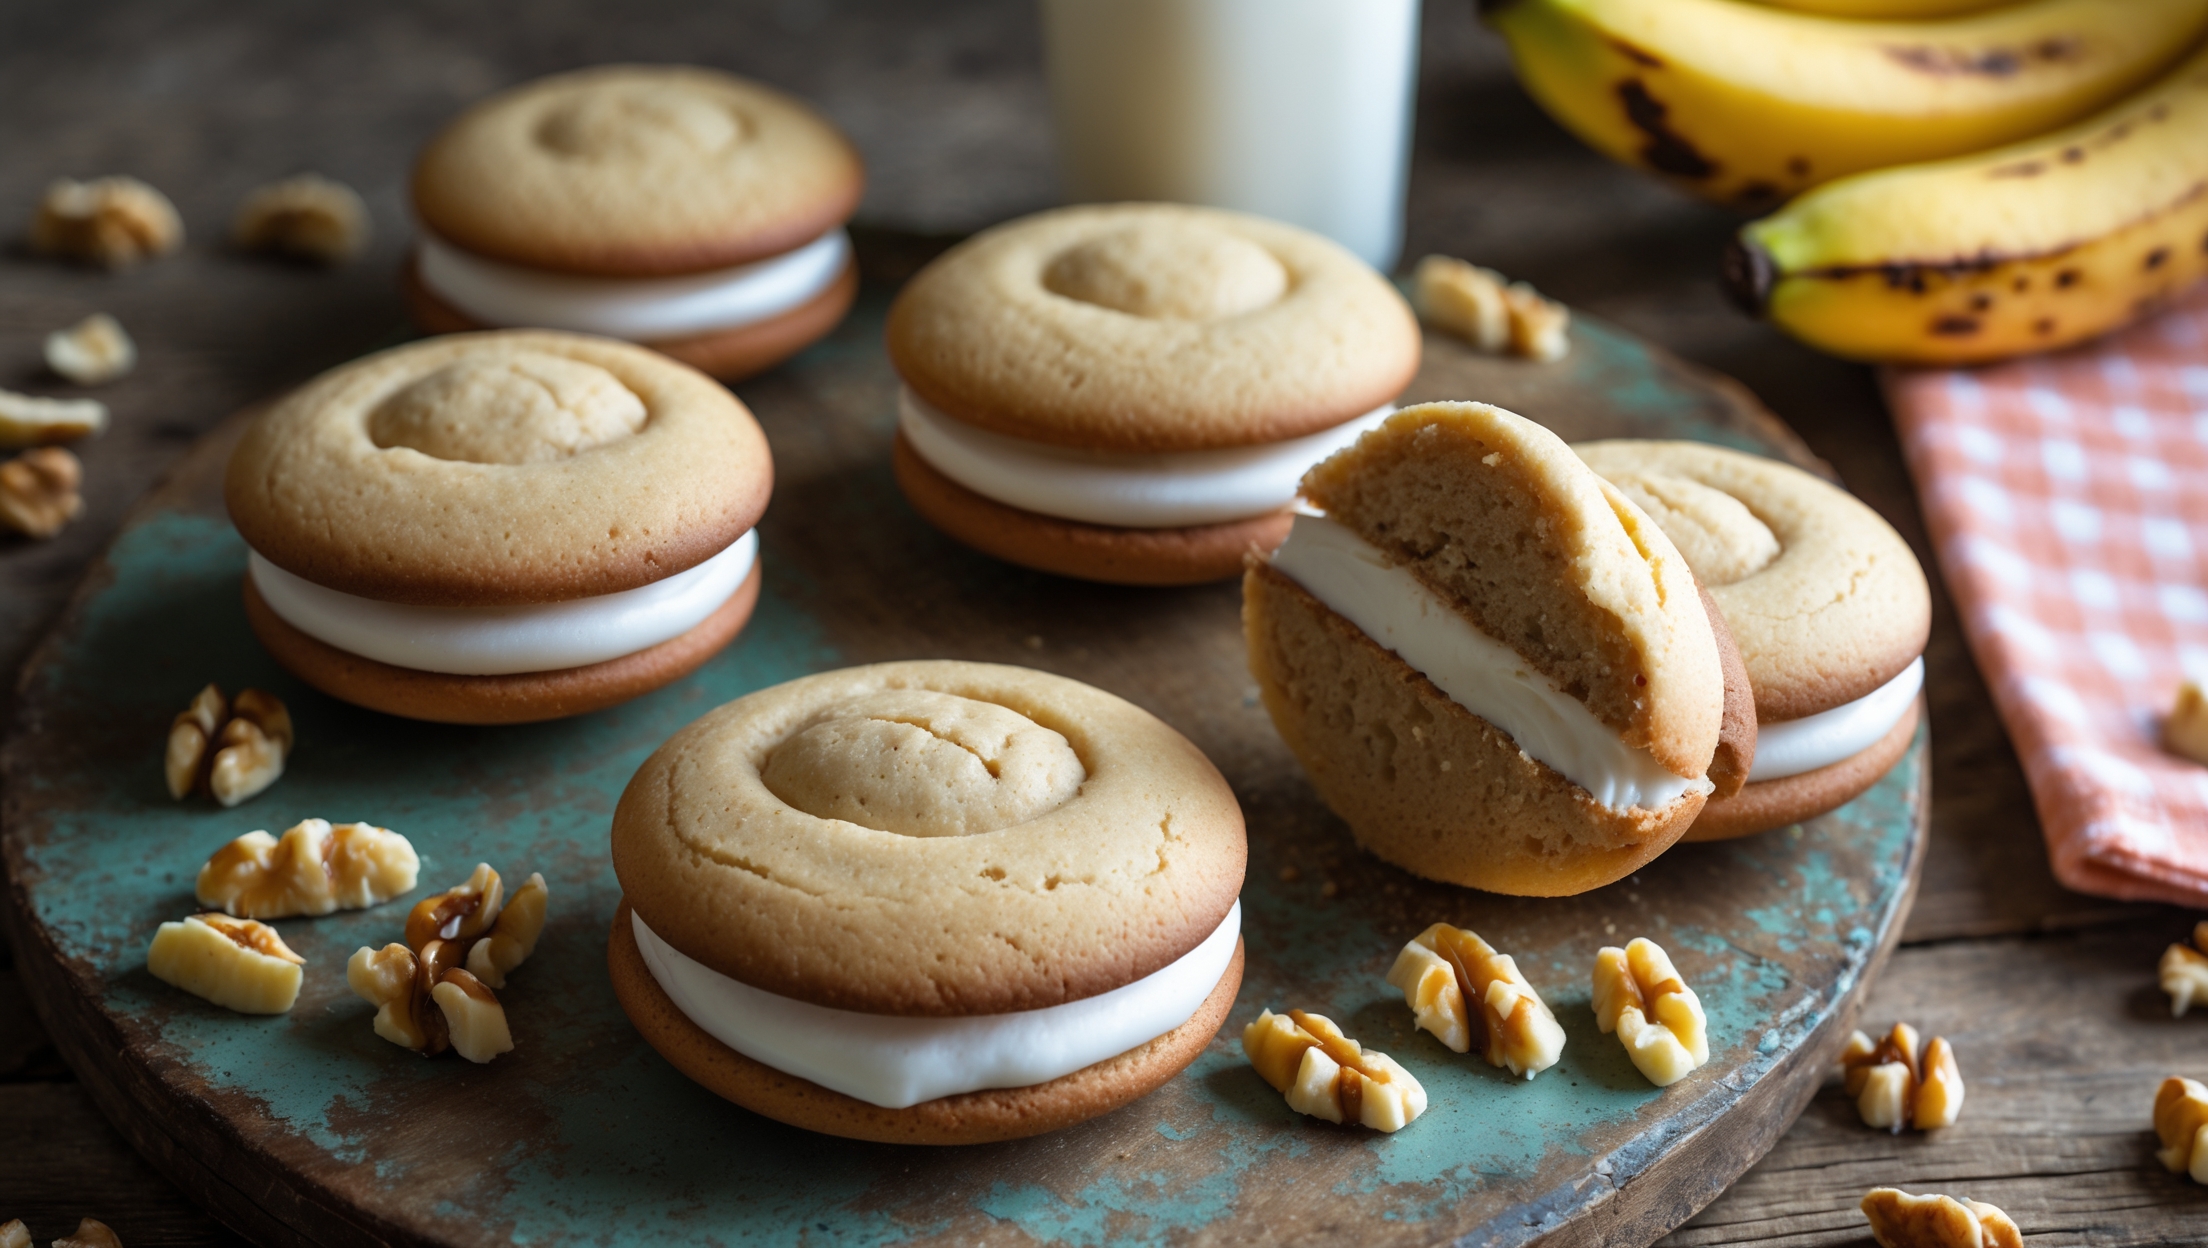
Directions
<ol class="no-list-style"><li class="MethodStepper"><h4 class="step-title">Step 1</h4>Preheat your oven to 180°C. Spread the rolled oats on a baking sheet and toast them for 8-10 minutes until they smell nutty and have deepened slightly in color. This toasting process develops the oats' natural flavors and creates a more complex taste in the final cookies. Allow to cool completely before proceeding.</li><li class="MethodStepper"><h4 class="step-title">Step 2</h4>In a medium bowl, whisk together the cooled toasted oats, flour, baking soda, salt, cinnamon, and nutmeg until well combined. Setting these dry ingredients aside allows you to focus on creating a properly aerated butter-sugar base.</li><li class="MethodStepper"><h4 class="step-title">Step 3</h4>In a large bowl or stand mixer, cream together the softened butter, brown sugar, and granulated sugar on medium-high speed for 3-4 minutes until light and fluffy. This extended creaming time incorporates air into the mixture, which helps create a tender cookie with the perfect chewy texture.</li><li class="MethodStepper"><h4 class="step-title">Step 4</h4>Add the eggs one at a time, beating well after each addition. Then mix in the vanilla extract. Scrape down the sides of the bowl to ensure everything is evenly incorporated - this attention to detail prevents pockets of unmixed ingredients that could affect your cookies' texture.</li><li class="MethodStepper"><h4 class="step-title">Step 5</h4>Gradually add the dry ingredients to the wet ingredients on low speed, mixing just until combined. Overmixing at this stage will develop too much gluten, resulting in tough cookies, so stop as soon as no dry flour is visible.</li><li class="MethodStepper"><h4 class="step-title">Step 6</h4>Cover the dough and refrigerate for at least 30 minutes. This chilling time allows the fats to solidify and the flour to fully hydrate, which prevents excessive spreading during baking and intensifies the flavors as they meld together.</li><li class="MethodStepper"><h4 class="step-title">Step 7</h4>Line baking sheets with parchment paper. Using a cookie scoop or tablespoon, portion the chilled dough into balls about 1 tablespoon in size. Place them on the prepared baking sheets, leaving about 5cm between each cookie to allow for spreading.</li><li class="MethodStepper"><h4 class="step-title">Step 8</h4>Bake for 10-12 minutes until the edges are set and lightly golden but the centers still look slightly underdone. This creates that perfect balance between crisp edges and chewy centers. Let the cookies cool on the baking sheet for 5 minutes before transferring to a wire rack to cool completely.</li><li class="MethodStepper"><h4 class="step-title">Step 9</h4>While the cookies cool, prepare the filling. In a clean bowl, beat together the softened cream cheese and butter until smooth and fluffy. Add the icing sugar in batches, mixing on low speed initially to prevent a sugar cloud, then increasing to medium-high to achieve a light, airy texture. Mix in the vanilla extract and salt.</li><li class="MethodStepper"><h4 class="step-title">Step 10</h4>Once the cookies are completely cool, match them into pairs of similar size. Spread or pipe about 1-2 tablespoons of filling onto the flat side of one cookie, then gently press the flat side of the matching cookie on top to create a sandwich. Apply gentle pressure to spread the filling to the edges without squeezing it out.</li><li class="MethodStepper"><h4 class="step-title">Step 11</h4>For the best flavor, refrigerate the assembled sandwich cookies for about 30 minutes to allow the filling to set and the flavors to meld. Before serving, let them sit at room temperature for 10-15 minutes – this brings the filling to the perfect creamy consistency. Store any leftovers in an airtight container in the refrigerator for up to 5 days.</li></ol>