Nutter Butter Sandwich Cookies Recipe

Ingredients
Equipment
Directions
FAQs
Find answers to your most pressing questions about this delicious recipe right here.
Nutter Butter Sandwich Cookies require butter, peanut butter, granulated and brown sugar, egg, vanilla, flour, baking powder, baking soda, and salt for the cookies. The filling combines butter, peanut butter, icing sugar, vanilla, salt and milk if needed.
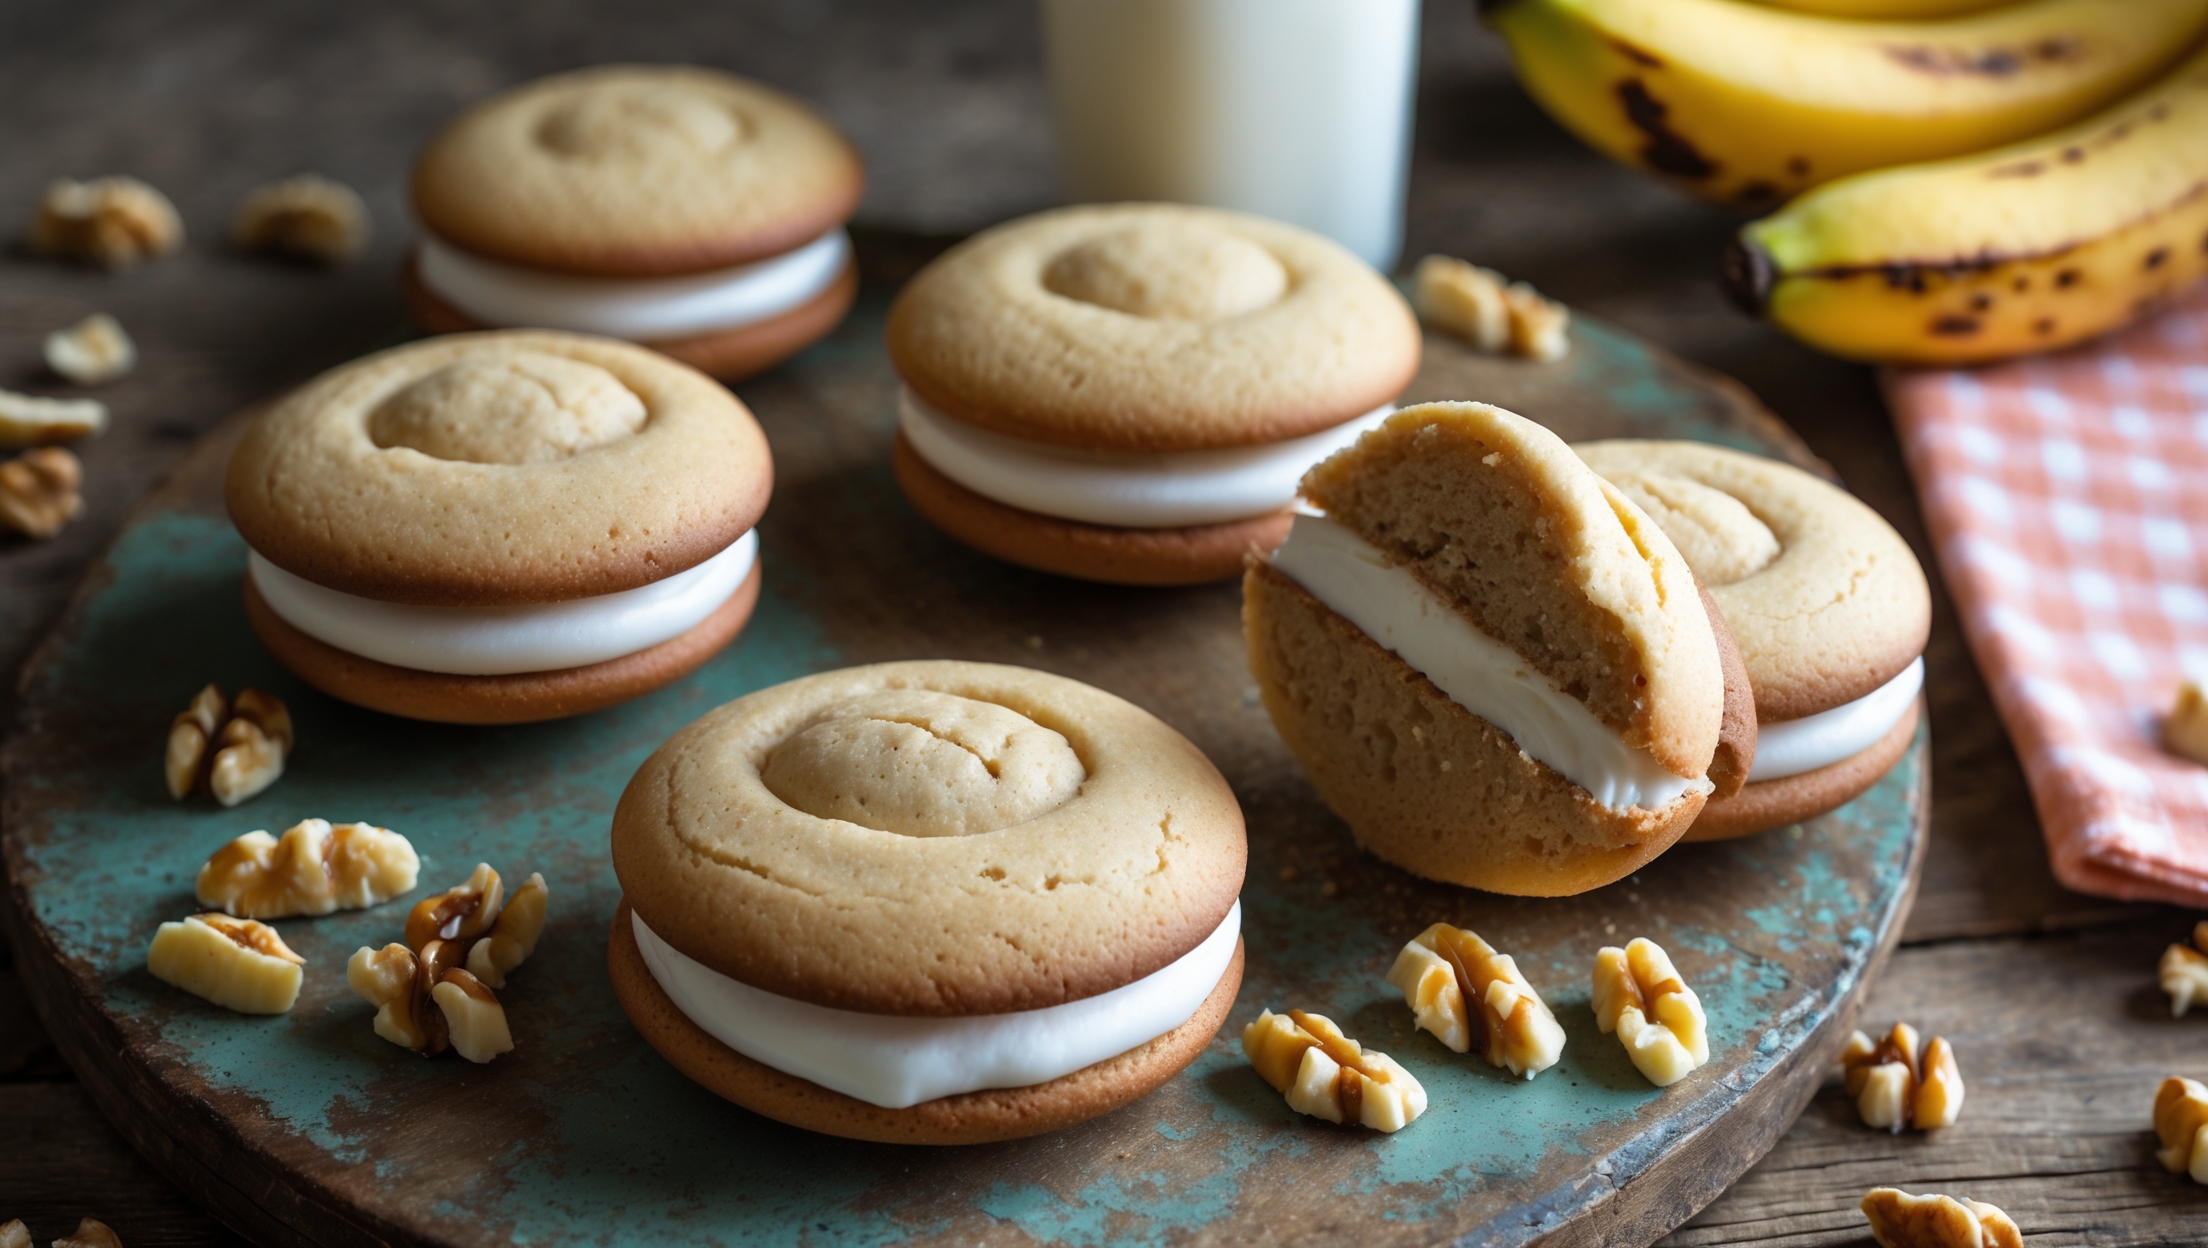
Learn how to cook Nutter Butter Sandwich Cookies by creaming butter with peanut butter and sugars, adding egg and vanilla, then incorporating dry ingredients. Shape the chilled dough into peanut forms, create a crosshatch pattern, and bake until golden. Once cooled, sandwich pairs with creamy peanut butter filling for a nostalgic treat better than store-bought.
Chilling the dough for at least 30 minutes firms up the butter, preventing excessive spreading during baking. It also makes the dough less sticky and easier to handle when creating the signature peanut shapes, resulting in cookies with better definition and texture.
While the recipe calls for smooth peanut butter, you can substitute crunchy peanut butter in the cookie dough for added texture. However, for the filling, smooth peanut butter works best to create that creamy centre that contrasts nicely with the crisp cookies.
Store these sandwich cookies in an airtight container at room temperature for up to 5 days. For longer storage, they freeze beautifully for up to 3 months. Let them rest for about 30 minutes after assembly to allow the filling to set, which creates the perfect texture contrast.
Sandwich Cookies
Try following recommended recipes