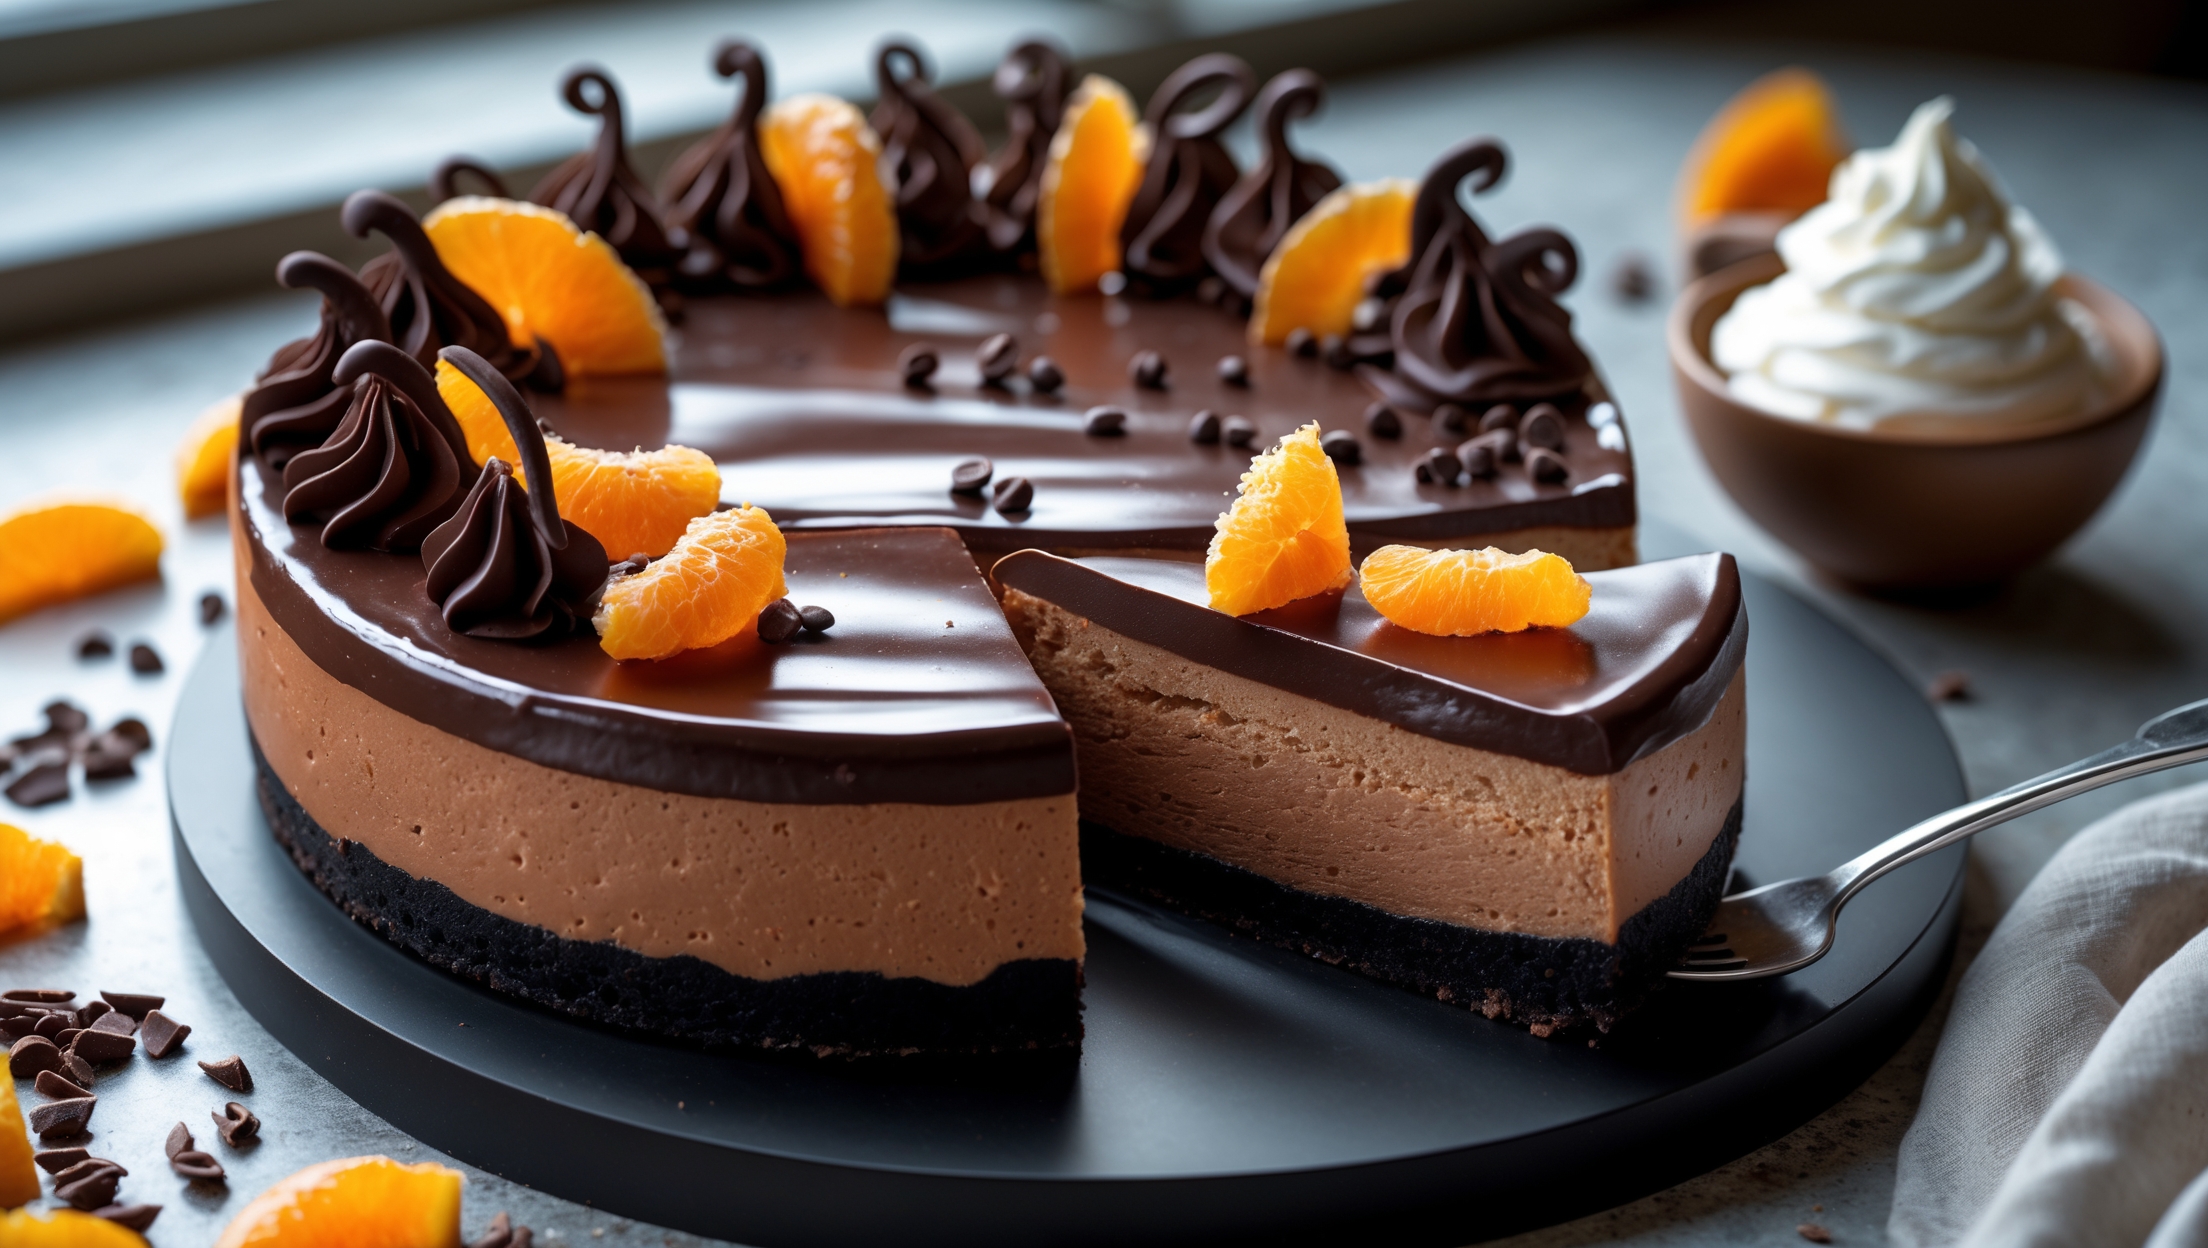
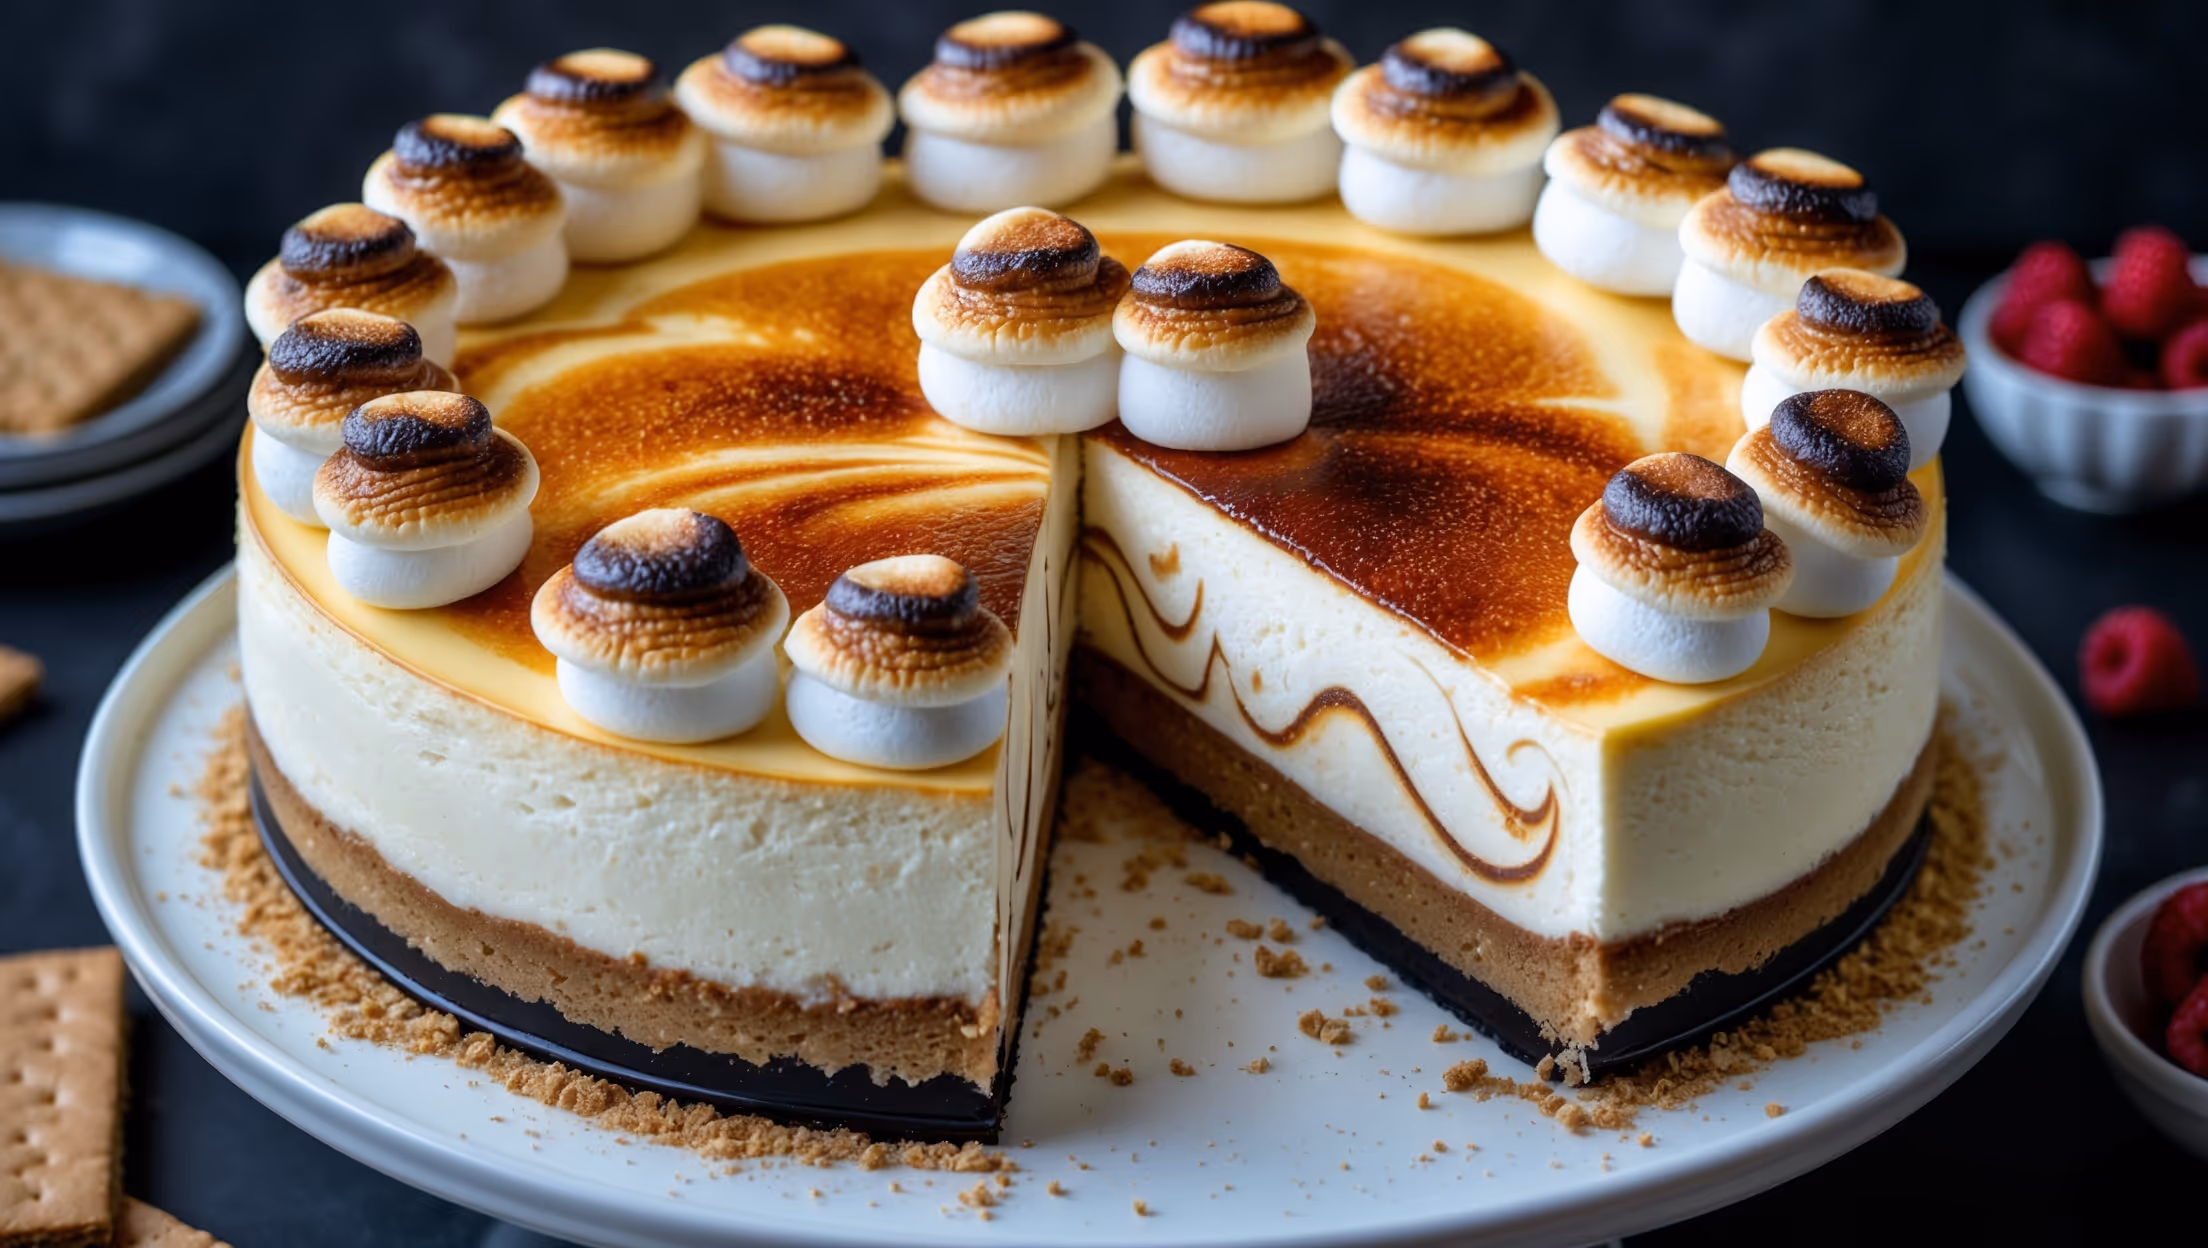
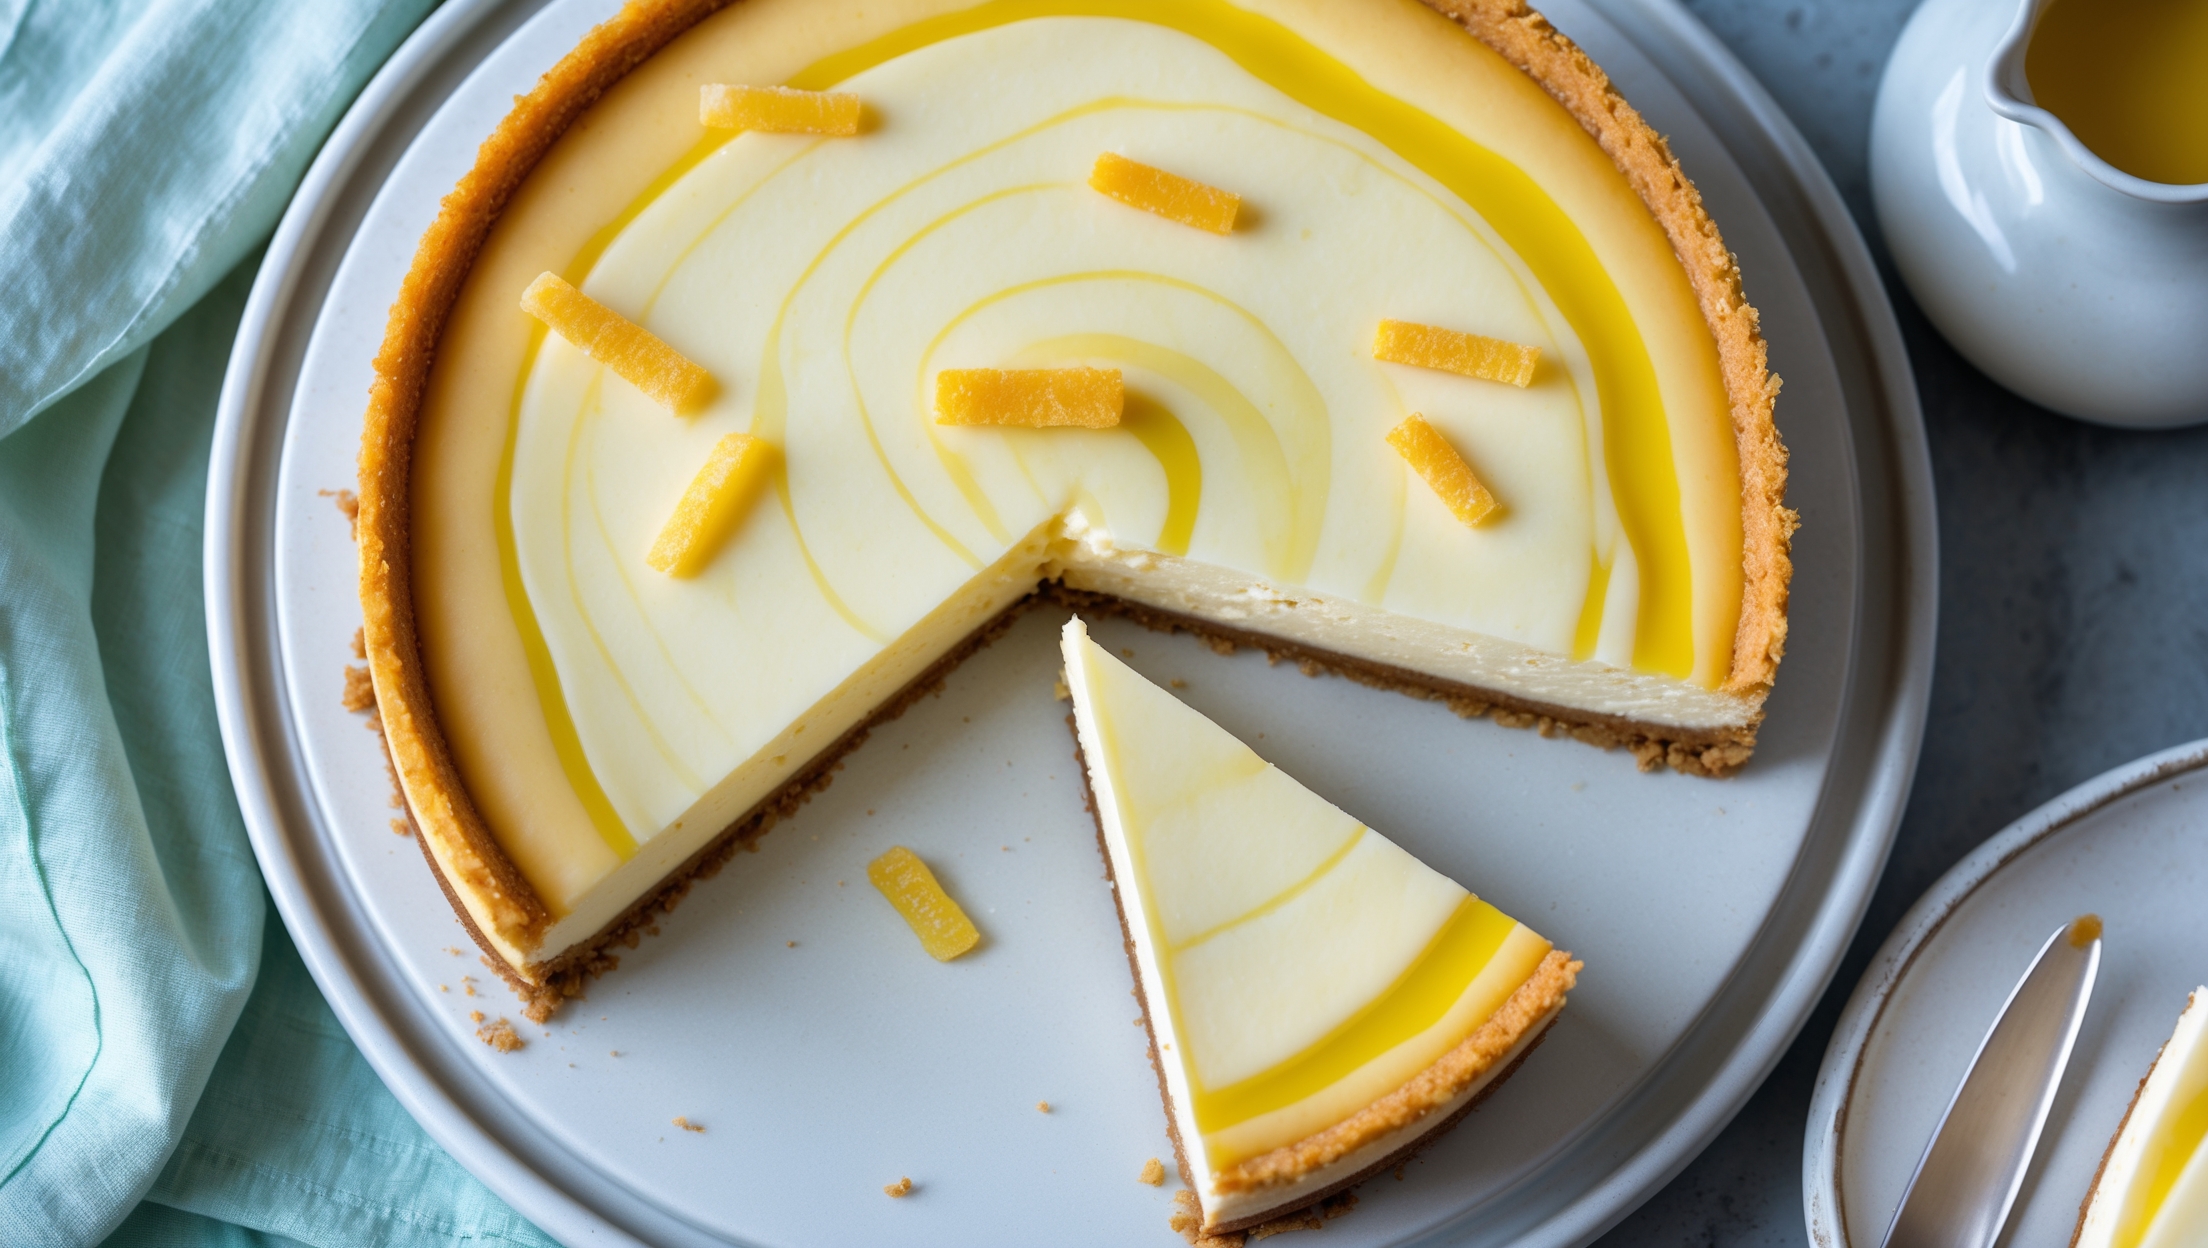
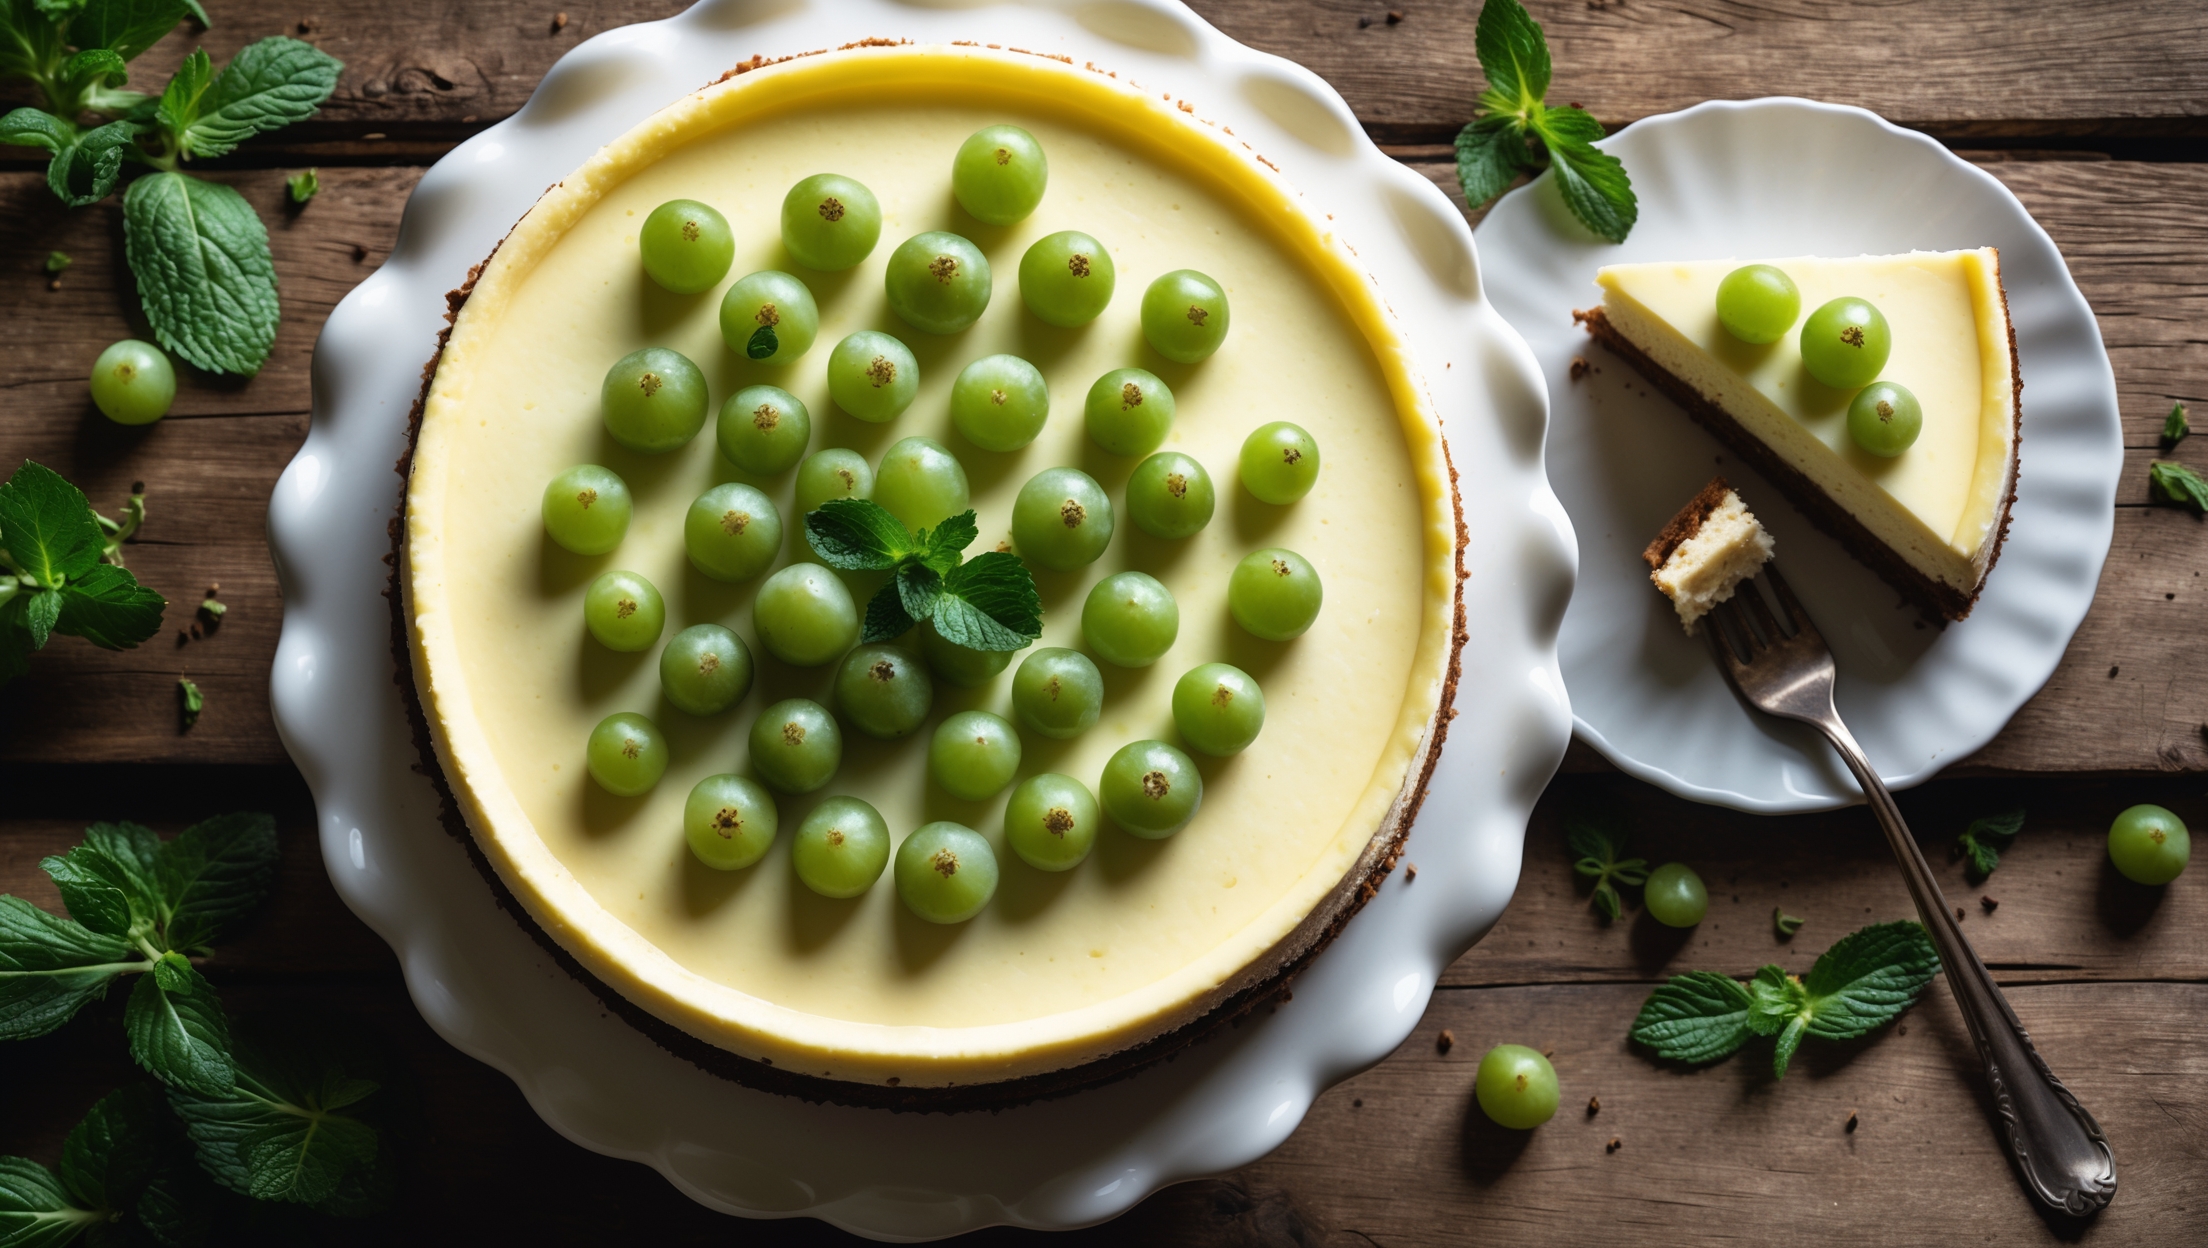
No-Bake Cheesecake Recipe
Ingredients
Equipment
Directions
FAQs
Find answers to your most pressing questions about this delicious recipe right here.
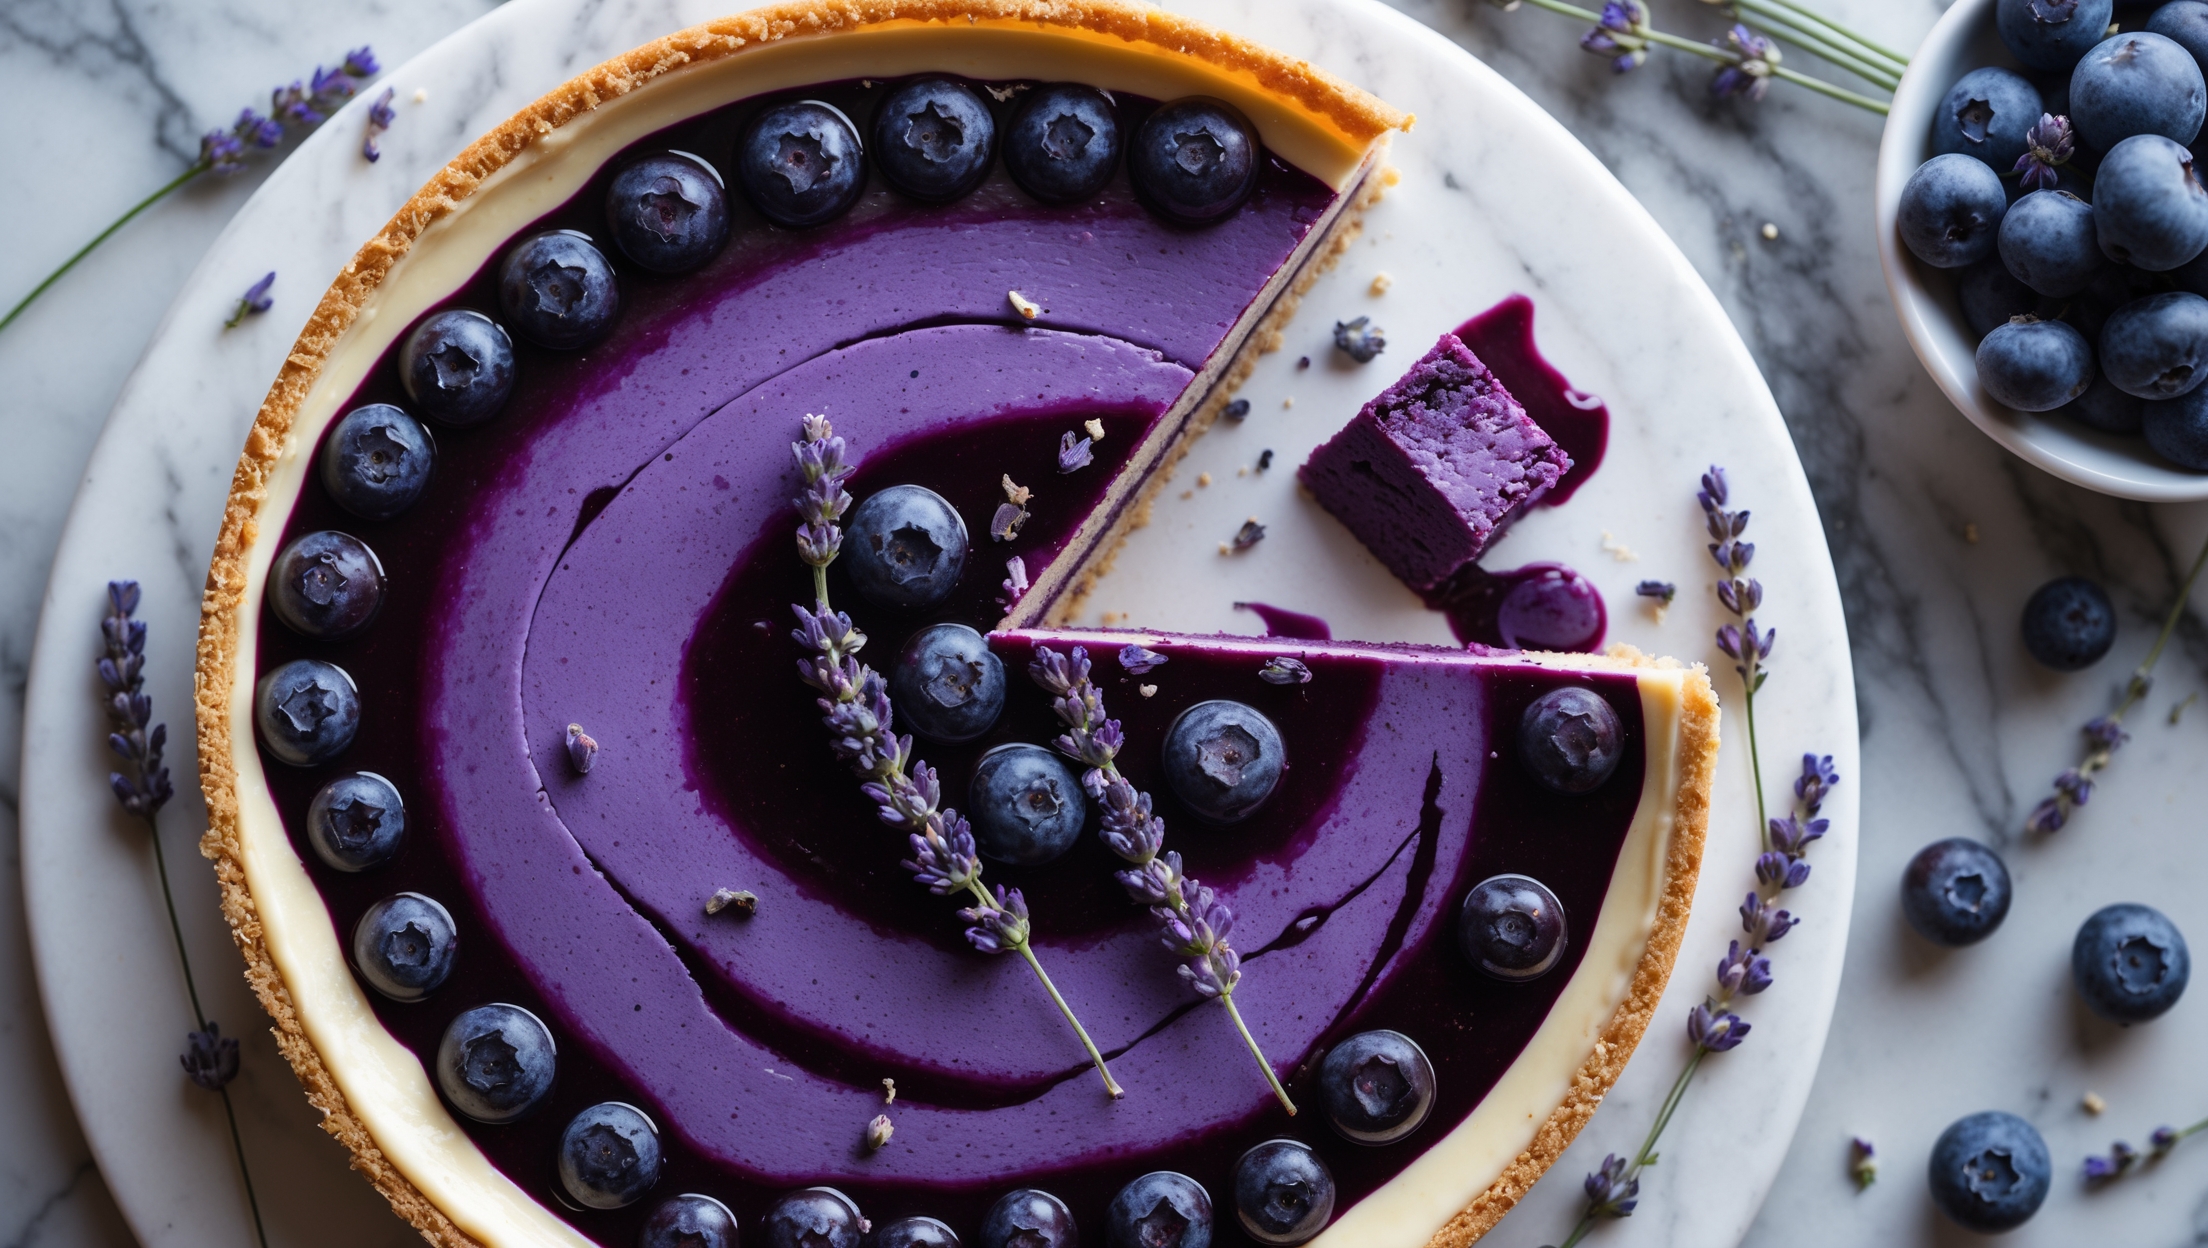
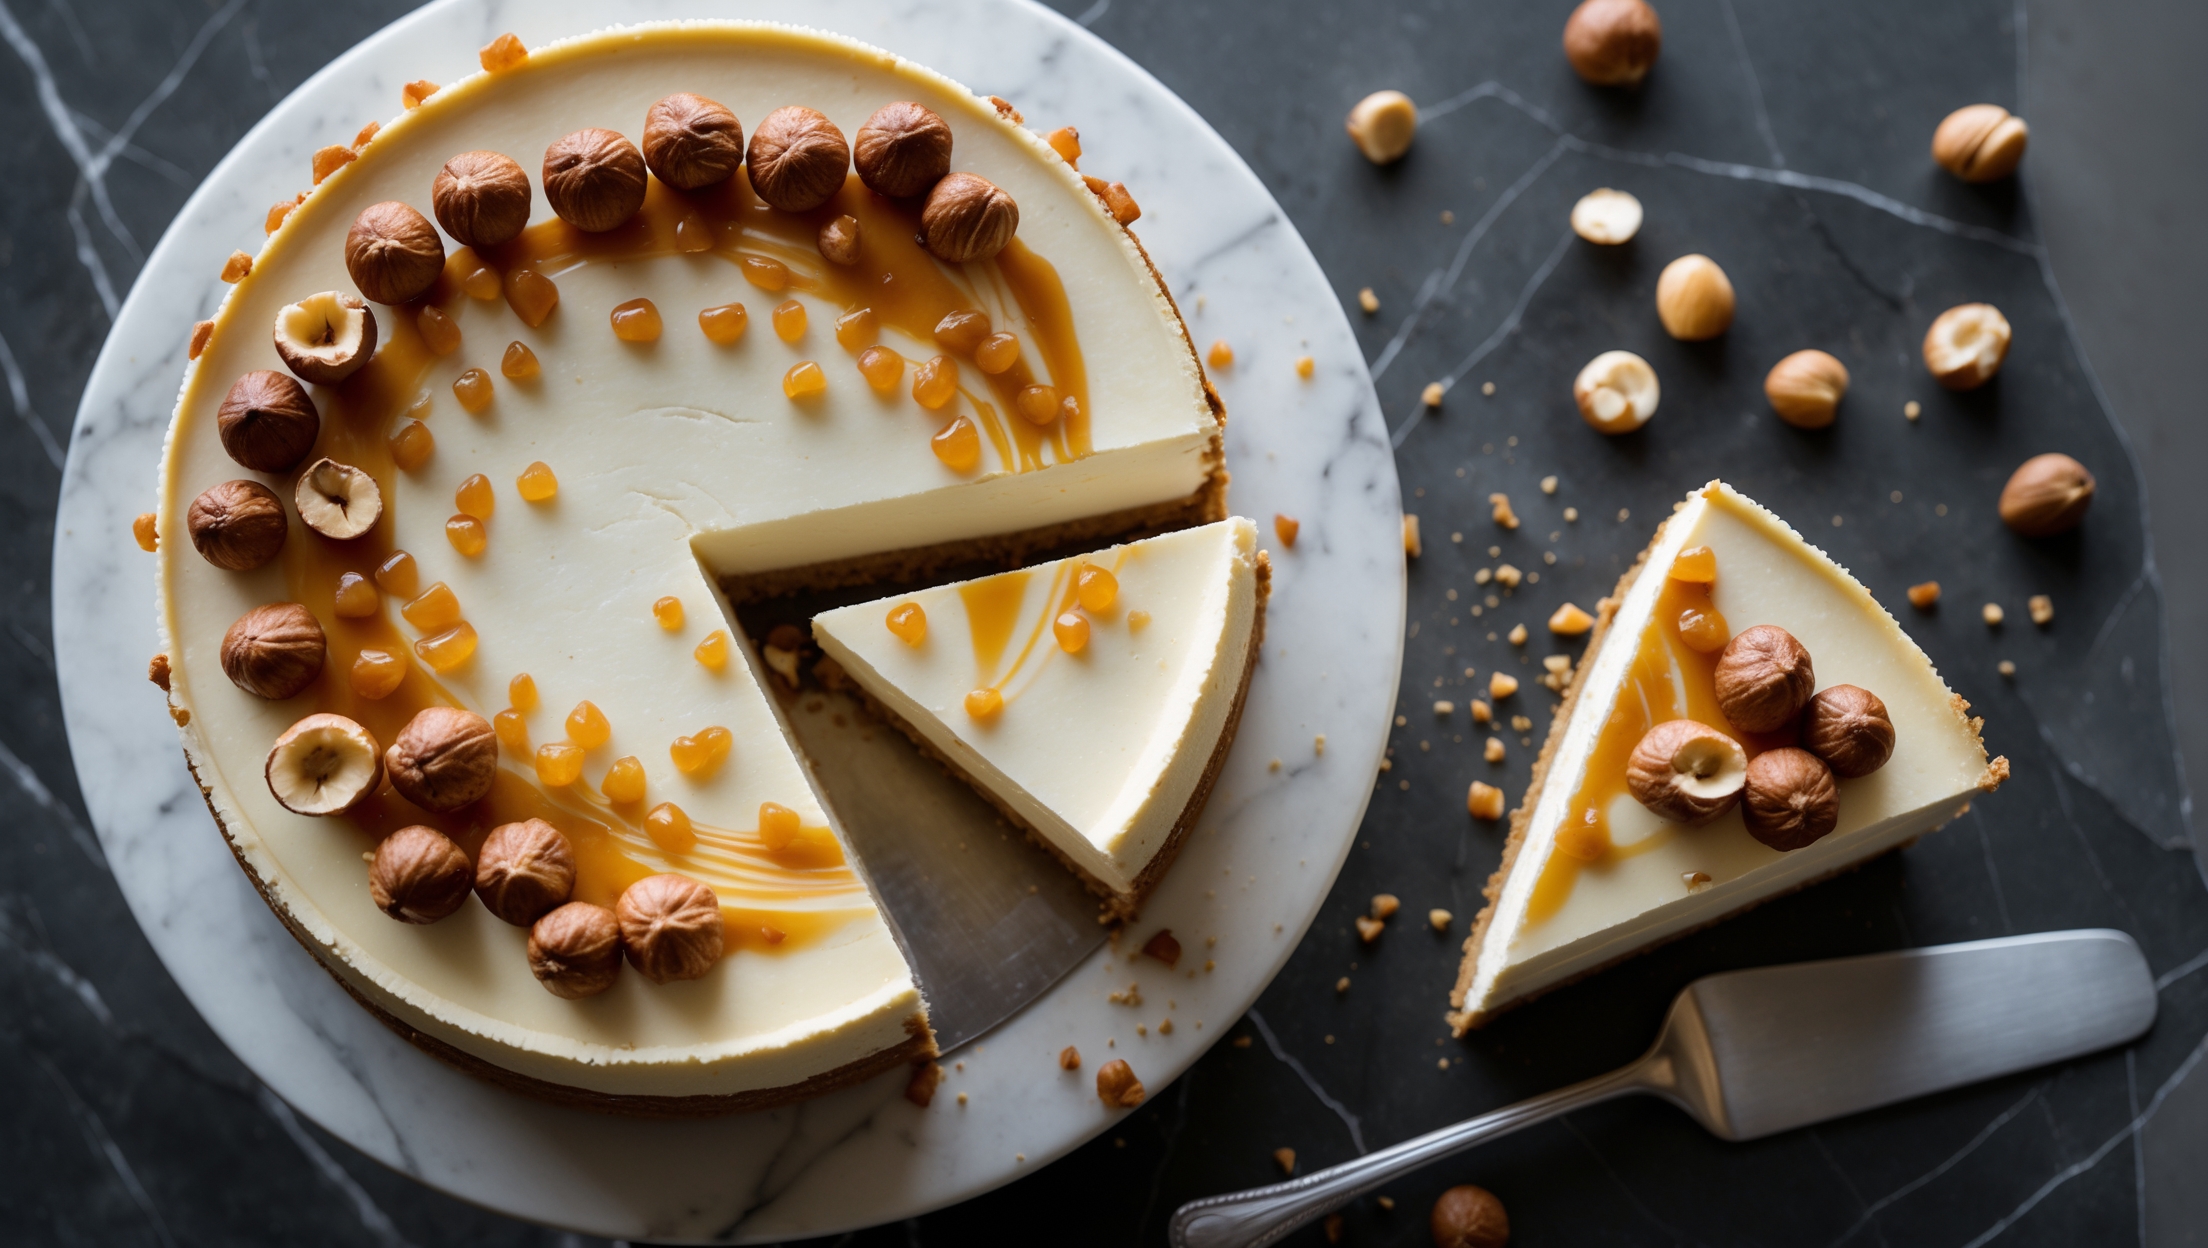
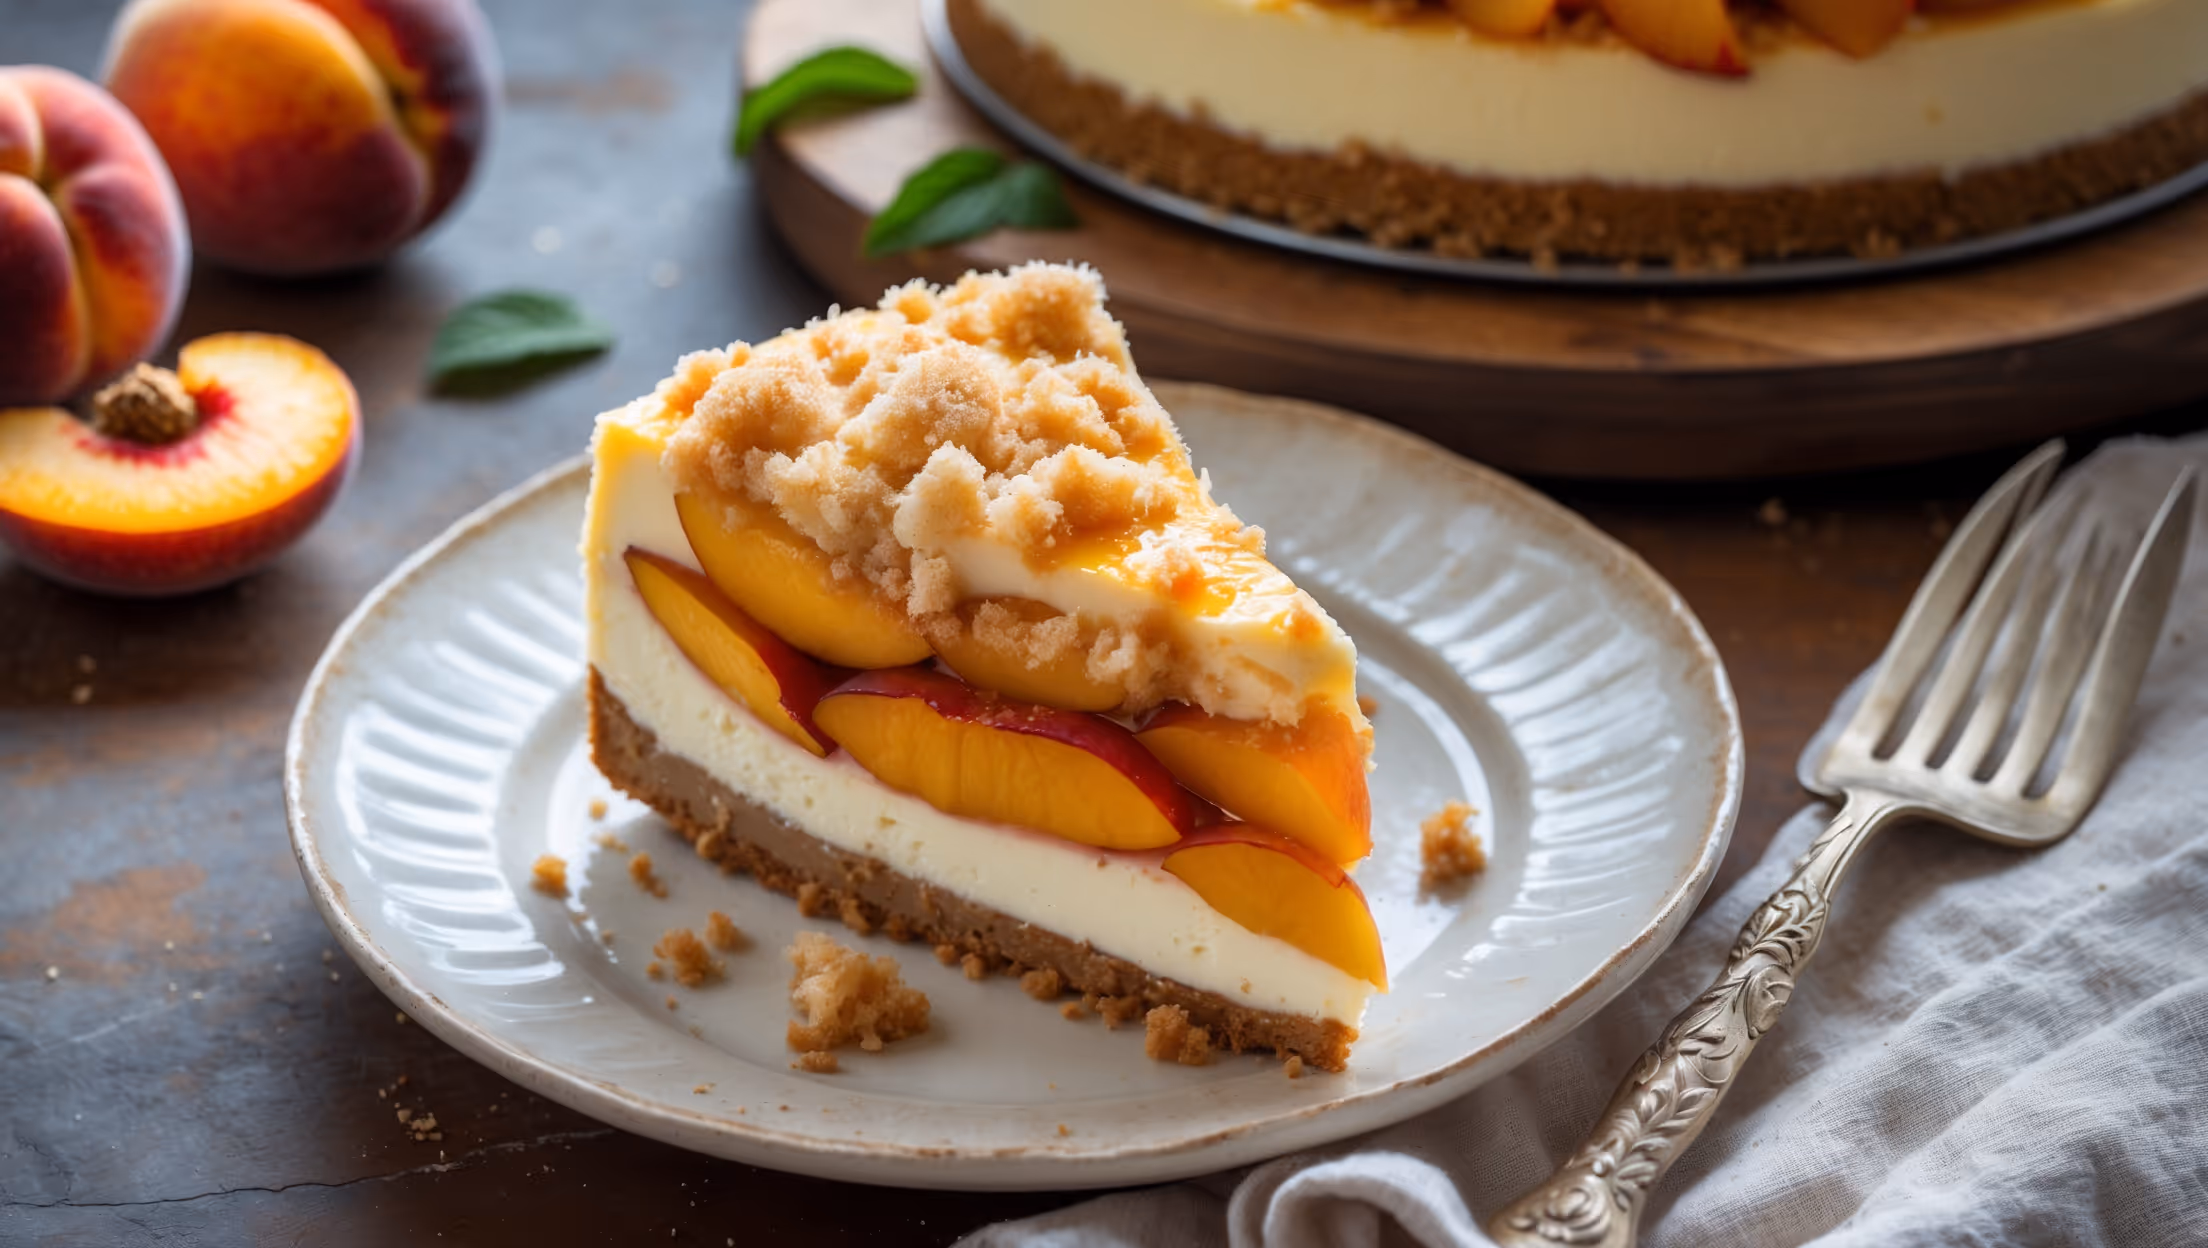
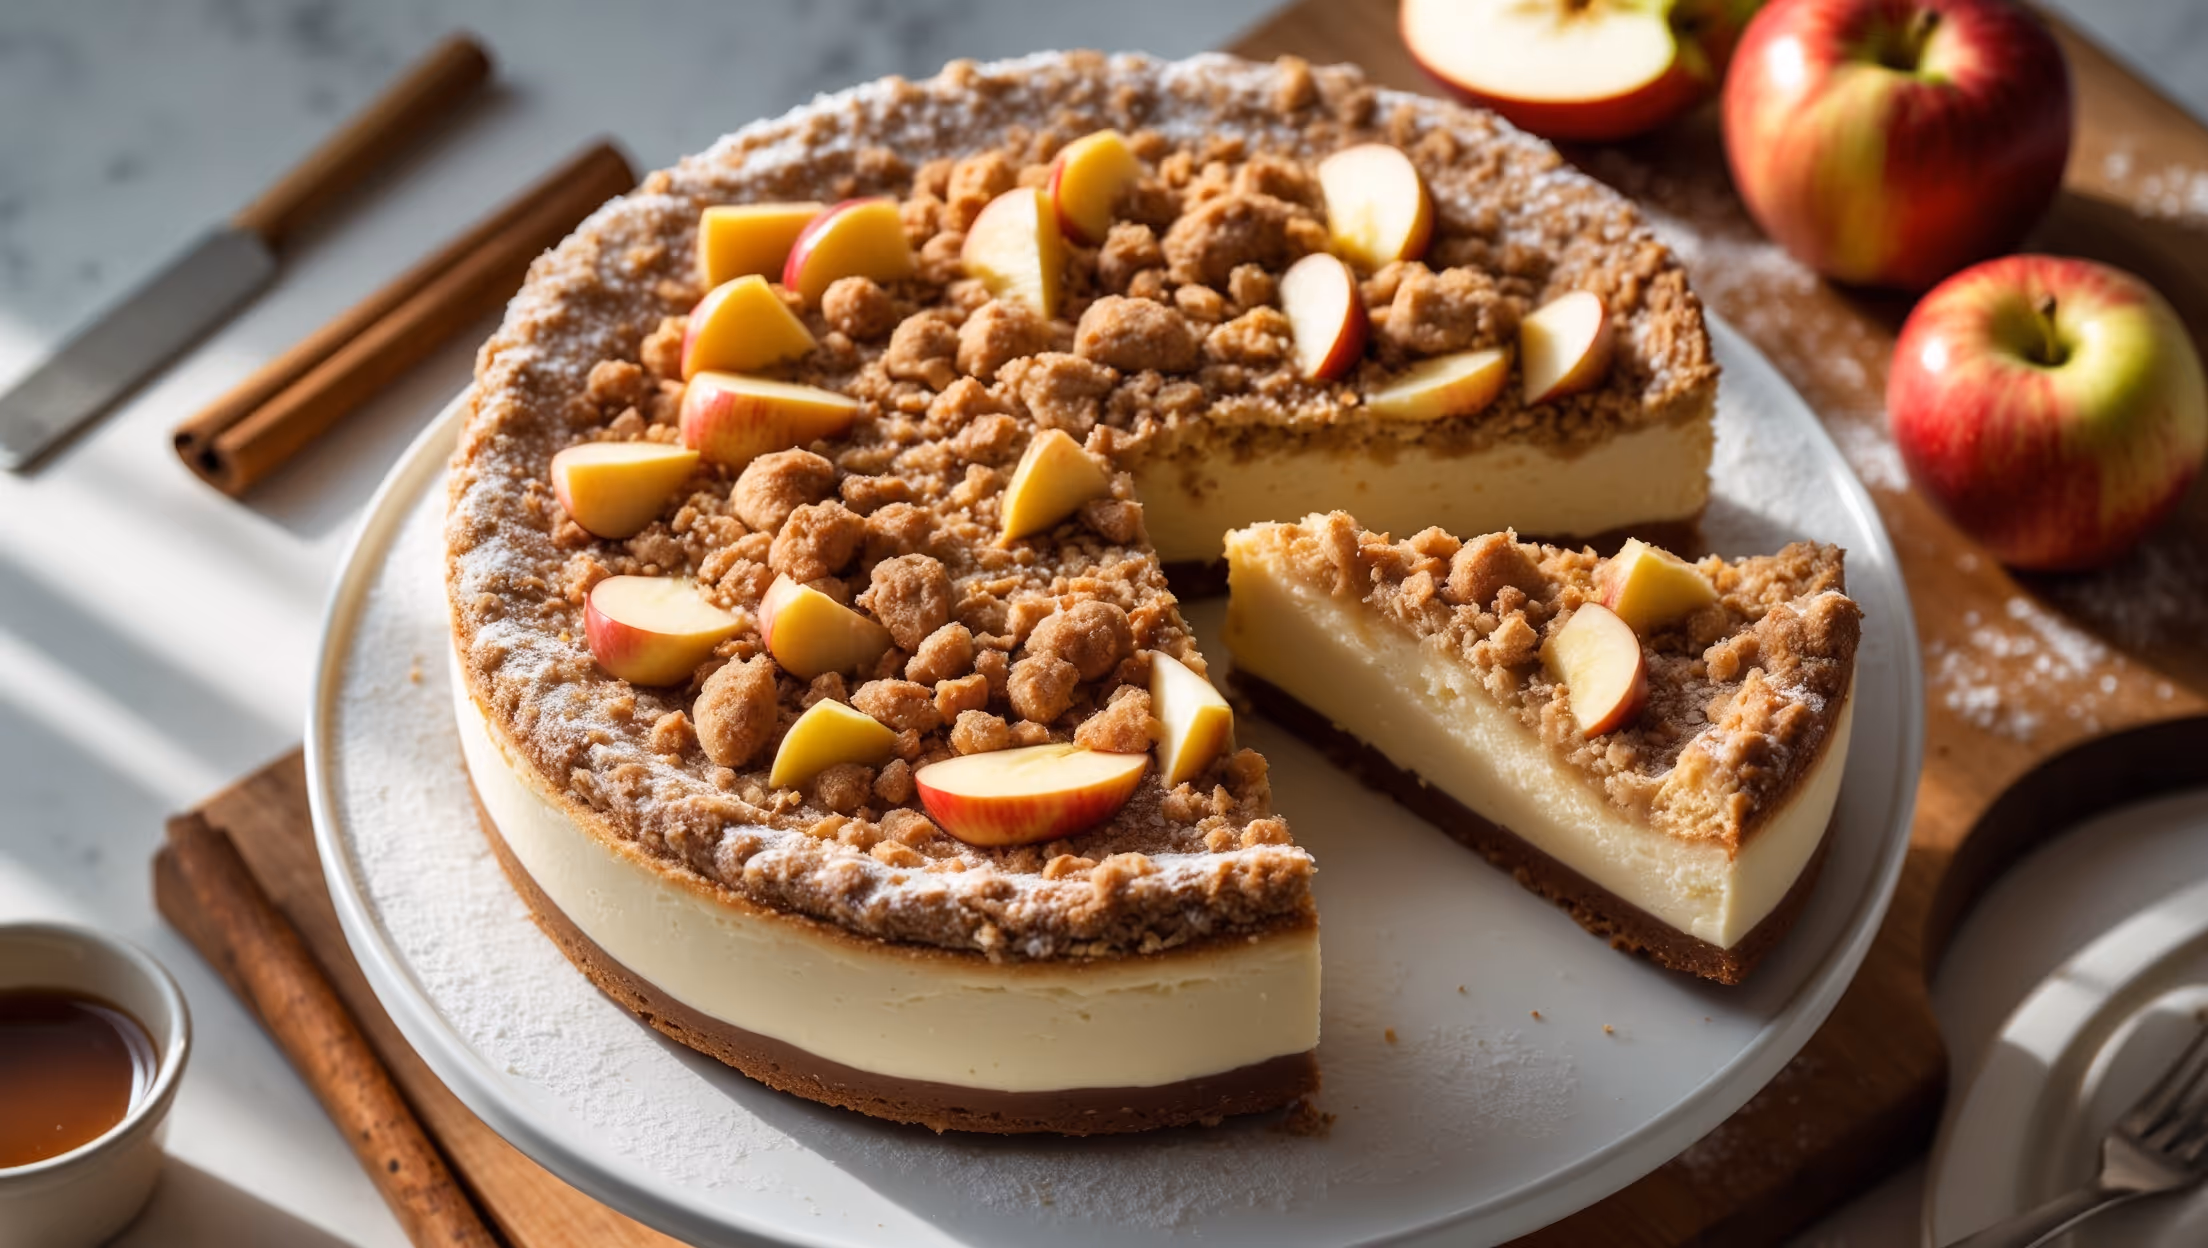
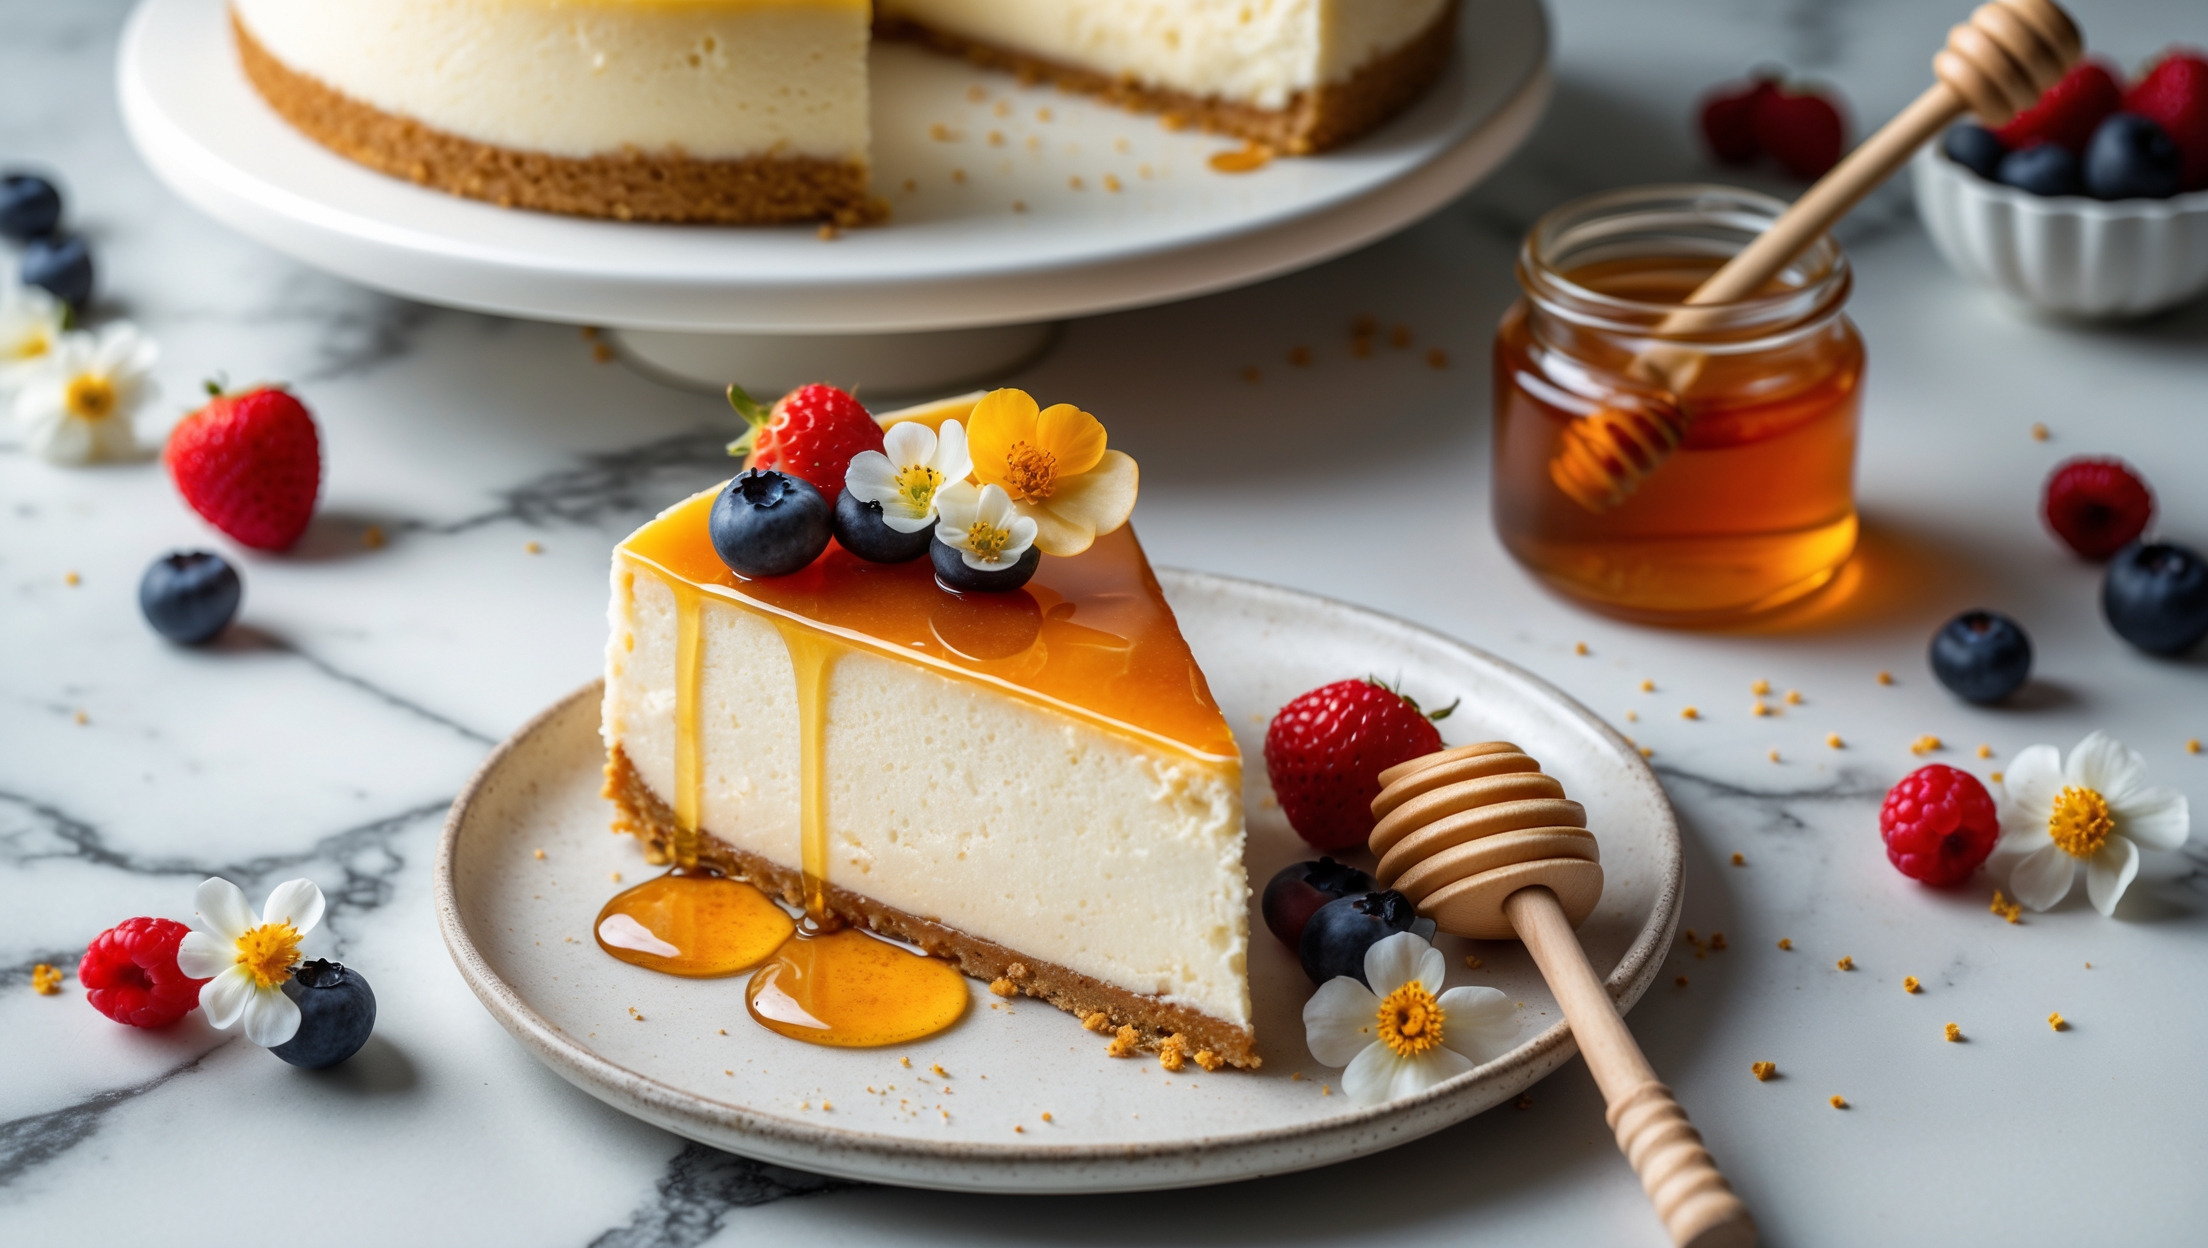
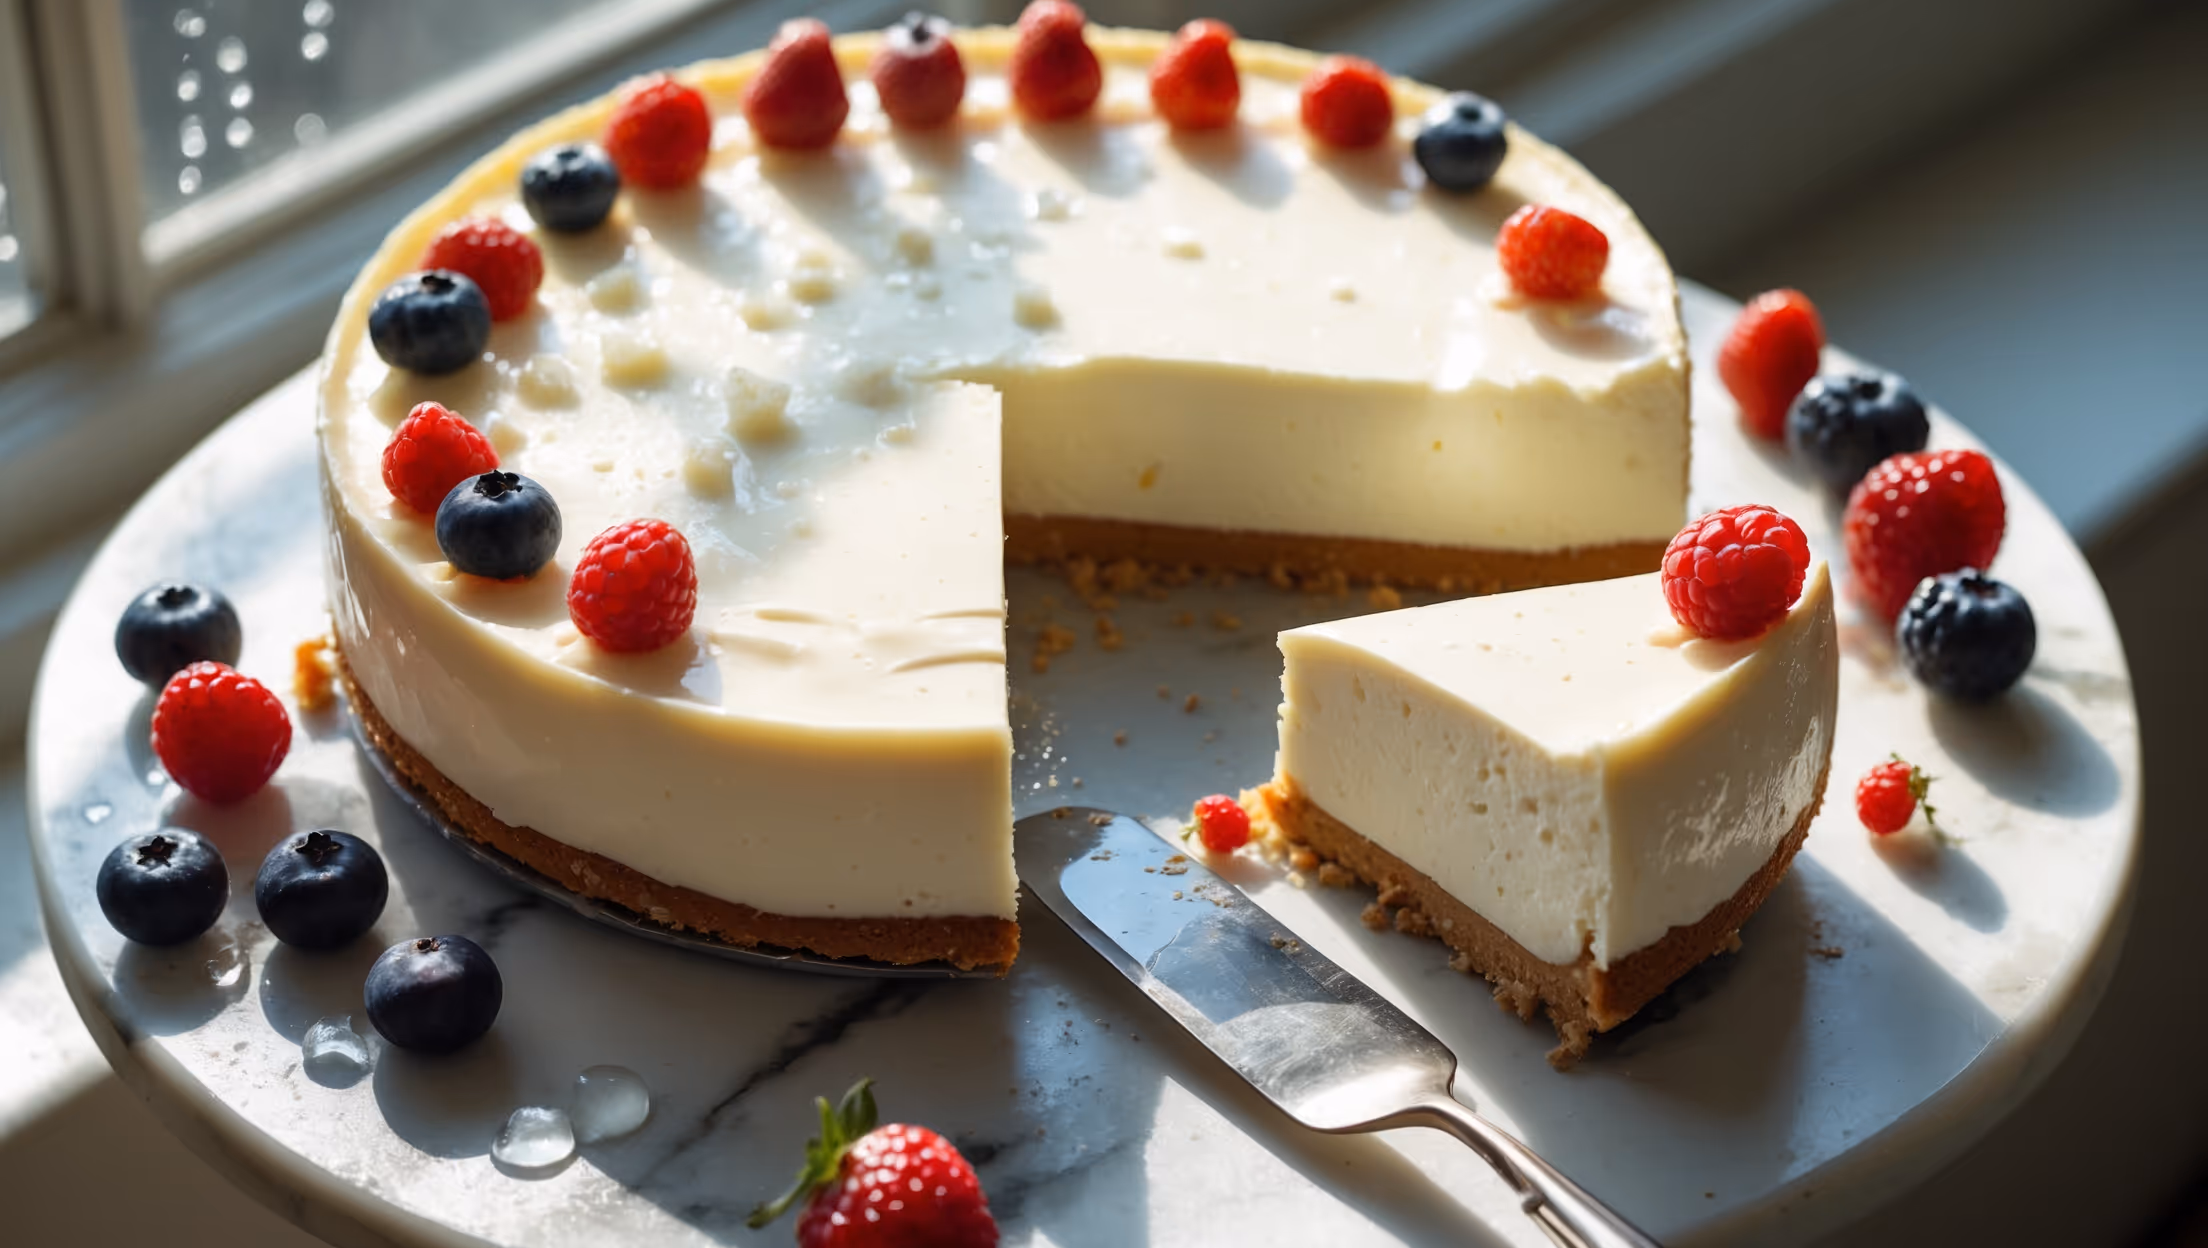
This no-bake cheesecake uses digestive biscuits, butter and sugar for the base. The filling contains cream cheese, icing sugar, vanilla, lemon zest and juice, and double cream. Optional toppings include fresh berries and berry jam for a glossy finish.
Learn how to cook No-Bake Cheesecake Recipe without turning on your oven! Simply crush biscuits and mix with melted butter for the base, then beat cream cheese with sugar, vanilla and lemon before folding in whipped cream. Pour the mixture onto the chilled base and refrigerate for at least 6 hours until set. Top with fresh berries for a stunning finish.
The most common reasons for a runny cheesecake are insufficient chilling time (minimum 6 hours, preferably overnight), overbeating the cream, or using low-fat cream cheese. Ensure you're using full-fat ingredients and that the cream is whipped to soft peaks before folding into the mixture.
Yes, you can use a loose-bottomed tin or line a regular cake tin with parchment paper that extends up the sides as "handles" to lift the cheesecake out. For individual portions, try using small glasses or ramekins for stunning single-serve desserts.
A properly stored no-bake cheesecake will last 3-4 days in the refrigerator. Keep it covered to prevent it from absorbing other food odours. For longer storage, you can freeze it (without fruit toppings) for up to a month – simply thaw in the refrigerator overnight before serving.
Cheesecakes
Try following recommended recipes