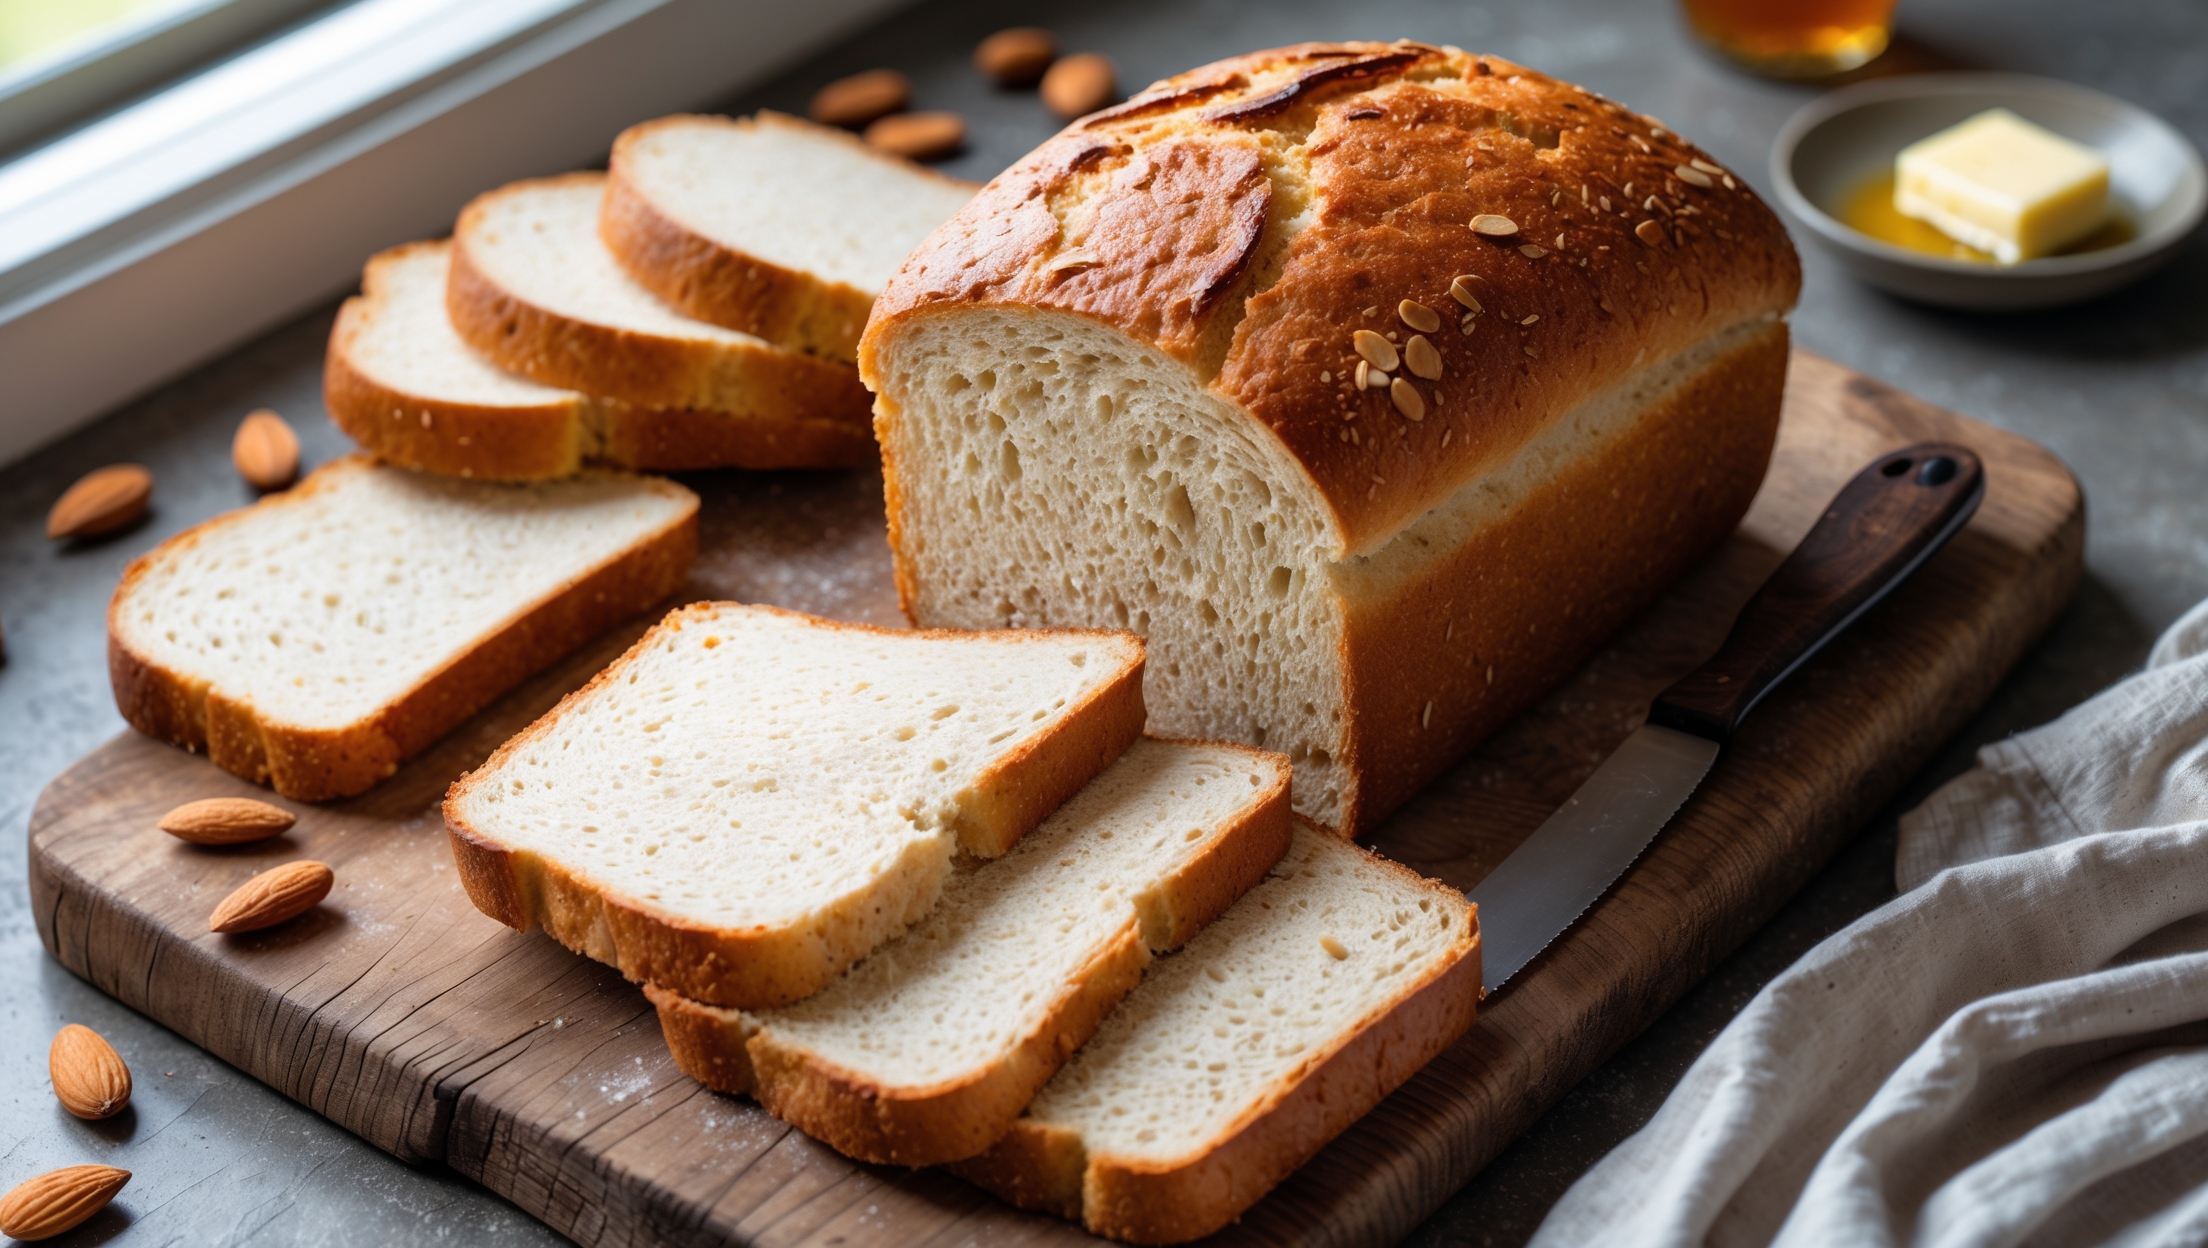
Multi-Seed Sandwich Bread Recipe

Ingredients
Equipment
Directions
FAQs
Find answers to your most pressing questions about this delicious recipe right here.
This nutritious bread combines strong bread flour, salt, yeast, butter, water, and honey for the base dough, enriched with sunflower seeds, pumpkin seeds, sesame seeds, flaxseeds, and poppy seeds throughout, plus an egg wash and extra seeds for topping.
Learn how to cook Multi-Seed Sandwich Bread by first creating a soft, elastic dough incorporating a blend of nutritious seeds, shaping it carefully into a loaf tin, and baking at the right temperature for the perfect rise and golden crust. The key techniques include proper kneading, allowing sufficient rising time, and cooling completely before slicing.
Allowing bread to cool completely (at least 2 hours) is crucial as it completes the cooking process internally and allows the crumb structure to set properly. Cutting too soon results in a gummy texture, compressed slices, and moisture loss that shortens shelf life.
Yes, you can substitute up to 50% of the strong white bread flour with wholemeal flour for extra nutrition. Be aware this will make the bread slightly denser, so you may need to add 1-2 tablespoons more water as wholemeal flour absorbs more moisture.
Store homemade seeded bread in an airtight container or bread bag at room temperature for up to 3 days. For longer storage, slice completely cooled bread and freeze with parchment paper between slices. Toast frozen slices directly from the freezer as needed.
Sandwich Bread
Try following recommended recipes