Mint Sandwich Cookies Recipe

Learn how to make the best homemade mint sandwich cookies with this easy baking recipe! Buttery chocolate cookies sandwiching a perfectly smooth, refreshing mint filling create an irresistible treat that's better than store-bought. Master the simple technique for professional-looking sandwich cookies that impress every time.
Difficulty:
Intermediate
Prep Time:
30 mins
Cook Time:
12 mins
Serves:
18 sandwich cookies
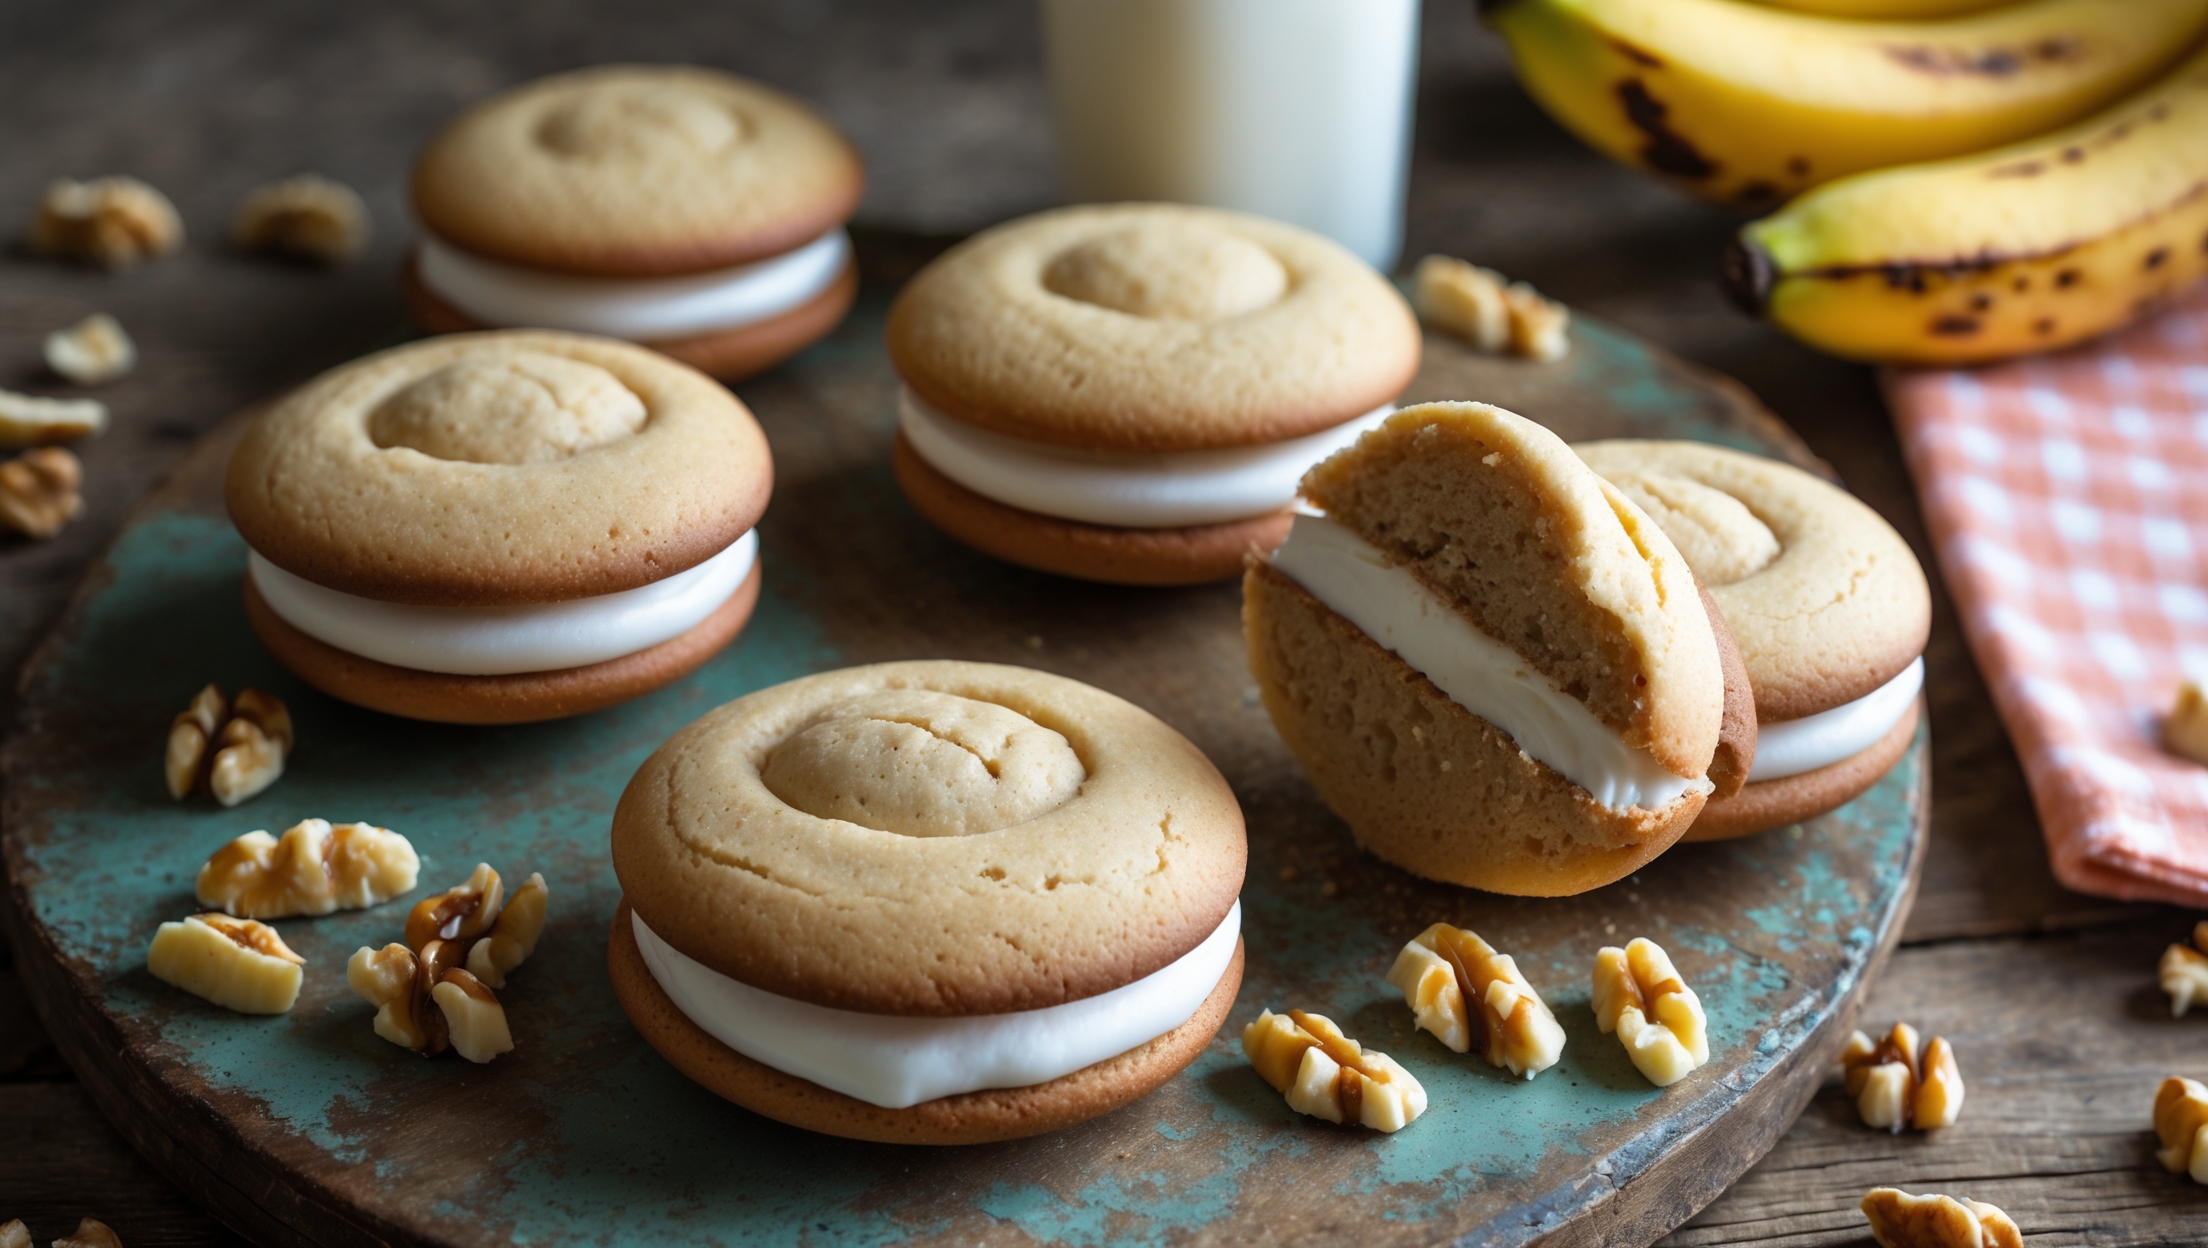
An overhead shot of mint sandwich cookies arranged in a spiral pattern on a vintage white porcelain cake stand, with a few cookies stacked to reveal the vibrant mint-green filling between the dark chocolate cookies. Shot in soft natural light highlighting the slight sheen on the chocolate cookies and creating subtle shadows that emphasize their texture. A sprig of fresh mint and scattered chocolate chunks add context and color contrast, while a partial view of a glass of milk appears in the corner. The styling suggests a sophisticated yet approachable treat, with the crisp edges of the cookies and the smooth, creamy filling clearly visible.

Ingredients

<ul class="ingredients-main-list"><li class="ingredients-single-item">For the chocolate cookies:</li><li class="ingredients-single-item">200g all-purpose flour</li><li class="ingredients-single-item">60g cocoa powder, unsweetened</li><li class="ingredients-single-item">1/2 tsp baking soda</li><li class="ingredients-single-item">1/4 tsp salt</li><li class="ingredients-single-item">170g unsalted butter, at room temperature</li><li class="ingredients-single-item">200g granulated sugar</li><li class="ingredients-single-item">1 large egg</li><li class="ingredients-single-item">1 tsp vanilla extract</li><li class="ingredients-single-item">For the mint filling:</li><li class="ingredients-single-item">115g unsalted butter, at room temperature</li><li class="ingredients-single-item">250g powdered sugar, sifted</li><li class="ingredients-single-item">2 tbsp heavy cream</li><li class="ingredients-single-item">1 tsp peppermint extract (or 2-3 drops peppermint oil)</li><li class="ingredients-single-item">1/4 tsp salt</li><li class="ingredients-single-item">Green food coloring (optional)</li></ul>

Nutrition Facts (per serving)

🍽️ Serving Size: 1 sandwich cookie
🔥 Calories: 215 calories
🥑 Fat: 12 g
🧈 Saturated Fat: 7 g
🍞 Carbohydrates: 26 g
🍭 Sugar: 17 g
🍗 Protein: 2 g
🫀 Cholesterol: 45 mg
🧂 Sodium: 120 mg

Equipment

<ul class="equipment-main-list"><li class="equipment-single-item">Stand mixer with paddle attachment (or hand mixer)</li><li class="equipment-single-item">Baking sheets</li><li class="equipment-single-item">Parchment paper</li><li class="equipment-single-item">5cm (2-inch) round cookie cutter</li><li class="equipment-single-item">Piping bag with round tip (optional)</li></ul>

Directions

<ol class="no-list-style"><li class="MethodStepper"><h4 class="step-title">Step 1</h4>In a medium bowl, whisk together the flour, cocoa powder, baking soda, and salt. This even distribution of dry ingredients ensures your cookies have consistent flavor and texture throughout. Set aside while you prepare the wet ingredients.</li><li class="MethodStepper"><h4 class="step-title">Step 2</h4>In the bowl of your stand mixer fitted with the paddle attachment (or using a hand mixer), cream the butter and sugar on medium-high speed until light and fluffy, about 3-4 minutes. Don't rush this step - proper creaming incorporates air into the dough, creating tender cookies with the perfect texture.</li><li class="MethodStepper"><h4 class="step-title">Step 3</h4>Add the egg and vanilla extract to your butter mixture, beating until well incorporated, scraping down the sides of the bowl as needed. The mixture should look smooth and glossy.</li><li class="MethodStepper"><h4 class="step-title">Step 4</h4>With the mixer on low speed, gradually add the dry ingredients to the wet ingredients, mixing just until combined. Overmixing at this stage can develop too much gluten, resulting in tough cookies rather than tender ones.</li><li class="MethodStepper"><h4 class="step-title">Step 5</h4>Divide the dough in half and form each half into a disc. Wrap each disc in plastic wrap and refrigerate for at least 1 hour, or up to 2 days. This chilling time allows the flour to hydrate and the butter to firm up, preventing excessive spreading during baking.</li><li class="MethodStepper"><h4 class="step-title">Step 6</h4>When ready to bake, preheat your oven to 180°C (350°F) and line baking sheets with parchment paper. Remove one disc of dough from the refrigerator and let it sit at room temperature for 5-10 minutes to slightly soften.</li><li class="MethodStepper"><h4 class="step-title">Step 7</h4>On a lightly floured surface, roll out the dough to about 3mm (1/8 inch) thickness. Using your round cookie cutter, cut out circles and transfer them to the prepared baking sheets, spacing them about 2.5cm (1 inch) apart. These cookies won't spread much, but adequate spacing ensures even baking.</li><li class="MethodStepper"><h4 class="step-title">Step 8</h4>Gather scraps, reroll, and cut more cookies until all dough is used. Repeat with the second disc of dough. For the crispest texture, chill the cut cookies on the baking sheets for 10 minutes before baking.</li><li class="MethodStepper"><h4 class="step-title">Step 9</h4>Bake the cookies for 10-12 minutes, until the edges are firm and the centers are set. They won't change color much due to the cocoa powder, so be careful not to overbake. Allow cookies to cool on the baking sheets for 5 minutes before transferring to wire racks to cool completely.</li><li class="MethodStepper"><h4 class="step-title">Step 10</h4>While the cookies cool, prepare the mint filling. In your mixer bowl, beat the butter until smooth and creamy. Add the sifted powdered sugar in two additions, mixing on low speed until incorporated to avoid a powdered sugar cloud!</li><li class="MethodStepper"><h4 class="step-title">Step 11</h4>Add the heavy cream, peppermint extract, and salt. Beat on medium-high speed for 2-3 minutes until very light and fluffy. The extended beating time creates a filling that's sturdy enough to hold the cookies together but still creamy when bitten into.</li><li class="MethodStepper"><h4 class="step-title">Step 12</h4>If using food coloring, add a small amount and mix until you achieve your desired shade of mint green. Remember that a little goes a long way - you can always add more if needed.</li><li class="MethodStepper"><h4 class="step-title">Step 13</h4>To assemble the cookies, turn half of the cooled cookies upside down. Either pipe or spread about 1-2 teaspoons of filling onto each upside-down cookie, then gently press another cookie on top to create a sandwich, being careful not to press so hard that the filling squeezes out the sides.</li><li class="MethodStepper"><h4 class="step-title">Step 14</h4>Allow the assembled sandwich cookies to rest for about 30 minutes so the filling can set up slightly. This makes them easier to handle and creates that perfect bite where cookie and filling merge into one delicious experience.</li><li class="MethodStepper"><h4 class="step-title">Step 15</h4>Store your mint sandwich cookies in an airtight container at room temperature for up to 5 days, or refrigerate for up to 1 week. The cookies actually improve after a day, as the flavors meld and the filling slightly softens the cookies for that perfect texture contrast.</li></ol>

FAQs

Find answers to your most pressing questions about this delicious recipe right here.

What ingredients are used in Mint Sandwich Cookies?

These homemade mint sandwich cookies require all-purpose flour, cocoa powder, baking soda, salt, unsalted butter, sugar, egg, vanilla extract, powdered sugar, heavy cream, peppermint extract (or oil), and optional green food colouring for the signature mint look.

How to cook Mint Sandwich Cookies at home?

Learn how to cook Mint Sandwich Cookies by first creating chocolate cookies from a chilled dough, then baking at 180°C for 10-12 minutes until edges are firm. While cooling, prepare a mint filling with butter, powdered sugar, cream, and peppermint extract. Sandwich the filling between cookies and allow to rest for 30 minutes for the perfect texture.

Can I make these chocolate mint cookies without a stand mixer?

Absolutely! While a stand mixer makes the process easier, you can use a hand mixer instead. For the cookies, you could even mix by hand with a wooden spoon and some elbow grease, though achieving the perfect light, fluffy texture for the filling will require electric beaters.

How do I get the perfect mint flavour without it tasting like toothpaste?

The key is using the right amount of peppermint extract—start with less than the recipe calls for and taste as you go. Quality matters too; pure peppermint extract offers a cleaner flavour than artificial versions. Balancing with vanilla and a pinch of salt also helps create a sophisticated mint taste.

How far in advance can I make these sandwich cookies for special occasions?

These cookies can be prepared up to a week ahead. Store assembled cookies in an airtight container in the refrigerator for up to 7 days. You can also freeze them for up to 3 months—just thaw in the refrigerator overnight before serving. The flavours actually improve after 24 hours!

Want to try something else in ...

Sandwich Cookies

Try following recommended recipes

No items found.

{ "@context": "http://schema.org/", "@type": "Recipe", "name": "Mint Sandwich Cookies Recipe", "image": ["https://cdn.prod.website-files.com/67f19ab882e7325b0d63c86a/6837dbd8899065bccd9df38b_Leonardo_Phoenix_10_An_overhead_shot_of_mint_sandwich_cookies_0.jpeg"], "author": { "@type": "Person", "name": "Gurbir Aujla", "brand": "What's Baking?", "jobTitle": "Baker" }, "datePublished": "2024-06-21", "description": "Learn how to make the best homemade mint sandwich cookies with this easy baking recipe! Buttery chocolate cookies sandwiching a perfectly smooth, refreshing mint filling create an irresistible treat that's better than store-bought. Master the simple technique for professional-looking sandwich cookies that impress every time.", "prepTime": "PT30M", "cookTime": "PT12M", "totalTime": "PT1H42M", "keywords": "mint sandwich cookies, chocolate mint cookies, homemade Oreos, peppermint filling, holiday baking", "recipeYield": "18 sandwich cookies", "recipeCategory": "Dessert", "recipeCuisine": "American", "nutrition": { "@type": "NutritionInformation", "calories": "215 calories", "carbohydrateContent": "26 g", "proteinContent": "2 g", "fatContent": "12 g", "saturatedFatContent": "7 g", "cholesterolContent": "45 mg", "sodiumContent": "120 mg", "sugarContent": "17 g", "servingSize": "1 sandwich cookie" }, "recipeIngredient": [ "200g all-purpose flour", "60g cocoa powder, unsweetened", "1/2 tsp baking soda", "1/4 tsp salt", "170g unsalted butter, at room temperature", "200g granulated sugar", "1 large egg", "1 tsp vanilla extract", "115g unsalted butter, at room temperature", "250g powdered sugar, sifted", "2 tbsp heavy cream", "1 tsp peppermint extract (or 2-3 drops peppermint oil)", "1/4 tsp salt", "Green food coloring (optional)" ], "recipeInstructions": [ { "@type": "HowToStep", "name": "Mix dry ingredients", "text": "In a medium bowl, whisk together the flour, cocoa powder, baking soda, and salt. This even distribution of dry ingredients ensures your cookies have consistent flavor and texture throughout. Set aside while you prepare the wet ingredients." }, { "@type": "HowToStep", "name": "Cream butter and sugar", "text": "In the bowl of your stand mixer fitted with the paddle attachment (or using a hand mixer), cream the butter and sugar on medium-high speed until light and fluffy, about 3-4 minutes. Don't rush this step - proper creaming incorporates air into the dough, creating tender cookies with the perfect texture." }, { "@type": "HowToStep", "name": "Add egg and vanilla", "text": "Add the egg and vanilla extract to your butter mixture, beating until well incorporated, scraping down the sides of the bowl as needed. The mixture should look smooth and glossy." }, { "@type": "HowToStep", "name": "Combine dry and wet ingredients", "text": "With the mixer on low speed, gradually add the dry ingredients to the wet ingredients, mixing just until combined. Overmixing at this stage can develop too much gluten, resulting in tough cookies rather than tender ones." }, { "@type": "HowToStep", "name": "Chill dough", "text": "Divide the dough in half and form each half into a disc. Wrap each disc in plastic wrap and refrigerate for at least 1 hour, or up to 2 days. This chilling time allows the flour to hydrate and the butter to firm up, preventing excessive spreading during baking." }, { "@type": "HowToStep", "name": "Prepare for baking", "text": "When ready to bake, preheat your oven to 180°C (350°F) and line baking sheets with parchment paper. Remove one disc of dough from the refrigerator and let it sit at room temperature for 5-10 minutes to slightly soften." }, { "@type": "HowToStep", "name": "Roll and cut cookies", "text": "On a lightly floured surface, roll out the dough to about 3mm (1/8 inch) thickness. Using your round cookie cutter, cut out circles and transfer them to the prepared baking sheets, spacing them about 2.5cm (1 inch) apart. These cookies won't spread much, but adequate spacing ensures even baking." }, { "@type": "HowToStep", "name": "Bake cookies", "text": "Bake the cookies for 10-12 minutes, until the edges are firm and the centers are set. They won't change color much due to the cocoa powder, so be careful not to overbake. Allow cookies to cool on the baking sheets for 5 minutes before transferring to wire racks to cool completely." }, { "@type": "HowToStep", "name": "Prepare filling", "text": "In your mixer bowl, beat the butter until smooth and creamy. Add the sifted powdered sugar in two additions, mixing on low speed until incorporated. Add the heavy cream, peppermint extract, and salt. Beat on medium-high speed for 2-3 minutes until very light and fluffy." }, { "@type": "HowToStep", "name": "Add color", "text": "If using food coloring, add a small amount and mix until you achieve your desired shade of mint green. Remember that a little goes a long way - you can always add more if needed." }, { "@type": "HowToStep", "name": "Assemble sandwich cookies", "text": "Turn half of the cooled cookies upside down. Either pipe or spread about 1-2 teaspoons of filling onto each upside-down cookie, then gently press another cookie on top to create a sandwich, being careful not to press so hard that the filling squeezes out the sides." }, { "@type": "HowToStep", "name": "Let set and serve", "text": "Allow the assembled sandwich cookies to rest for about 30 minutes so the filling can set up slightly. Store your mint sandwich cookies in an airtight container at room temperature for up to 5 days, or refrigerate for up to 1 week." } ], "aggregateRating": { "@type": "AggregateRating", "ratingValue": "5", "ratingCount": "178" }, "review": [ { "@type": "Review", "author": "Sophia Martinez", "datePublished": "2024-06-15", "reviewBody": "The balance between chocolate and mint is absolutely perfect in these cookies! Not too overwhelming like some store-bought versions. I've made them twice for family gatherings and they disappear within minutes.", "name": "Perfect Mint-Chocolate Balance", "reviewRating": { "@type": "Rating", "ratingValue": "5" } }, { "@type": "Review", "author": "Hiroshi Tanaka", "datePublished": "2024-06-10", "reviewBody": "These cookies have the perfect filling consistency! Not too soft that it oozes out, but creamy enough to complement the crisp cookies. I added a tiny bit more peppermint extract to enhance the mint flavor and it was divine.", "name": "Perfect Texture Contrast", "reviewRating": { "@type": "Rating", "ratingValue": "5" } }, { "@type": "Review", "author": "Amara Okafor", "datePublished": "2024-05-28", "reviewBody": "These are so much better than any store-bought mint cookies! The chocolate cookies have that perfect snap and the mint filling is so fresh tasting. I made a batch to freeze for unexpected guests and they thaw beautifully.", "name": "Better Than Store-Bought", "reviewRating": { "@type": "Rating", "ratingValue": "5" } }, { "@type": "Review", "author": "Isabella Rossi", "datePublished": "2024-06-02", "reviewBody": "The recipe looked intimidating at first but was actually quite straightforward. The detailed instructions about chilling the dough and handling the filling made all the difference. They look so impressive but were surprisingly easy to make!", "name": "Impressive Yet Simple", "reviewRating": { "@type": "Rating", "ratingValue": "5" } }, { "@type": "Review", "author": "Fredrik Johansson", "datePublished": "2024-06-08", "reviewBody": "My kids absolutely devoured these cookies! I've made them three times in two weeks because they keep requesting them. I found that letting them sit overnight before serving allows the flavors to meld together perfectly.", "name": "Family Favorite", "reviewRating": { "@type": "Rating", "ratingValue": "5" } } ]}

{ "@context": "https://schema.org", "@type": "FAQPage", "mainEntity": [ { "@type": "Question", "name": "What ingredients are used in Mint Sandwich Cookies?", "acceptedAnswer": { "@type": "Answer", "text": "These homemade mint sandwich cookies require all-purpose flour, cocoa powder, baking soda, salt, unsalted butter, sugar, egg, vanilla extract, powdered sugar, heavy cream, peppermint extract (or oil), and optional green food colouring for the signature mint look." } }, { "@type": "Question", "name": "How to cook Mint Sandwich Cookies at home?", "acceptedAnswer": { "@type": "Answer", "text": "Learn how to cook Mint Sandwich Cookies by first creating chocolate cookies from a chilled dough, then baking at 180°C for 10-12 minutes until edges are firm. While cooling, prepare a mint filling with butter, powdered sugar, cream, and peppermint extract. Sandwich the filling between cookies and allow to rest for 30 minutes for the perfect texture." } }, { "@type": "Question", "name": "Can I make these chocolate mint cookies without a stand mixer?", "acceptedAnswer": { "@type": "Answer", "text": "Absolutely! While a stand mixer makes the process easier, you can use a hand mixer instead. For the cookies, you could even mix by hand with a wooden spoon and some elbow grease, though achieving the perfect light, fluffy texture for the filling will require electric beaters." } }, { "@type": "Question", "name": "How do I get the perfect mint flavour without it tasting like toothpaste?", "acceptedAnswer": { "@type": "Answer", "text": "The key is using the right amount of peppermint extract—start with less than the recipe calls for and taste as you go. Quality matters too; pure peppermint extract offers a cleaner flavour than artificial versions. Balancing with vanilla and a pinch of salt also helps create a sophisticated mint taste." } }, { "@type": "Question", "name": "How far in advance can I make these sandwich cookies for special occasions?", "acceptedAnswer": { "@type": "Answer", "text": "These cookies can be prepared up to a week ahead. Store assembled cookies in an airtight container in the refrigerator for up to 7 days. You can also freeze them for up to 3 months—just thaw in the refrigerator overnight before serving. The flavours actually improve after 24 hours!" } } ]}