Directions
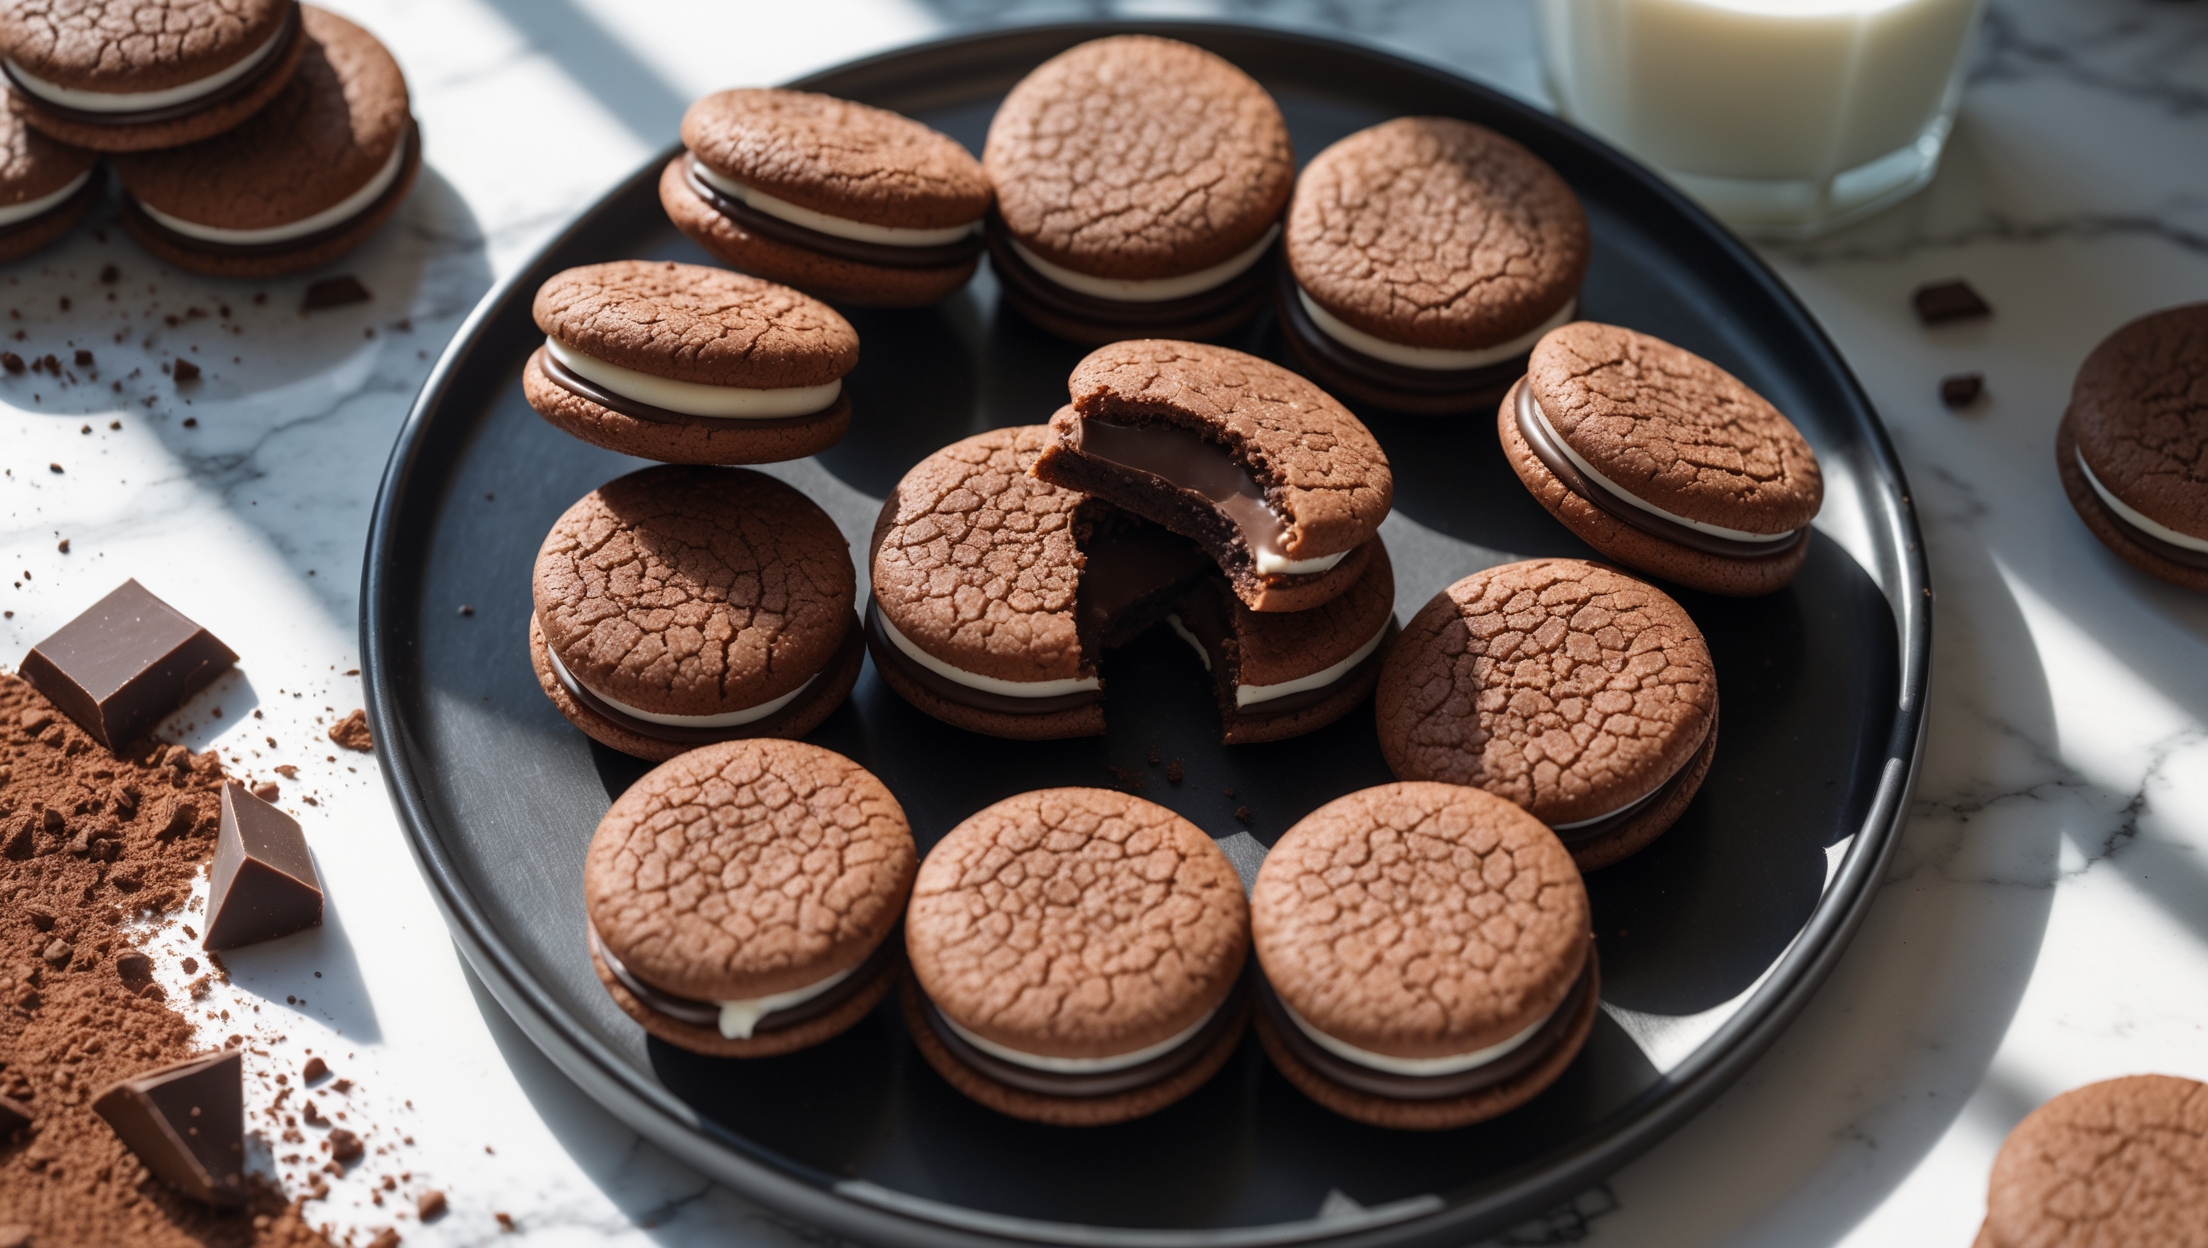
<ol class="no-list-style"><li class="MethodStepper"><h4 class="step-title">Step 1</h4>Preheat your oven to 180°C and line two baking sheets with parchment paper or silicone mats. This preparation ensures your cookies will bake evenly and won't stick to the pan.</li><li class="MethodStepper"><h4 class="step-title">Step 2</h4>In a large bowl, cream together 115g softened butter with both sugars until light and fluffy, about 3 minutes. This extended creaming creates tiny air pockets that help the cookies maintain their structure while remaining tender.</li><li class="MethodStepper"><h4 class="step-title">Step 3</h4>Add the egg and 1 tsp vanilla extract, beating until completely incorporated and the mixture looks smooth and glossy. Scrape down the sides of the bowl to ensure everything mixes evenly.</li><li class="MethodStepper"><h4 class="step-title">Step 4</h4>In a separate bowl, whisk together the flour, baking soda, and salt. Gradually add this dry mixture to your wet ingredients, mixing on low speed just until combined. Overmixing can develop the gluten in the flour, resulting in tough cookies.</li><li class="MethodStepper"><h4 class="step-title">Step 5</h4>Gently fold in the mini chocolate chips until evenly distributed throughout the dough. Using mini chips rather than regular ones ensures better distribution in these small cookies.</li><li class="MethodStepper"><h4 class="step-title">Step 6</h4>Using a 2cm cookie scoop, portion the dough onto the prepared baking sheets, spacing them about 5cm apart. These cookies are intentionally small since they'll be paired together as sandwiches.</li><li class="MethodStepper"><h4 class="step-title">Step 7</h4>Bake for 7-9 minutes, or until the edges are just beginning to turn golden while the centers still look slightly underbaked. The cookies will continue cooking from residual heat after removal from the oven, so don't wait until they look completely done.</li><li class="MethodStepper"><h4 class="step-title">Step 8</h4>Allow the cookies to cool on the baking sheet for 5 minutes before transferring to a cooling rack to cool completely. This resting period allows them to firm up enough to move without breaking.</li><li class="MethodStepper"><h4 class="step-title">Step 9</h4>While the cookies cool, prepare the filling. Beat the remaining 115g softened butter until creamy. Gradually add the sifted powdered sugar, vanilla extract, and a pinch of salt, beating until light and fluffy. Add heavy cream 1 tablespoon at a time until you reach a smooth, pipeable consistency.</li><li class="MethodStepper"><h4 class="step-title">Step 10</h4>Match up cookies of similar size. Transfer the buttercream to a piping bag fitted with a round tip (or use a small spoon). Pipe or spread about 1 teaspoon of filling onto the flat side of half the cookies.</li><li class="MethodStepper"><h4 class="step-title">Step 11</h4>Gently press the remaining cookies, flat side down, onto the frosting to create sandwiches. Apply just enough pressure to spread the filling to the edges without squeezing it out.</li><li class="MethodStepper"><h4 class="step-title">Step 12</h4>Allow the sandwich cookies to set for about 30 minutes before serving. This gives the filling time to firm up slightly for neater eating. Store in an airtight container at room temperature for up to 3 days, or refrigerate for up to a week. Bring to room temperature before serving for the best texture and flavor.</li></ol>