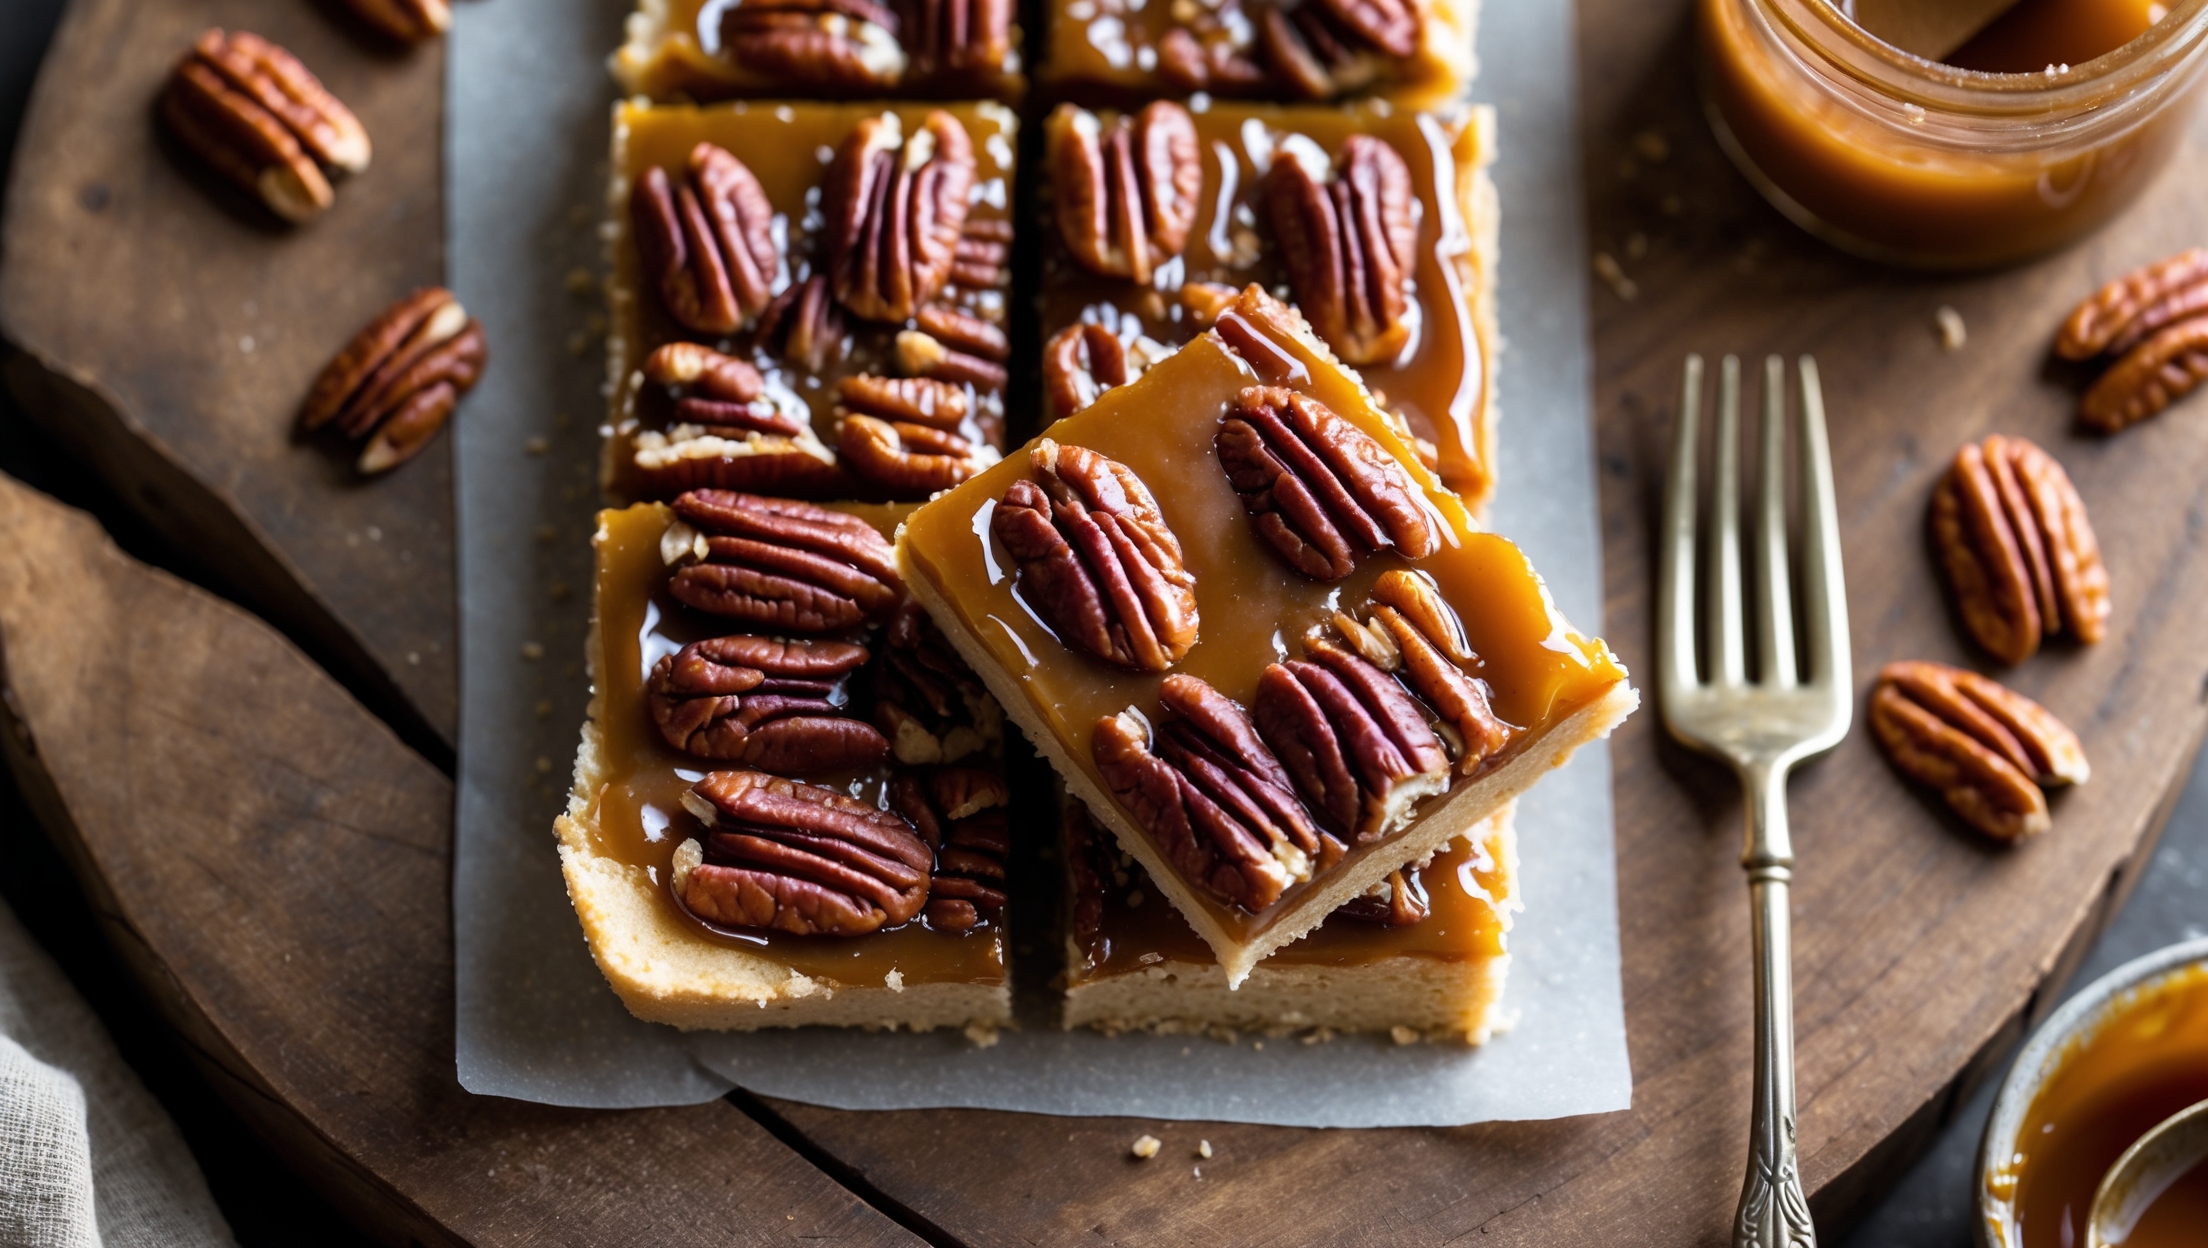
Directions
<ol class="no-list-style"> <li class="MethodStepper"> <h4 class="step-title">Step 1</h4> Preheat your oven to 160°C (325°F) and line your 20cm square baking pan with parchment paper, leaving some overhang on the sides to help with removal later. This will ensure your bars don't stick and can be lifted out cleanly after cooling. </li> <li class="MethodStepper"> <h4 class="step-title">Step 2</h4> For the crust, combine the almond flour, melted butter, erythritol, vanilla extract, and salt in a medium bowl. Mix thoroughly until the mixture resembles wet sand and holds together when pressed. The butter acts as both a binder and flavor carrier in this keto-friendly crust. </li> <li class="MethodStepper"> <h4 class="step-title">Step 3</h4> Press the mixture firmly and evenly into the bottom of your lined baking pan. Use the bottom of a measuring cup to create a smooth, compact surface. Bake for 12-15 minutes until the edges are just beginning to turn golden. The pre-baking step ensures a crisp base that won't become soggy when the filling is added. </li> <li class="MethodStepper"> <h4 class="step-title">Step 4</h4> While the crust is baking, prepare your filling. In a medium saucepan over medium heat, melt the butter. Add the golden erythritol and stir constantly for 3-4 minutes until well combined. Unlike sugar, erythritol won't caramelize in the traditional sense, but heating it with butter creates a similar flavor profile. </li> <li class="MethodStepper"> <h4 class="step-title">Step 5</h4> Remove from heat and carefully add the heavy cream, vanilla extract, and salt (the mixture may bubble up, so be cautious). The cream adds richness while the salt balances the sweetness, enhancing the caramel flavor without adding sugar. </li> <li class="MethodStepper"> <h4 class="step-title">Step 6</h4> In a small bowl, sprinkle the gelatin over 2 tablespoons of cold water and let stand for 1 minute to bloom. Add this to your warm butter mixture and whisk vigorously until completely dissolved. The gelatin is crucial for setting your filling properly since we're not using corn syrup or other traditional thickeners. </li> <li class="MethodStepper"> <h4 class="step-title">Step 7</h4> Allow the mixture to cool for about 5 minutes, then whisk in the eggs one at a time, incorporating them fully before adding the next. If you add eggs to a mixture that's too hot, they'll scramble rather than blend smoothly into your filling. </li> <li class="MethodStepper"> <h4 class="step-title">Step 8</h4> Reserve about 50g of pecan halves for the top, and roughly chop the remaining pecans. Stir the chopped pecans into your filling mixture. The variation in pecan sizes creates textural interest in every bite. </li> <li class="MethodStepper"> <h4 class="step-title">Step 9</h4> Pour the filling over your pre-baked crust and arrange the reserved pecan halves decoratively on top. The pecans on top will toast beautifully during baking, enhancing their natural flavor. </li> <li class="MethodStepper"> <h4 class="step-title">Step 10</h4> Bake for 20-25 minutes until the edges are set but the center still has a slight wobble when gently shaken. The filling will continue to set as it cools, so be careful not to overbake, which could make the bars dry or grainy. </li> <li class="MethodStepper"> <h4 class="step-title">Step 11</h4> Allow to cool completely in the pan at room temperature (about 2 hours), then refrigerate for at least 3 hours or preferably overnight. The chilling time allows the layers to meld together and the flavors to develop fully. </li> <li class="MethodStepper"> <h4 class="step-title">Step 12</h4> To serve, use the parchment overhang to lift the entire dessert out of the pan. With a sharp knife, cut into 16 squares, wiping the blade clean between cuts for the neatest presentation. These bars keep well refrigerated for up to 5 days or can be frozen for up to a month. </li> </ol>