Directions
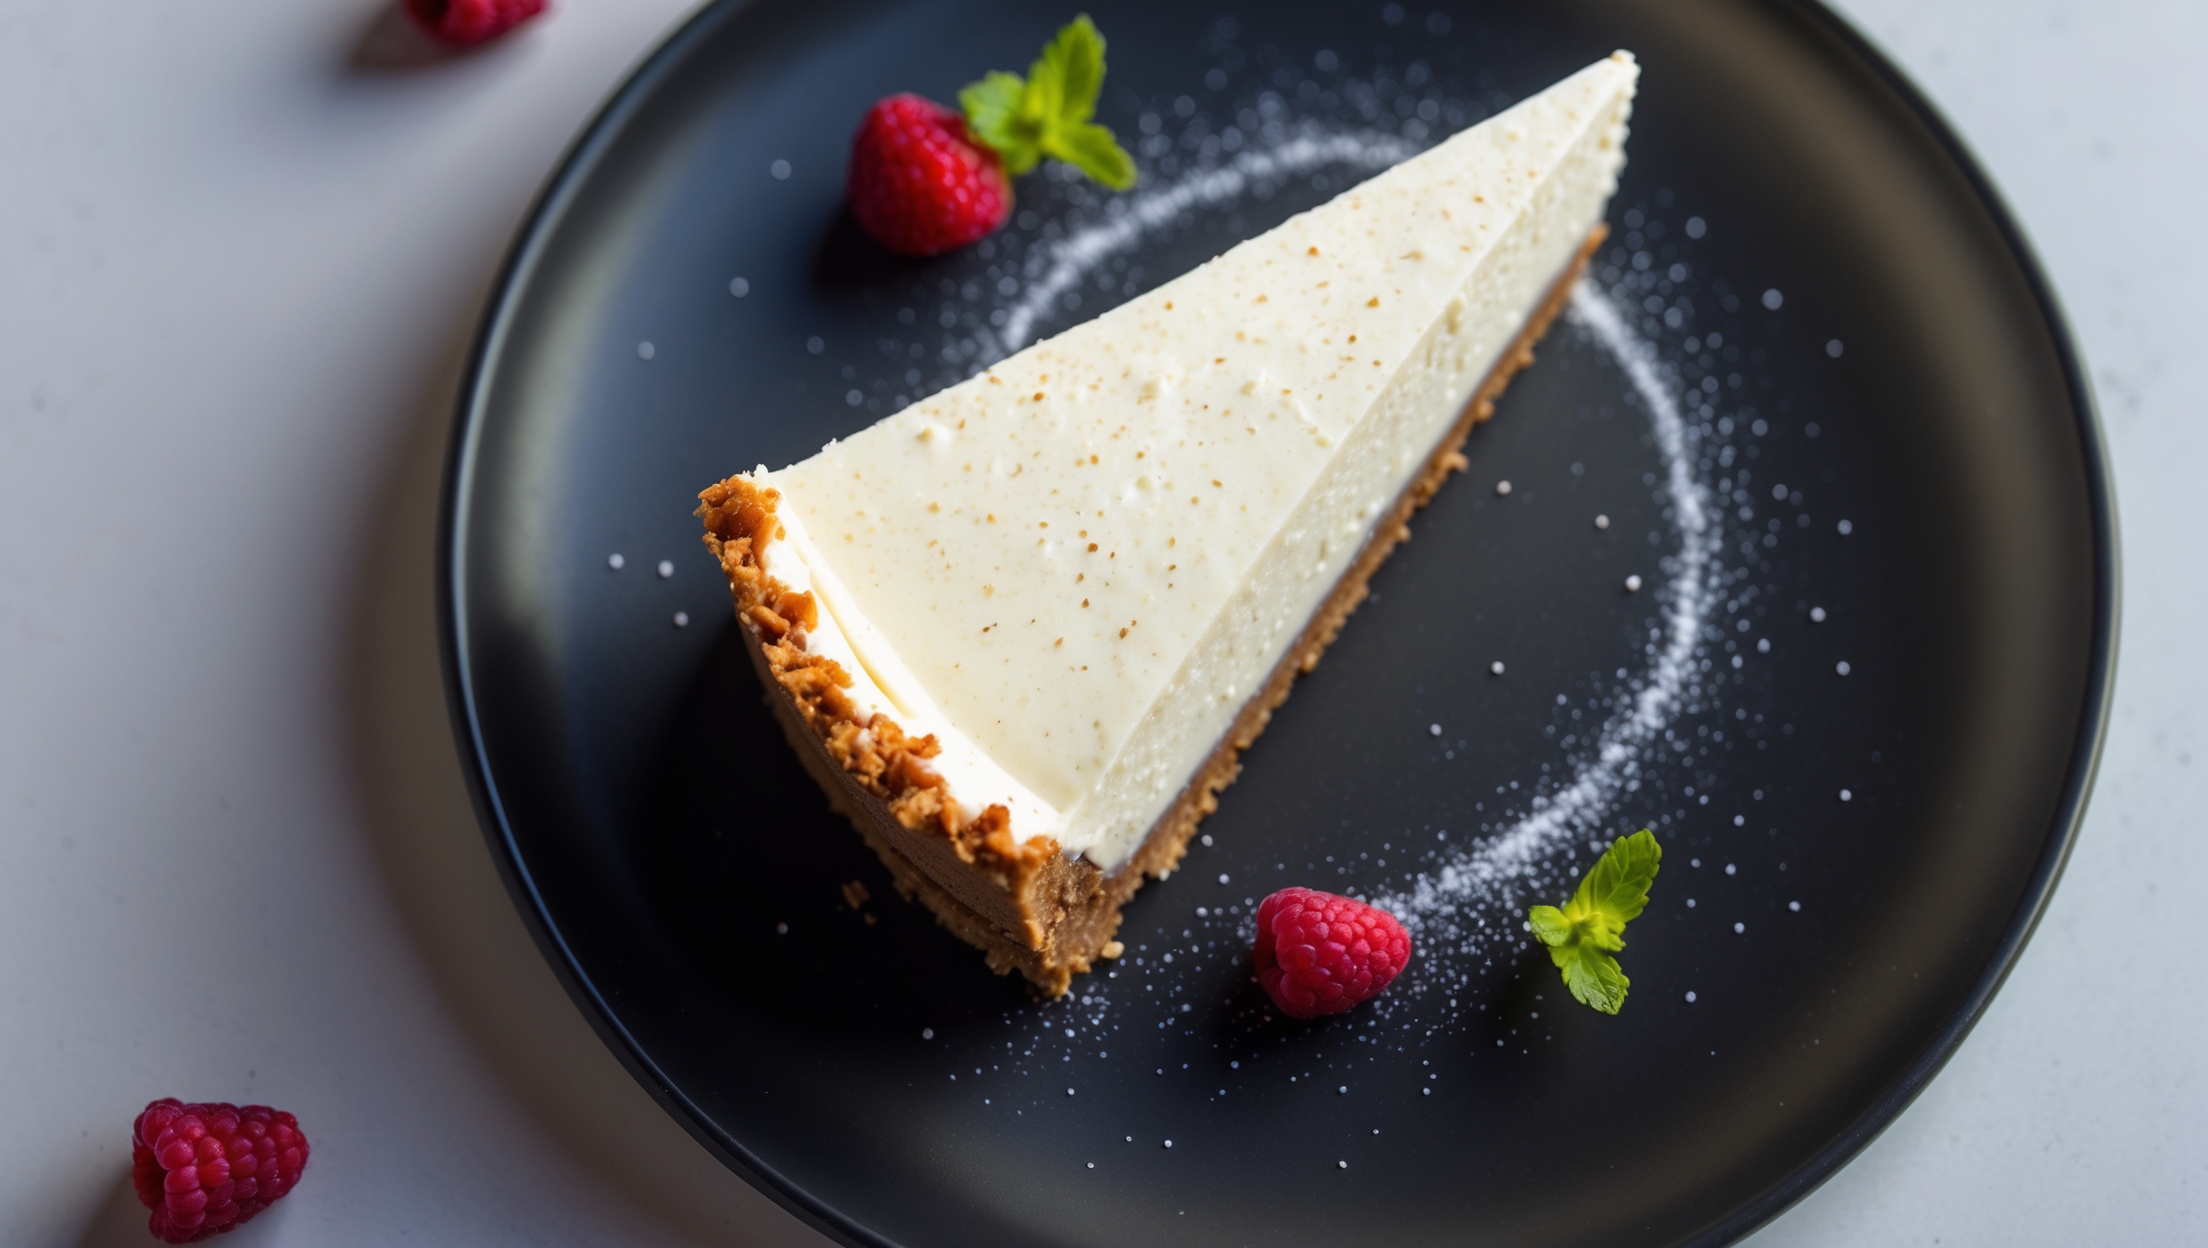
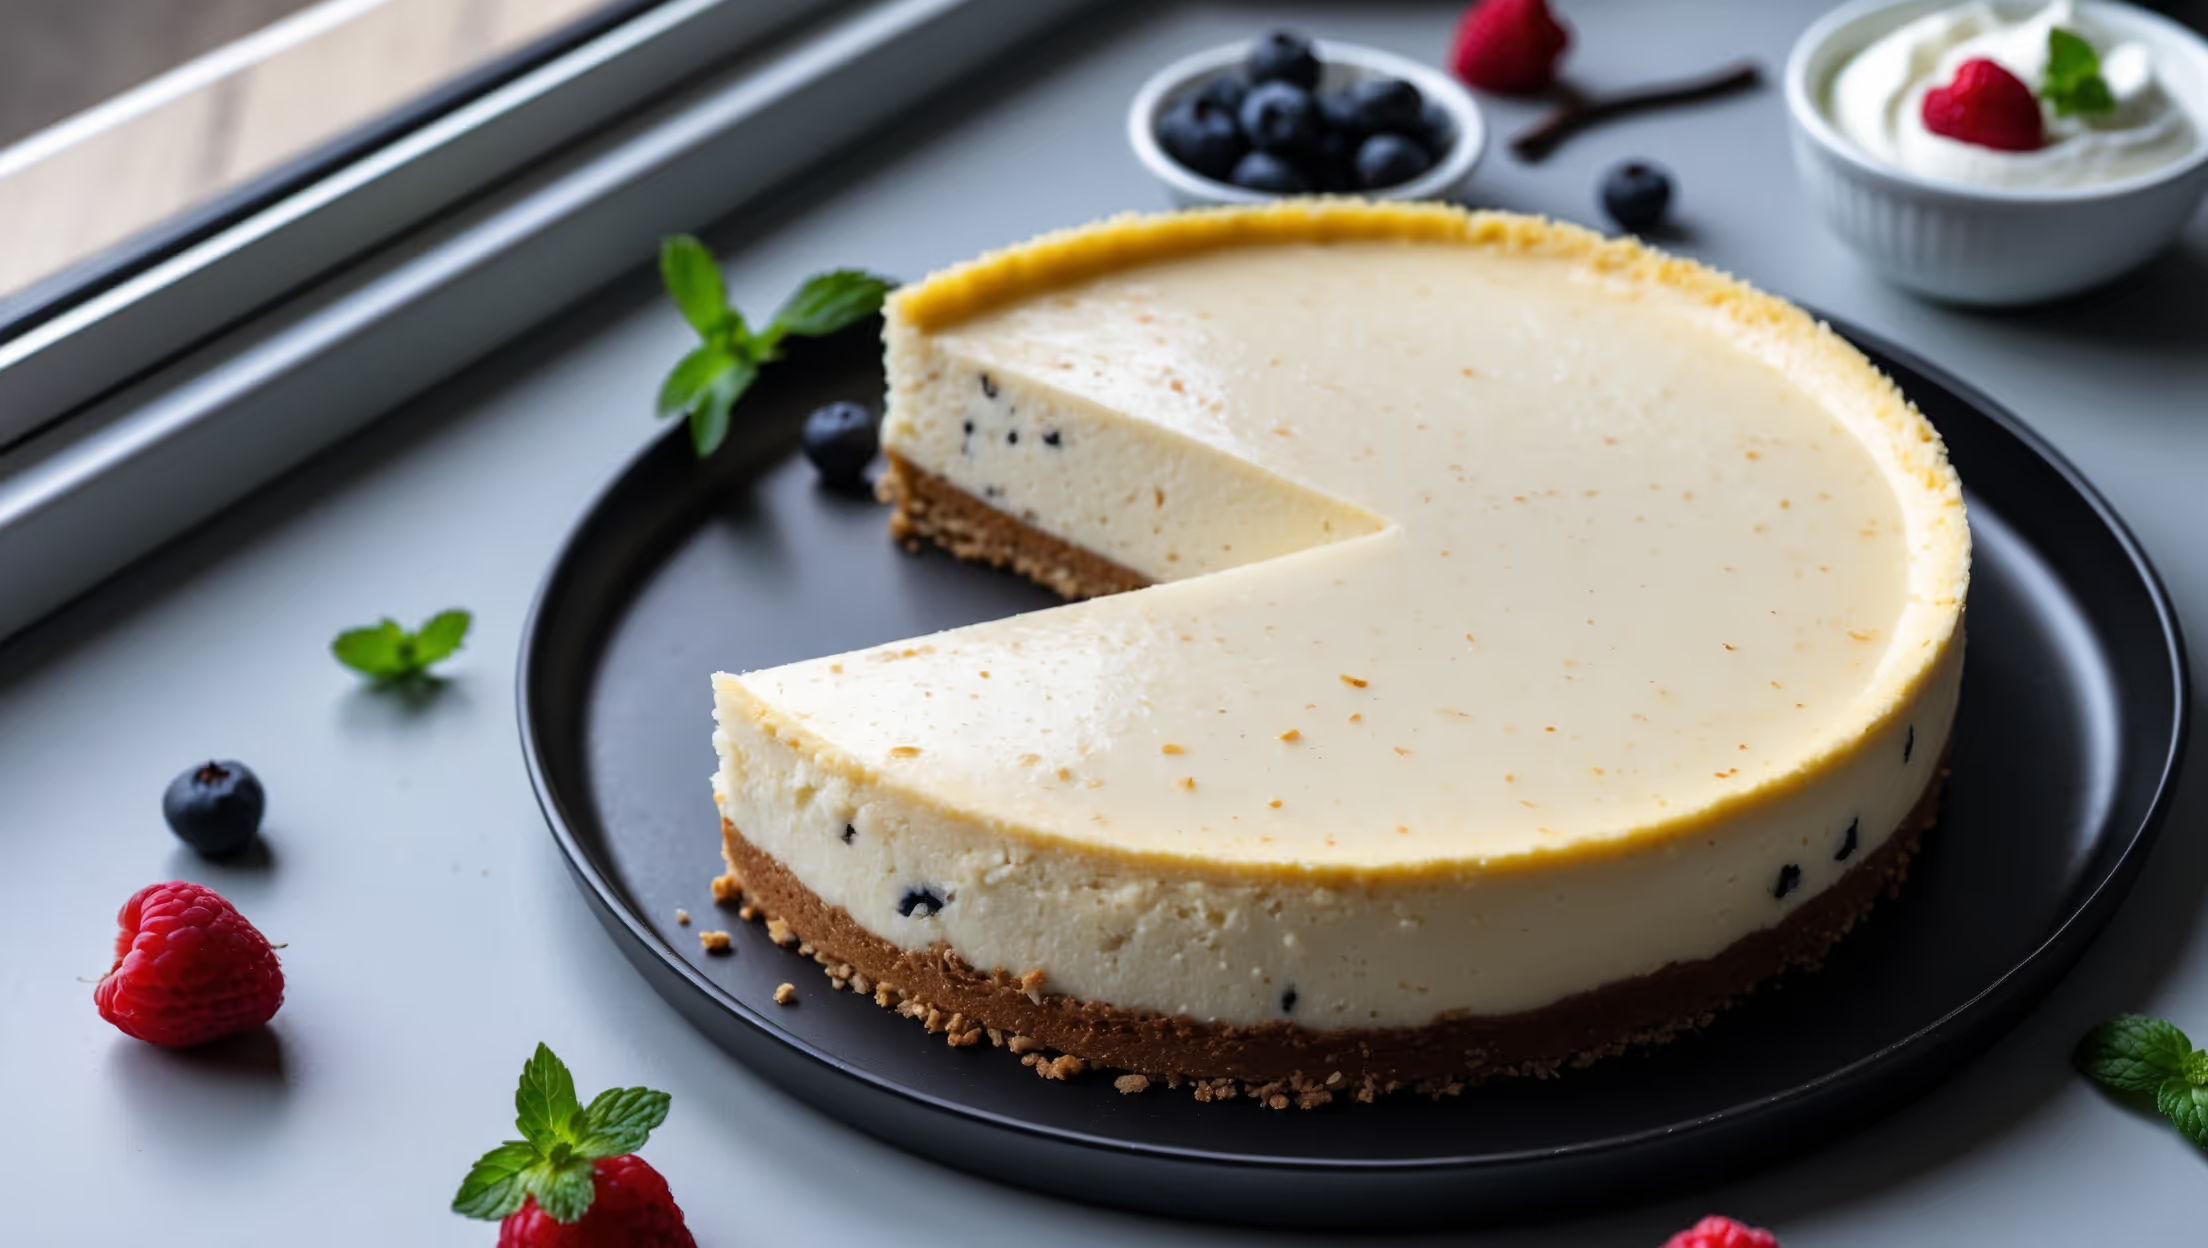
<ol class="no-list-style"><li class="MethodStepper"><h4 class="step-title">Step 1</h4>Line the bottom of your springform pan with parchment paper and lightly grease the sides with butter or coconut oil. This preparation ensures your cheesecake will release cleanly when serving.</li><li class="MethodStepper"><h4 class="step-title">Step 2</h4>For the crust, combine almond flour, crushed pecans, powdered sweetener, cinnamon, and salt in a medium bowl. Stir well to distribute the ingredients evenly, which creates a balanced flavor base.</li><li class="MethodStepper"><h4 class="step-title">Step 3</h4>Pour the melted butter into the dry mixture and stir until completely combined. The mixture should resemble wet sand and hold together when pressed between your fingers – this cohesion is essential for a crust that doesn't crumble when sliced.</li><li class="MethodStepper"><h4 class="step-title">Step 4</h4>Press the mixture firmly and evenly into the bottom of your prepared springform pan. Use the flat bottom of a measuring cup to compact it well, paying special attention to the edges. Place in the freezer to set while preparing the filling (at least 15 minutes). This cold-setting process replaces traditional baking and helps solidify the butter.</li><li class="MethodStepper"><h4 class="step-title">Step 5</h4>In a large bowl, beat the softened cream cheese on medium speed until completely smooth and free of lumps, about 2-3 minutes. Ensuring your cream cheese is properly softened is crucial – cold cream cheese will create a lumpy filling that won't set properly.</li><li class="MethodStepper"><h4 class="step-title">Step 6</h4>Add the powdered sweetener to the cream cheese and beat for another 1-2 minutes until well incorporated and slightly fluffy. Using powdered rather than granular sweetener prevents a gritty texture in your no-bake filling.</li><li class="MethodStepper"><h4 class="step-title">Step 7</h4>Pour in the heavy cream, lemon juice, vanilla extract, and salt. Beat on medium-high speed for 3-4 minutes until the mixture is thick and creamy. The filling should hold soft peaks and appear glossy – this achieves the perfect texture without relying on traditional thickeners like eggs or flour.</li><li class="MethodStepper"><h4 class="step-title">Step 8</h4>Remove the crust from the freezer and pour the cheesecake filling over it, smoothing the top with a spatula. Give the pan a few gentle taps on the counter to release any trapped air bubbles, which could cause cracks as it sets.</li><li class="MethodStepper"><h4 class="step-title">Step 9</h4>Cover with plastic wrap without touching the surface of the cheesecake and refrigerate for at least 6 hours, preferably overnight. This lengthy chilling time allows the fats to solidify properly, creating that classic cheesecake texture without using gelatin.</li><li class="MethodStepper"><h4 class="step-title">Step 10</h4>When ready to serve, run a thin knife around the edges of the pan before releasing the springform. For the cleanest slices, dip your knife in hot water and wipe it clean between each cut. For an extra special touch, serve with a few fresh berries or a light dusting of powdered erythritol on top. Your keto cheesecake will keep in the refrigerator for up to 5 days, though the crust may soften slightly over time.</li></ol>