Directions
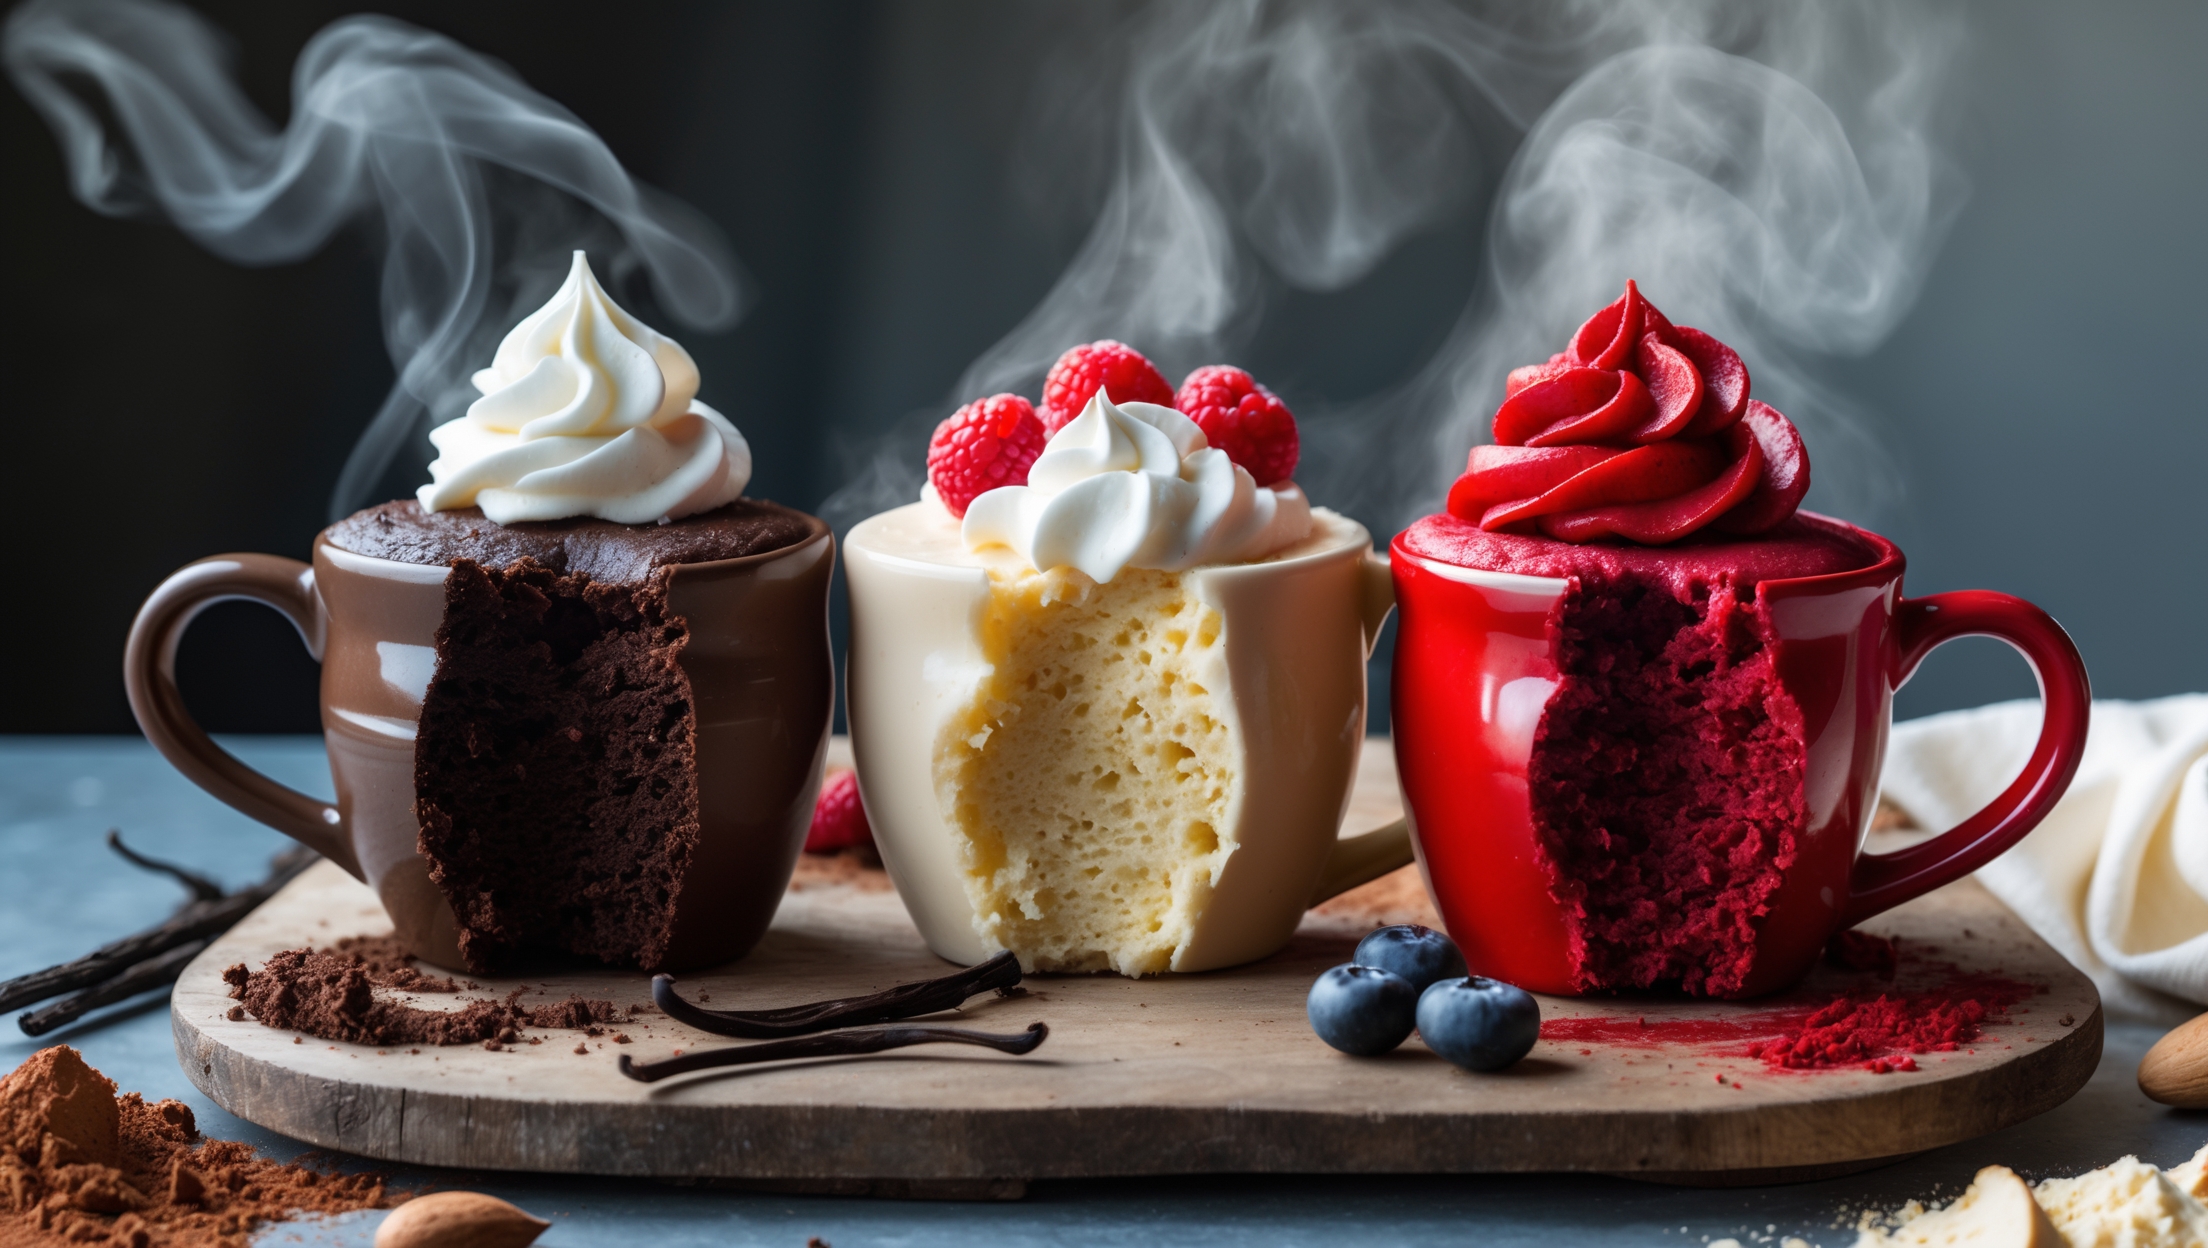
<ol class="no-list-style"> <li class="MethodStepper"> <h4 class="step-title">Step 1</h4> Prepare your base batter by whisking together the almond flour, erythritol, baking powder, and salt in a medium bowl. Almond flour creates a moist texture while keeping the carb count low – ensure it's finely ground for the best results. </li> <li class="MethodStepper"> <h4 class="step-title">Step 2</h4> In a separate bowl, beat the eggs lightly, then add the melted butter (make sure it's not too hot or it will cook the eggs). Whisk until well combined. The fat from both eggs and butter creates richness that makes these cakes satisfying despite being low-carb. </li> <li class="MethodStepper"> <h4 class="step-title">Step 3</h4> Pour the wet ingredients into the dry ingredients and mix until just combined. Don't overmix as this can make your cakes dense rather than fluffy. The batter should be smooth with no visible lumps of almond flour. </li> <li class="MethodStepper"> <h4 class="step-title">Step 4</h4> Divide the batter equally between three small bowls (about 80-90g per bowl). This creates the foundation for our three different flavors. </li> <li class="MethodStepper"> <h4 class="step-title">Step 5</h4> For the chocolate mug cake: Add cocoa powder to one portion of batter and mix well. The acidity in cocoa powder will react with the baking powder, helping create additional lift. Fold in chocolate chips if using. </li> <li class="MethodStepper"> <h4 class="step-title">Step 6</h4> For the vanilla mug cake: Add vanilla extract to the second portion of batter and stir until incorporated. Pure vanilla extract provides flavor without adding carbs. </li> <li class="MethodStepper"> <h4 class="step-title">Step 7</h4> For the red velvet mug cake: Add cocoa powder, vanilla extract, and red food coloring to the third portion. Mix thoroughly, adding more coloring if needed for that distinctive red velvet hue. The small amount of cocoa gives that subtle chocolate note characteristic of red velvet. </li> <li class="MethodStepper"> <h4 class="step-title">Step 8</h4> Transfer each batter to a microwave-safe mug, filling only halfway as these cakes will rise considerably. Tap each mug gently on the counter to remove air bubbles that could cause uneven cooking. </li> <li class="MethodStepper"> <h4 class="step-title">Step 9</h4> Microwave each mug cake individually on high for 60-75 seconds. Start with 60 seconds and check – the cake should be set on top but still slightly moist. It will continue cooking slightly after removal. Microwaving separately ensures each cake cooks perfectly, as power levels vary between appliances. </li> <li class="MethodStepper"> <h4 class="step-title">Step 10</h4> Let the cakes rest for 1 minute before serving. This resting period allows the structure to set, preventing a gummy texture. For the perfect finish, top the chocolate cake with whipped cream, the vanilla with fresh berries, and the red velvet with sweetened cream cheese. </li> <li class="MethodStepper"> <h4 class="step-title">Step 11</h4> Enjoy warm! These cakes are best enjoyed immediately, as keto baked goods tend to firm up when cooled. If you must store them, cover and refrigerate for up to 2 days, then microwave for 10-15 seconds to refresh before serving. </li> </ol>