Keto Lemon Bars (Sugar-free) Recipe

Tangy lemon curd nestled on a buttery almond flour shortbread crust delivers the perfect balance of zesty brightness and rich sweetness, all while remaining blissfully sugar-free and keto-friendly.
Difficulty:
Beginner
Prep Time:
20 mins
Cook Time:
35 mins
Serves:
16 bars
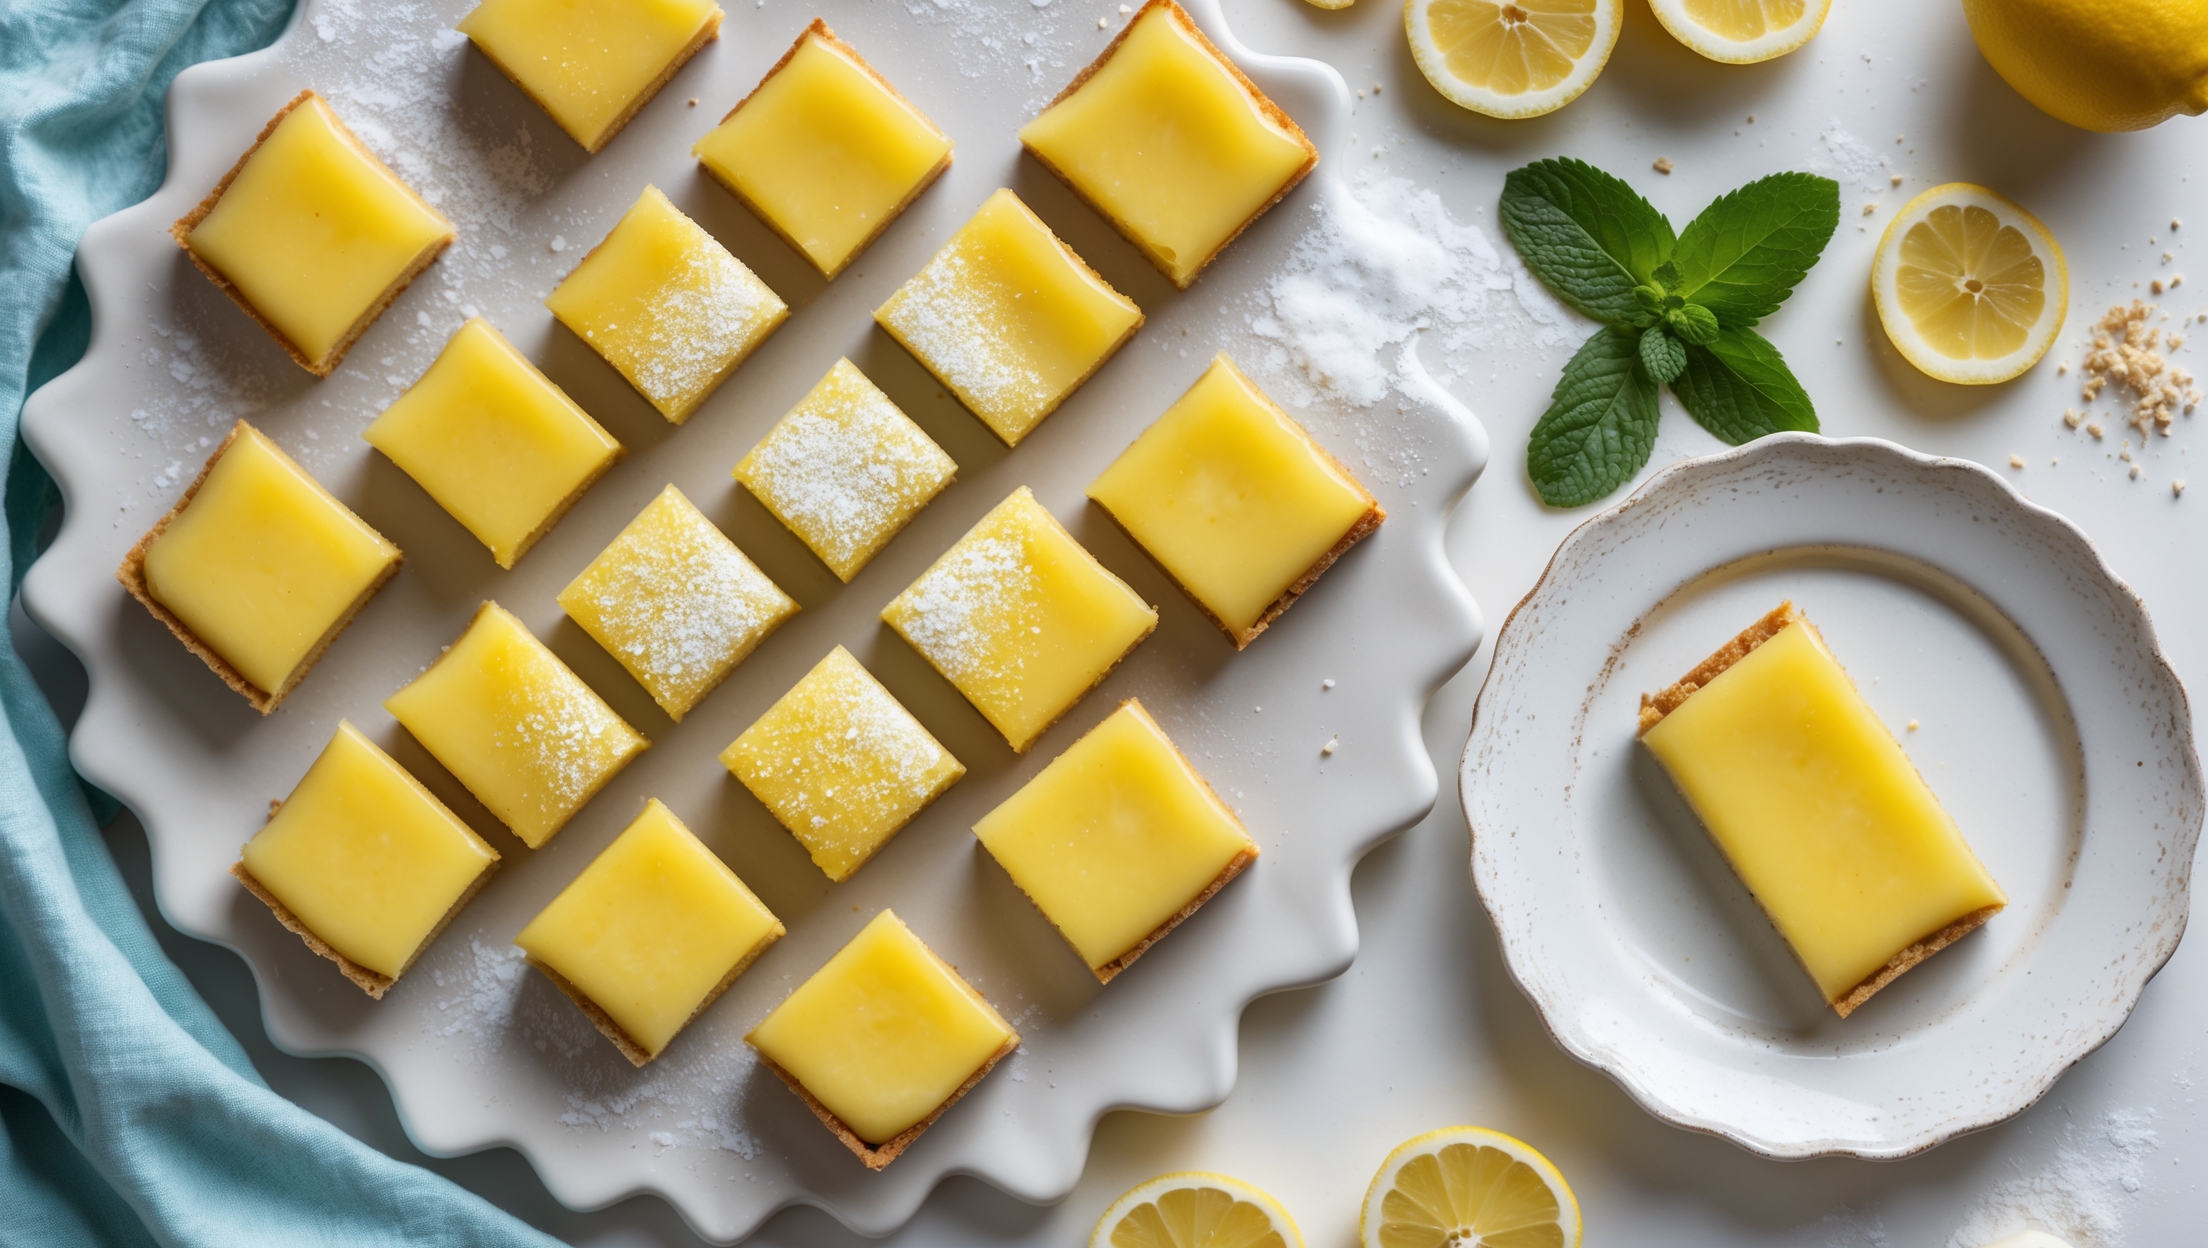
An overhead shot of perfectly cut square lemon bars arranged on a white ceramic platter, showcasing the vibrant yellow curd layer atop a golden-brown shortbread base. Natural window light highlights the slightly glossy surface of the lemon layer, while a dusting of powdered erythritol creates a delicate snow-like contrast against the sunny yellow. In the corner, fresh lemon slices and a sprig of mint add pops of color, while a single bar on a vintage dessert plate reveals the distinct two-layer construction. The setting features a light blue linen napkin and scattered almond flour to hint at the key ingredients, creating an inviting, bright composition that emphasizes the bars' light, refreshing nature.

Ingredients

<ul class="ingredients-main-list"><li class="ingredients-single-item">For the shortbread crust:</li><li class="ingredients-single-item">200g almond flour</li><li class="ingredients-single-item">60g granulated erythritol (or monk fruit sweetener)</li><li class="ingredients-single-item">¼ teaspoon salt</li><li class="ingredients-single-item">115g unsalted butter, melted</li><li class="ingredients-single-item">½ teaspoon vanilla extract</li><li class="ingredients-single-item">For the lemon layer:</li><li class="ingredients-single-item">4 large eggs</li><li class="ingredients-single-item">120g granulated erythritol (or monk fruit sweetener)</li><li class="ingredients-single-item">120ml fresh lemon juice (about 3-4 lemons)</li><li class="ingredients-single-item">2 tablespoons lemon zest</li><li class="ingredients-single-item">35g coconut flour</li><li class="ingredients-single-item">¼ teaspoon salt</li><li class="ingredients-single-item">For garnish:</li><li class="ingredients-single-item">2 tablespoons powdered erythritol (for dusting)</li></ul>

Equipment

<ul class="equipment-main-list"><li class="equipment-single-item">20cm x 20cm (8-inch x 8-inch) baking pan</li><li class="equipment-single-item">Parchment paper</li><li class="equipment-single-item">Microplane or fine grater (for zesting)</li><li class="equipment-single-item">Fine-mesh sieve (for dusting)</li></ul>
BAKE SMARTER

Kitchen Converter

Quickly switch between common baking units without leaving the recipe.

Convert
Result—

Volume uses US cups, tablespoons, and teaspoons. Converting weight to volume depends on the ingredient.

Directions

<ol class="no-list-style"><li class="MethodStepper"><h4 class="step-title">Step 1</h4>Preheat your oven to 175°C (350°F) and line your 20cm square baking pan with parchment paper, leaving some overhang on the sides to help remove the bars later. This overhang will serve as "handles" to lift the finished bars cleanly from the pan.</li><li class="MethodStepper"><h4 class="step-title">Step 2</h4>For the crust, in a medium bowl, whisk together the almond flour, erythritol, and salt until well combined. Almond flour creates a tender, buttery crust that doesn't contain gluten, making these perfect for keto and gluten-free diets.</li><li class="MethodStepper"><h4 class="step-title">Step 3</h4>Add the melted butter and vanilla extract to the dry ingredients and mix until everything comes together into a soft dough. The mixture should feel slightly wet but hold together when pressed.</li><li class="MethodStepper"><h4 class="step-title">Step 4</h4>Press the dough evenly into the bottom of your lined baking pan. Use the bottom of a measuring cup or glass to create a smooth, even surface. Prick the crust several times with a fork to prevent it from bubbling up during baking.</li><li class="MethodStepper"><h4 class="step-title">Step 5</h4>Bake the crust for 12-15 minutes until it's just beginning to turn golden at the edges. It's important not to overbake as the crust will continue to cook when you add the filling. While the crust bakes, prepare your lemon layer.</li><li class="MethodStepper"><h4 class="step-title">Step 6</h4>In a large bowl, whisk the eggs thoroughly until frothy. This aeration helps create a light texture in your lemon curd. Add the erythritol and continue whisking until well incorporated.</li><li class="MethodStepper"><h4 class="step-title">Step 7</h4>Stir in the fresh lemon juice and zest. The zest contains essential oils that provide intense lemon flavor without adding extra carbs. Whisk until smooth.</li><li class="MethodStepper"><h4 class="step-title">Step 8</h4>Sift the coconut flour and salt into the lemon mixture and whisk until fully incorporated with no lumps. Coconut flour is highly absorbent and helps thicken the filling without adding many carbs. Let the mixture sit for 2 minutes to allow the coconut flour to absorb some moisture.</li><li class="MethodStepper"><h4 class="step-title">Step 9</h4>When the crust is done, remove it from the oven but keep the oven on. Pour the lemon mixture carefully over the hot crust, ensuring it spreads evenly to the edges.</li><li class="MethodStepper"><h4 class="step-title">Step 10</h4>Return the pan to the oven and bake for 20-22 minutes, or until the center is just set and no longer jiggles when gently shaken. The bars will continue to set as they cool, so it's better to slightly underbake than overbake, which could cause cracks.</li><li class="MethodStepper"><h4 class="step-title">Step 11</h4>Remove from the oven and allow to cool completely at room temperature, then refrigerate for at least 2 hours or overnight. The cooling process is crucial for the bars to set properly and develop their best texture and flavor.</li><li class="MethodStepper"><h4 class="step-title">Step 12</h4>Once chilled, use the parchment paper overhang to lift the bars out of the pan and onto a cutting board. With a sharp knife, cut into 16 equal squares, cleaning the knife between cuts for the cleanest edges.</li><li class="MethodStepper"><h4 class="step-title">Step 13</h4>Just before serving, dust the top of the bars with powdered erythritol using a fine-mesh sieve. This not only makes them look beautiful but adds a touch of extra sweetness that balances the tartness of the lemon. Serve chilled and store any leftovers in an airtight container in the refrigerator for up to 5 days.</li></ol>
Nutrition Facts (per serving)

🍽️ Serving Size: 1 mocktail
🔥 Calories: 290 calories
🥑 Fat: 28 g
🧈 Saturated Fat: 14 g
🍞 Carbohydrates: 5 g
🍭 Sugar: 1 g
🍗 Protein: 3 g
🫀 Cholesterol: 45 mg
🧂 Sodium: 95 mg

Chef’s Notes

A few helpful details for making this recipe.

Can I substitute coconut flour in the lemon filling with something else?

While coconut flour is ideal for its unique absorbent properties, you can substitute with 2-3 tablespoons of almond flour mixed with 1/2 teaspoon xanthan gum. This maintains the keto-friendly profile while achieving a similar thickening effect, though the texture may be slightly different.

How do I know when the lemon layer is perfectly baked?

The lemon layer is perfectly baked when the edges are set but the centre still has a slight jiggle when you gently shake the pan (similar to custard). It will continue to set as it cools. Overbaking can cause cracks and a rubbery texture, so it's better to slightly underbake than overbake.

Why do my sugar-free lemon bars sometimes develop cracks on top?

Cracks typically form from overbaking or cooling too quickly. To prevent this, bake just until the centre is barely set, cool at room temperature before refrigerating, and consider using a water bath during baking to create more even, gentle heat distribution and humidity in the oven.

Want to try something else in ...

More recipes you might like

Keep exploring with more recipes from What's Baking.