Keto Chocolate Fudge Recipe

Rich, velvety chocolate fudge squares that melt on your tongue with deep cocoa notes, offering a guilt-free indulgence perfect for keto dieters craving something sweet.
Difficulty:
Beginner
Prep Time:
15 mins
Cook Time:
5 mins
Serves:
16 squares
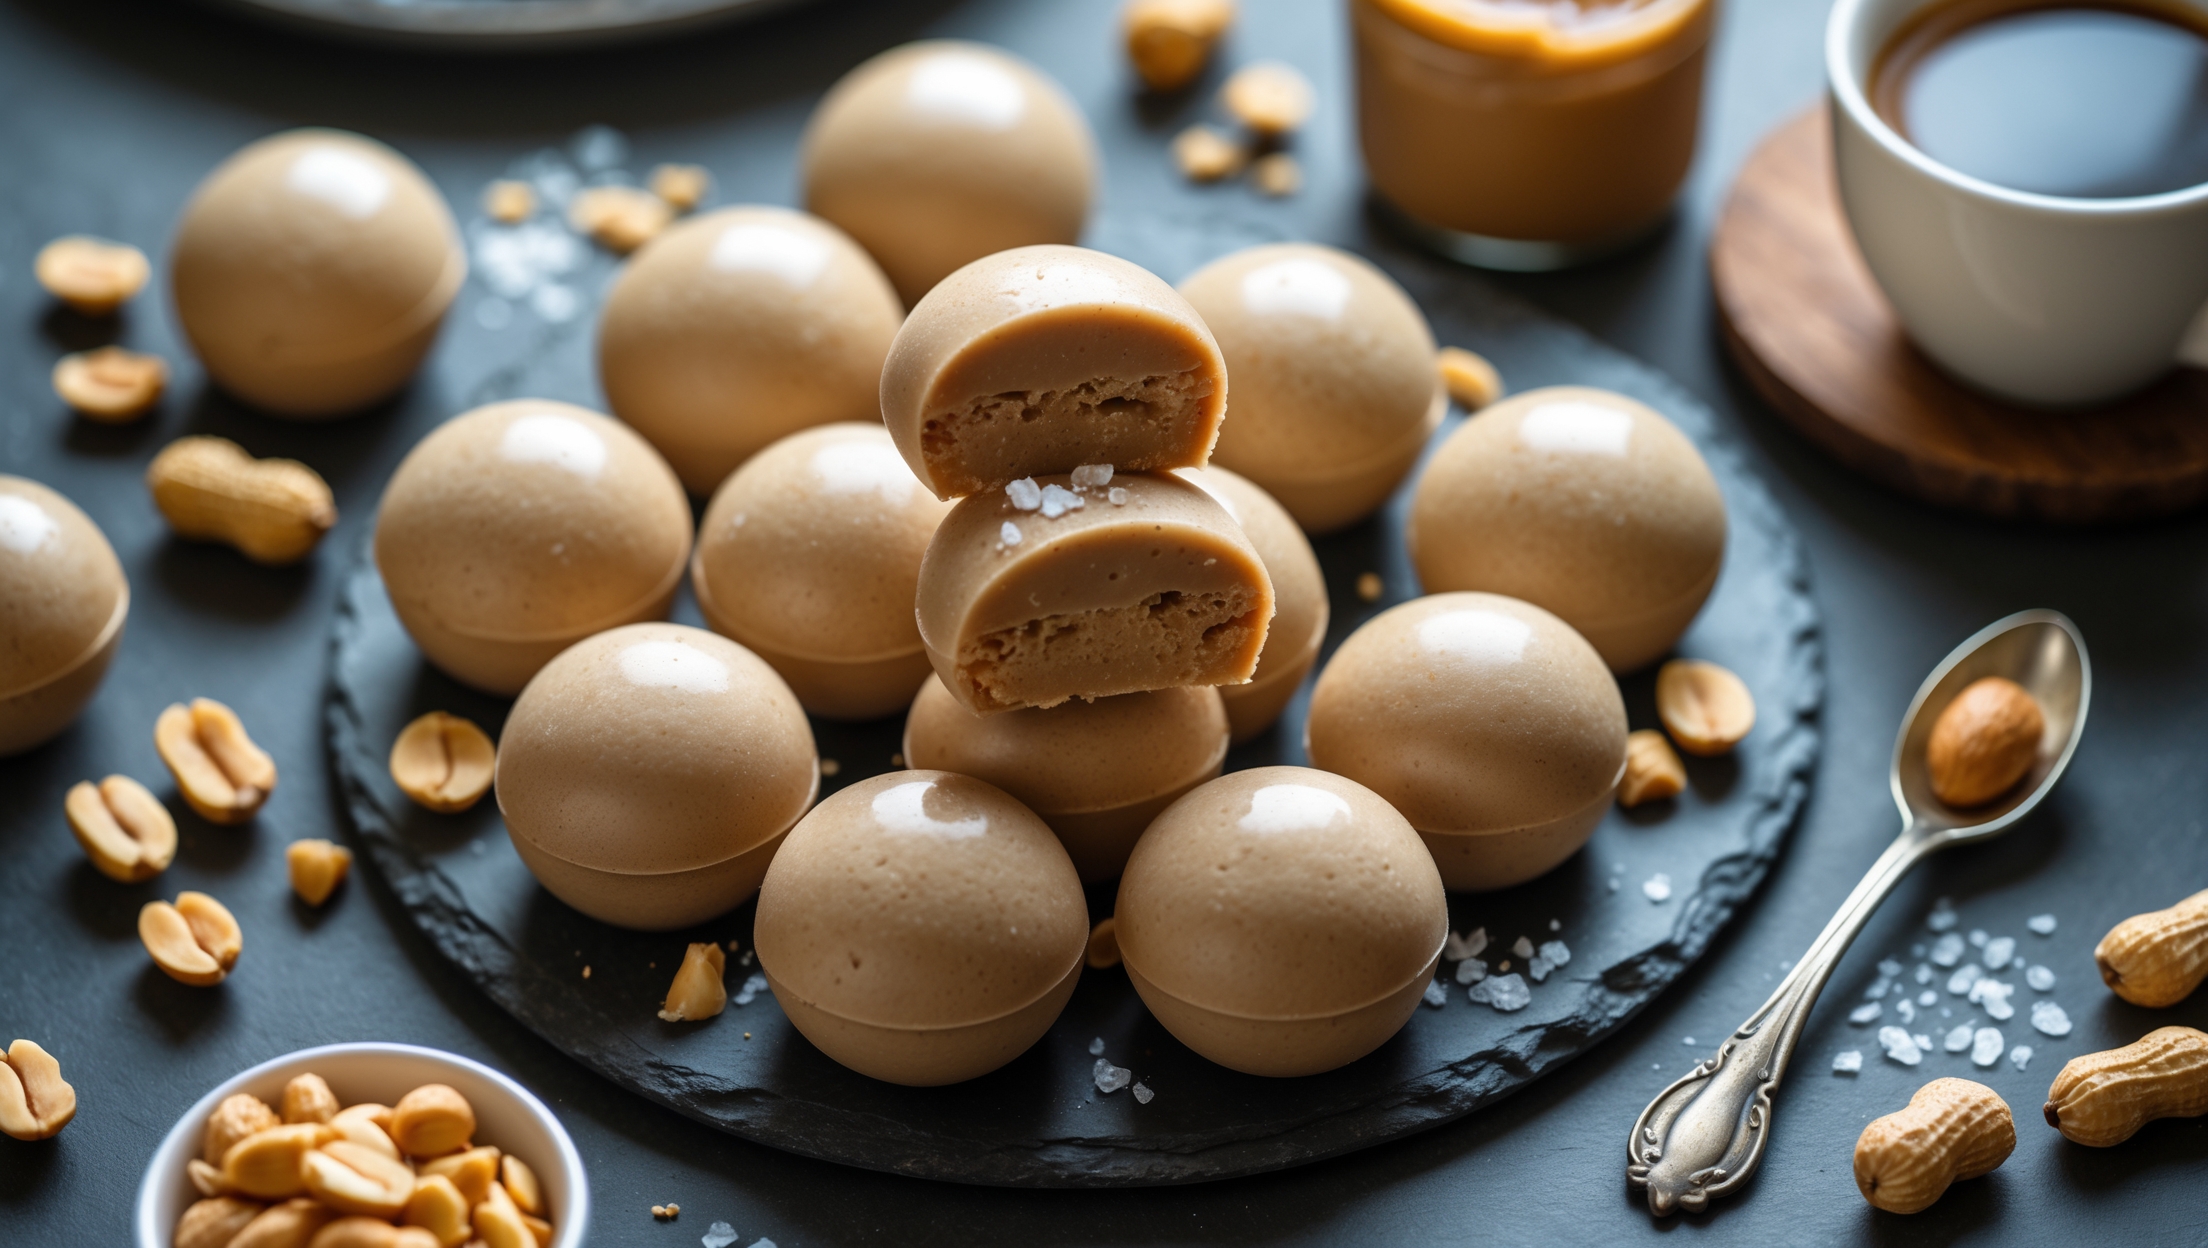
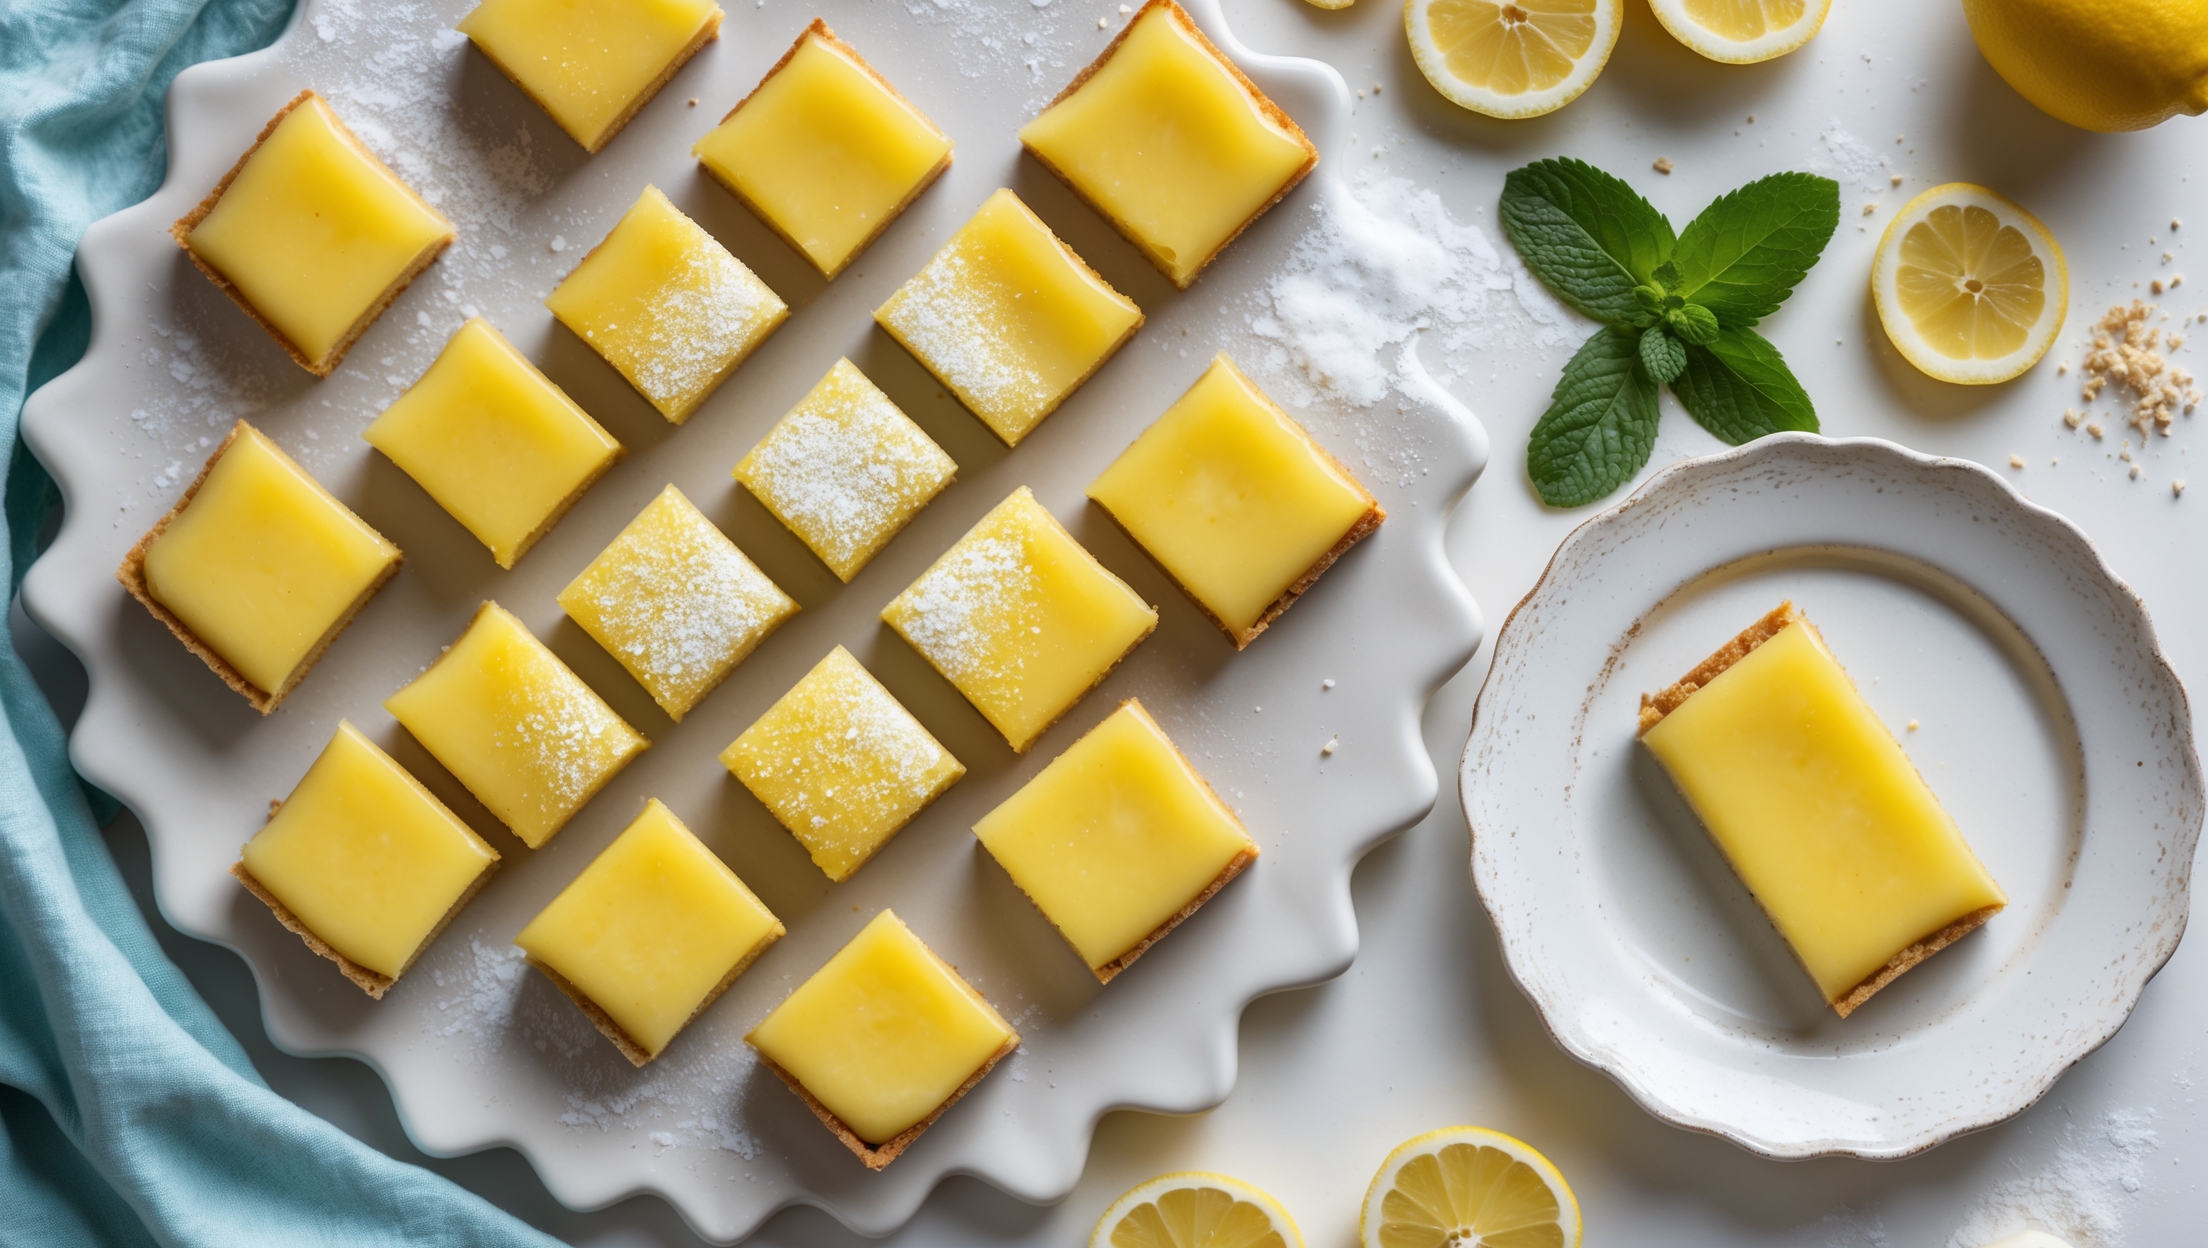
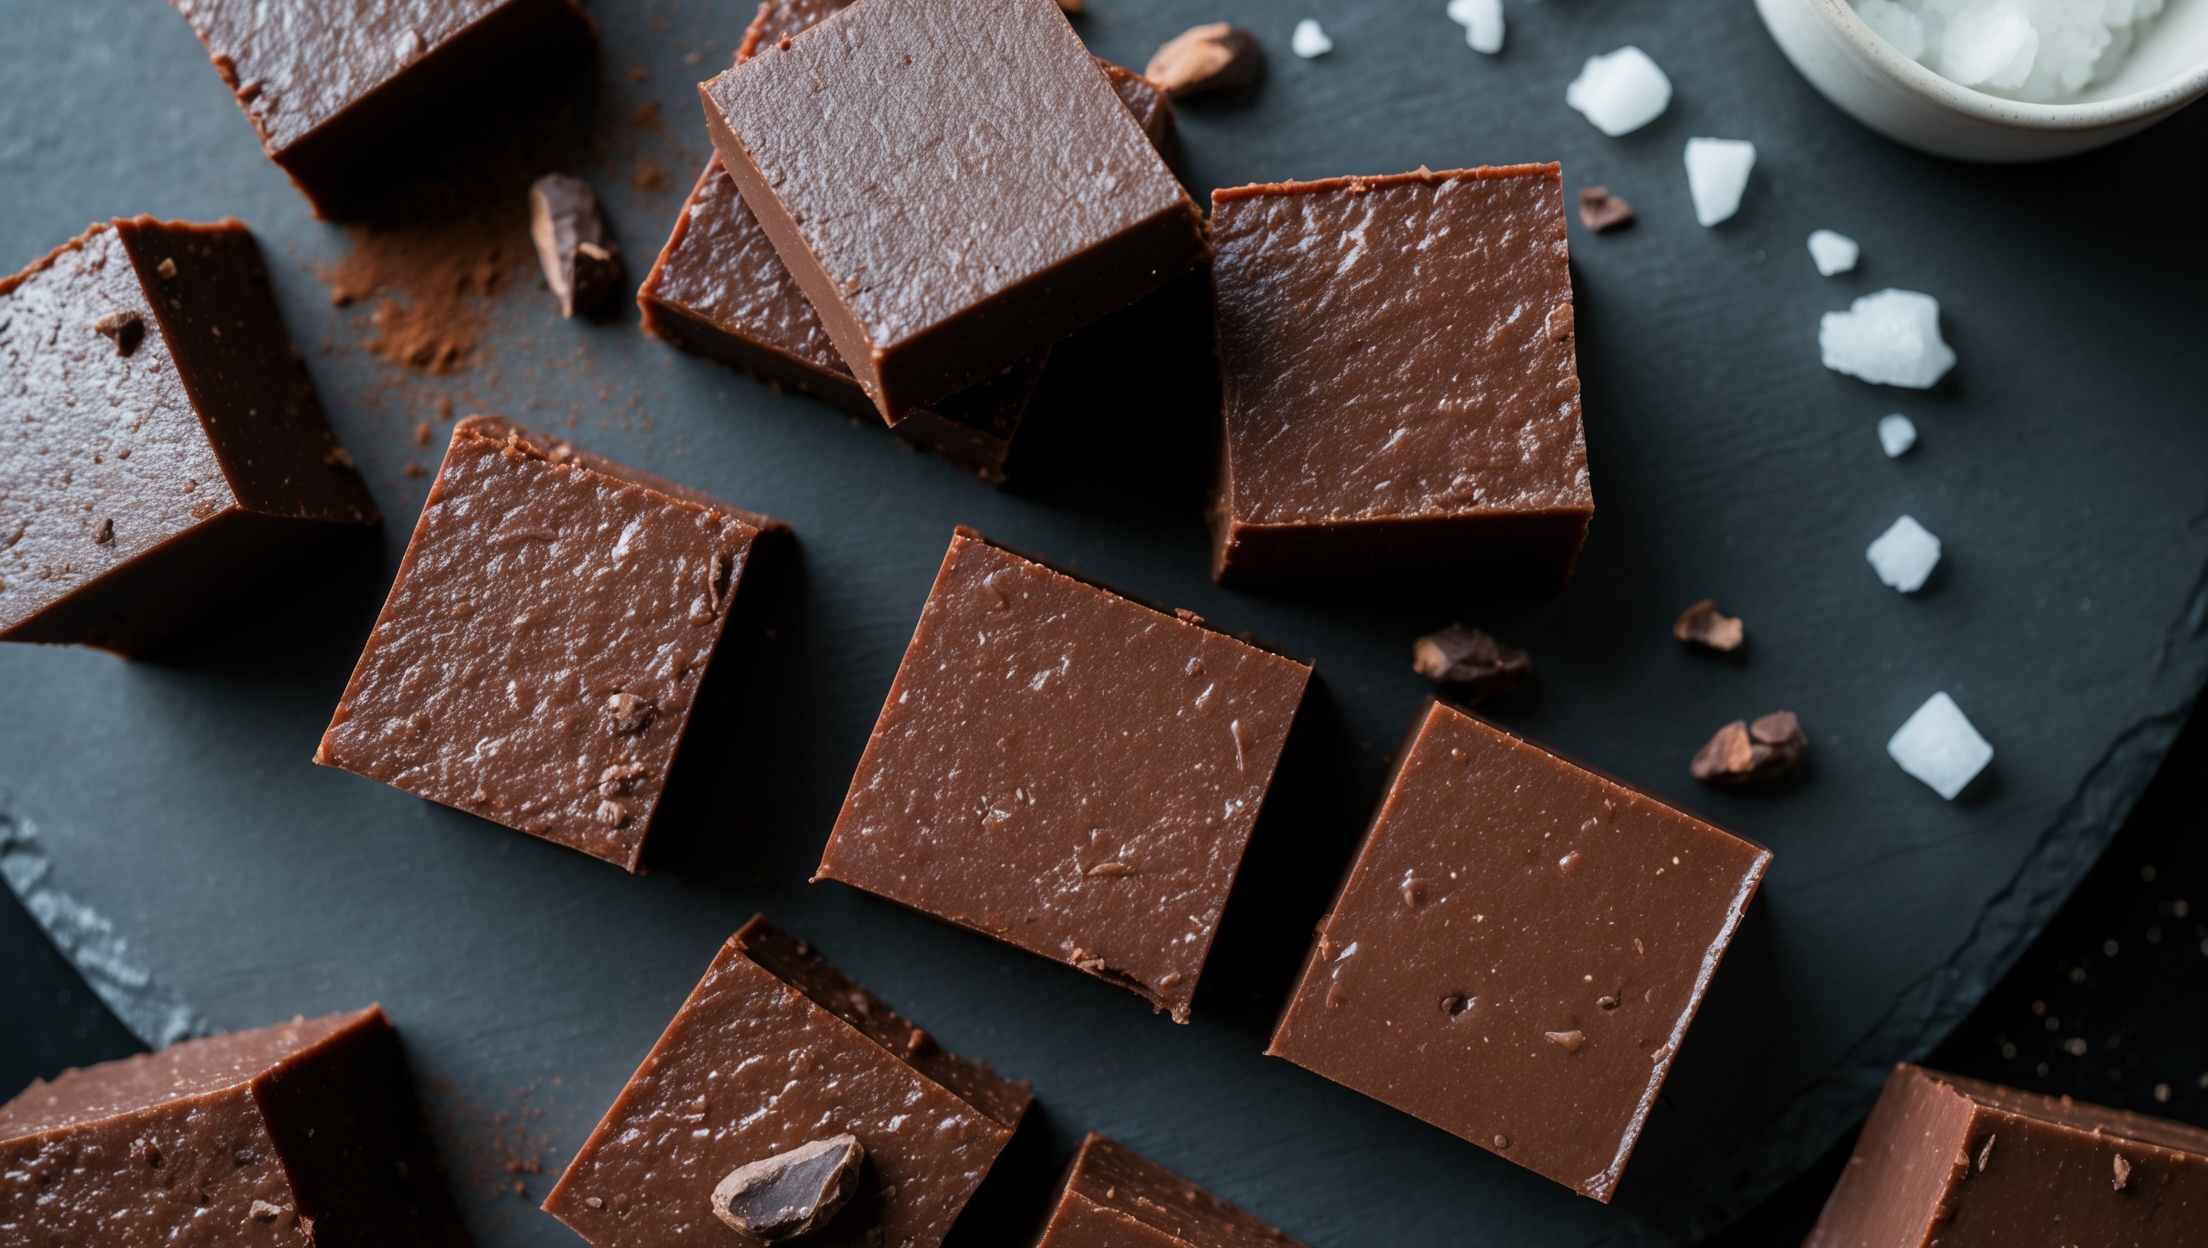
An overhead shot of perfectly cut keto chocolate fudge squares arranged on a matte black slate, their glossy surfaces catching the soft natural light streaming through a nearby window. A close-up reveals the dense, slightly moist texture with tiny flecks of unsweetened chocolate visible throughout. Several pieces are artfully stacked, showcasing the fudge's firm yet yielding consistency, while others remain scattered alongside decorative elements of cacao nibs and a light dusting of unsweetened cocoa powder. The rich, deep chocolate color contrasts beautifully against a small white ceramic dish of sea salt flakes nearby, suggesting the perfect sweet-salty finish that enhances the fudge's intense chocolate profile.

Ingredients

<ul class="ingredients-main-list"><li class="ingredients-single-item">200g unsalted butter</li><li class="ingredients-single-item">100g cream cheese, softened</li><li class="ingredients-single-item">75g unsweetened cocoa powder</li><li class="ingredients-single-item">100g powdered erythritol (or powdered monk fruit sweetener)</li><li class="ingredients-single-item">1 tsp vanilla extract</li><li class="ingredients-single-item">1/4 tsp sea salt</li><li class="ingredients-single-item">50g sugar-free dark chocolate chips (optional)</li></ul>

Equipment

<ul class="equipment-main-list"><li class="equipment-single-item">20cm square baking tin</li><li class="equipment-single-item">Baking paper</li><li class="equipment-single-item">Medium saucepan</li><li class="equipment-single-item">Silicone spatula</li></ul>
BAKE SMARTER

Kitchen Converter

Quickly switch between common baking units without leaving the recipe.

Convert
Result—

Volume uses US cups, tablespoons, and teaspoons. Converting weight to volume depends on the ingredient.

Directions

<ol class="no-list-style"><li class="MethodStepper"><h4 class="step-title">Step 1</h4>Line your 20cm square baking tin with baking paper, allowing some overhang on the sides to easily lift the fudge out later. This preparation step is crucial for clean removal.</li><li class="MethodStepper"><h4 class="step-title">Step 2</h4>In a medium saucepan over low heat, melt the butter completely, stirring occasionally with your silicone spatula. Keep the heat gentle to avoid burning the butter, which would create bitter notes in your fudge.</li><li class="MethodStepper"><h4 class="step-title">Step 3</h4>Once the butter has melted, add the softened cream cheese and whisk vigorously until completely smooth and no lumps remain. The cream cheese adds a wonderful creaminess while helping the fudge maintain its structure without sugar.</li><li class="MethodStepper"><h4 class="step-title">Step 4</h4>Remove the pan from heat and add the cocoa powder, powdered erythritol, vanilla extract, and salt. Stir until the mixture is completely smooth and glossy. The heat from the melted butter helps dissolve the sweetener, creating a silky texture.</li><li class="MethodStepper"><h4 class="step-title">Step 5</h4>If using chocolate chips, fold them in now. They'll partially melt, creating beautiful pockets of intense chocolate flavor throughout your fudge. The residual heat will be enough to incorporate them without fully melting.</li><li class="MethodStepper"><h4 class="step-title">Step 6</h4>Pour the mixture into your prepared tin, smoothing the top with your spatula for an even surface. Tap the tin gently on your counter a few times to release any air bubbles trapped in the mixture.</li><li class="MethodStepper"><h4 class="step-title">Step 7</h4>Refrigerate for at least 2 hours, or until completely firm. The cooling process allows the fats to solidify, creating that perfect fudgy texture. For best results, leave it overnight.</li><li class="MethodStepper"><h4 class="step-title">Step 8</h4>Once set, remove from the tin using the paper overhang and place on a cutting board. With a sharp knife, cut into 16 even squares. For clean cuts, warm your knife under hot water and wipe dry between slices.</li><li class="MethodStepper"><h4 class="step-title">Step 9</h4>Store your keto chocolate fudge in an airtight container in the refrigerator for up to 1 week, or freeze for up to 3 months. Allow frozen fudge to thaw in the refrigerator before serving for the best texture experience.</li></ol>

Chef’s Notes

A few helpful details for making this recipe.

Can I use a different sweetener for sugar-free chocolate fudge?

Yes, you can substitute the powdered erythritol with other keto-friendly sweeteners like stevia, allulose, or monk fruit blends. Ensure it's in powdered form for proper dissolution and texture. Adjust quantities to taste, as sweeteners vary in intensity and may affect the final texture.

Why does my low-carb chocolate fudge have a gritty texture?

Grittiness in keto fudge often results from undissolved sweetener. Use powdered (not granular) sweeteners and ensure thorough mixing while the mixture is warm. Some erythritol-based sweeteners may recrystallize upon cooling - adding cream cheese helps minimize this effect.

How do I prevent my chocolate fudge from being too soft on a ketogenic diet?

For firmer keto chocolate fudge, ensure proper refrigeration (minimum 2 hours), use the correct butter-to-cocoa ratio, add unsweetened chocolate or cacao butter for stability, and store in the refrigerator. The cream cheese component also adds structural integrity without adding carbs.

Want to try something else in ...

More recipes you might like

Keep exploring with more recipes from What's Baking.