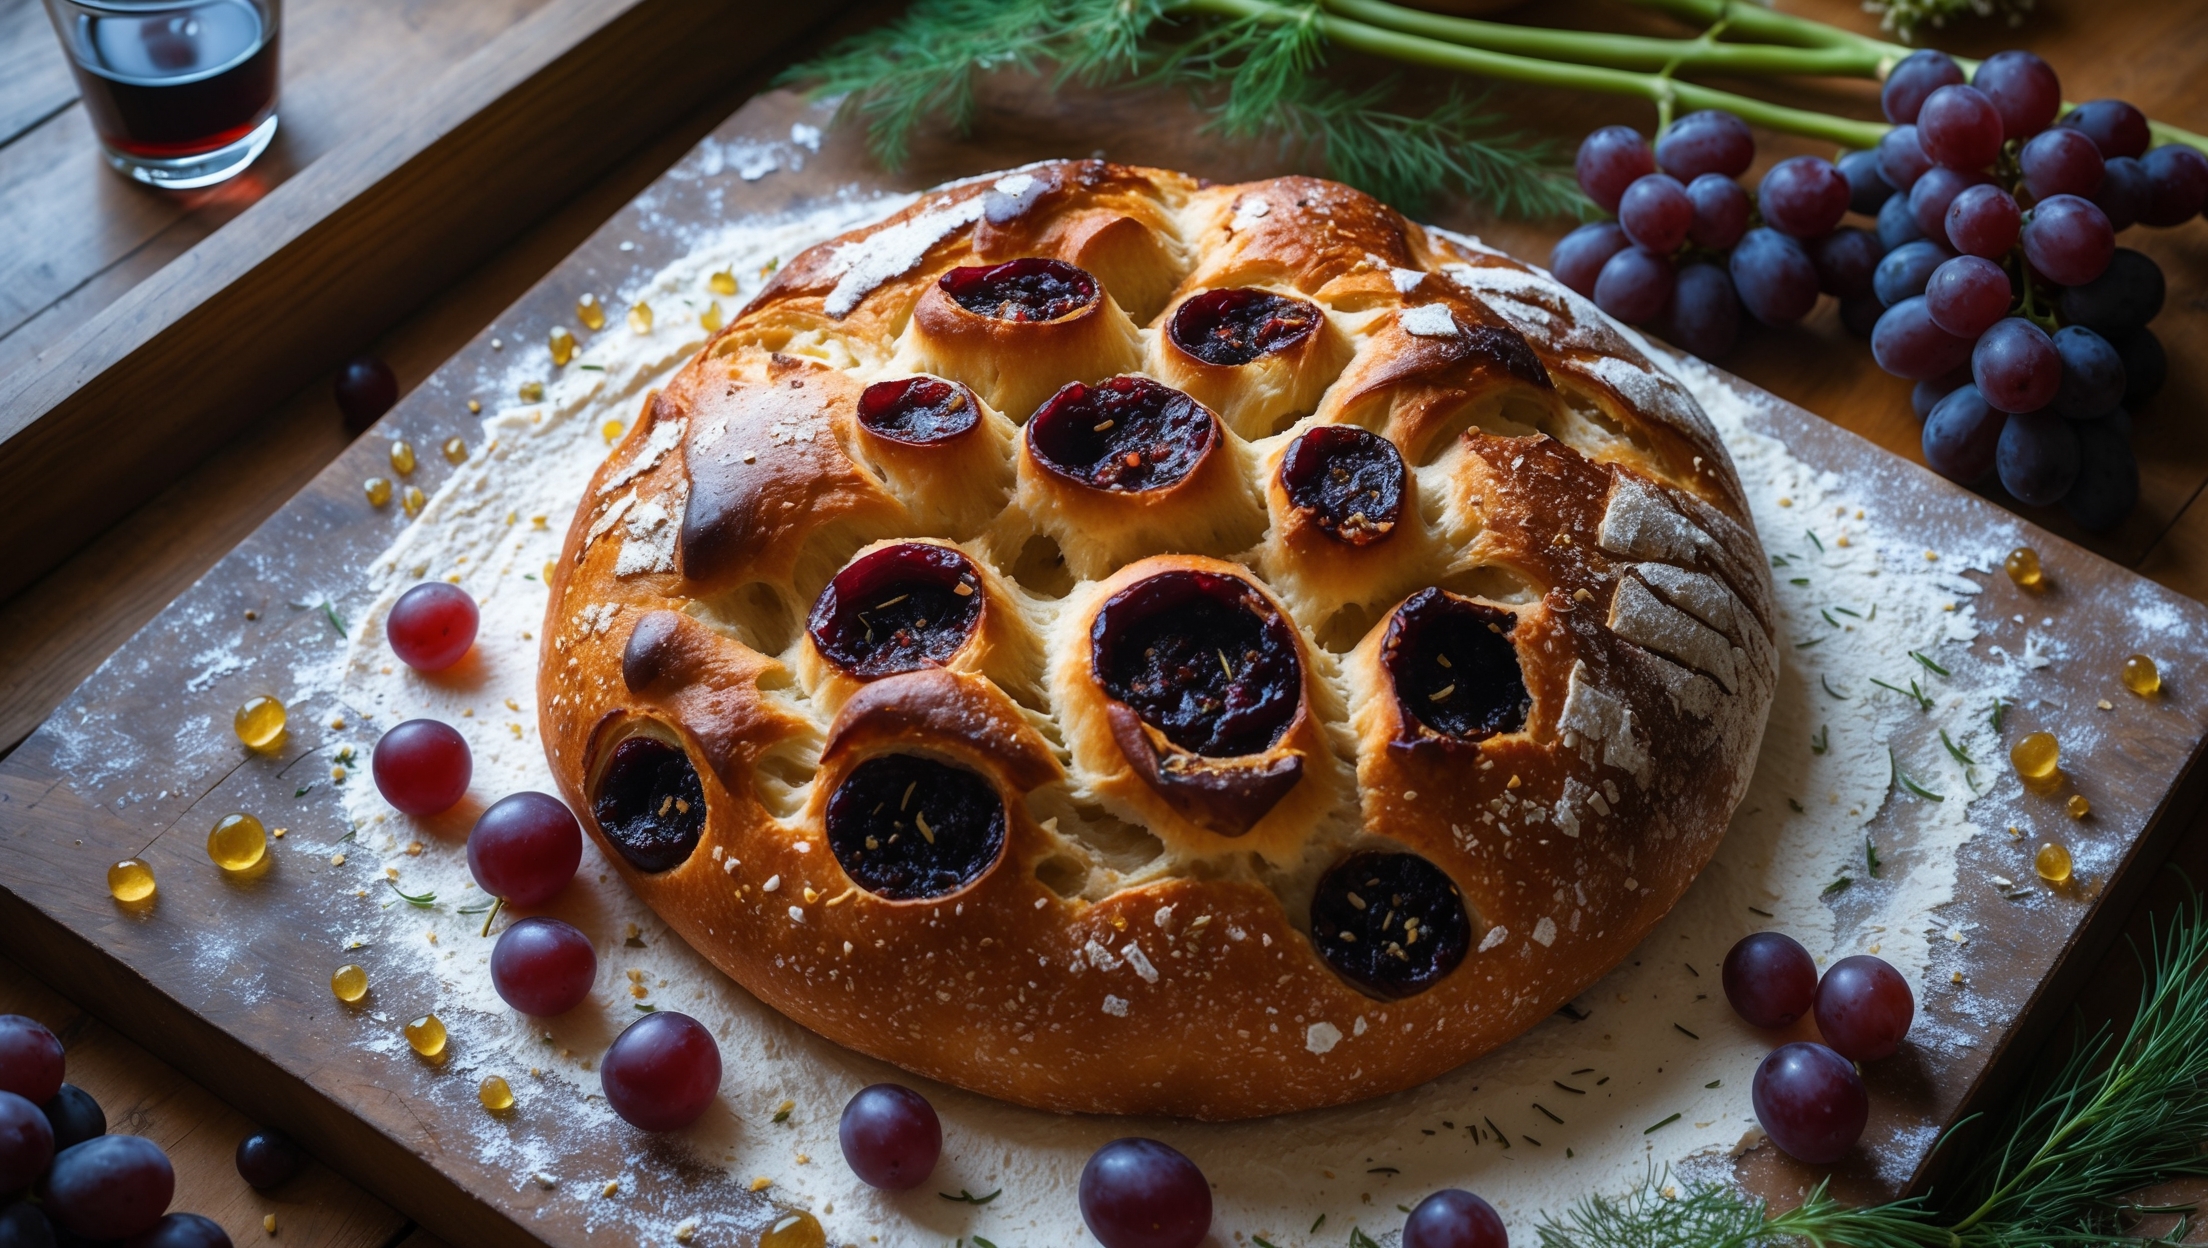
Directions
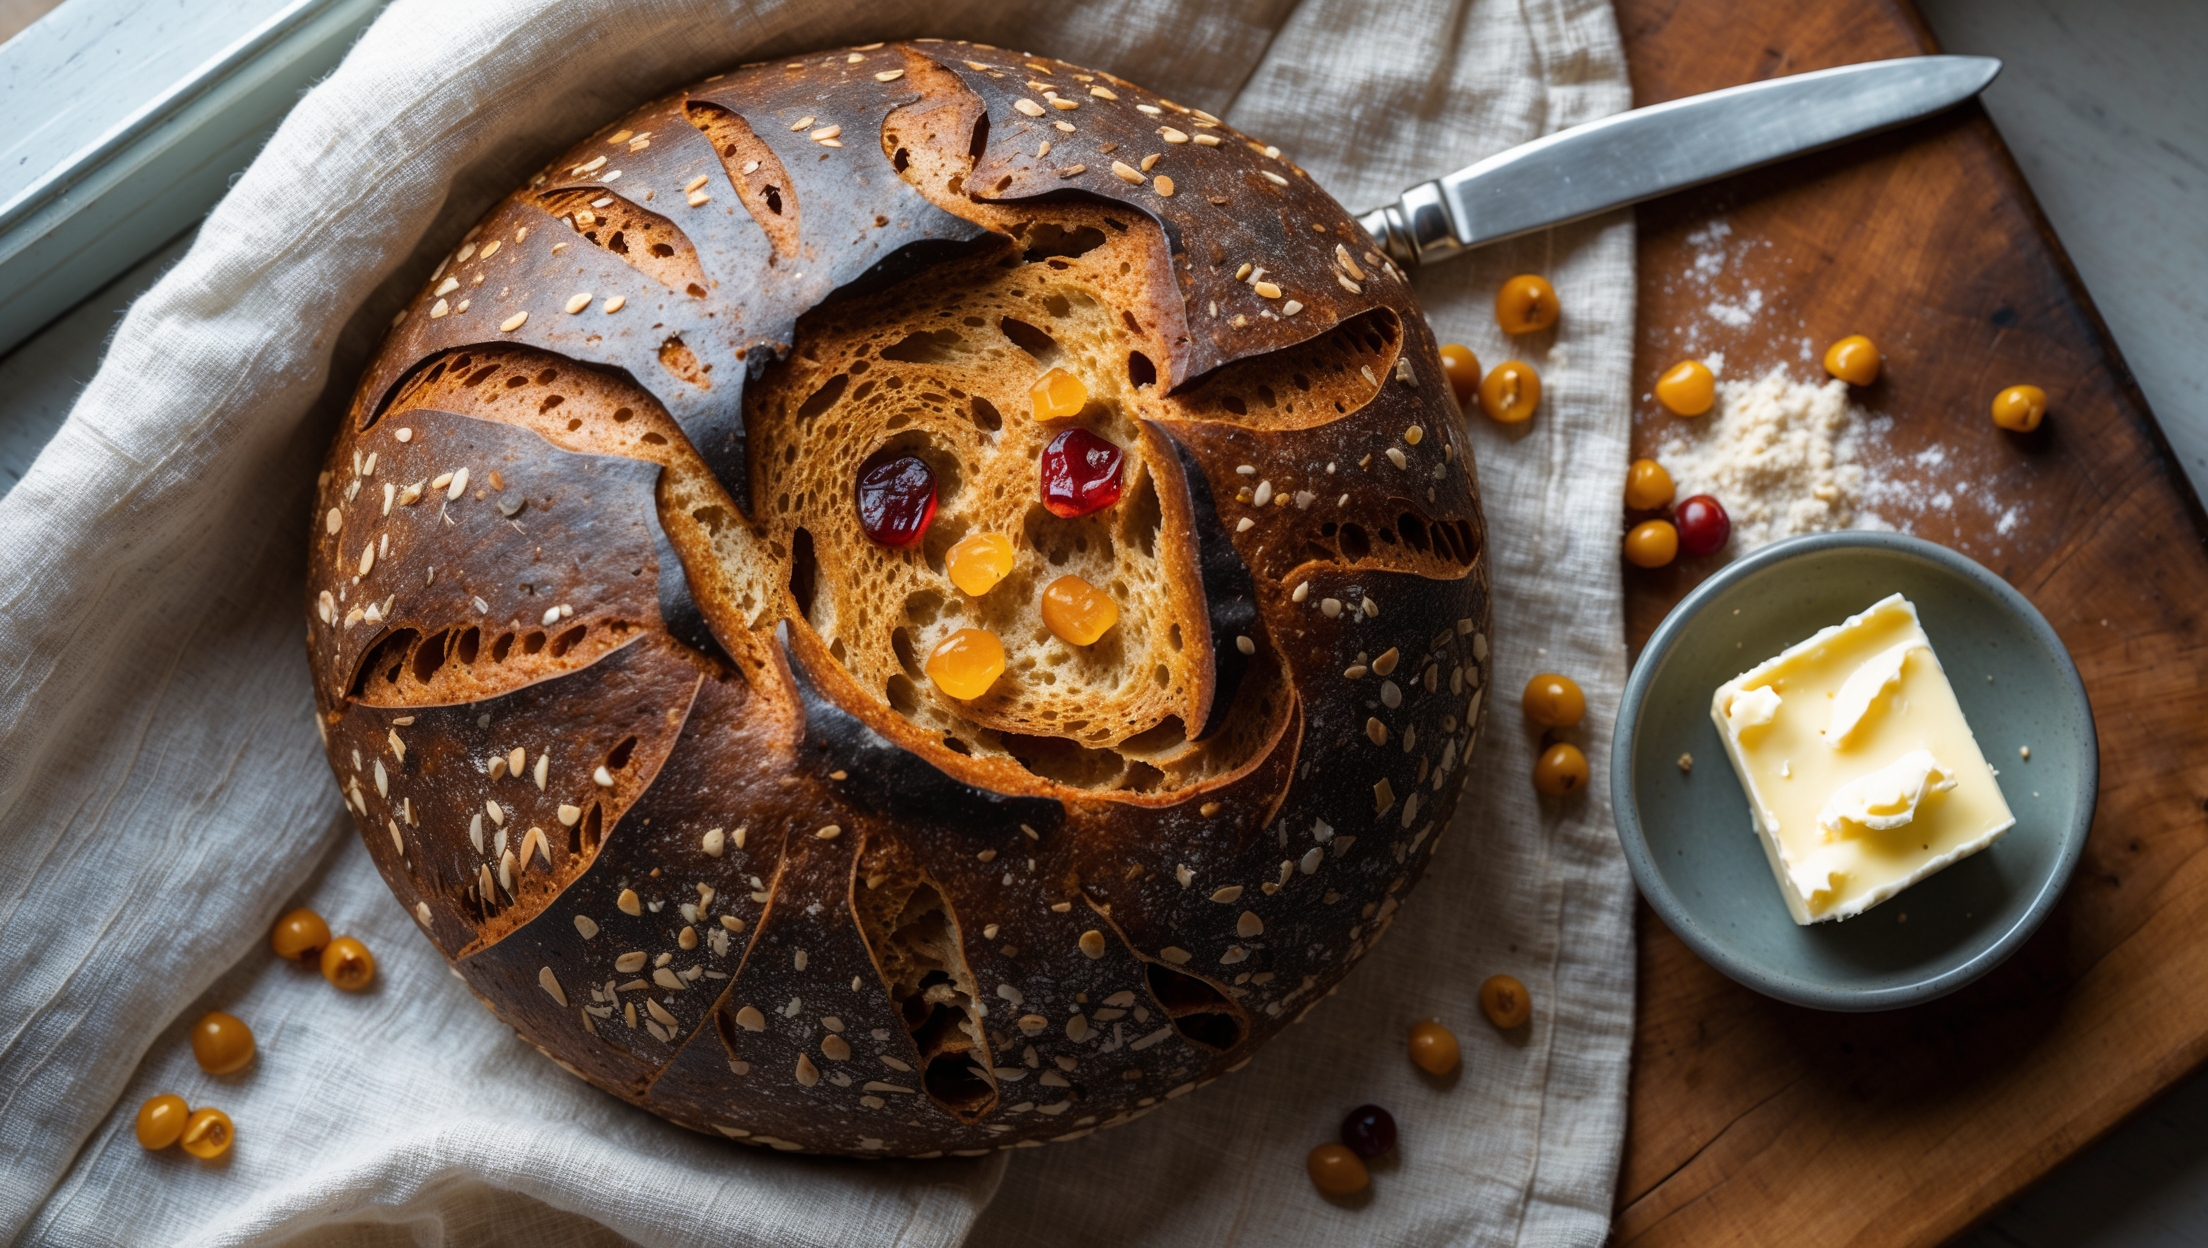
<ol class="no-list-style"><li class="MethodStepper"><h4 class="step-title">Step 1</h4>In a large mixing bowl, combine the bread flour, instant yeast, and salt, keeping the salt and yeast separate initially as direct contact can inhibit yeast activity. Make a well in the center of the dry ingredients.</li><li class="MethodStepper"><h4 class="step-title">Step 2</h4>Pour the lukewarm water (about 35°C/95°F - warm but not hot to touch) and olive oil into the well. Using a wooden spoon, mix everything together until you have a shaggy, sticky dough with no dry flour remaining. The dough will look quite rough at this stage - that's perfect!</li><li class="MethodStepper"><h4 class="step-title">Step 3</h4>Cover the bowl with a damp kitchen towel or plastic wrap and let the dough rest for 30 minutes. This autolyse period allows the flour to fully hydrate and begins gluten development without kneading.</li><li class="MethodStepper"><h4 class="step-title">Step 4</h4>Pat the olives dry thoroughly with paper towels to remove excess brine, which could make your dough too wet. Roughly chop them and combine with the chopped rosemary and thyme in a small bowl.</li><li class="MethodStepper"><h4 class="step-title">Step 5</h4>After the dough has rested, add the olive and herb mixture. Using a wet hand (to prevent sticking), fold the dough over itself repeatedly, turning the bowl quarter turns as you go, until the olives and herbs are evenly distributed throughout. This folding action develops gluten while incorporating your mix-ins.</li><li class="MethodStepper"><h4 class="step-title">Step 6</h4>Cover the bowl again and let the dough rise in a warm place (around 24°C/75°F) for 1-1.5 hours, or until it has doubled in size. The dough is ready when it holds an indentation when gently poked with a finger rather than springing back completely.</li><li class="MethodStepper"><h4 class="step-title">Step 7</h4>Once doubled, gently turn the dough out onto a lightly floured surface, taking care not to deflate it too much. The carbon dioxide trapped in the dough creates those lovely air pockets in your finished bread, so handle with care!</li><li class="MethodStepper"><h4 class="step-title">Step 8</h4>Using floured hands, shape the dough by gently folding the edges toward the center, then flip it over so the seam side is down. Cup your hands around the dough and rotate it in circular motions on the counter, creating surface tension that will help it hold its shape. The final shape should be a round boule.</li><li class="MethodStepper"><h4 class="step-title">Step 9</h4>Place the shaped dough on a piece of parchment paper dusted with semolina or cornmeal (this prevents sticking and adds a pleasant crunch to the bottom crust). Lightly dust the top with flour, cover with a clean kitchen towel, and let it rise for another 45-60 minutes until puffy.</li><li class="MethodStepper"><h4 class="step-title">Step 10</h4>Meanwhile, place your Dutch oven or heavy casserole dish (with lid) in the oven and preheat to 230°C (450°F). The preheated pot creates a steam environment essential for developing a crackling crust.</li><li class="MethodStepper"><h4 class="step-title">Step 11</h4>When the dough is ready, make a few decorative slashes across the top using a sharp knife, razor blade, or bread lame. This isn't just for appearance - these cuts allow the bread to expand properly during baking.</li><li class="MethodStepper"><h4 class="step-title">Step 12</h4>Carefully remove the hot Dutch oven from the oven (use good oven mitts!). Using the parchment paper as a sling, lower the dough into the hot pot. Brush the top lightly with olive oil for an extra-crispy, flavorful crust.</li><li class="MethodStepper"><h4 class="step-title">Step 13</h4>Cover with the lid and bake for 25 minutes. This covered period traps steam from the dough, creating that characteristic artisan crust. Then remove the lid and bake for another 15 minutes until the bread is deeply golden and sounds hollow when tapped on the bottom.</li><li class="MethodStepper"><h4 class="step-title">Step 14</h4>Transfer the bread to a wire rack and let it cool for at least 1 hour before slicing. I know it's tempting to cut in right away, but this cooling period allows the crumb structure to set and flavors to develop. Cutting too soon can make the bread gummy.</li><li class="MethodStepper"><h4 class="step-title">Step 15</h4>Once cooled, slice and enjoy with a drizzle of quality olive oil, as an accompaniment to soups and stews, or as the base for Mediterranean-inspired sandwiches. Store in a paper bag or bread box for up to 3 days, or freeze sliced for longer storage.</li></ol>