Directions
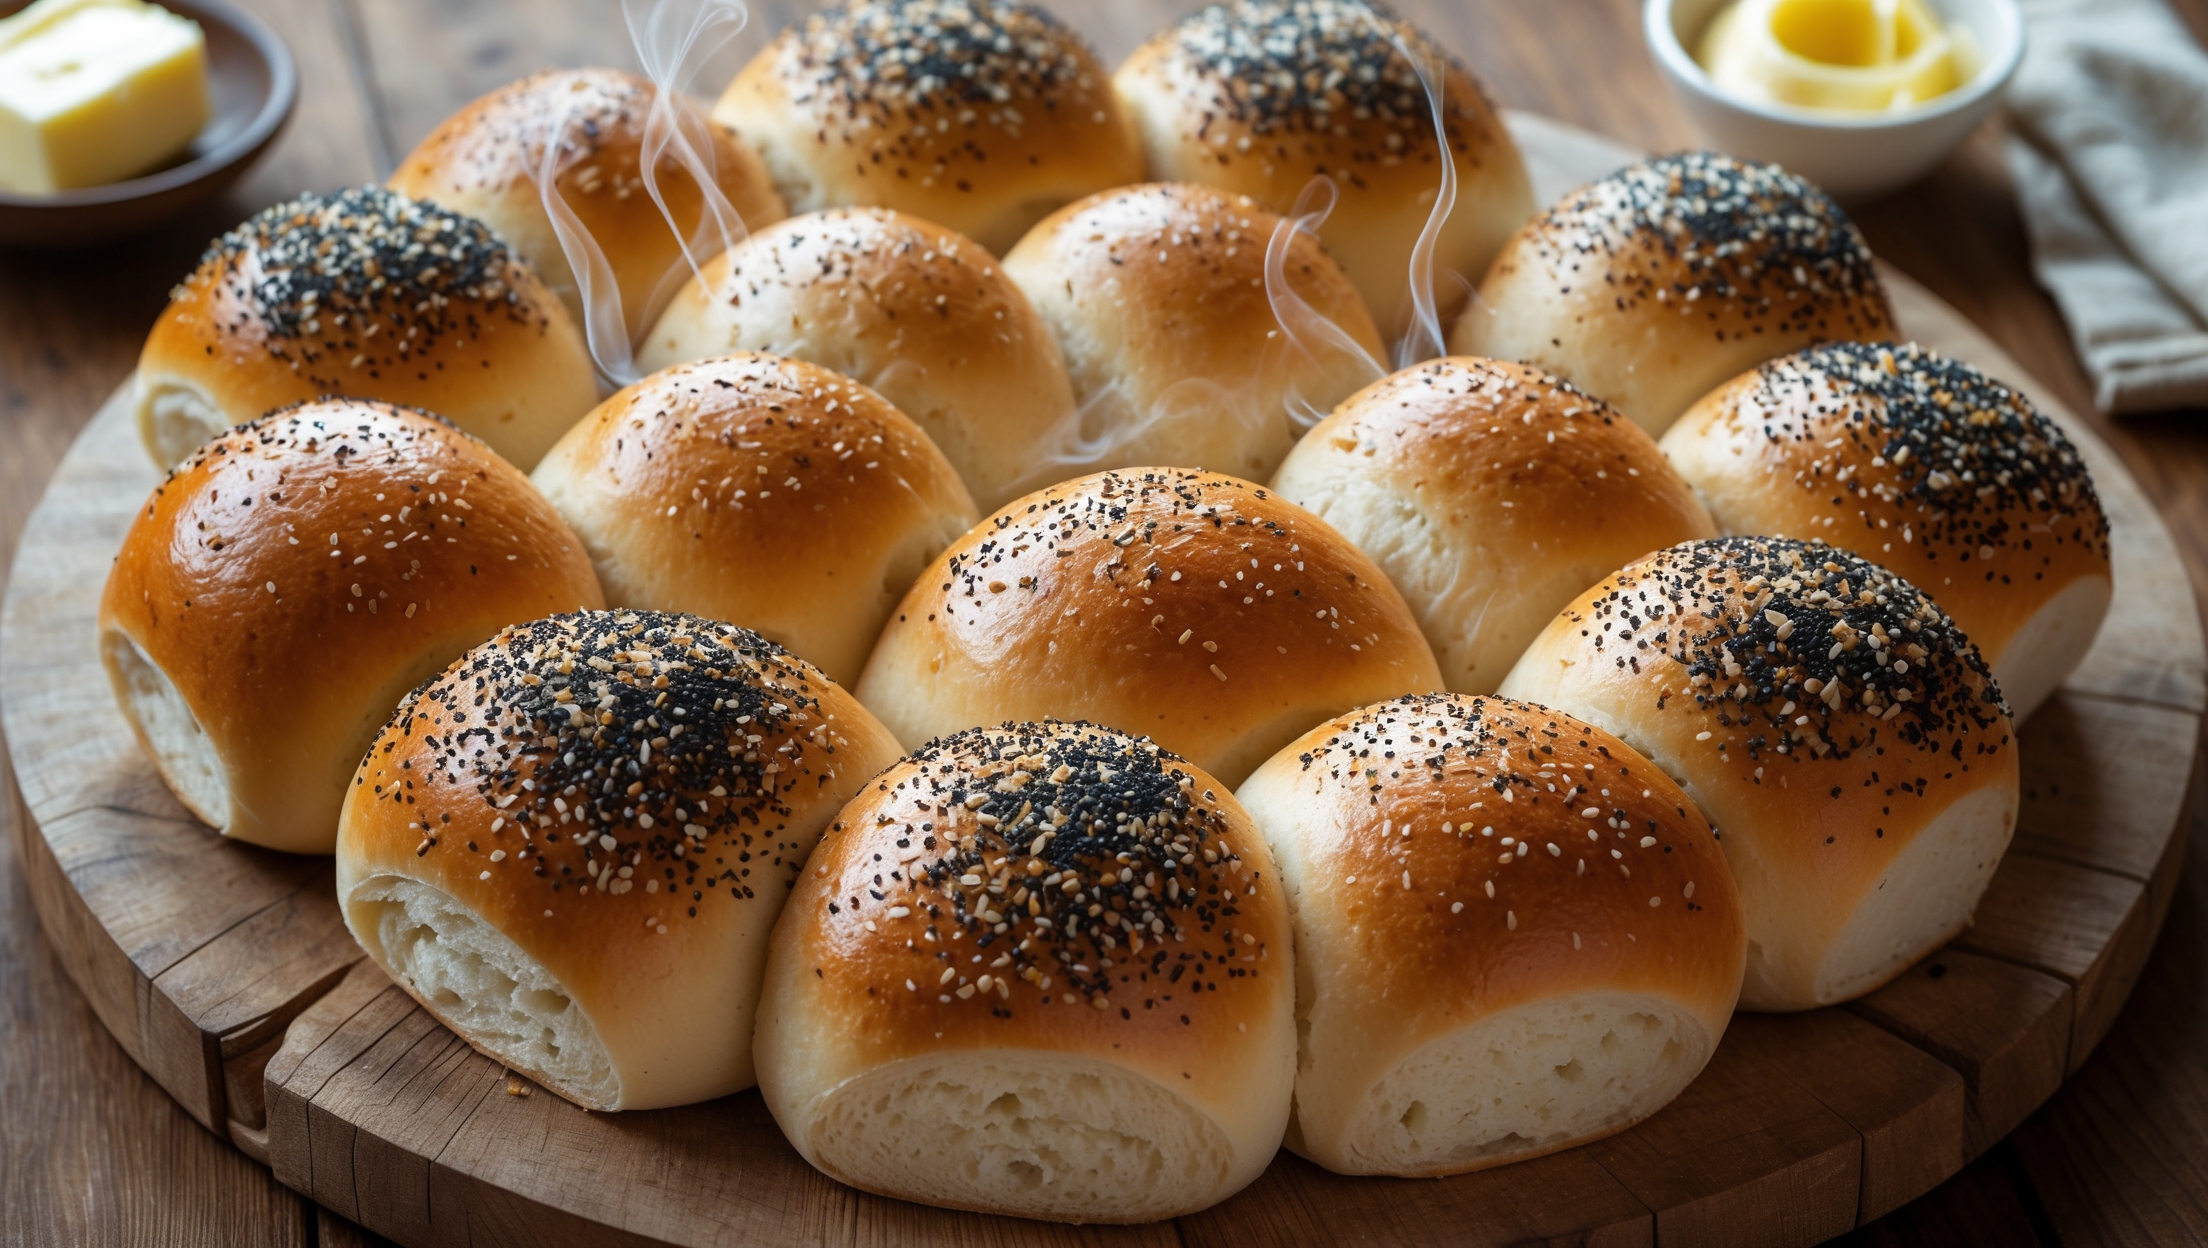
<ol class="no-list-style"><li class="MethodStepper"><h4 class="step-title">Step 1</h4>In a large bowl or the bowl of your stand mixer, combine the flour, yeast, salt, and sugar. Keep the salt and yeast on opposite sides of the bowl initially, as direct contact with salt can inhibit yeast activity. Make a well in the center and add the softened butter and lukewarm water.</li><li class="MethodStepper"><h4 class="step-title">Step 2</h4>Using the dough hook attachment, mix on low speed for 2 minutes until ingredients are incorporated. Increase to medium speed and knead for 8-10 minutes until the dough becomes smooth, elastic, and slightly tacky but not sticky. The dough should pass the windowpane test - when you stretch a small piece, it should form a thin, translucent membrane without tearing. This indicates proper gluten development, essential for that perfect chewy texture.</li><li class="MethodStepper"><h4 class="step-title">Step 3</h4>Transfer the dough to a lightly oiled bowl, turning once to coat the surface. Cover with plastic wrap or a damp cloth and let rise in a warm, draft-free place for 1-1.5 hours, or until doubled in size. The slow rise develops flavor compounds that make these rolls special.</li><li class="MethodStepper"><h4 class="step-title">Step 4</h4>Gently deflate the dough and turn it out onto a lightly floured surface. Divide the dough into 8 equal pieces (about 100-110g each). For perfectly even rolls, use a digital kitchen scale. Shape each piece into a tight ball by pulling the edges toward the center and pinching them together, then rolling under your cupped palm on an unfloured surface to create tension on the top.</li><li class="MethodStepper"><h4 class="step-title">Step 5</h4>To form the traditional Kaiser roll shape, either use a Kaiser stamp or create the pattern by hand: flatten each ball slightly, then using your thumb and index finger, make 5 overlapping folds. Start by folding a small portion of the edge toward the center, then continue folding around in a star pattern, with each fold slightly overlapping the previous one. The final fold should tuck under the first fold. Pinch the center firmly to seal.</li><li class="MethodStepper"><h4 class="step-title">Step 6</h4>Place the shaped rolls on a parchment-lined baking sheet, seam-side down, leaving about 5cm between each roll to allow for expansion. Cover loosely with oiled plastic wrap and let rise for 30-45 minutes, until puffy but not quite doubled. Meanwhile, preheat your oven to 220°C (425°F). If using a baking stone, place it in the oven while preheating.</li><li class="MethodStepper"><h4 class="step-title">Step 7</h4>Just before baking, gently brush the tops with beaten egg white (this creates a shiny, crisp crust) and sprinkle with poppy or sesame seeds if desired. Using a sharp knife or razor, make a small slash in each fold of the star pattern to help the rolls expand evenly during baking.</li><li class="MethodStepper"><h4 class="step-title">Step 8</h4>Place the rolls in the preheated oven and immediately spray the oven walls with water or place a small ovenproof dish with boiling water on the bottom rack. This creates steam, which helps develop a crispy crust. Bake for 18-20 minutes until the rolls are deep golden brown and sound hollow when tapped on the bottom.</li><li class="MethodStepper"><h4 class="step-title">Step 9</h4>Transfer the baked Kaiser rolls to a wire rack to cool completely. The cooling process is important - if you cut into them too soon, the steam escaping can make the interior gummy. Wait at least 20 minutes before serving for the best texture. Enjoy your homemade Kaiser rolls fresh, or store in an airtight container for up to 2 days. For longer storage, freeze in a ziplock bag for up to 1 month and refresh in a 180°C oven for 5 minutes before serving.</li></ol>