Honey Whole Wheat Sandwich Bread Recipe
Ingredients
Equipment
Directions
FAQs
Find answers to your most pressing questions about this delicious recipe right here.
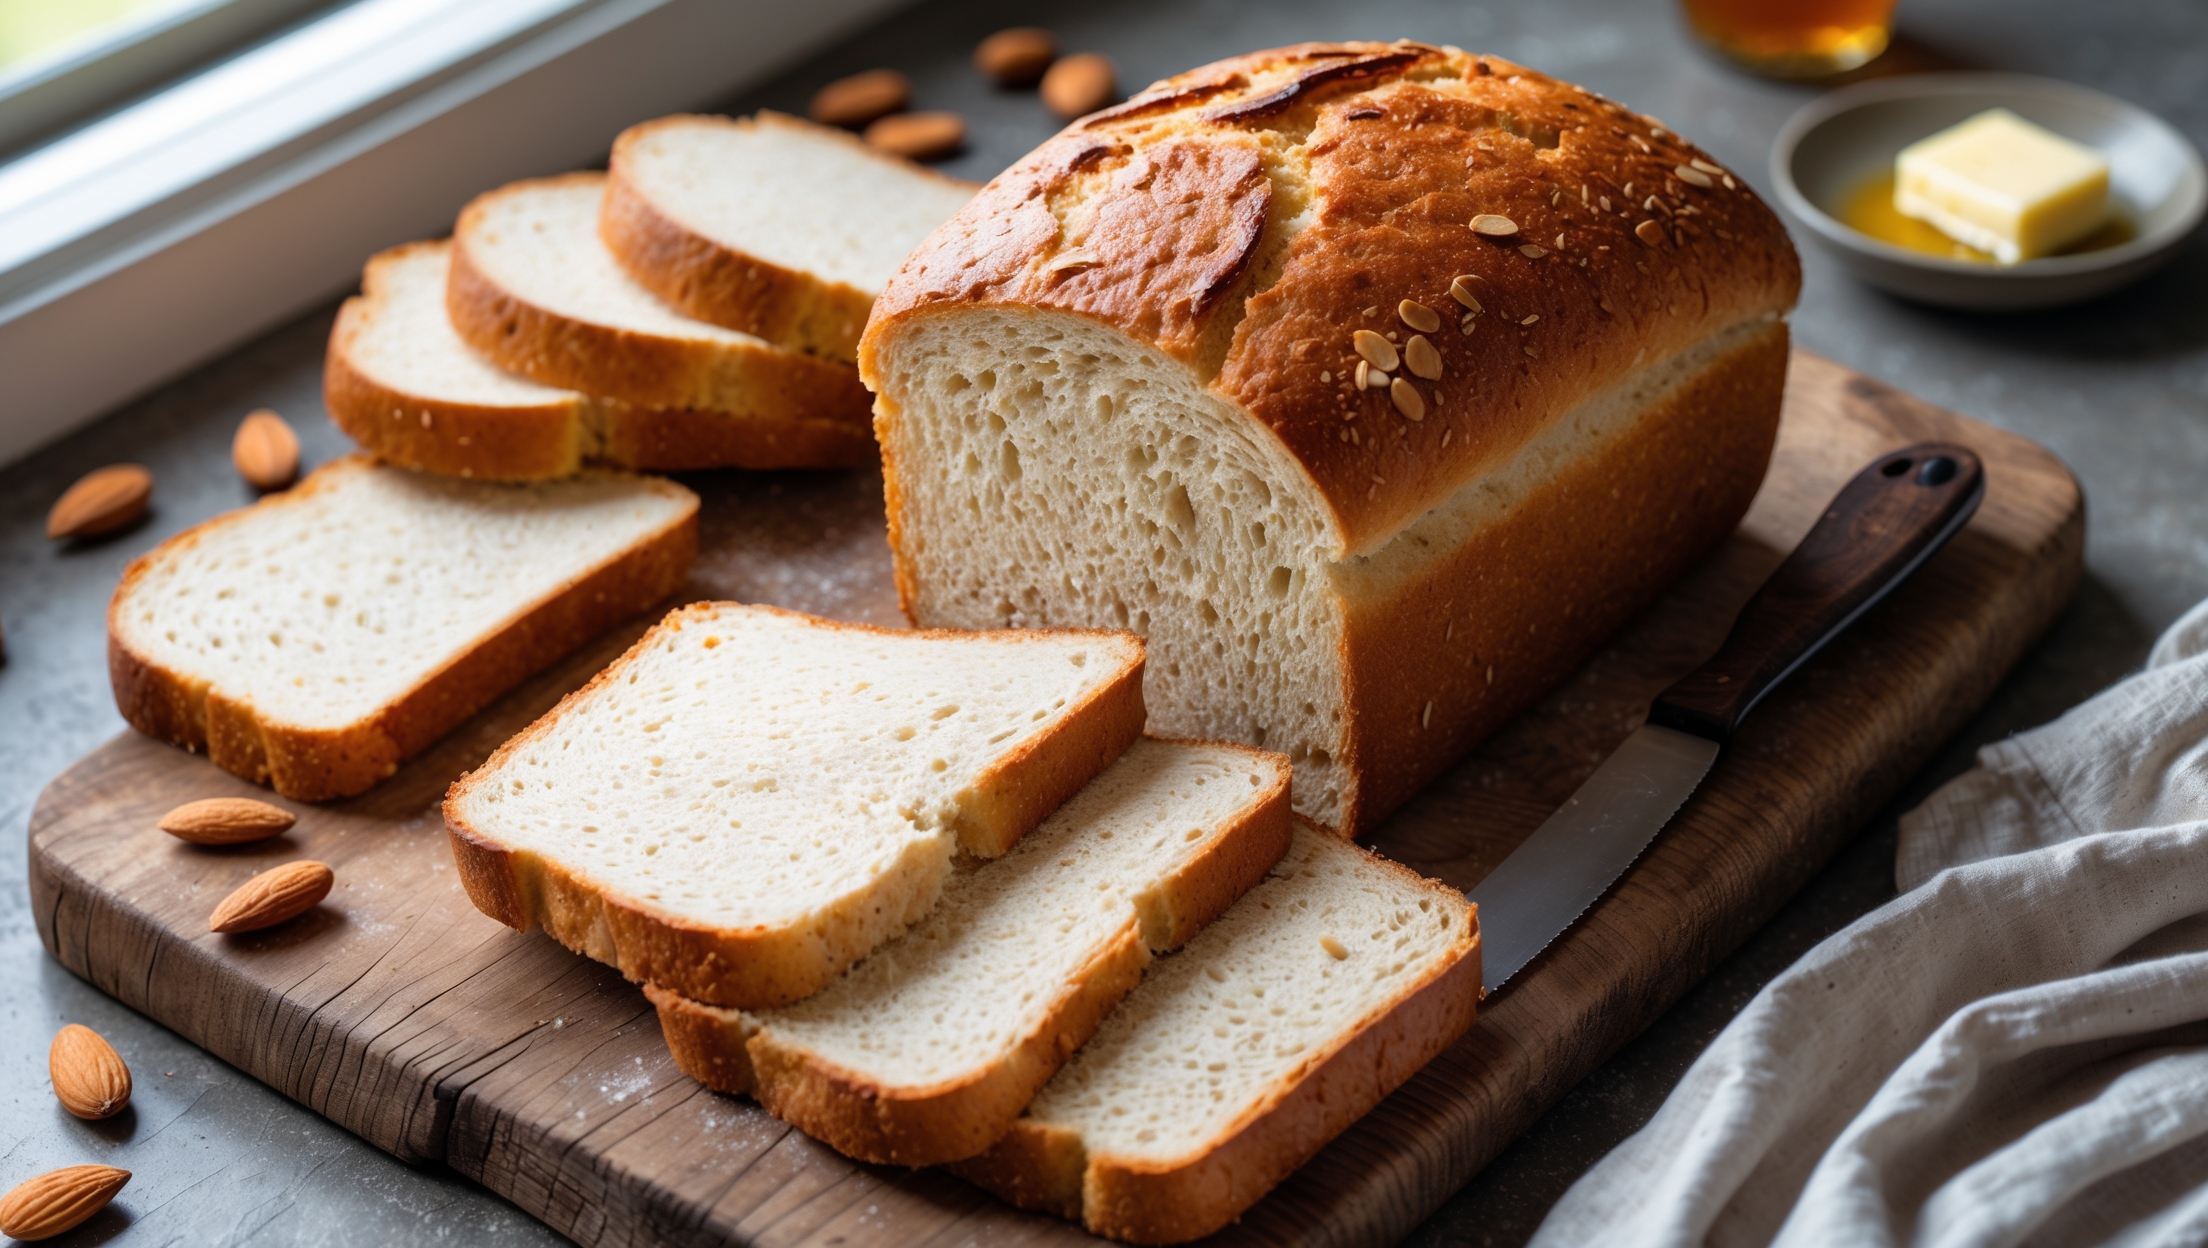
This bread requires whole wheat flour, bread flour, active dry yeast, warm water, honey, unsalted butter, salt, and vegetable oil. The combination of whole wheat and bread flour creates the perfect texture, while honey adds natural sweetness and helps keep the bread moist.
Learn how to cook Honey Whole Wheat Sandwich Bread by activating yeast in warm water and honey, mixing with flours, butter and salt, then kneading until elastic. After the first rise, shape the dough into a loaf, allow for a second rise, and bake at 180°C for about 35 minutes until golden brown and hollow-sounding when tapped.
Using a blend of flours provides the perfect balance between nutrition and texture. Pure whole wheat loaves can be dense and heavy, while the addition of bread flour contributes essential gluten structure that creates a lighter, airier sandwich bread that still maintains whole grain benefits.
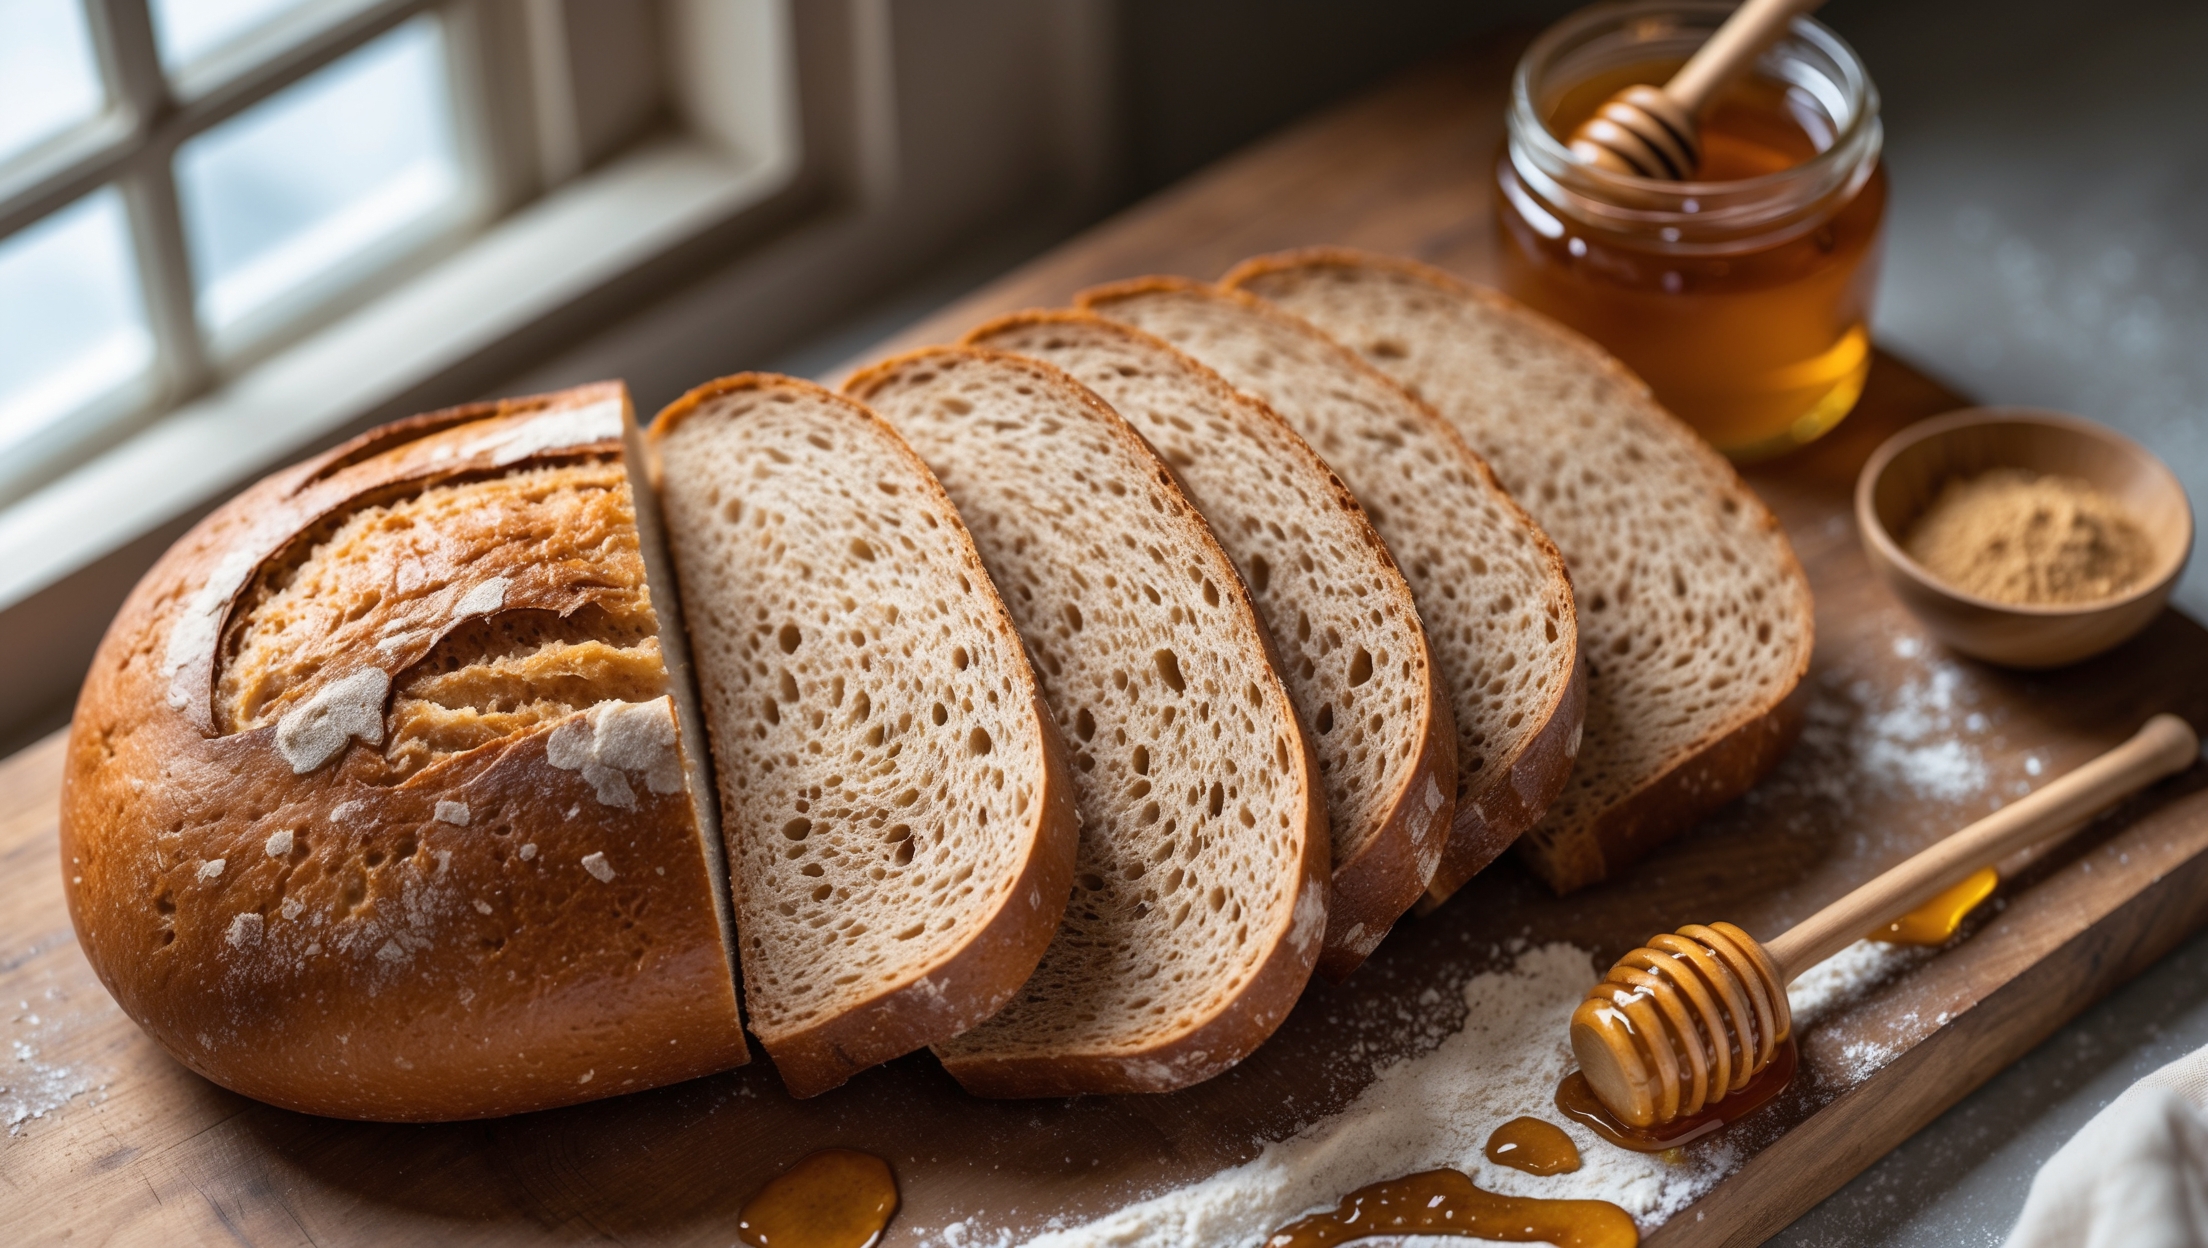
Yes, you can substitute honey with maple syrup, agave nectar, or brown sugar in equal amounts. Each alternative will slightly alter the flavour profile, but they'll all provide the necessary sweetness and help retain moisture in your homemade loaf.
Allow the loaf to cool completely before storing. Keep at room temperature in an airtight container or bread bag for up to 3 days. For longer storage, slice the entire loaf and freeze in a freezer bag for up to 3 months, removing individual slices as needed.
Sandwich Bread
Try following recommended recipes