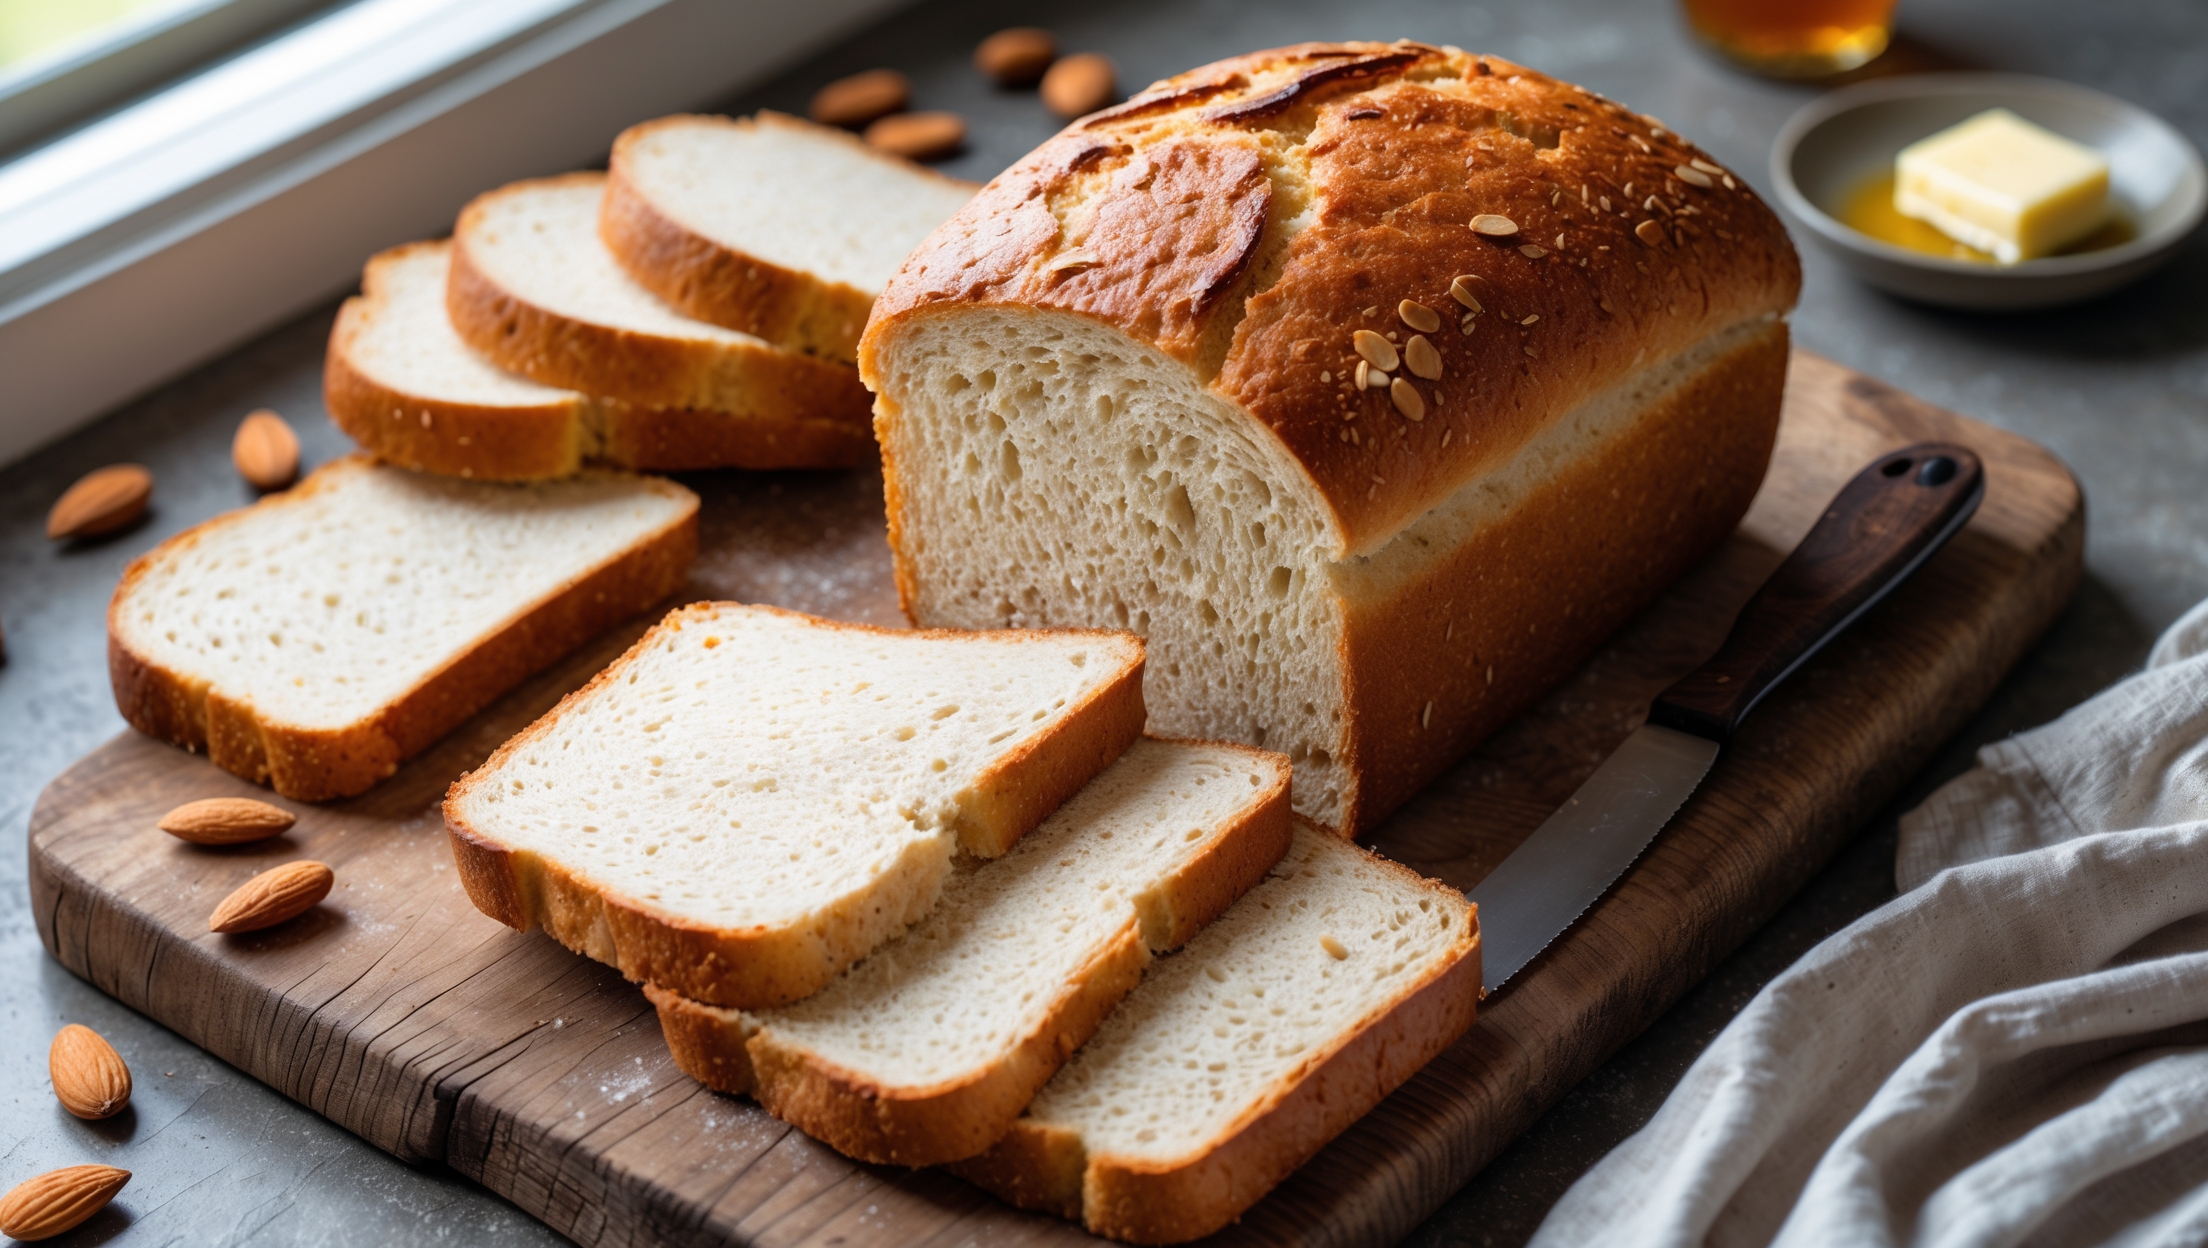
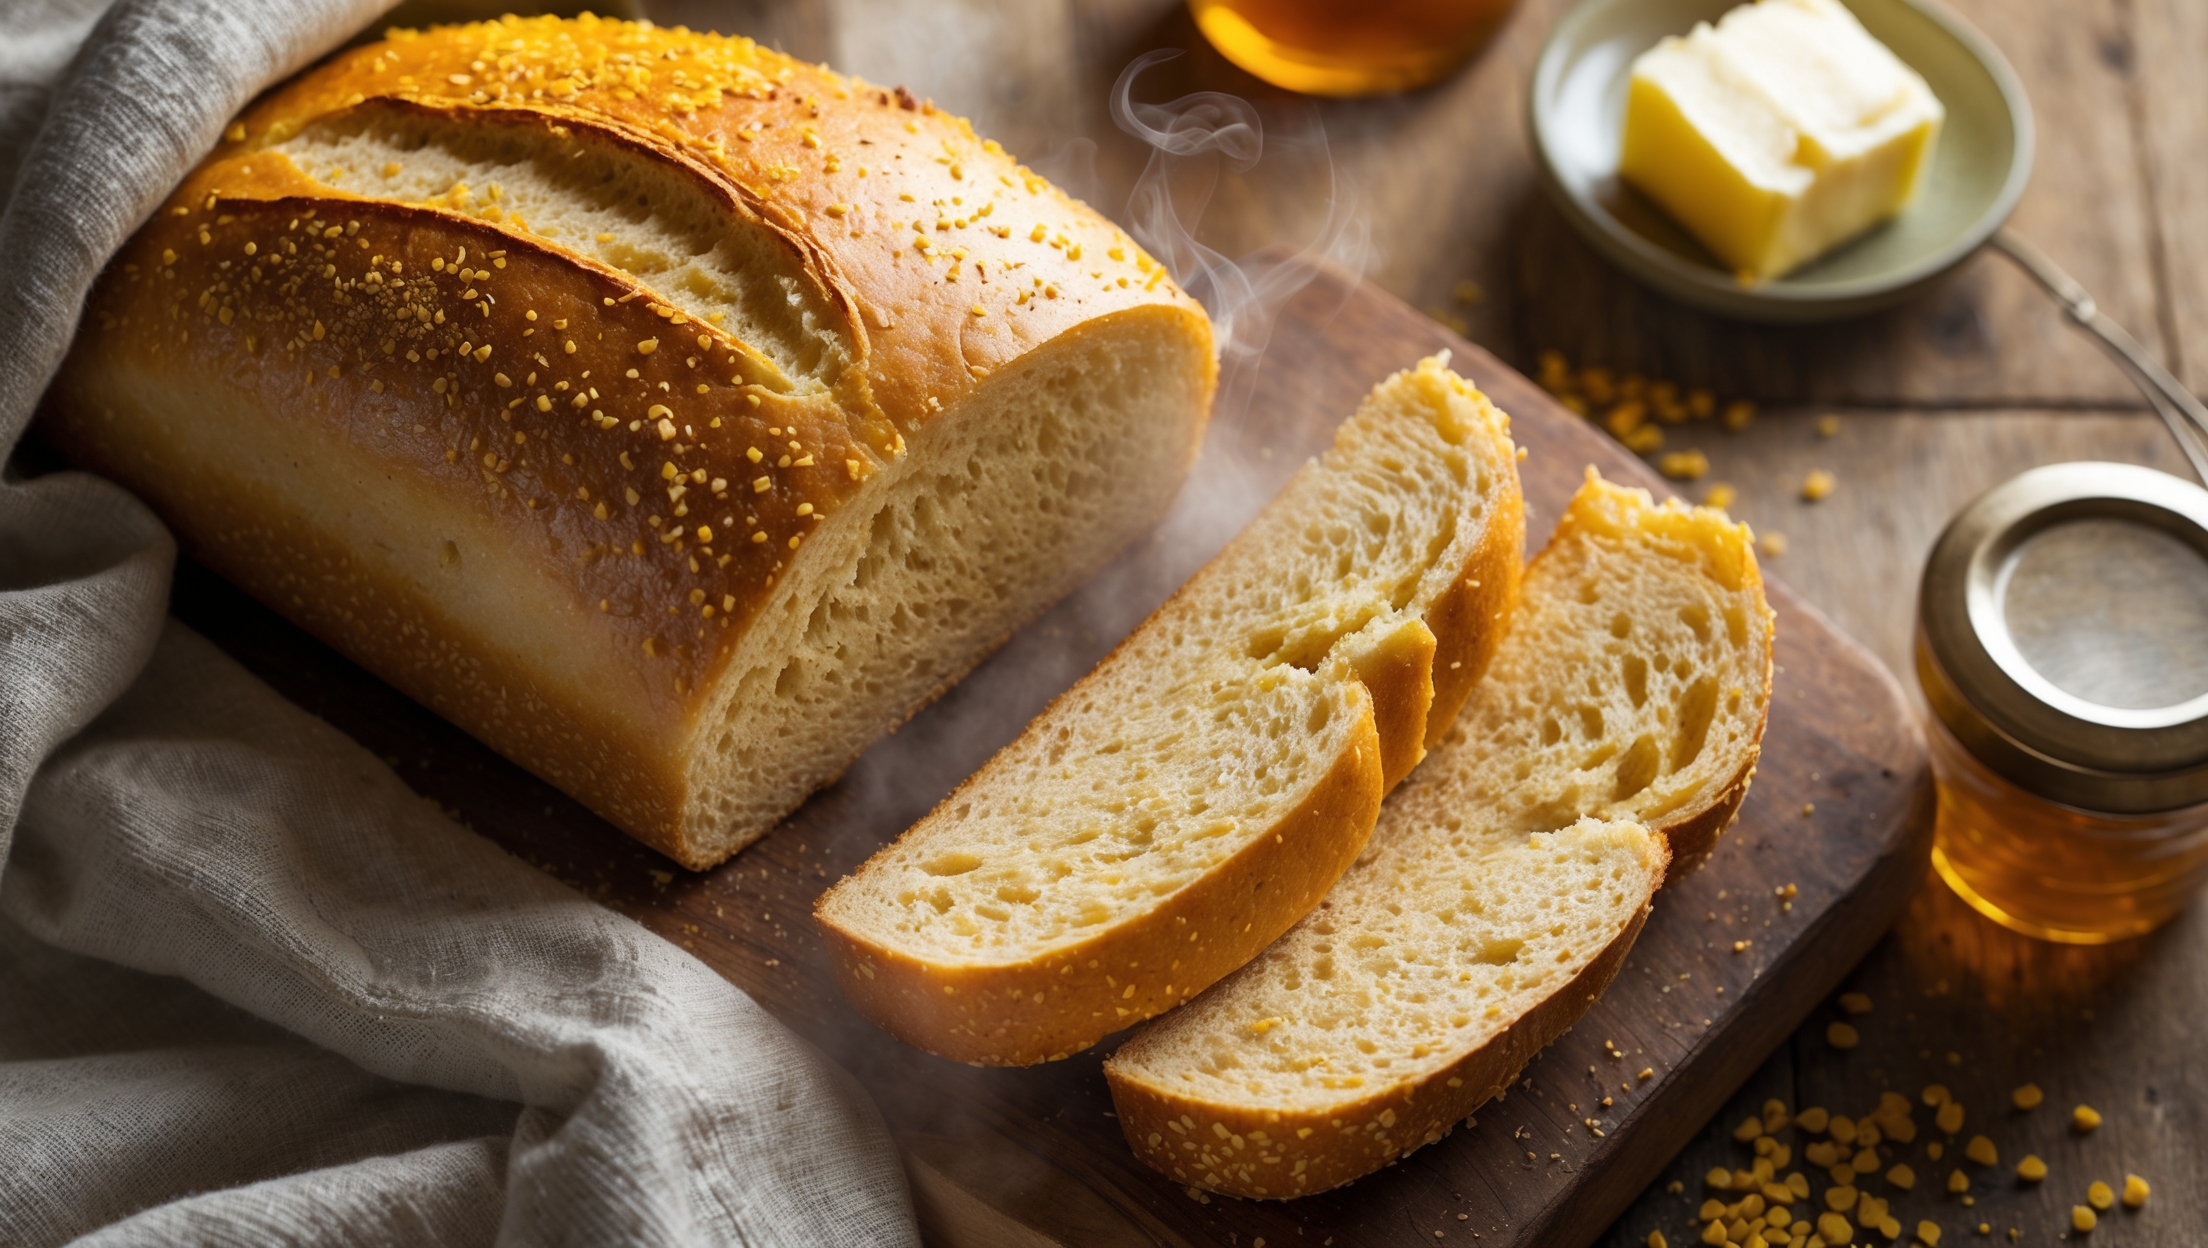
Directions
<ol class="no-list-style"><li class="MethodStepper"><h4 class="step-title">Step 1</h4>Begin by gently crushing 1 tablespoon of the dried lavender in a mortar and pestle or spice grinder - don't pulverize it completely, just enough to release the oils and aromas. Combine this with the warm milk in a small bowl and let it steep for 15 minutes. This infusion is key to distributing the delicate lavender flavor throughout your bread without overwhelming spots.</li><li class="MethodStepper"><h4 class="step-title">Step 2</h4>While the milk steeps, combine the warm water and 1 teaspoon of the honey in a large bowl or the bowl of your stand mixer. Sprinkle the yeast over the top and let it sit for 5-10 minutes until foamy. This proofing step ensures your yeast is active and will help your bread rise properly.</li><li class="MethodStepper"><h4 class="step-title">Step 3</h4>When the yeast is foamy, add the lavender-infused milk (strain it if you prefer, but leaving the bits adds visual appeal), the remaining honey, softened butter, egg, and salt. Mix to combine. Add the flour and the remaining whole lavender buds, then mix on low speed using the dough hook attachment until a shaggy dough forms.</li><li class="MethodStepper"><h4 class="step-title">Step 4</h4>Increase the speed to medium-low and knead for 8-10 minutes until the dough is smooth, elastic, and passes the windowpane test (when stretched, it should be thin enough to see light through without tearing). The dough should feel tacky but not sticky - the proteins in the flour need this kneading time to develop proper gluten structure for a good rise and texture.</li><li class="MethodStepper"><h4 class="step-title">Step 5</h4>Transfer the dough to a lightly oiled bowl, turning once to coat. Cover with a damp cloth or plastic wrap and allow to rise in a warm, draft-free spot until doubled in size, about 1-1.5 hours. The rising time may vary depending on your kitchen's temperature - look for the dough to double rather than strictly timing it.</li><li class="MethodStepper"><h4 class="step-title">Step 6</h4>Once doubled, gently punch down the dough to release excess air bubbles. Turn out onto a lightly floured surface and pat into a rectangle roughly 20×30cm (8×12 inches). Starting from a short end, tightly roll the dough into a log, pinching the seam and ends to seal. This tight rolling creates a beautiful swirled interior structure and helps prevent large air pockets.</li><li class="MethodStepper"><h4 class="step-title">Step 7</h4>Place the shaped loaf seam-side down in a greased 23×13cm (9×5-inch) loaf pan. Cover loosely and let rise again until the dough has crowned about 2.5cm (1 inch) above the rim of the pan, approximately 45-60 minutes. Meanwhile, preheat your oven to 180°C (350°F).</li><li class="MethodStepper"><h4 class="step-title">Step 8</h4>Just before baking, gently brush the top of the loaf with the tablespoon of milk, which will help create a beautiful golden crust. If desired, sprinkle a few additional lavender buds on top for decoration (though they may darken during baking).</li><li class="MethodStepper"><h4 class="step-title">Step 9</h4>Bake in the preheated oven for 40-45 minutes, or until the loaf is deeply golden brown and sounds hollow when tapped on the bottom. If the top begins to brown too quickly, tent with aluminum foil after 25-30 minutes. The internal temperature should reach 90-95°C (195-205°F) when fully baked.</li><li class="MethodStepper"><h4 class="step-title">Step 10</h4>Remove from the oven and immediately turn out onto a wire rack. Allow to cool completely before slicing - I know it's tempting to cut into warm bread, but cooling allows the crumb structure to set properly, resulting in better texture and easier slicing. Store in an airtight container at room temperature for up to 3 days, or freeze sliced for longer storage.</li></ol>