Homemade Oreo Sandwich Cookies Recipe
Ingredients
Equipment
Directions
FAQs
Find answers to your most pressing questions about this delicious recipe right here.
The key ingredients include Dutch-processed cocoa powder, all-purpose flour, butter, granulated sugar, and an egg for the cookies. For the cream filling, you'll need butter, powdered sugar, heavy cream, vanilla extract and a pinch of salt.
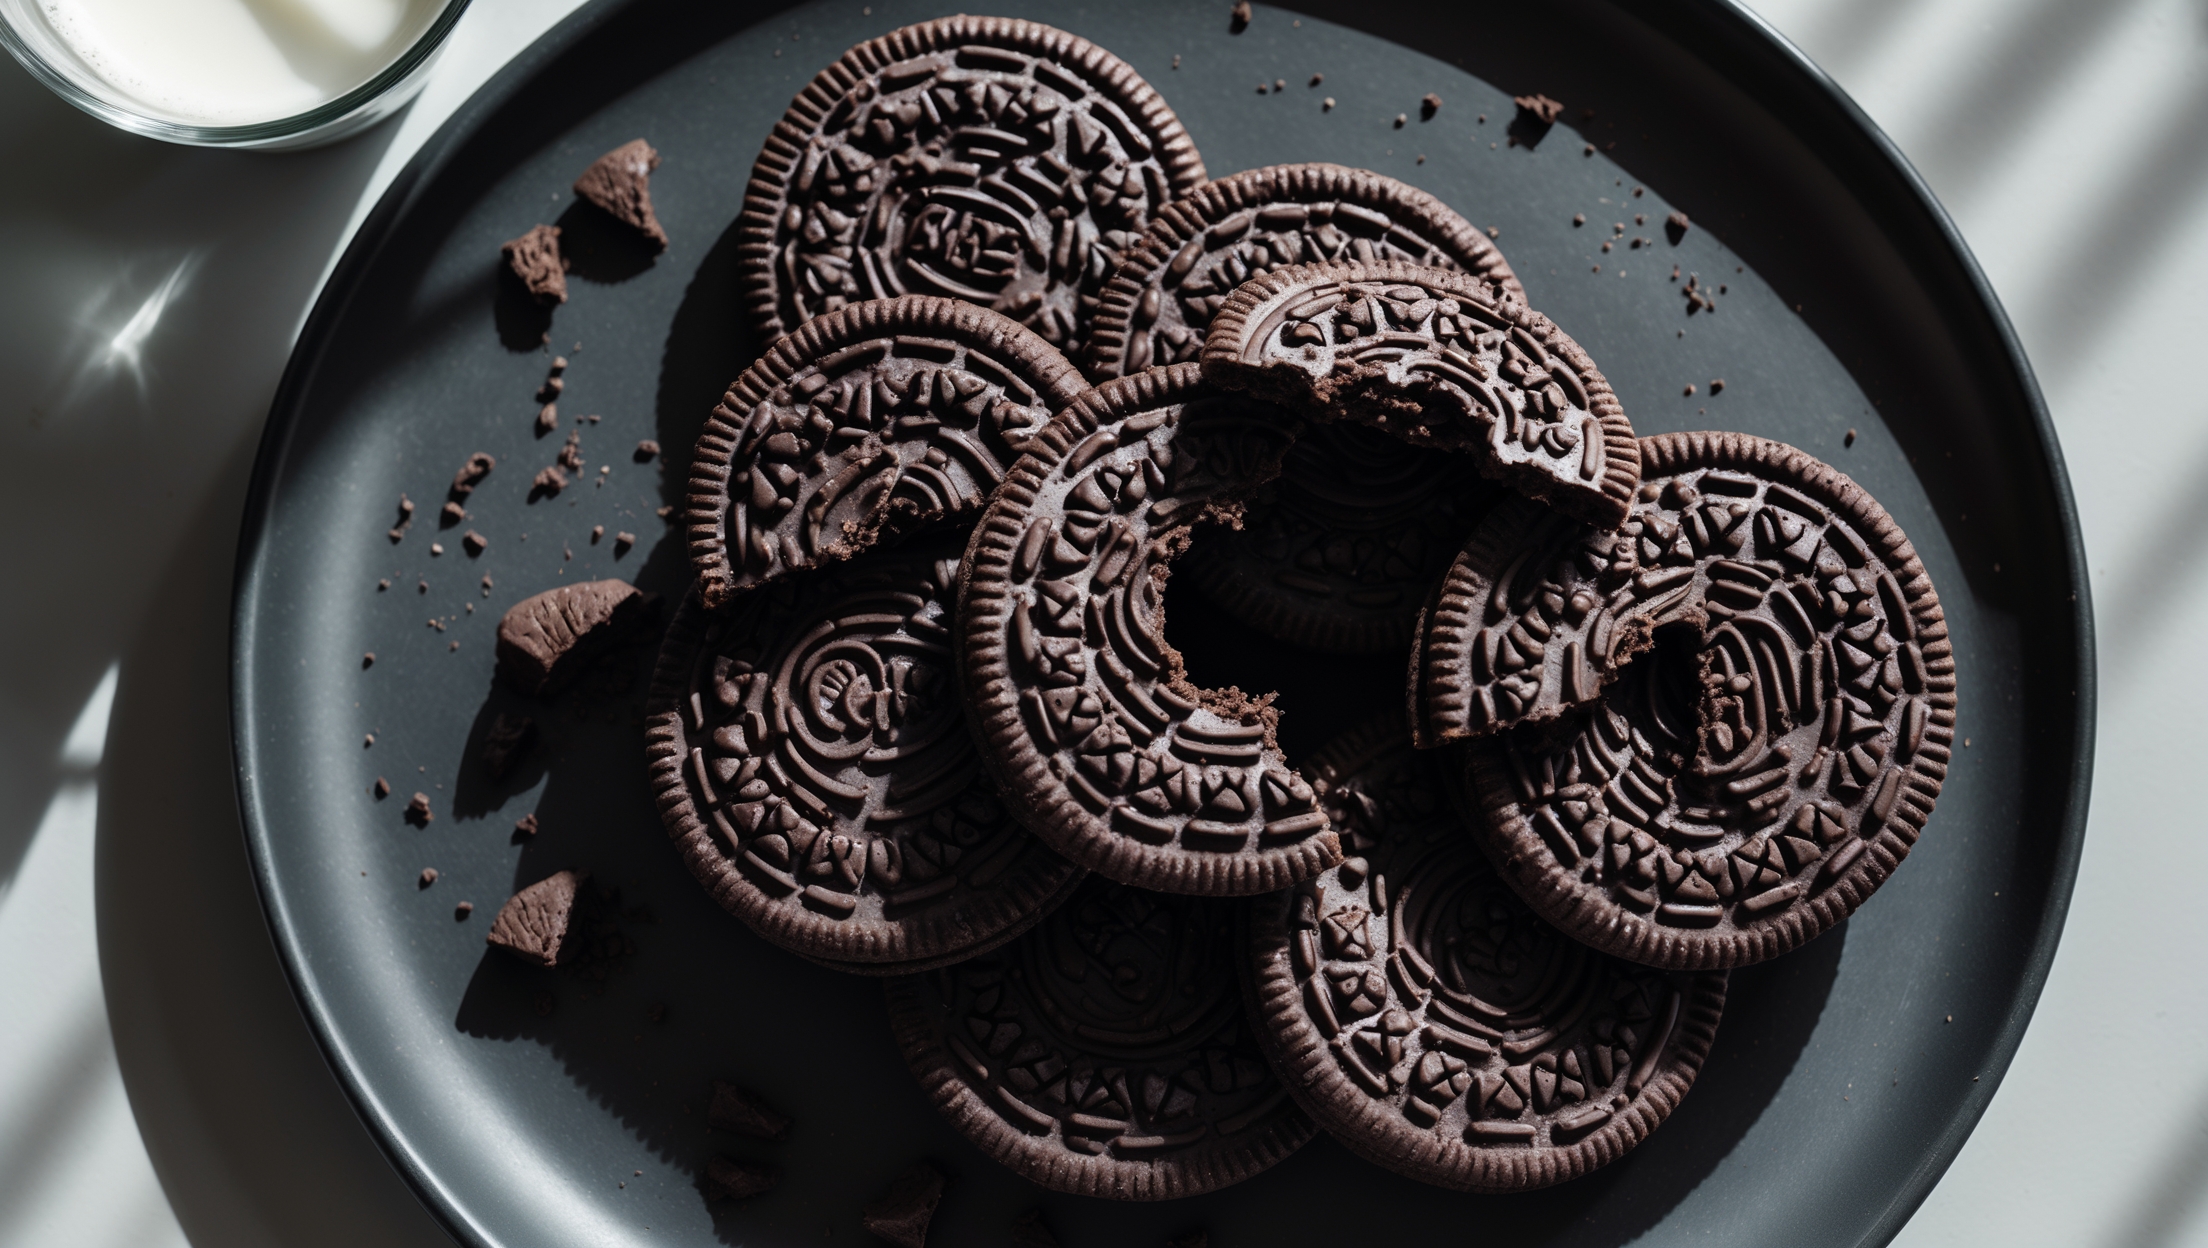
Learn how to cook Homemade Oreo Sandwich Cookies by making a chocolate dough with Dutch-processed cocoa, chilling it, then rolling to 3mm thickness and cutting into rounds. Bake at 175°C for 10-12 minutes until edges are set, then cool completely before filling with a homemade vanilla cream. Refrigerate assembled cookies for 30 minutes to let flavours meld.
Dutch-processed cocoa powder creates the signature dark colour and distinctive flavour found in classic Oreo cookies. It's less acidic than natural cocoa, producing a smoother, richer chocolate taste without bitterness. This processed cocoa also helps achieve that perfect deep black appearance.
Absolutely! These chocolate sandwich cookies actually improve with time as the filling melds with the cookies. You can make them up to a week in advance and store in an airtight container at room temperature, or freeze them for up to 3 months for longer storage.
The secret lies in rolling the dough thin (about 3mm), not overmixing the batter, and baking until the edges are set but centers still appear slightly soft. Properly cooling the cookies on a wire rack is also crucial, as is storing them correctly in an airtight container.
Sandwich Cookies
Try following recommended recipes