Directions
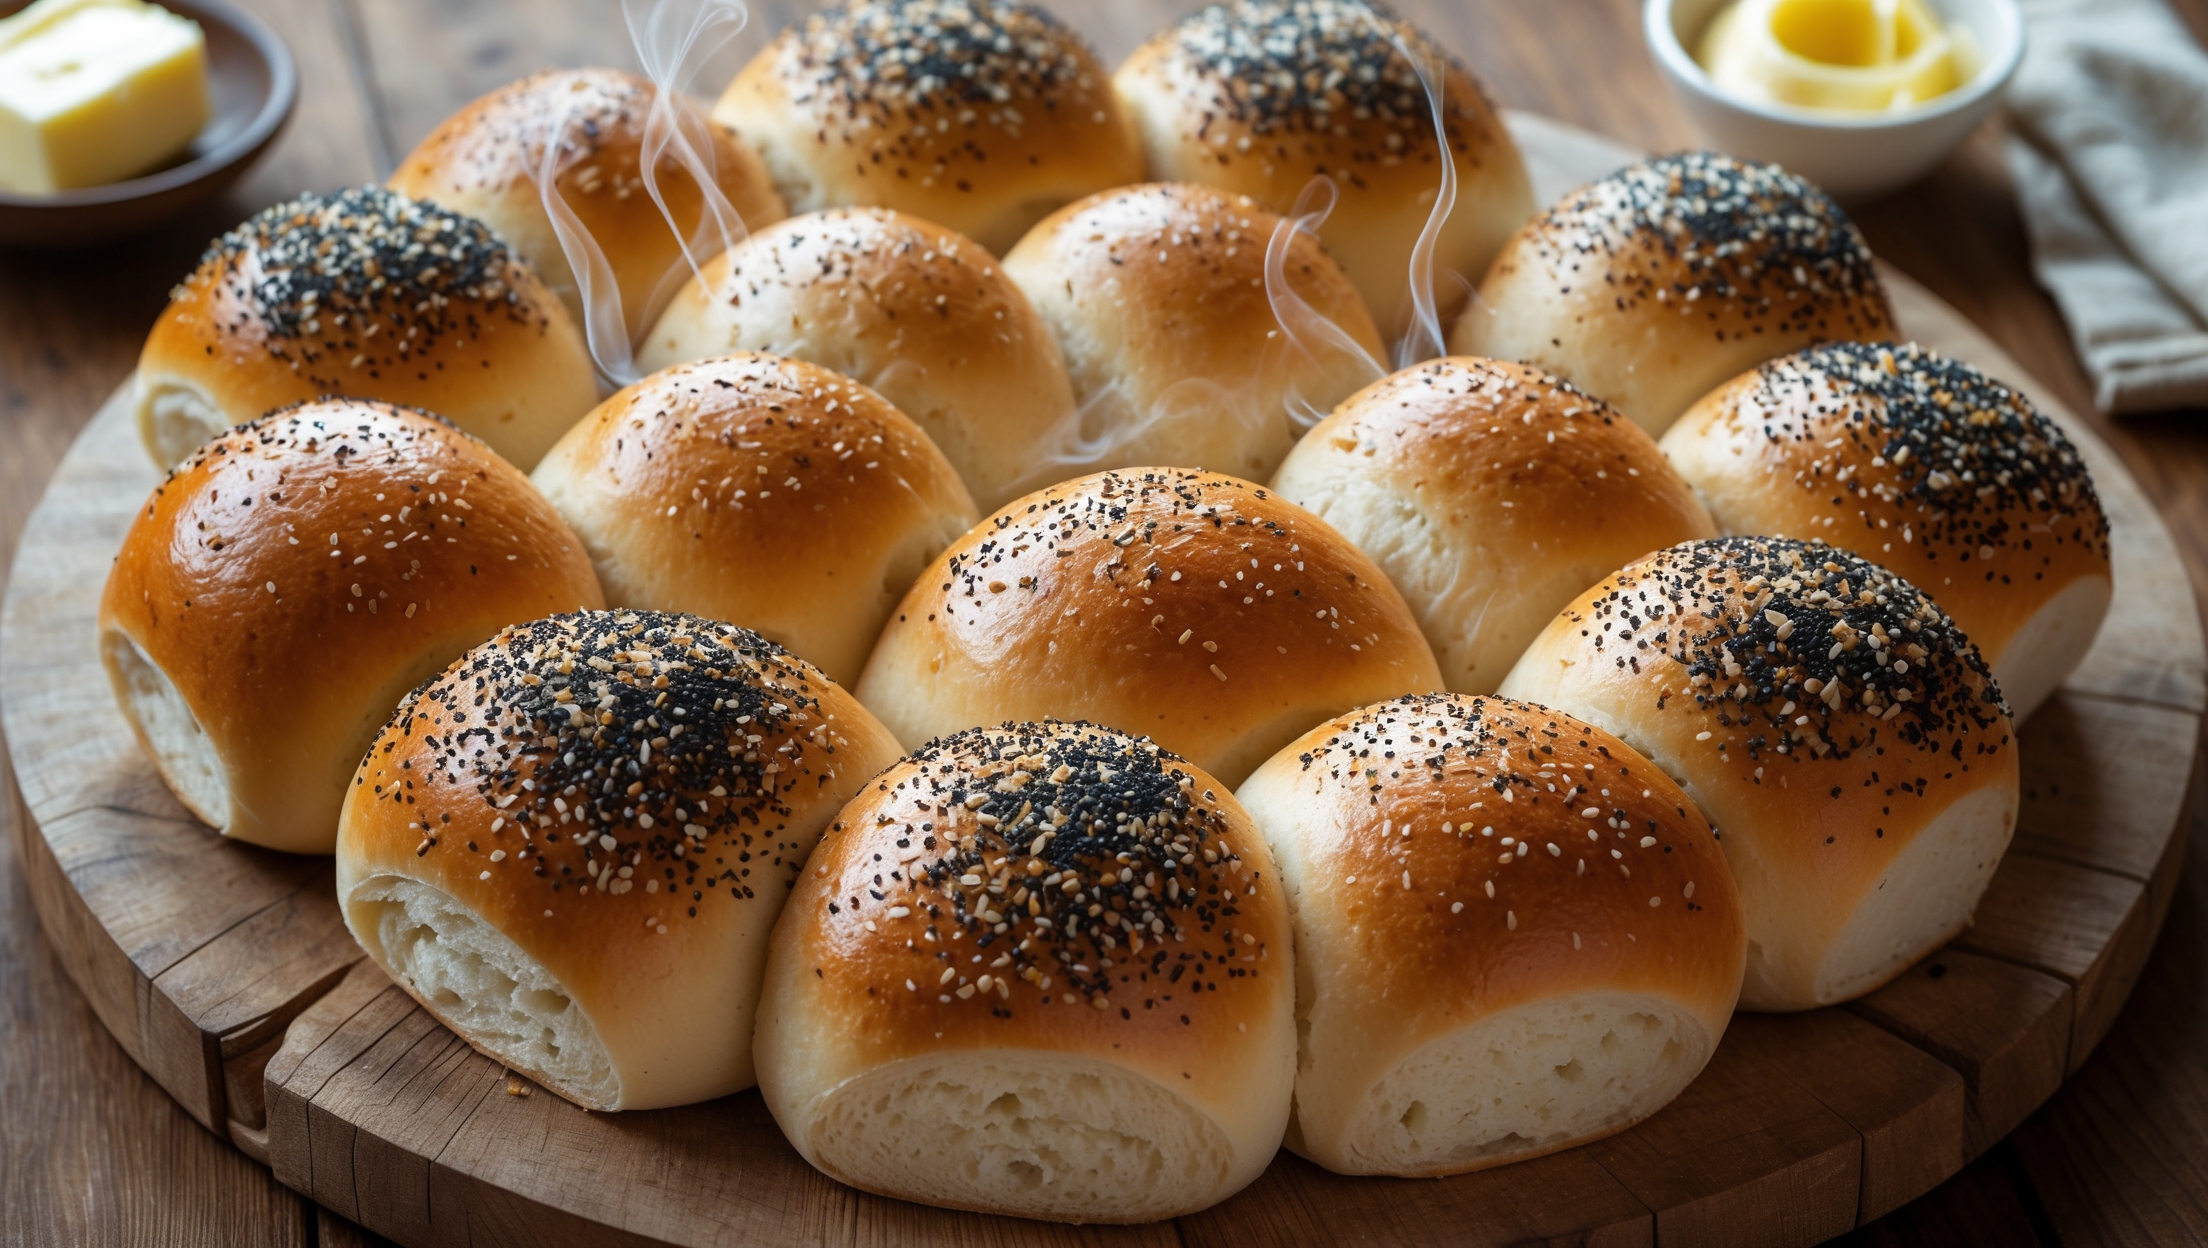
<ol class="no-list-style"><li class="MethodStepper"><h4 class="step-title">Step 1</h4>Begin by warming your milk to about 38°C (100°F) - it should feel warm to the touch but not hot. Pour it into the bowl of your stand mixer, then sprinkle the yeast on top and add 1 tablespoon of the sugar. Let this mixture sit for 5-10 minutes until it becomes foamy, which indicates your yeast is active and ready to work.</li><li class="MethodStepper"><h4 class="step-title">Step 2</h4>Add the remaining sugar, egg, and half of the flour to the yeast mixture. Mix on low speed until combined, then add the softened butter in small pieces, allowing each to incorporate before adding the next. The butter enriches the dough, creating a tender crumb structure while adding flavor.</li><li class="MethodStepper"><h4 class="step-title">Step 3</h4>Add the salt and remaining flour gradually, mixing until the dough starts to come together. Increase to medium speed and knead for 7-8 minutes until smooth and elastic. The dough should feel tacky but not sticky - it should clear the sides of the bowl but may still stick slightly to the bottom. If kneading by hand, this will take about 10-12 minutes on a lightly floured surface.</li><li class="MethodStepper"><h4 class="step-title">Step 4</h4>Form the dough into a ball and place in a lightly oiled bowl, turning once to coat the surface. Cover with a damp cloth or plastic wrap and let rise in a warm, draft-free place for 1-1.5 hours, or until doubled in size. A good environment is about 24-27°C (75-80°F).</li><li class="MethodStepper"><h4 class="step-title">Step 5</h4>Once doubled, gently deflate the dough by pressing down on it, then turn it out onto a clean work surface. Divide the dough into 8 equal pieces (about 110-115g each for consistency). For perfectly even buns, use a kitchen scale to weigh each portion.</li><li class="MethodStepper"><h4 class="step-title">Step 6</h4>To shape each bun, flatten a piece of dough into a disc, then fold the edges into the center, creating surface tension. Flip it over so the seam side is down, then cup your hand around the dough and gently roll it in a circular motion on the work surface, applying light pressure to form a smooth, taut ball. This technique creates the characteristic hamburger bun shape and ensures even rising.</li><li class="MethodStepper"><h4 class="step-title">Step 7</h4>Place the shaped buns on a parchment-lined baking sheet, spacing them about 5cm (2 inches) apart to allow room for expansion. Gently flatten each ball with your palm to about 2.5cm (1 inch) thick. Cover loosely with oiled plastic wrap and let rise for 45-60 minutes until puffy and nearly doubled.</li><li class="MethodStepper"><h4 class="step-title">Step 8</h4>Preheat your oven to 190°C (375°F) during the final 20 minutes of rising. When the buns are ready, carefully brush them with egg wash, ensuring not to press too hard and deflate them. Sprinkle with sesame or poppy seeds if desired.</li><li class="MethodStepper"><h4 class="step-title">Step 9</h4>Bake for 14-16 minutes until golden brown, rotating the pan halfway through for even coloring. The internal temperature should reach about 88-93°C (190-200°F) when done. The buns should sound hollow when tapped on the bottom.</li><li class="MethodStepper"><h4 class="step-title">Step 10</h4>For an extra-soft crust and enhanced flavor, brush the hot buns with melted butter immediately after removing from the oven. Transfer to a wire rack to cool completely before slicing. The cooling period allows the crumb structure to set properly, giving you perfect texture for your burgers.</li></ol>