Homemade Granola Bars Recipe

Chewy, crunchy, and naturally sweetened granola bars packed with toasted oats, nuts, seeds, and dried fruits for a satisfying on-the-go snack.
Difficulty:
Beginner
Prep Time:
15 mins
Cook Time:
25 mins
Serves:
12 bars
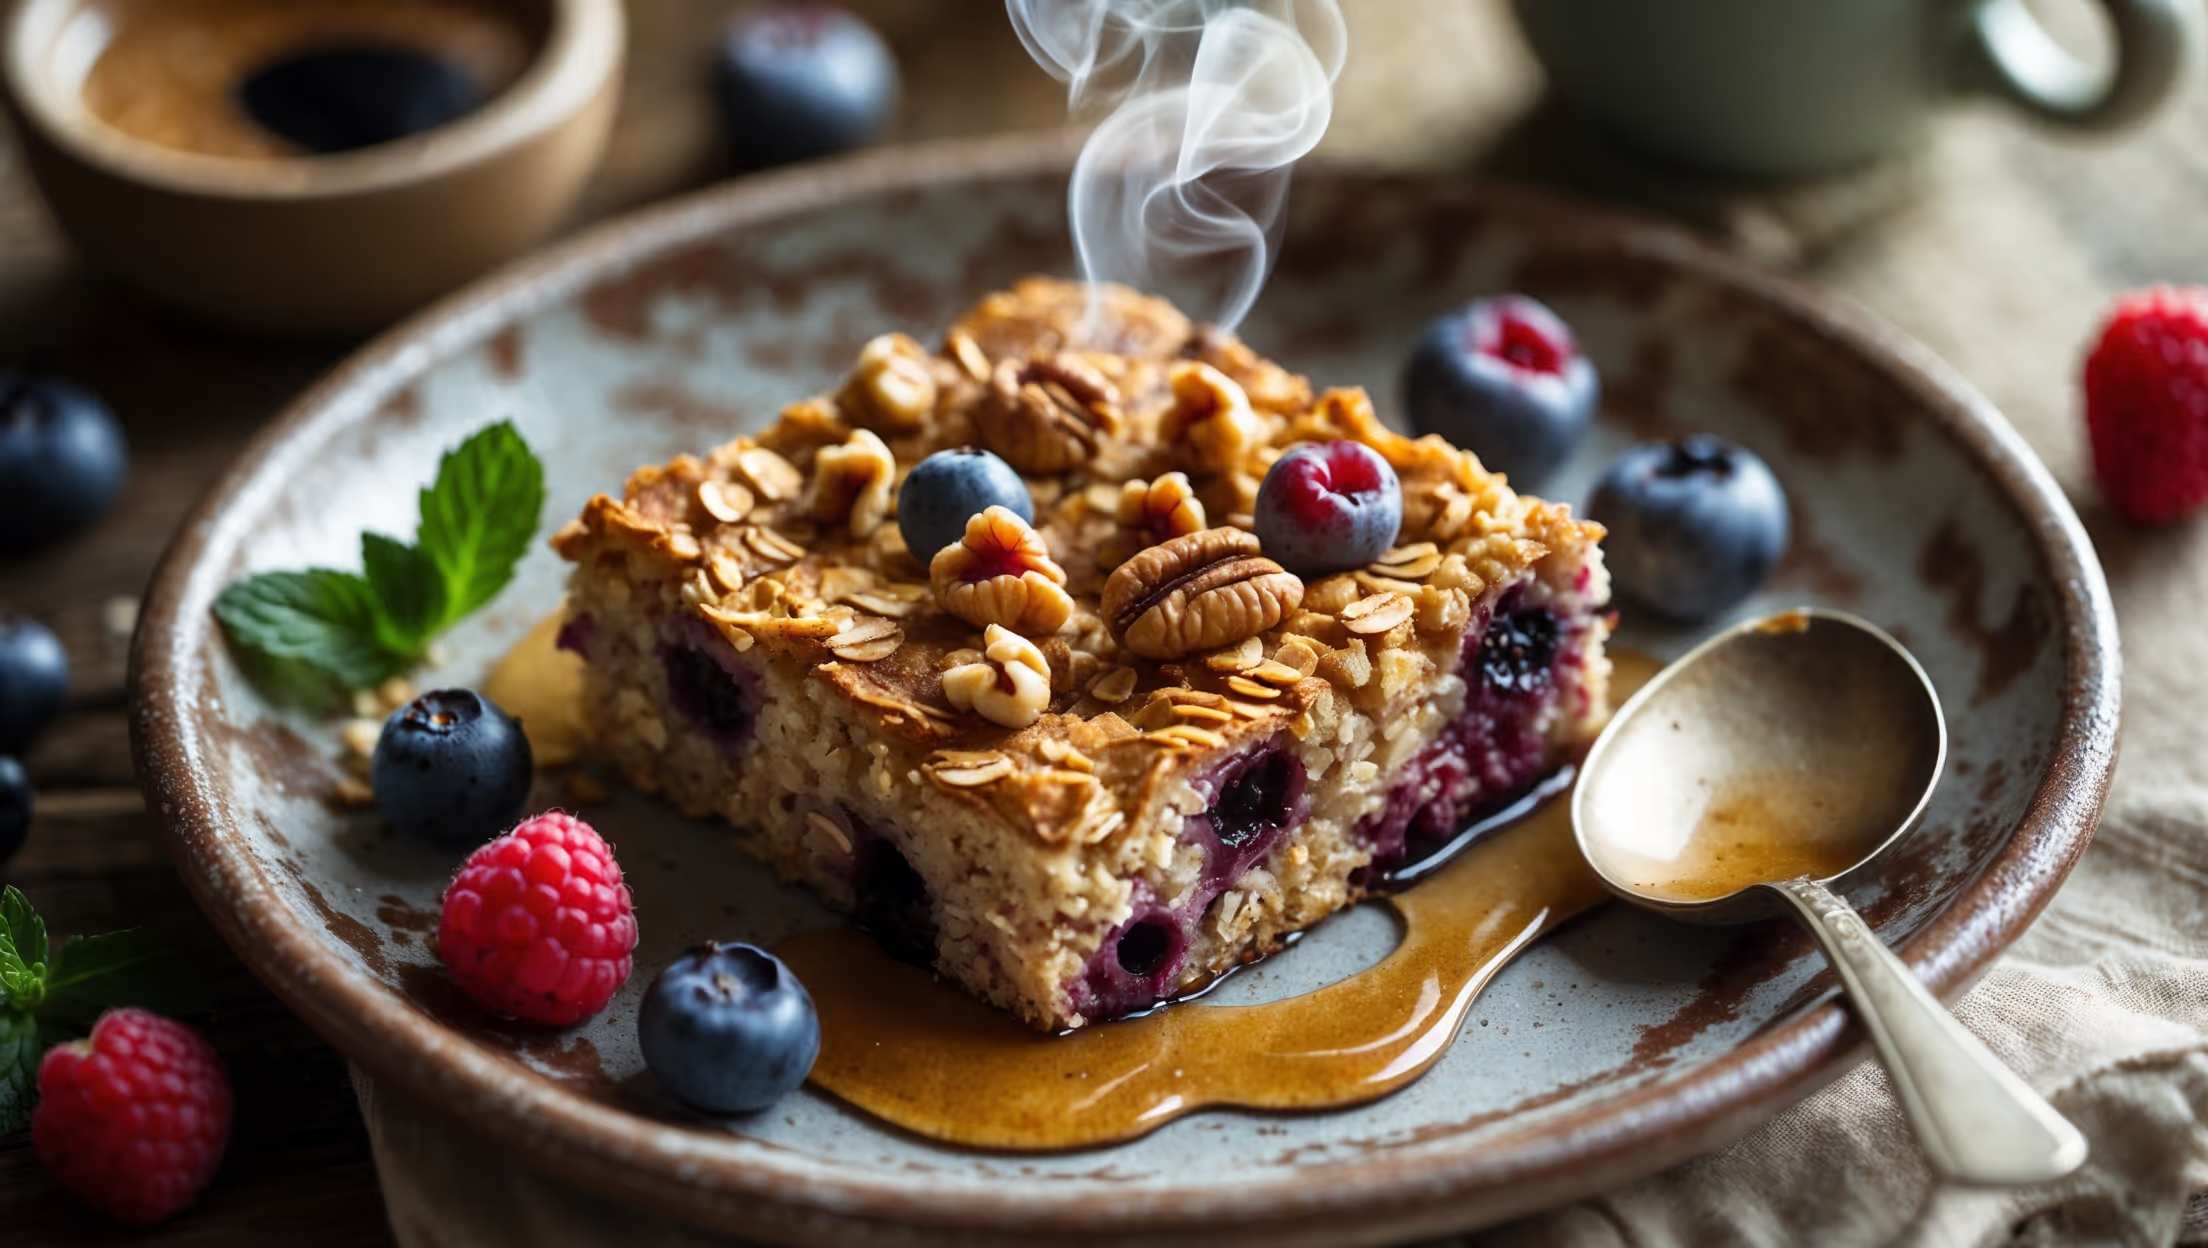
An overhead shot of rustic homemade granola bars arranged on a weathered wooden board, some whole and others broken to reveal their hearty texture. Soft natural light highlights the golden-brown edges and varied textures - toasted oats glistening with honey, chunky nuts, and jewel-toned dried fruits scattered throughout. Several loose ingredients (oats, almonds, honey jar, dried cranberries) artfully arranged around the bars create context. A linen napkin and vintage metal tin suggest these are perfect portable snacks. The warm color palette of ambers, deep reds, and earthy browns emphasizes the wholesome, nutritious nature of these homemade treats.

Ingredients

<ul class="ingredients-main-list"> <li class="ingredients-single-item">250g rolled oats (not quick-cooking)</li> <li class="ingredients-single-item">100g mixed nuts, roughly chopped (almonds, walnuts, pecans)</li> <li class="ingredients-single-item">50g mixed seeds (sunflower, pumpkin, sesame)</li> <li class="ingredients-single-item">100g dried fruits (cranberries, raisins, chopped apricots)</li> <li class="ingredients-single-item">60g unsweetened desiccated coconut</li> <li class="ingredients-single-item">2g ground cinnamon</li> <li class="ingredients-single-item">1g sea salt</li> <li class="ingredients-single-item">120g honey (or maple syrup for vegan option)</li> <li class="ingredients-single-item">80g brown rice syrup (or glucose syrup)</li> <li class="ingredients-single-item">80g natural nut butter (almond or peanut)</li> <li class="ingredients-single-item">60g coconut oil</li> <li class="ingredients-single-item">5ml vanilla extract</li> </ul>

Equipment

<ul class="equipment-main-list"> <li class="equipment-single-item">20cm x 20cm square baking tin</li> <li class="equipment-single-item">Baking parchment</li> <li class="equipment-single-item">Heavy-bottomed saucepan</li> </ul>
BAKE SMARTER

Kitchen Converter

Quickly switch between common baking units without leaving the recipe.

Convert
Result—

Volume uses US cups, tablespoons, and teaspoons. Converting weight to volume depends on the ingredient.

Directions

<ol class="no-list-style"> <li class="MethodStepper"> <h4 class="step-title">Step 1</h4> Preheat your oven to 160°C (fan)/180°C/gas mark 4. Line your 20cm square baking tin with parchment paper, leaving overhang on two sides to help lift the bars out later. </li> <li class="MethodStepper"> <h4 class="step-title">Step 2</h4> Spread the oats, chopped nuts, and seeds on a large baking tray. Toast in the preheated oven for 10-12 minutes, stirring halfway through, until lightly golden. This toasting step is crucial as it develops a deeper, nuttier flavor and helps the bars hold together better. </li> <li class="MethodStepper"> <h4 class="step-title">Step 3</h4> Transfer the toasted oat mixture to a large bowl. Add the dried fruits, coconut, cinnamon, and salt, then mix thoroughly to combine. </li> <li class="MethodStepper"> <h4 class="step-title">Step 4</h4> In a medium saucepan, combine the honey, rice syrup, nut butter, and coconut oil. Warm over medium-low heat, stirring constantly until melted and well combined, about 3-4 minutes. Remove from heat and stir in the vanilla extract. </li> <li class="MethodStepper"> <h4 class="step-title">Step 5</h4> Pour the warm liquid mixture over the dry ingredients and stir immediately and thoroughly with a sturdy wooden spoon or spatula. Keep mixing until every bit of the dry mixture is coated – this ensures your bars will hold together properly when set. </li> <li class="MethodStepper"> <h4 class="step-title">Step 6</h4> Transfer the mixture to your prepared tin and press down very firmly and evenly using the back of a measuring cup or flat-bottomed glass. Apply significant pressure – compacting the mixture well is the secret to bars that don't crumble when cut. </li> <li class="MethodStepper"> <h4 class="step-title">Step 7</h4> Bake in the preheated oven for 20-25 minutes until the edges turn golden brown. The center may still seem slightly soft but will firm up as it cools. </li> <li class="MethodStepper"> <h4 class="step-title">Step 8</h4> Allow the granola slab to cool completely in the tin for at least 2-3 hours, or ideally refrigerate for 1 hour after cooling to room temperature. This cooling period is essential for the sugars to set and bind everything together properly. </li> <li class="MethodStepper"> <h4 class="step-title">Step 9</h4> Once completely cooled and set, use the parchment overhang to lift the slab out of the tin. With a sharp knife, cut into 12 even bars. For the cleanest cuts, wipe your knife between slices. </li> <li class="MethodStepper"> <h4 class="step-title">Step 10</h4> Store the bars in an airtight container, separated by pieces of parchment paper, for up to 1 week at room temperature, or up to 3 weeks in the refrigerator. You can also wrap them individually in parchment paper for grab-and-go snacks. </li> </ol>

Nutrition Facts (per serving)

🍽️ Serving Size: 1 serving
🔥 Calories: 245 calories
🥑 Fat: 12 g
🧈 Saturated Fat: 6 g
🍞 Carbohydrates: 32 g
🍭 Sugar: 15 g
🍗 Protein: 5 g
🫀 Cholesterol: 0 mg
🧂 Sodium: 75 mg

Chef’s Notes

A few helpful details for making this recipe.

Why do my homemade granola bars fall apart when I cut them?

Crumbly granola bars usually result from insufficient binding or cooling. Ensure you're using enough sticky sweeteners (honey, rice syrup), press the mixture very firmly into the tin, and allow complete cooling before cutting. Refrigerating for an hour after cooling helps the bars set properly.

Can I make these granola bars without baking them?

Yes, you can make no-bake granola bars by skipping the baking step. Simply press the mixture firmly into the lined tin and refrigerate for at least 4 hours or overnight. The texture will be chewier and softer than baked versions, but equally delicious.

What's the best way to store homemade energy bars to maintain freshness?

Store your homemade energy bars in an airtight container separated by parchment paper. They'll keep for up to 1 week at room temperature or 3 weeks refrigerated. For longer storage, wrap individually and freeze for up to 3 months, thawing as needed.

Want to try something else in ...

More recipes you might like

Keep exploring with more recipes from What's Baking.