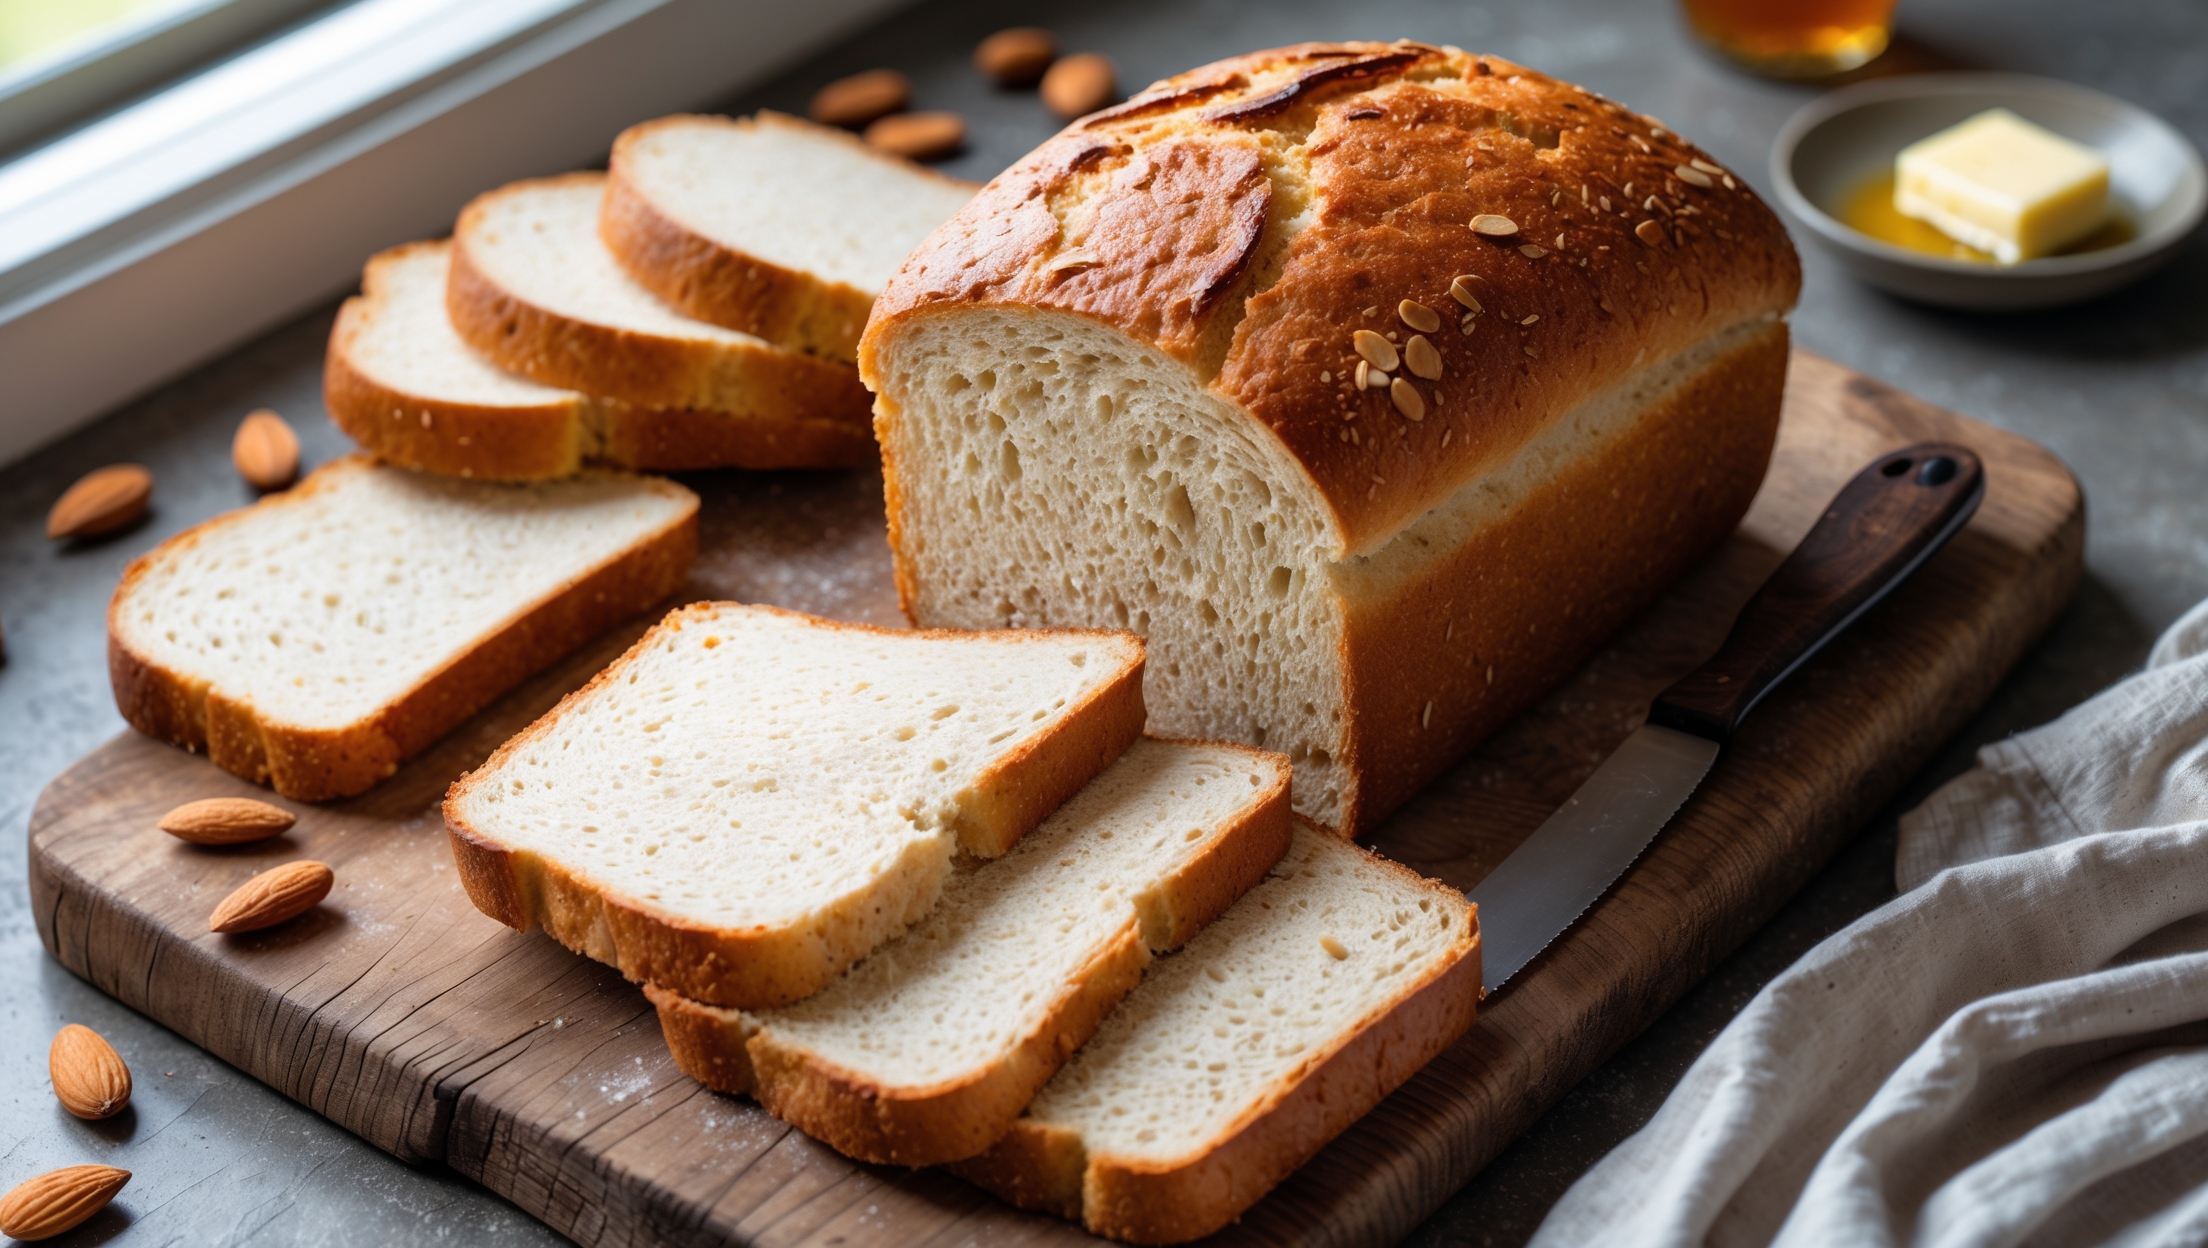
Herb and Garlic Sandwich Bread Recipe
Ingredients
Equipment
Directions
FAQs
Find answers to your most pressing questions about this delicious recipe right here.
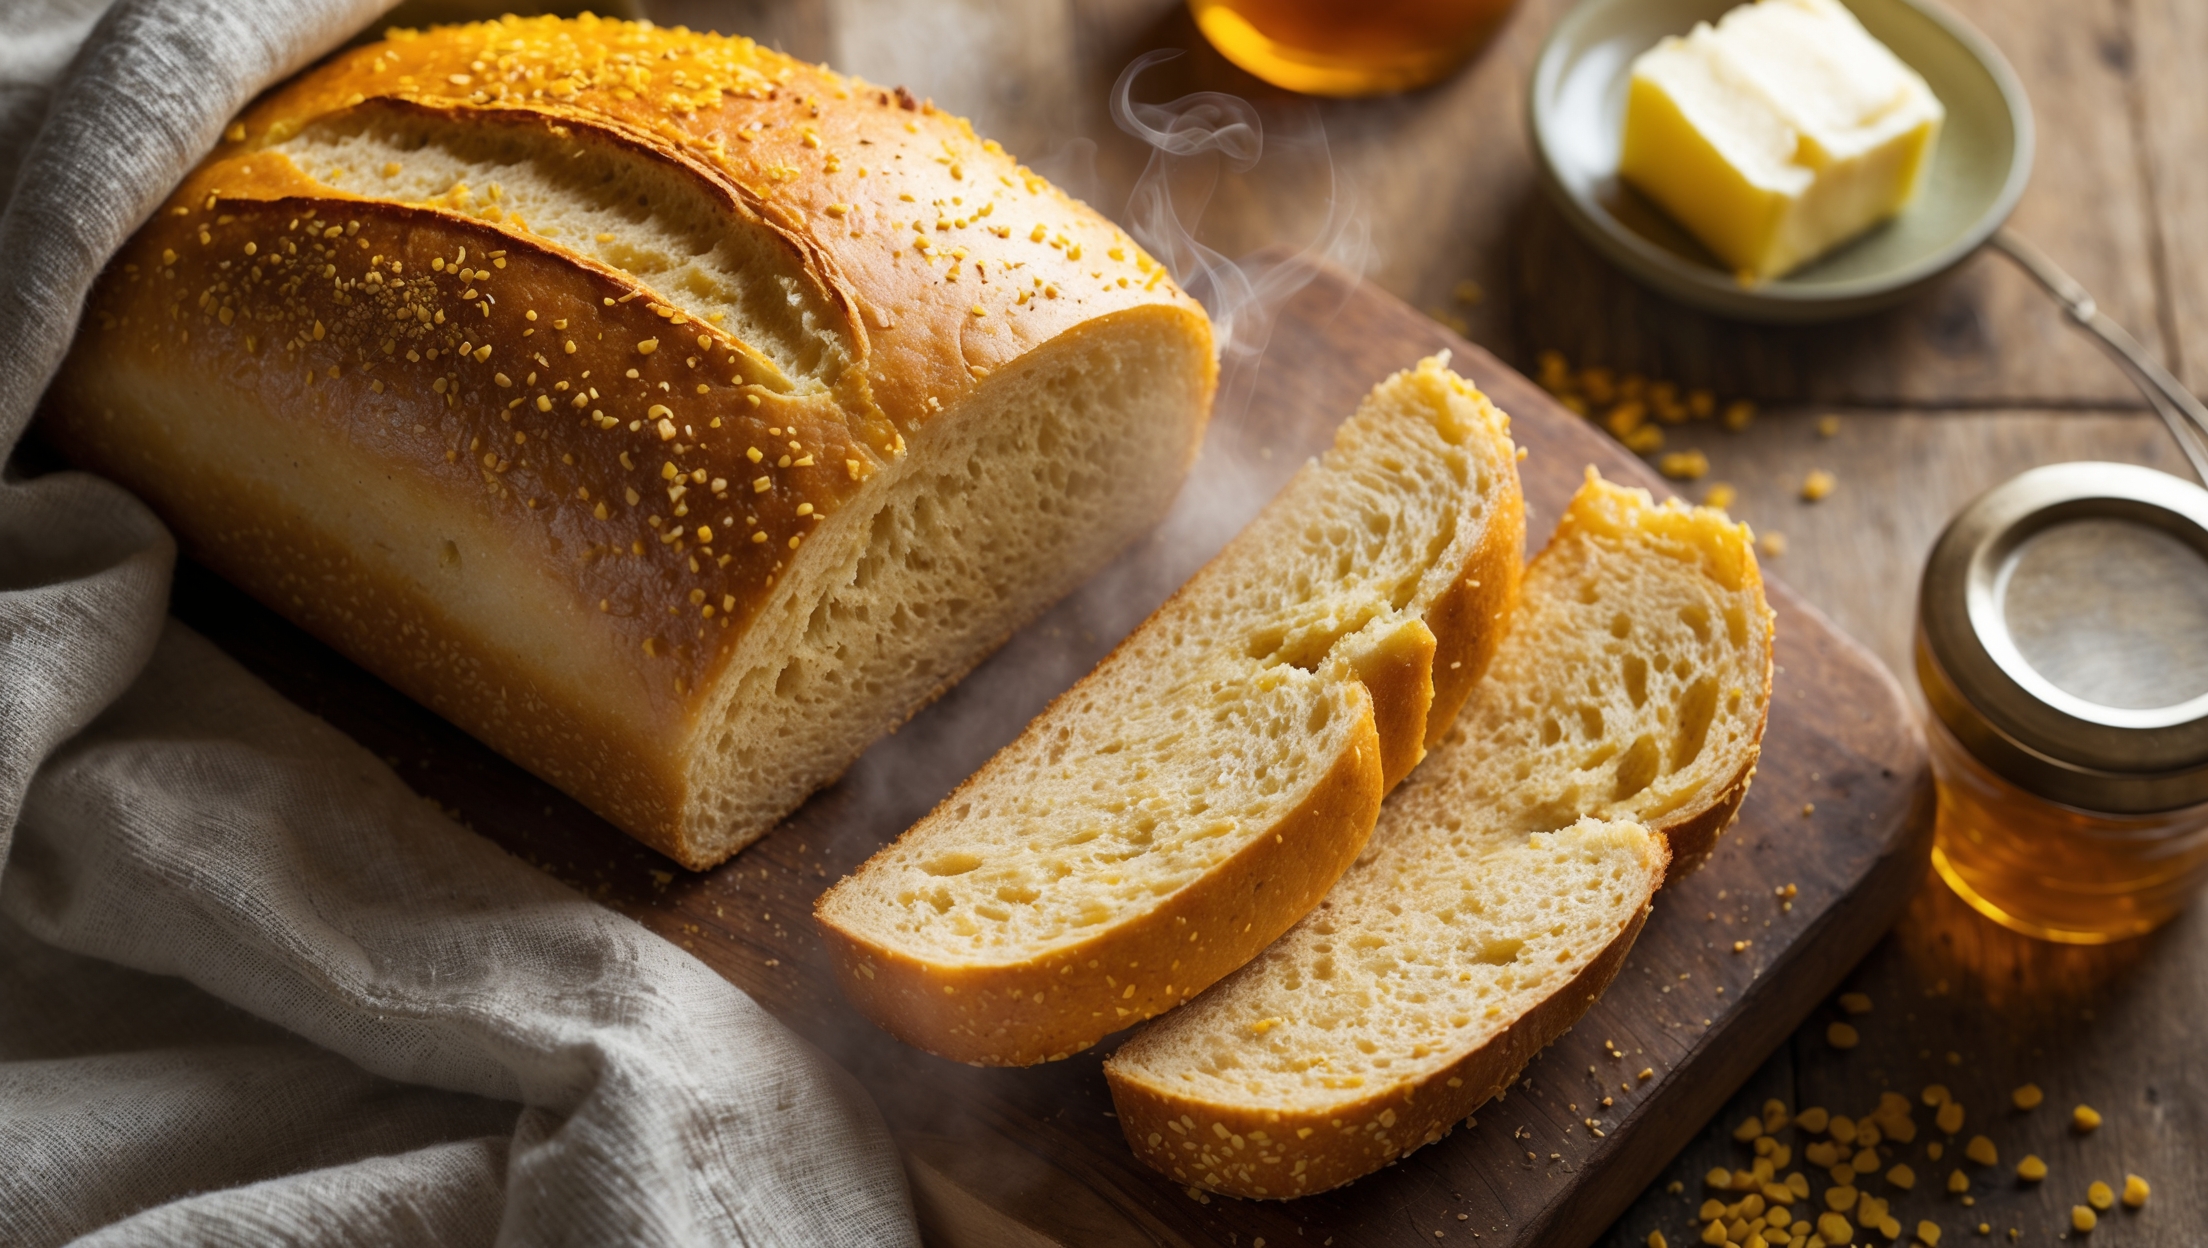
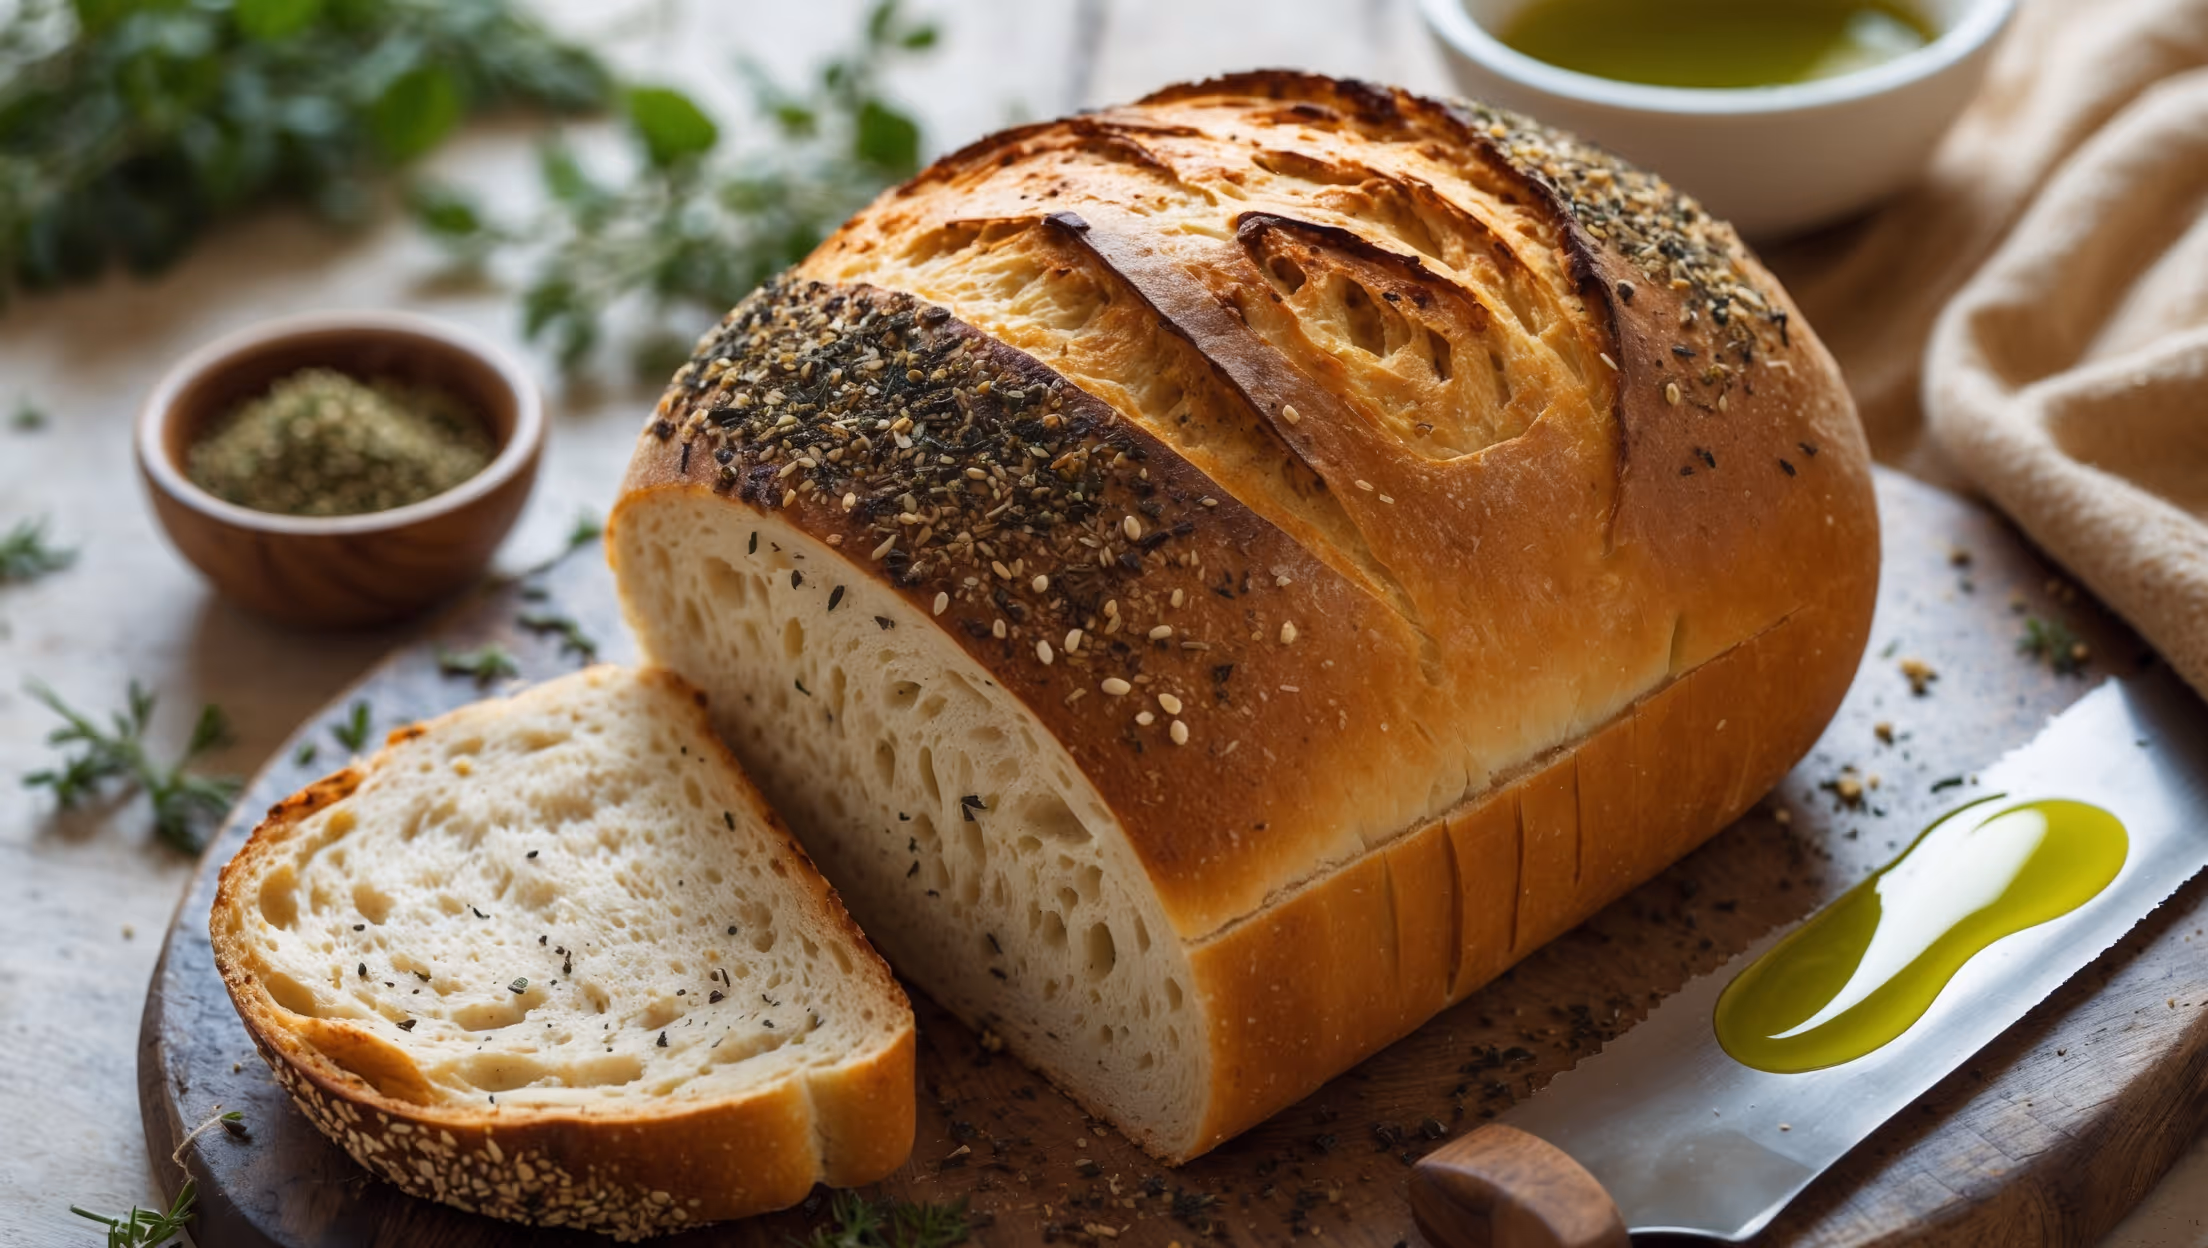
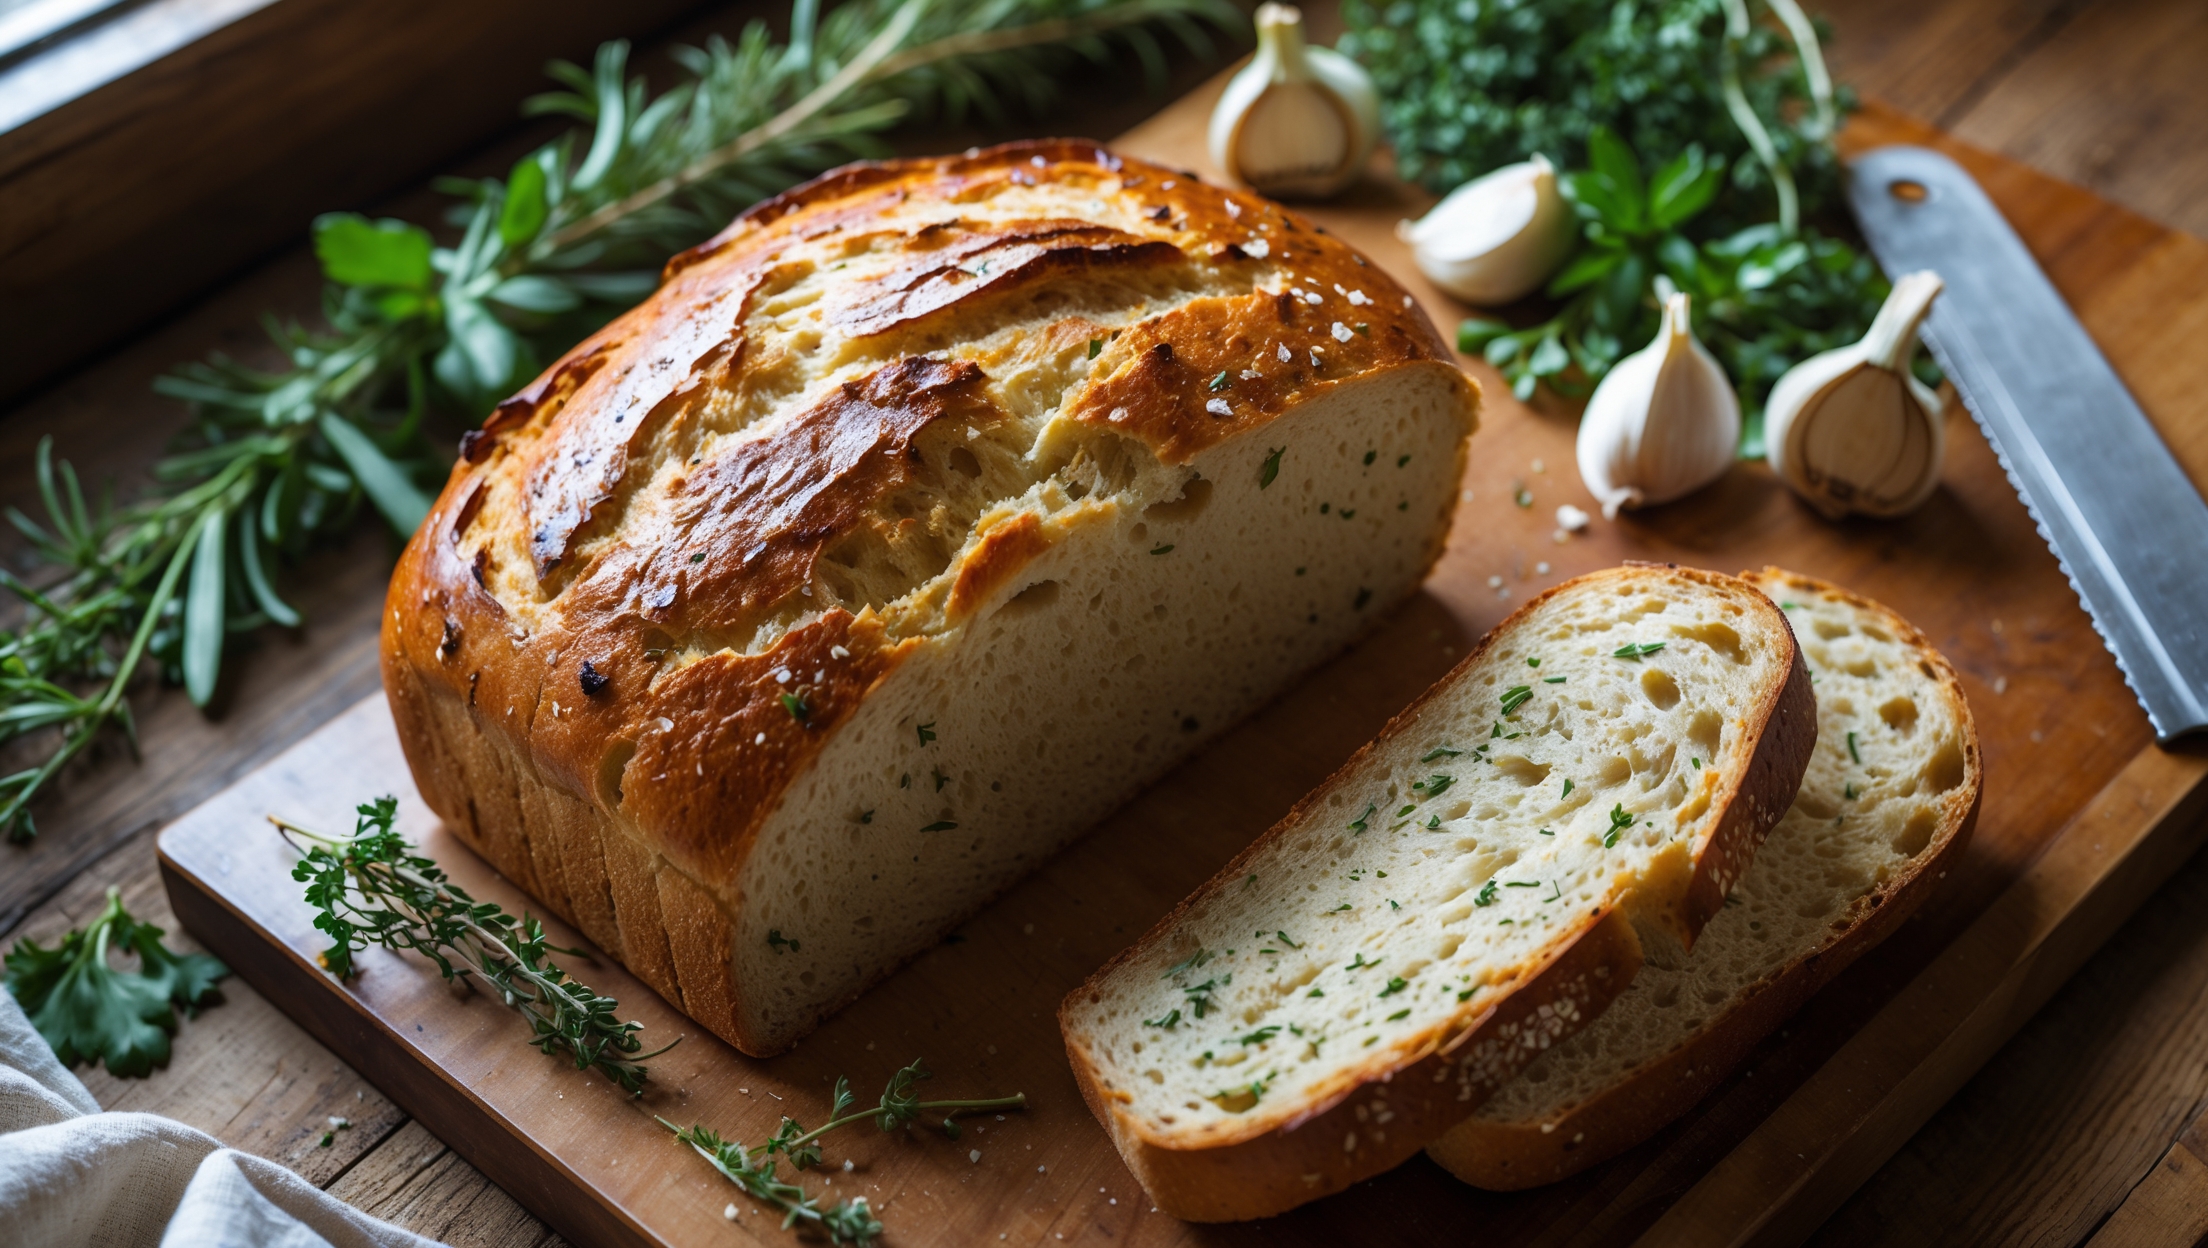
This bread uses bread flour, yeast, salt, sugar, butter, water, a head of roasted garlic, fresh herbs (rosemary, thyme, parsley), olive oil, and melted butter for brushing. The combination creates a perfectly balanced savoury loaf with aromatic herbs throughout.
Learn how to cook Herb and Garlic Sandwich Bread by first roasting a head of garlic, then combining flour, yeast, salt, sugar, butter and water to form a dough. Incorporate the roasted garlic and fresh herbs, allow to rise twice, shape into a loaf, and bake at 200°C for 30-35 minutes until golden and hollow-sounding when tapped.
Yes, you can substitute dried herbs, but use only 1/3 of the amount called for fresh herbs (about 2 teaspoons instead of 2 tablespoons). Dried herbs are more potent than fresh. For best results, try to use at least some fresh herbs if possible, as they provide brighter flavour and better aroma.
Cooling bread completely (at least 1 hour) allows the structure to set properly and completes the cooking process. Cutting too soon releases steam and moisture, resulting in a gummy texture and collapsed crumb. Patience ensures a perfect texture and makes slicing easier with less crumbling.
Your dough is properly proofed when it's roughly doubled in size and springs back slowly when gently poked with a finger (leaving a slight indentation). For sandwich loaves, the dough should rise about 2.5cm above the tin rim. Under-proofed dough springs back quickly; over-proofed collapses.
Sandwich Bread
Try following recommended recipes