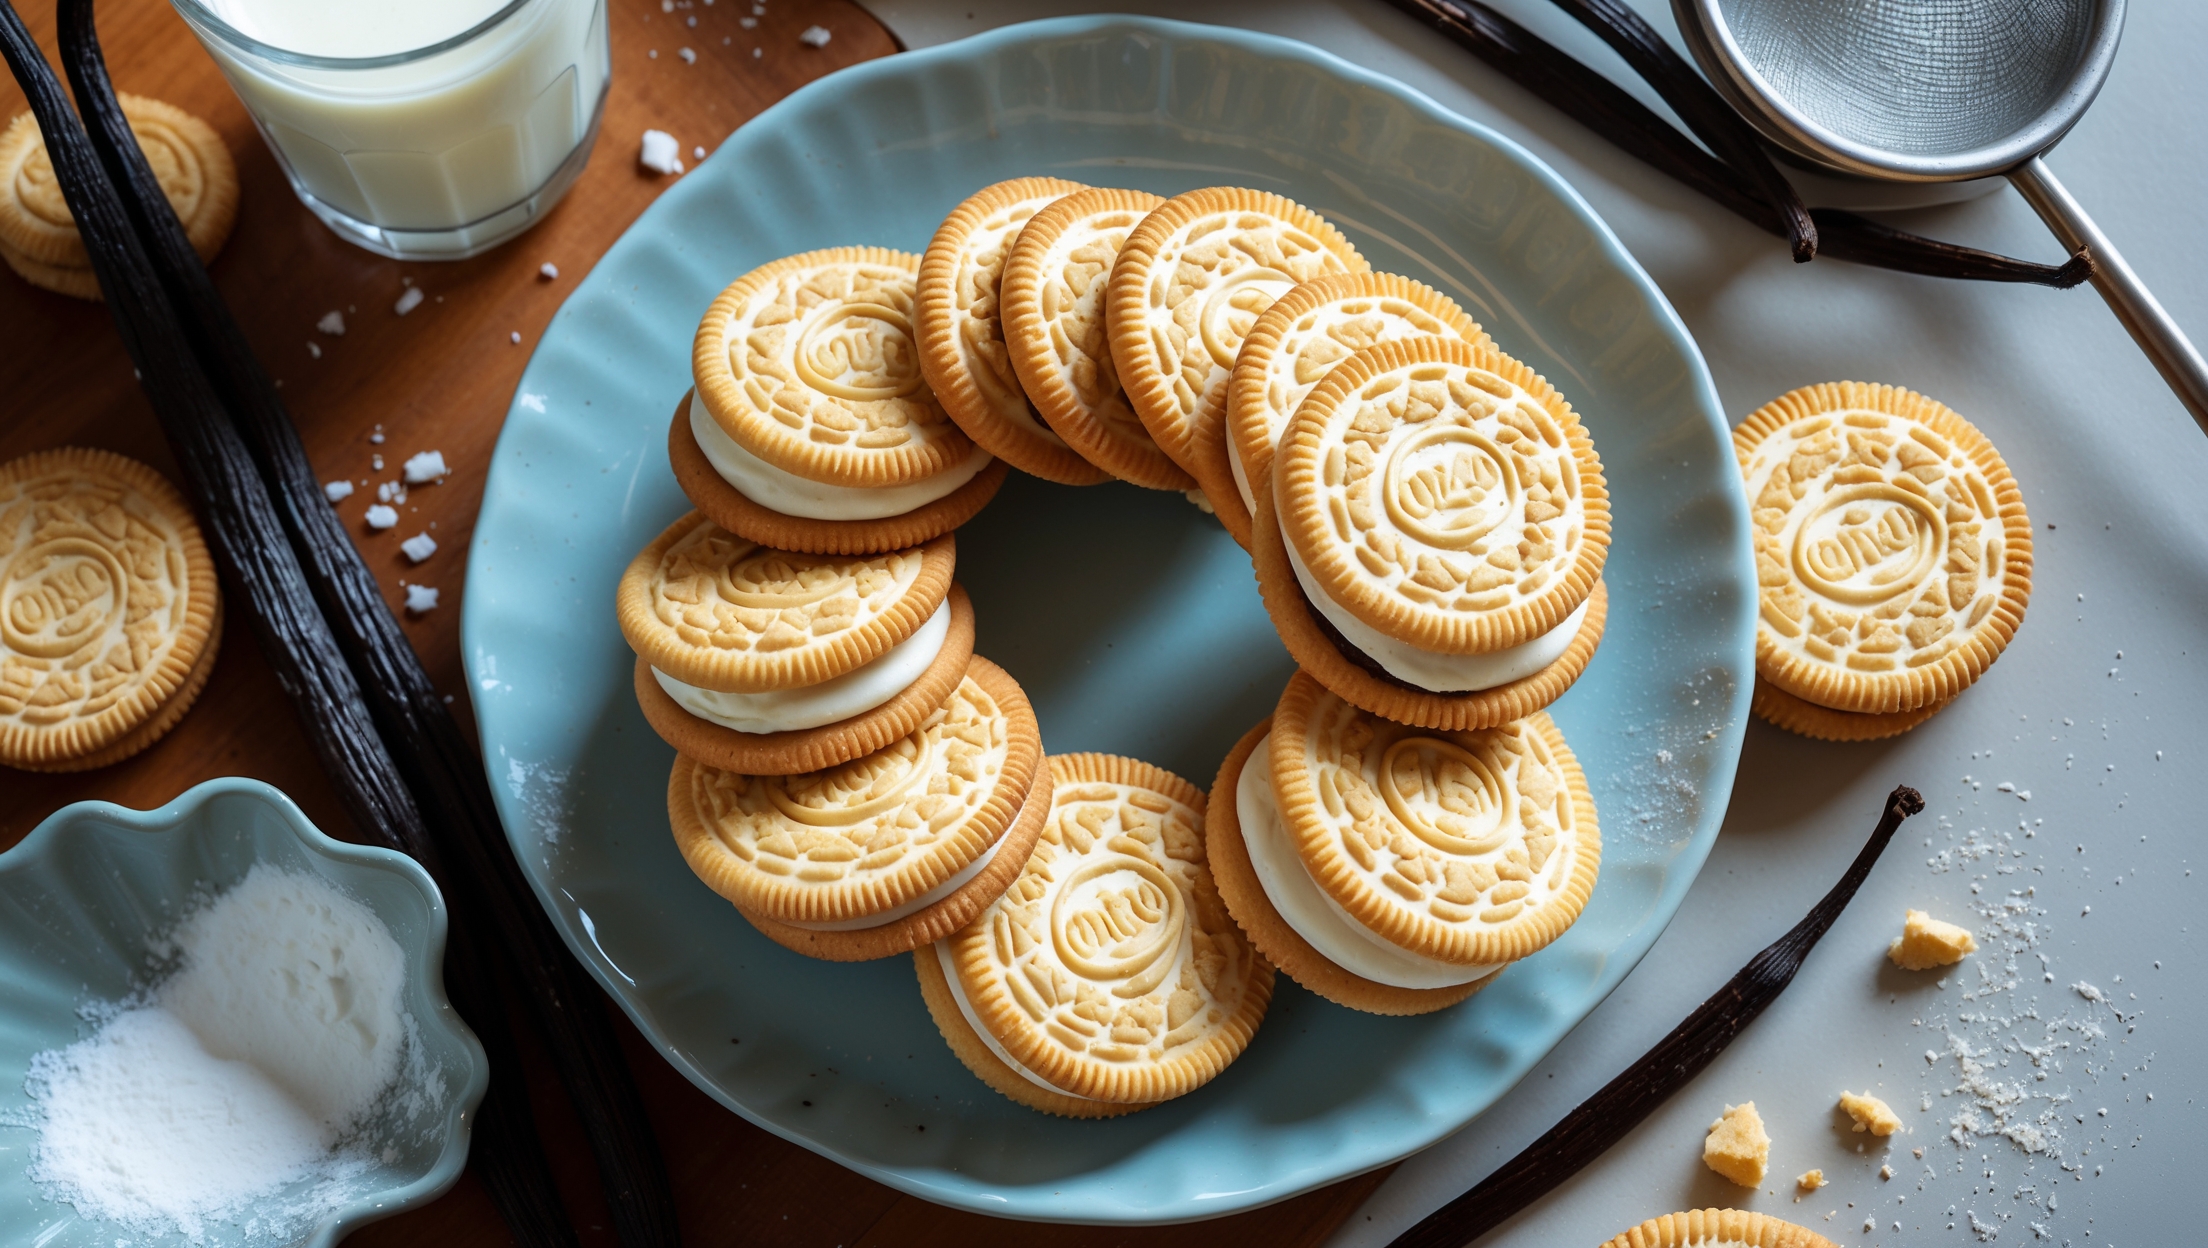
Golden Oreo Sandwich Cookies Recipe
Ingredients
Equipment
Directions
FAQs
Find answers to your most pressing questions about this delicious recipe right here.
The homemade version requires all-purpose flour, baking powder, salt, unsalted butter, sugar, egg, vanilla extract (with optional vanilla bean paste) for the cookies. The filling uses butter, vanilla extract, powdered sugar, heavy cream, and salt.
Learn how to cook Golden Oreo Sandwich Cookies by creating a vanilla cookie dough, chilling it thoroughly, rolling to 3mm thickness, cutting into rounds, and baking at 180°C for 9-10 minutes. Once cooled, sandwich the cookies with a homemade vanilla cream filling, then allow them to set for the perfect texture balance between crisp cookie and smooth filling.
Chilling the dough for at least 2 hours firms up the butter, preventing cookies from spreading during baking and ensuring they maintain their shape. It also develops flavour and makes the dough easier to handle when cutting those perfect rounds.
The perfect crisp texture comes from a proper butter-sugar creaming process, minimal flour mixing to prevent gluten development, rolling the dough to an even 3mm thickness, and baking just until the edges turn golden while allowing them to firm up as they cool.
For authentic-tasting filling, use high-quality vanilla extract, beat the butter until very fluffy before adding sifted powdered sugar gradually, incorporate a splash of heavy cream for silkiness, and add a tiny pinch of salt to enhance the sweetness and vanilla flavour.
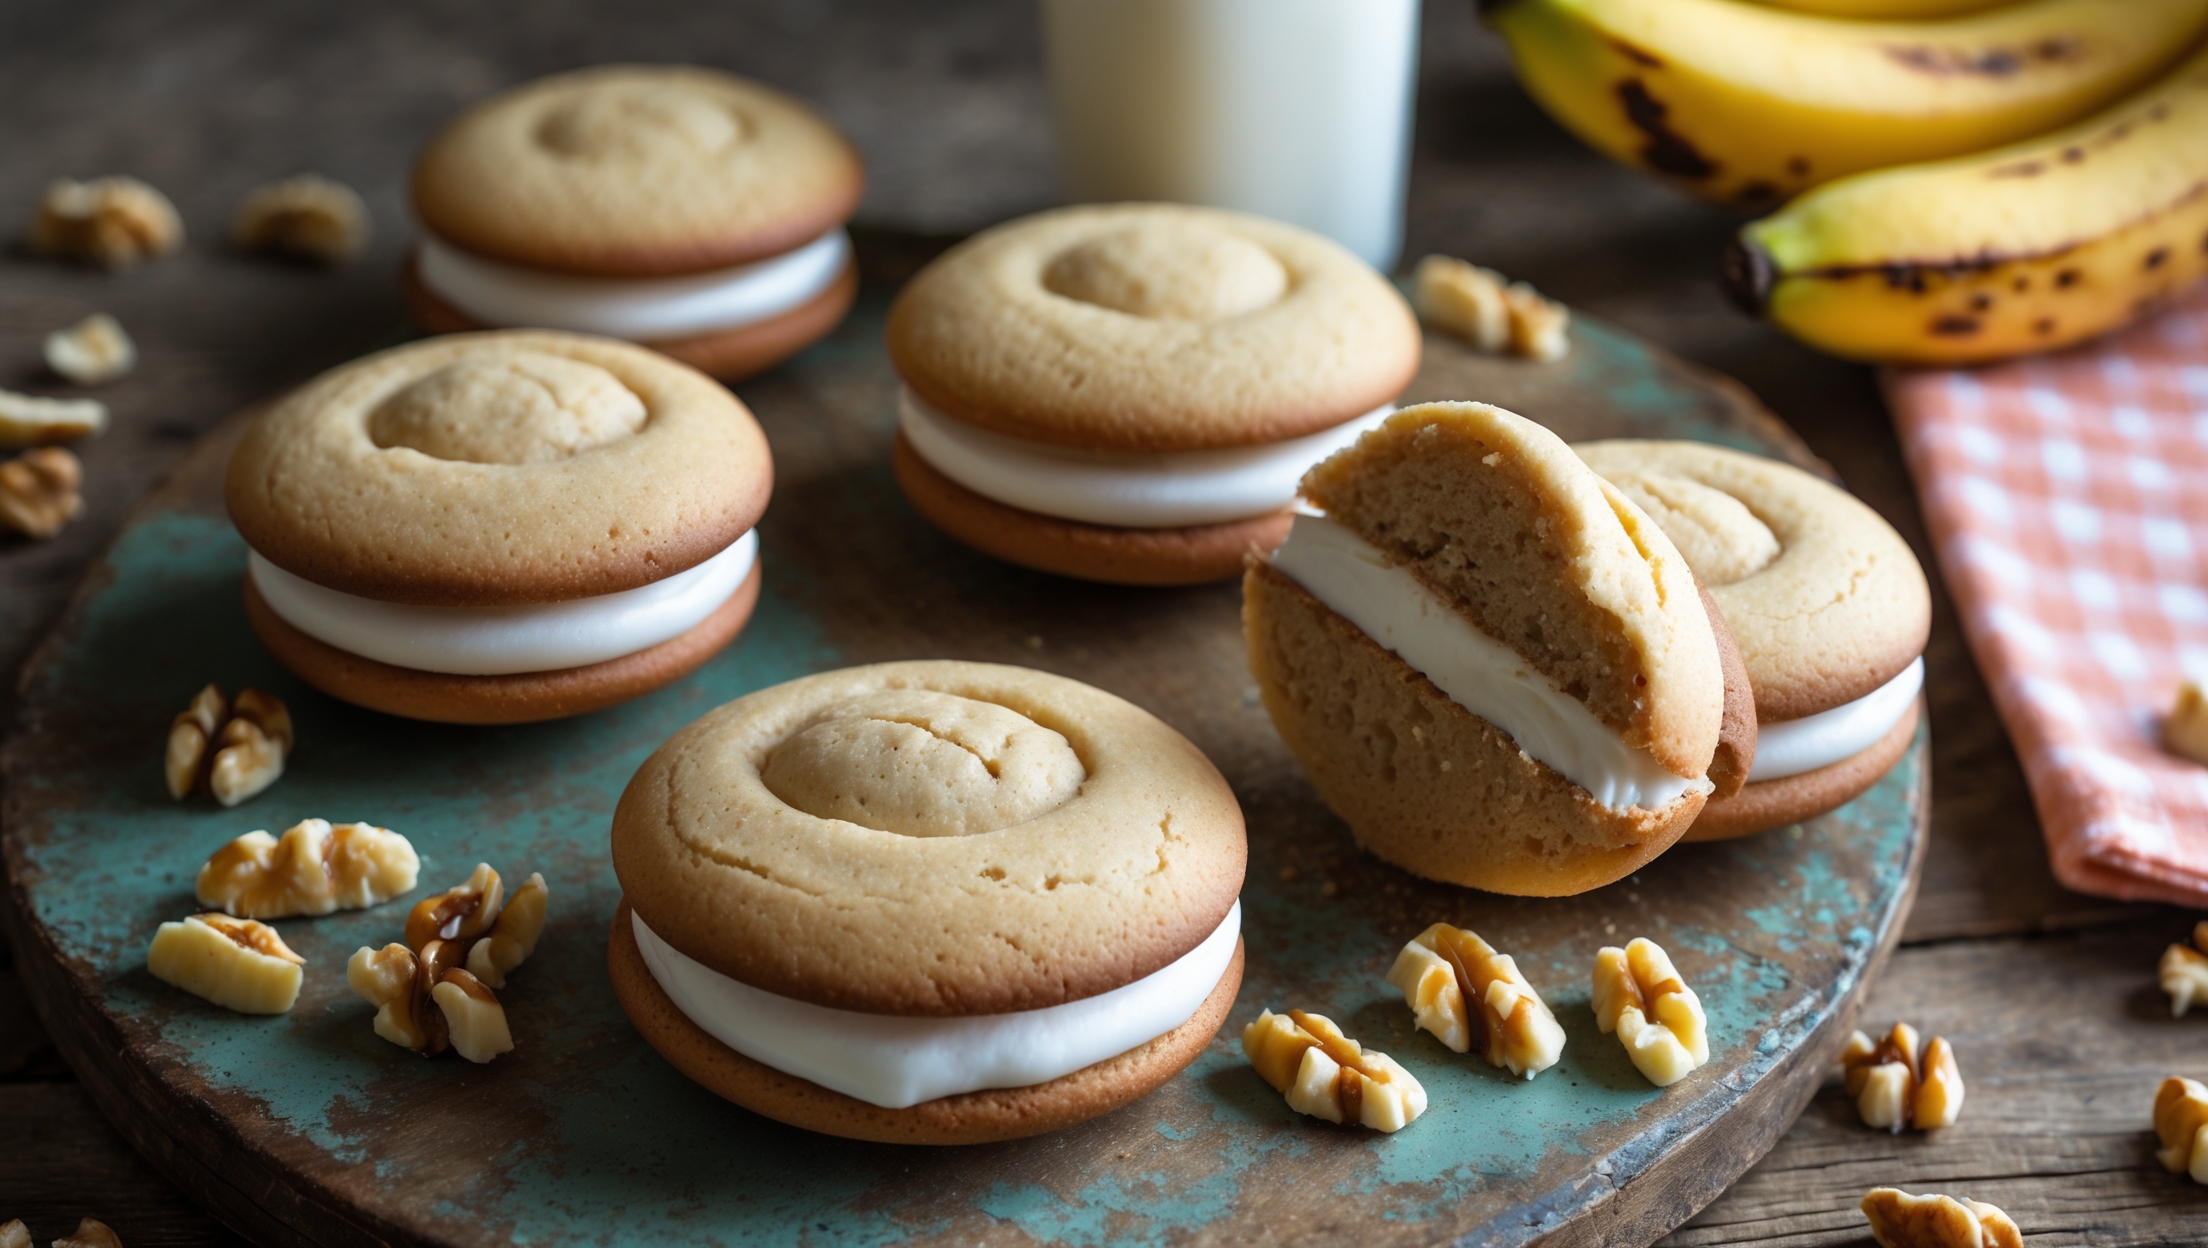
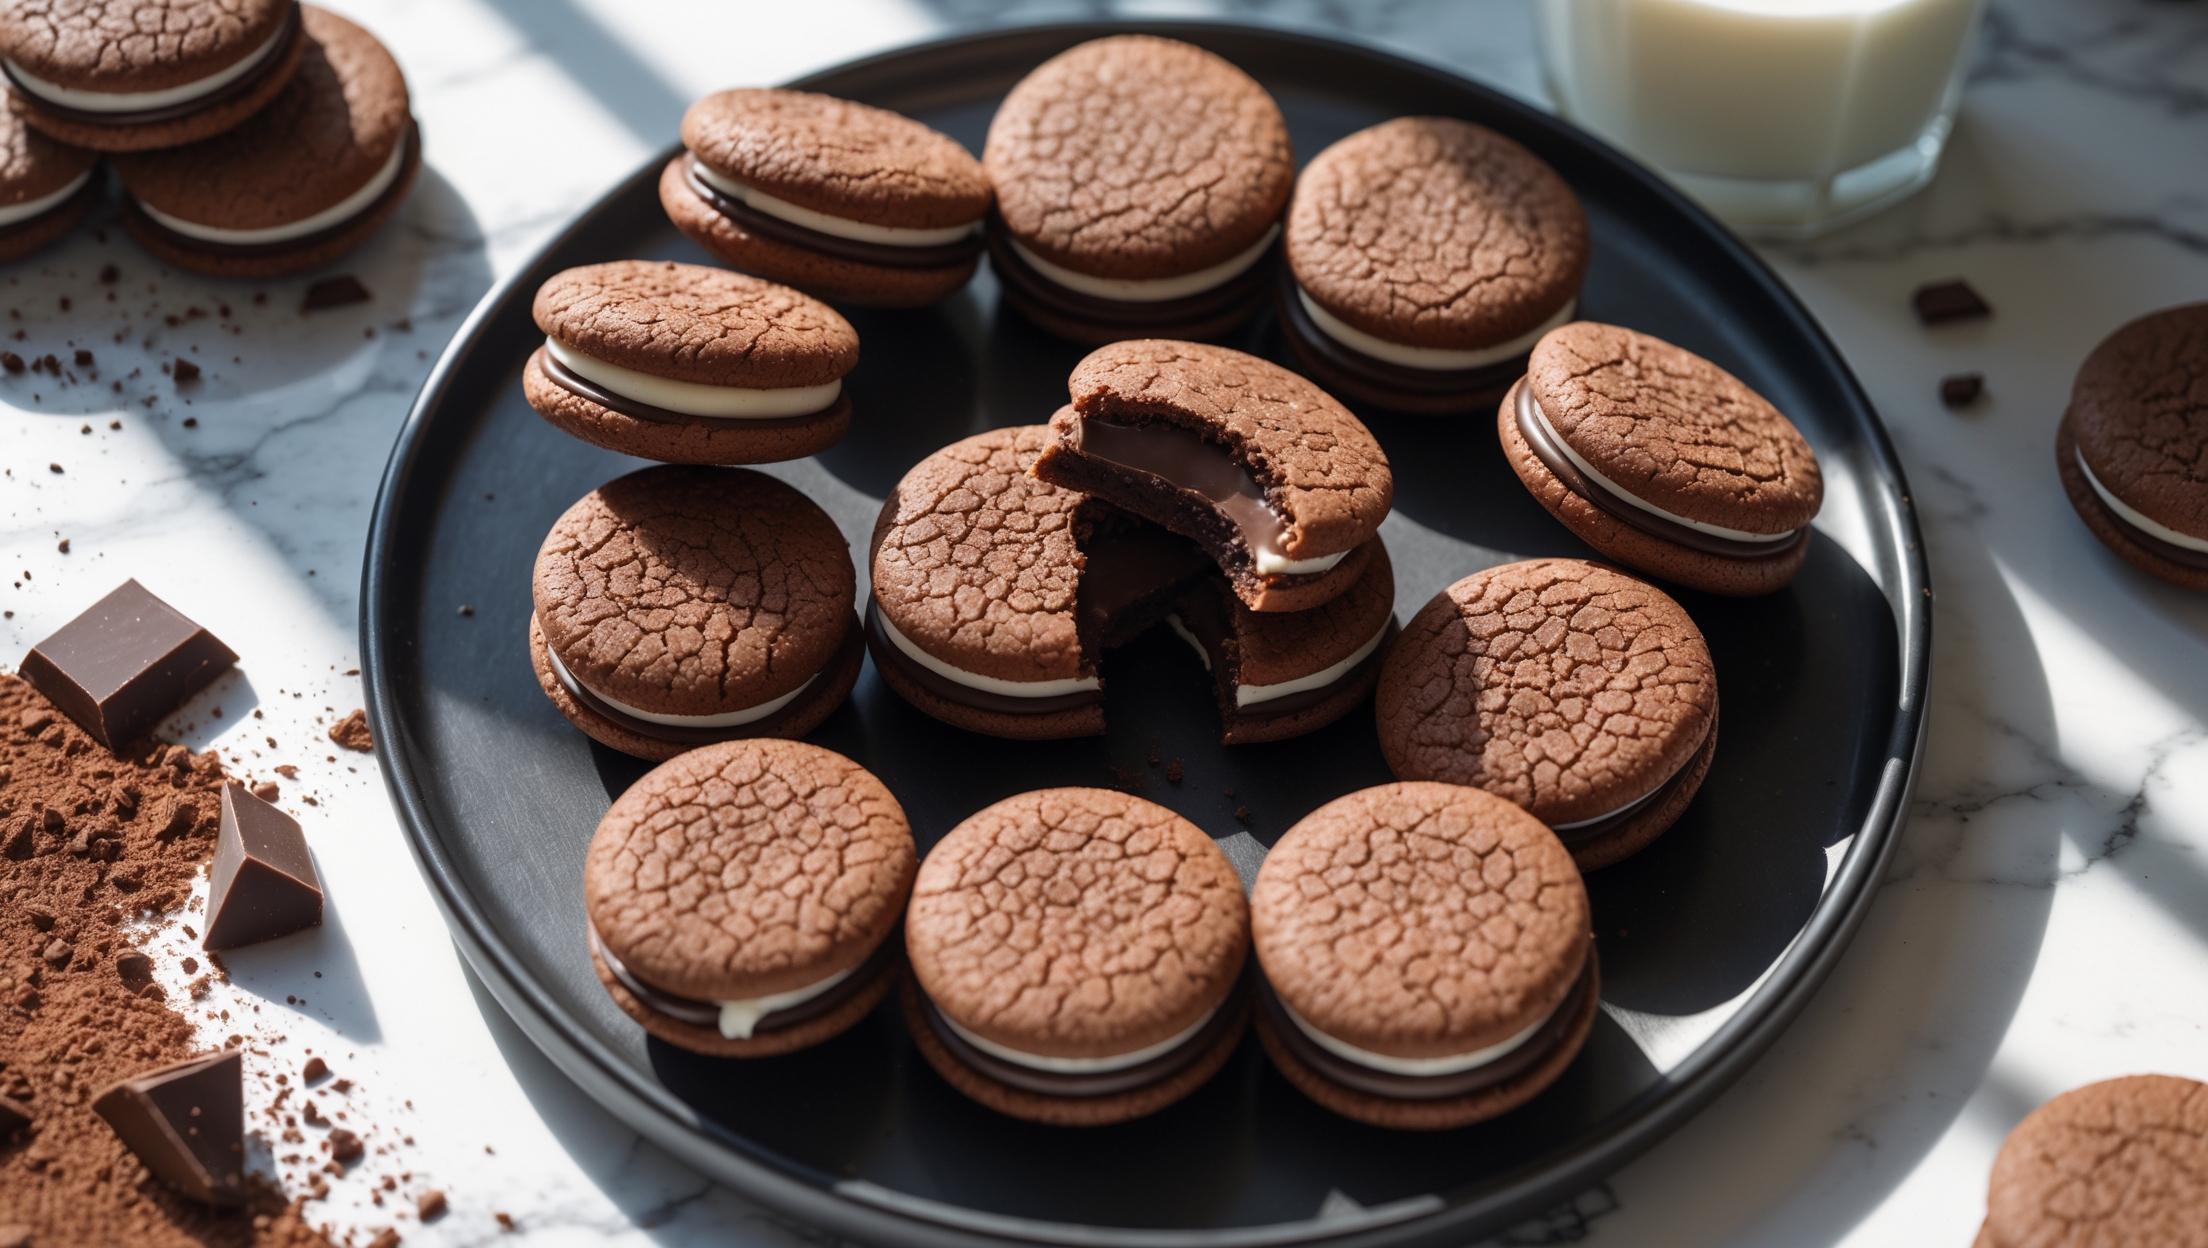
Sandwich Cookies
Try following recommended recipes