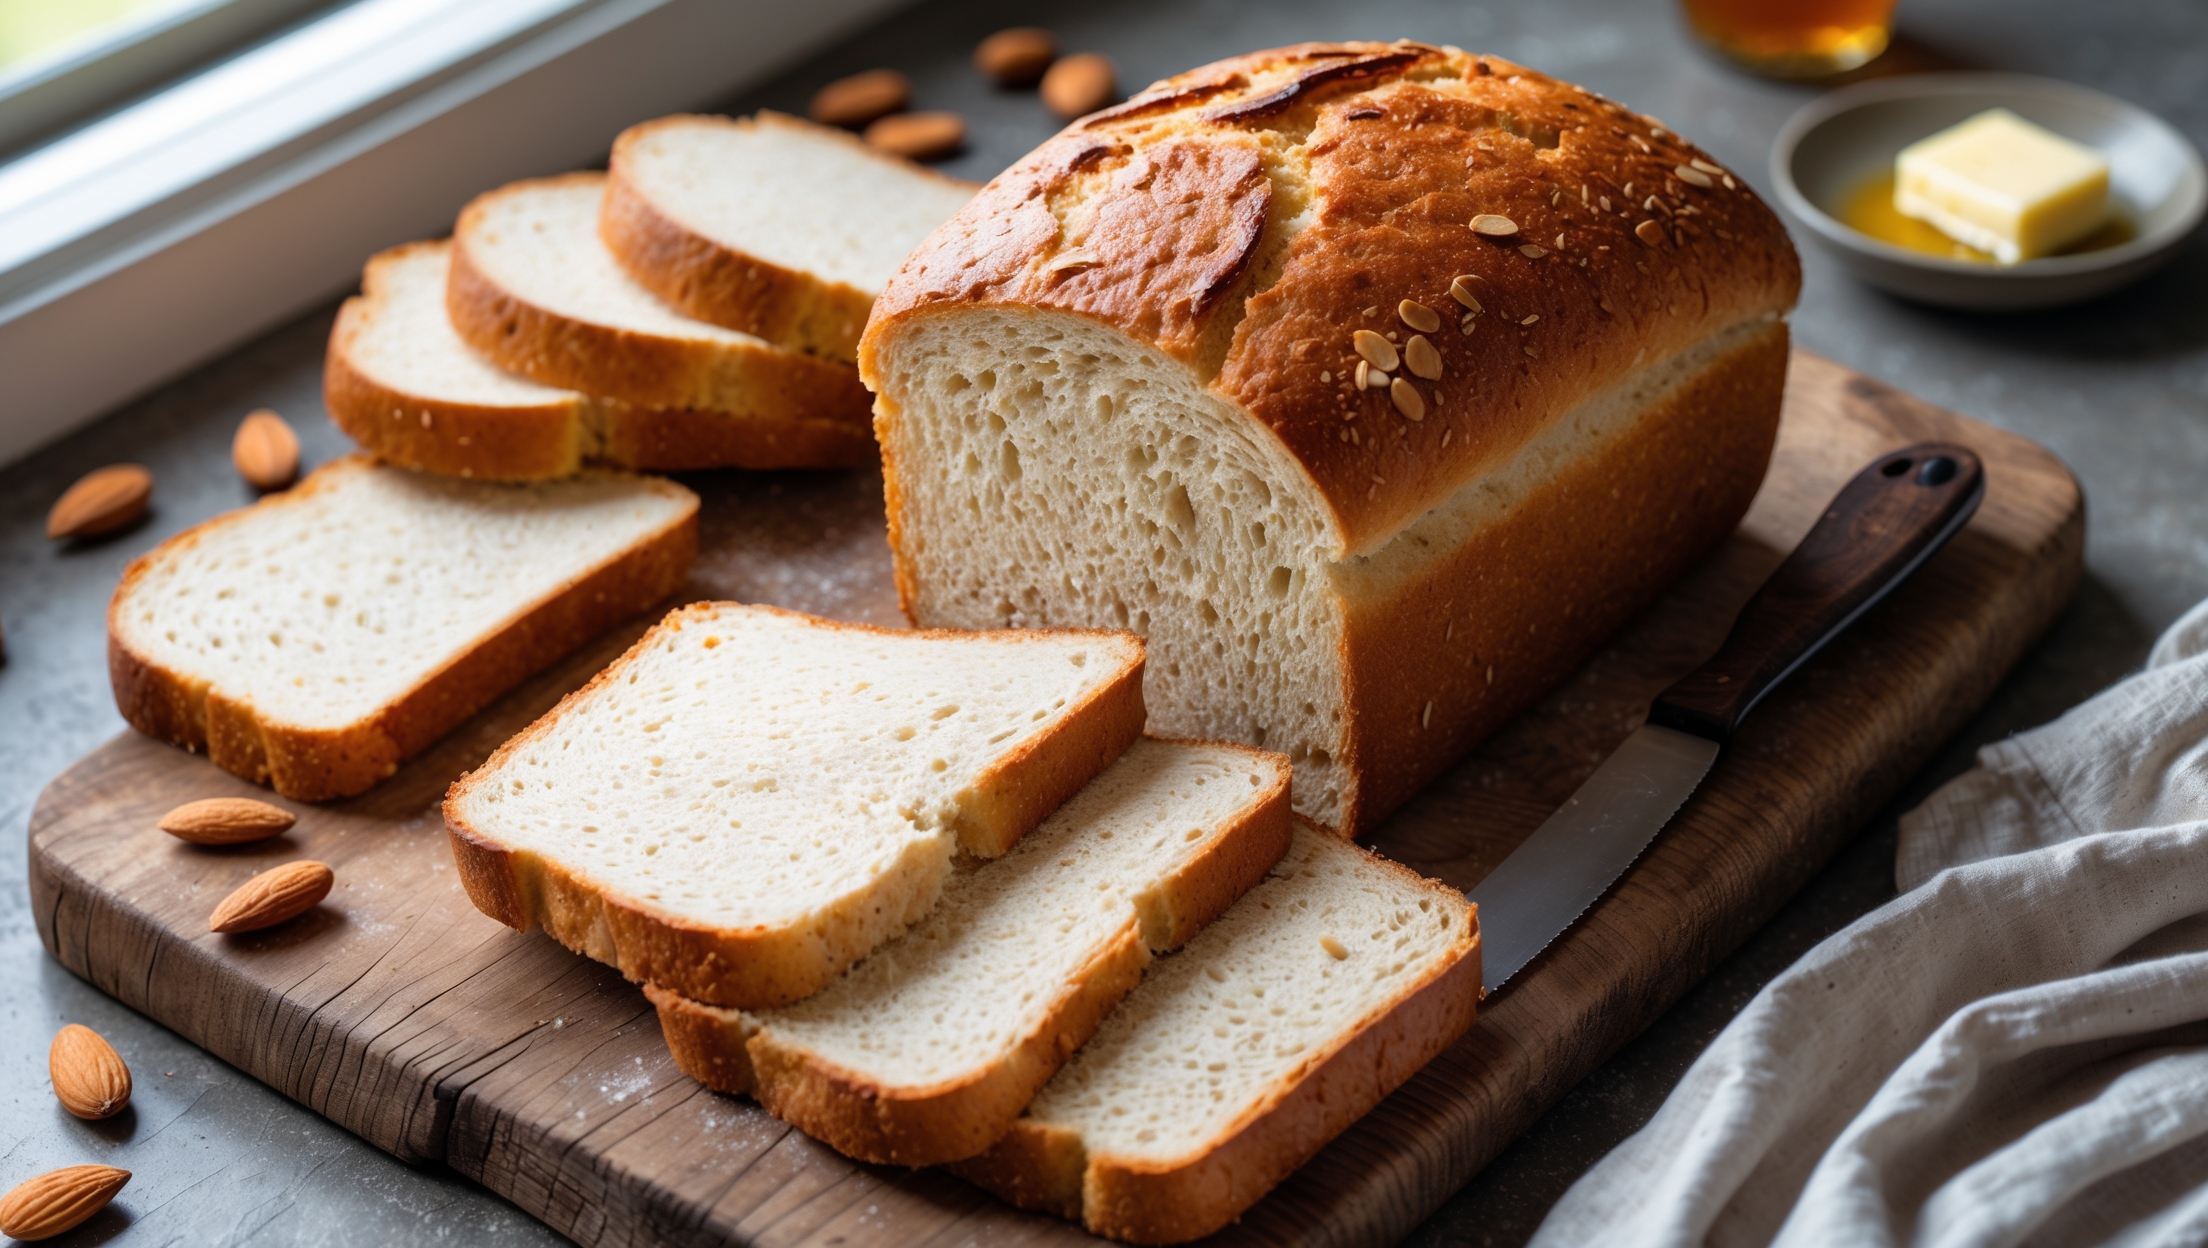
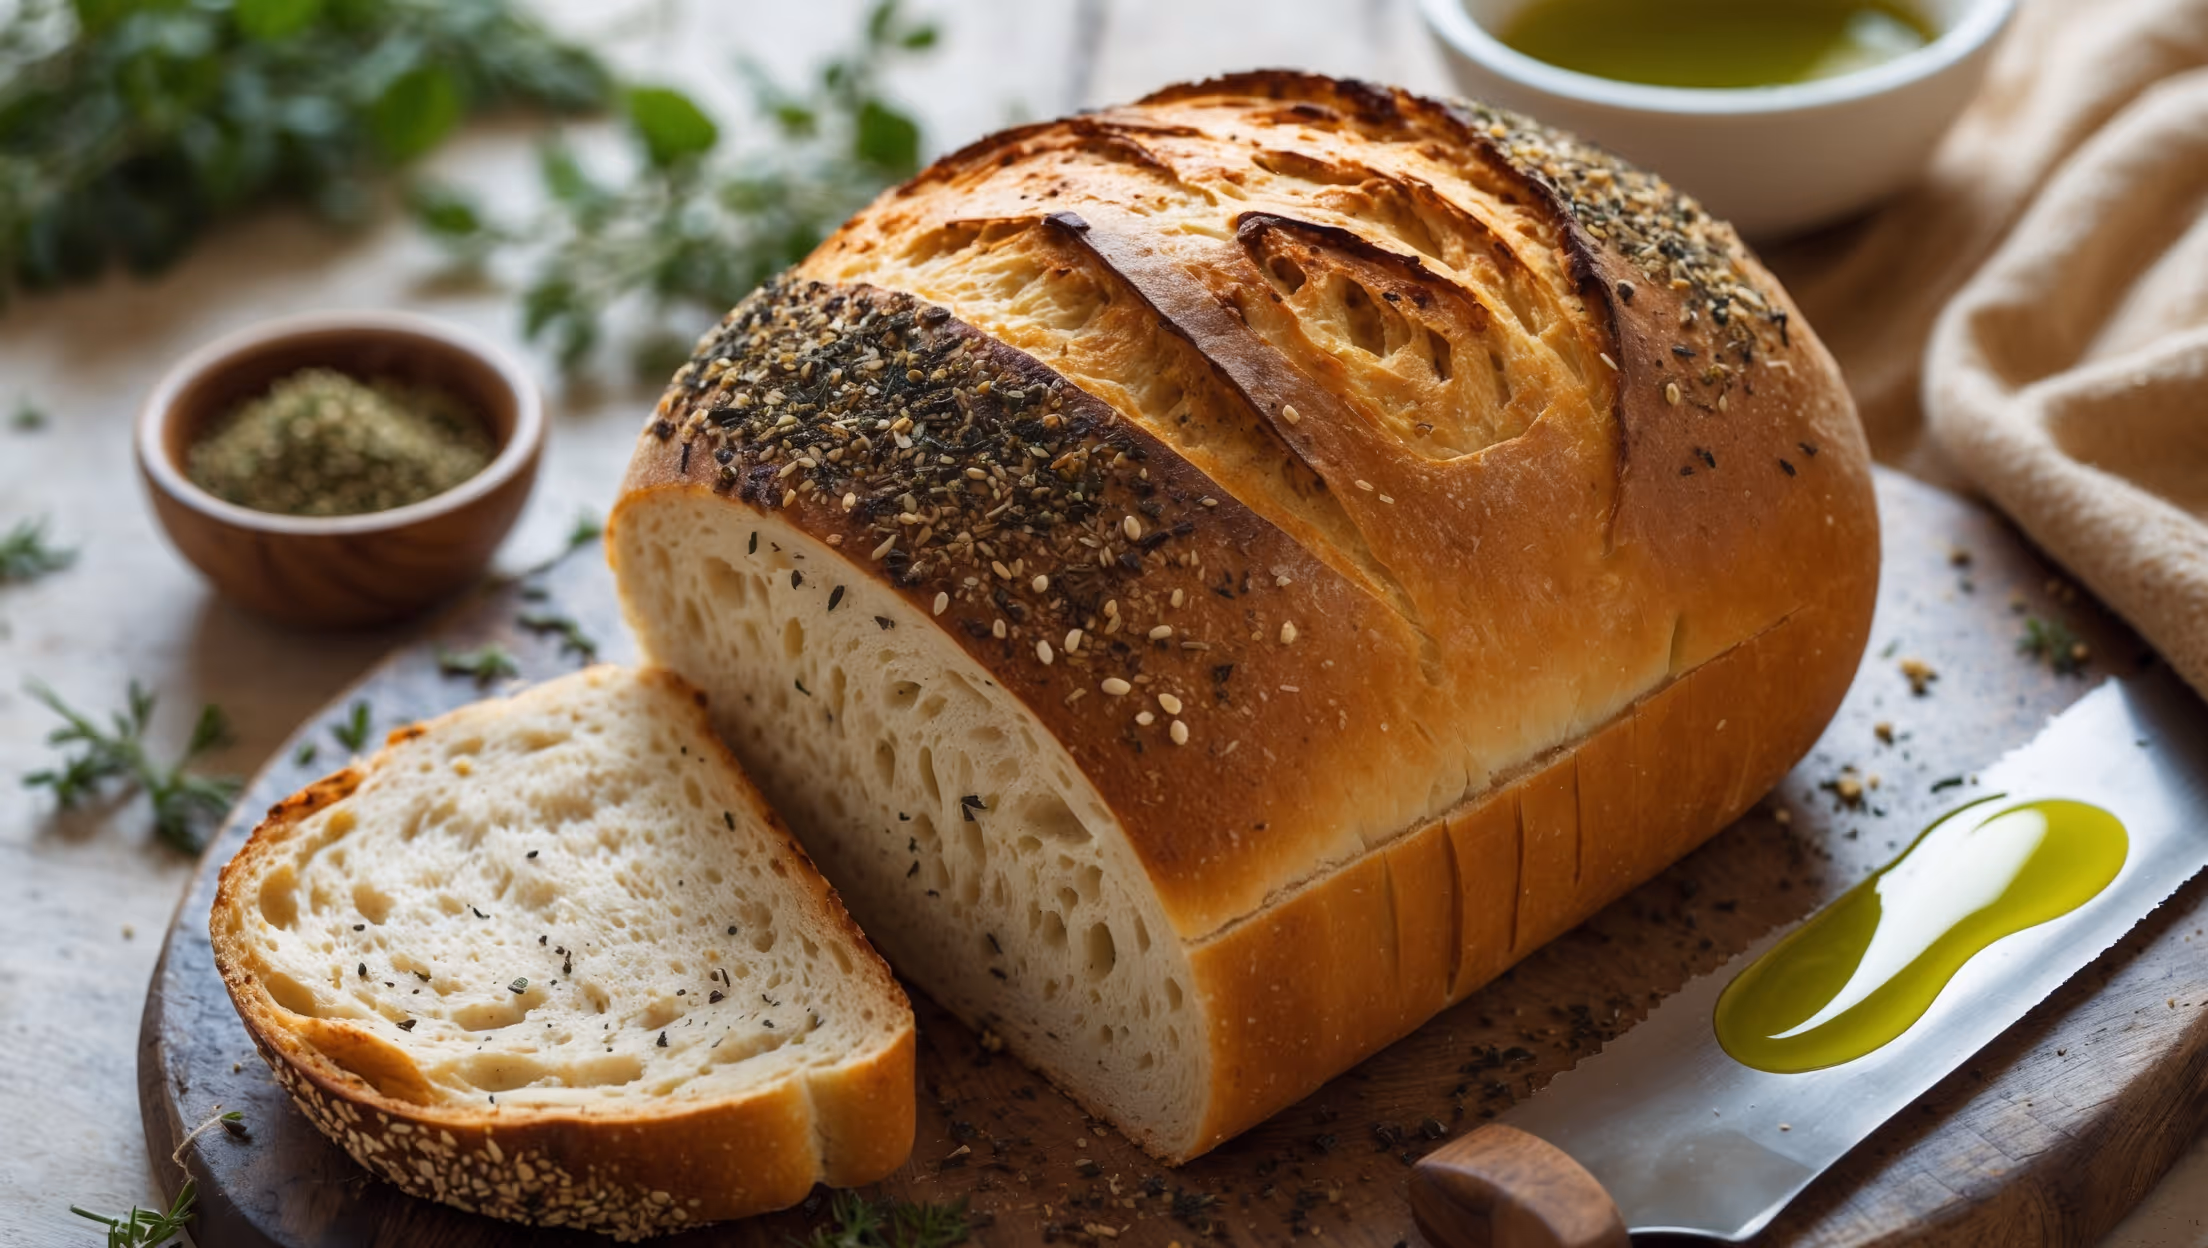
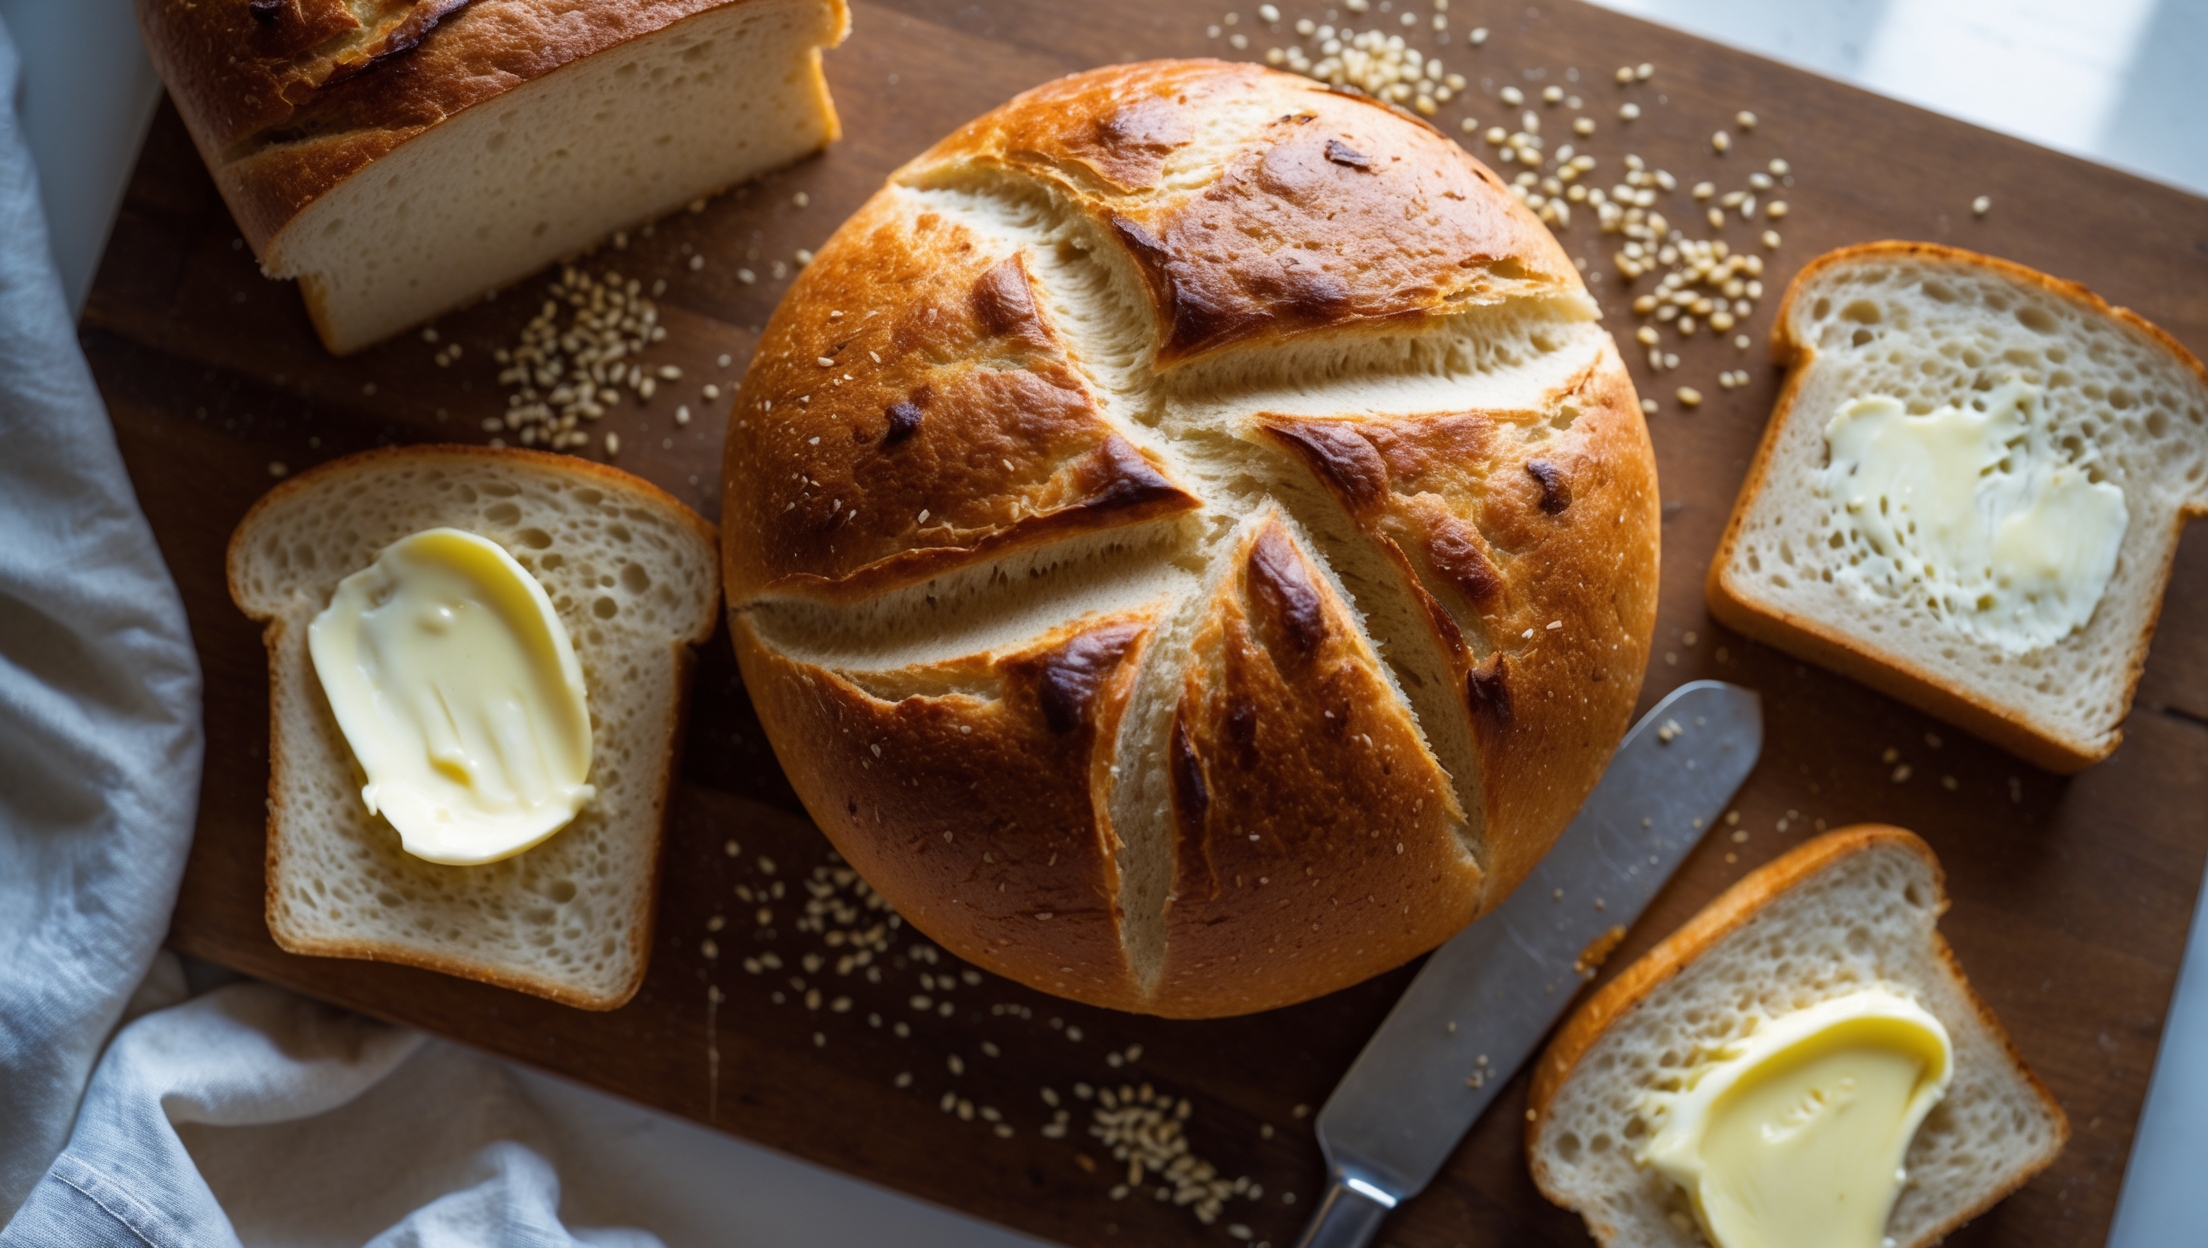
Gluten-Free Sandwich Bread Recipe
Ingredients
Equipment
Directions
FAQs
Find answers to your most pressing questions about this delicious recipe right here.
This recipe uses a special blend of white rice flour, tapioca starch, and potato starch, combined with psyllium husk powder and xanthan gum for structure. Other ingredients include active dry yeast, eggs, butter, apple cider vinegar, sugar, salt, and warm water.
Learn how to cook Gluten-Free Sandwich Bread by combining a special flour blend with structure-building ingredients like psyllium husk and xanthan gum. Mix with wet ingredients, allow to rise once, then bake at 180°C for 45-50 minutes until golden brown. The key is proper rising time and complete cooling before slicing for the perfect texture.
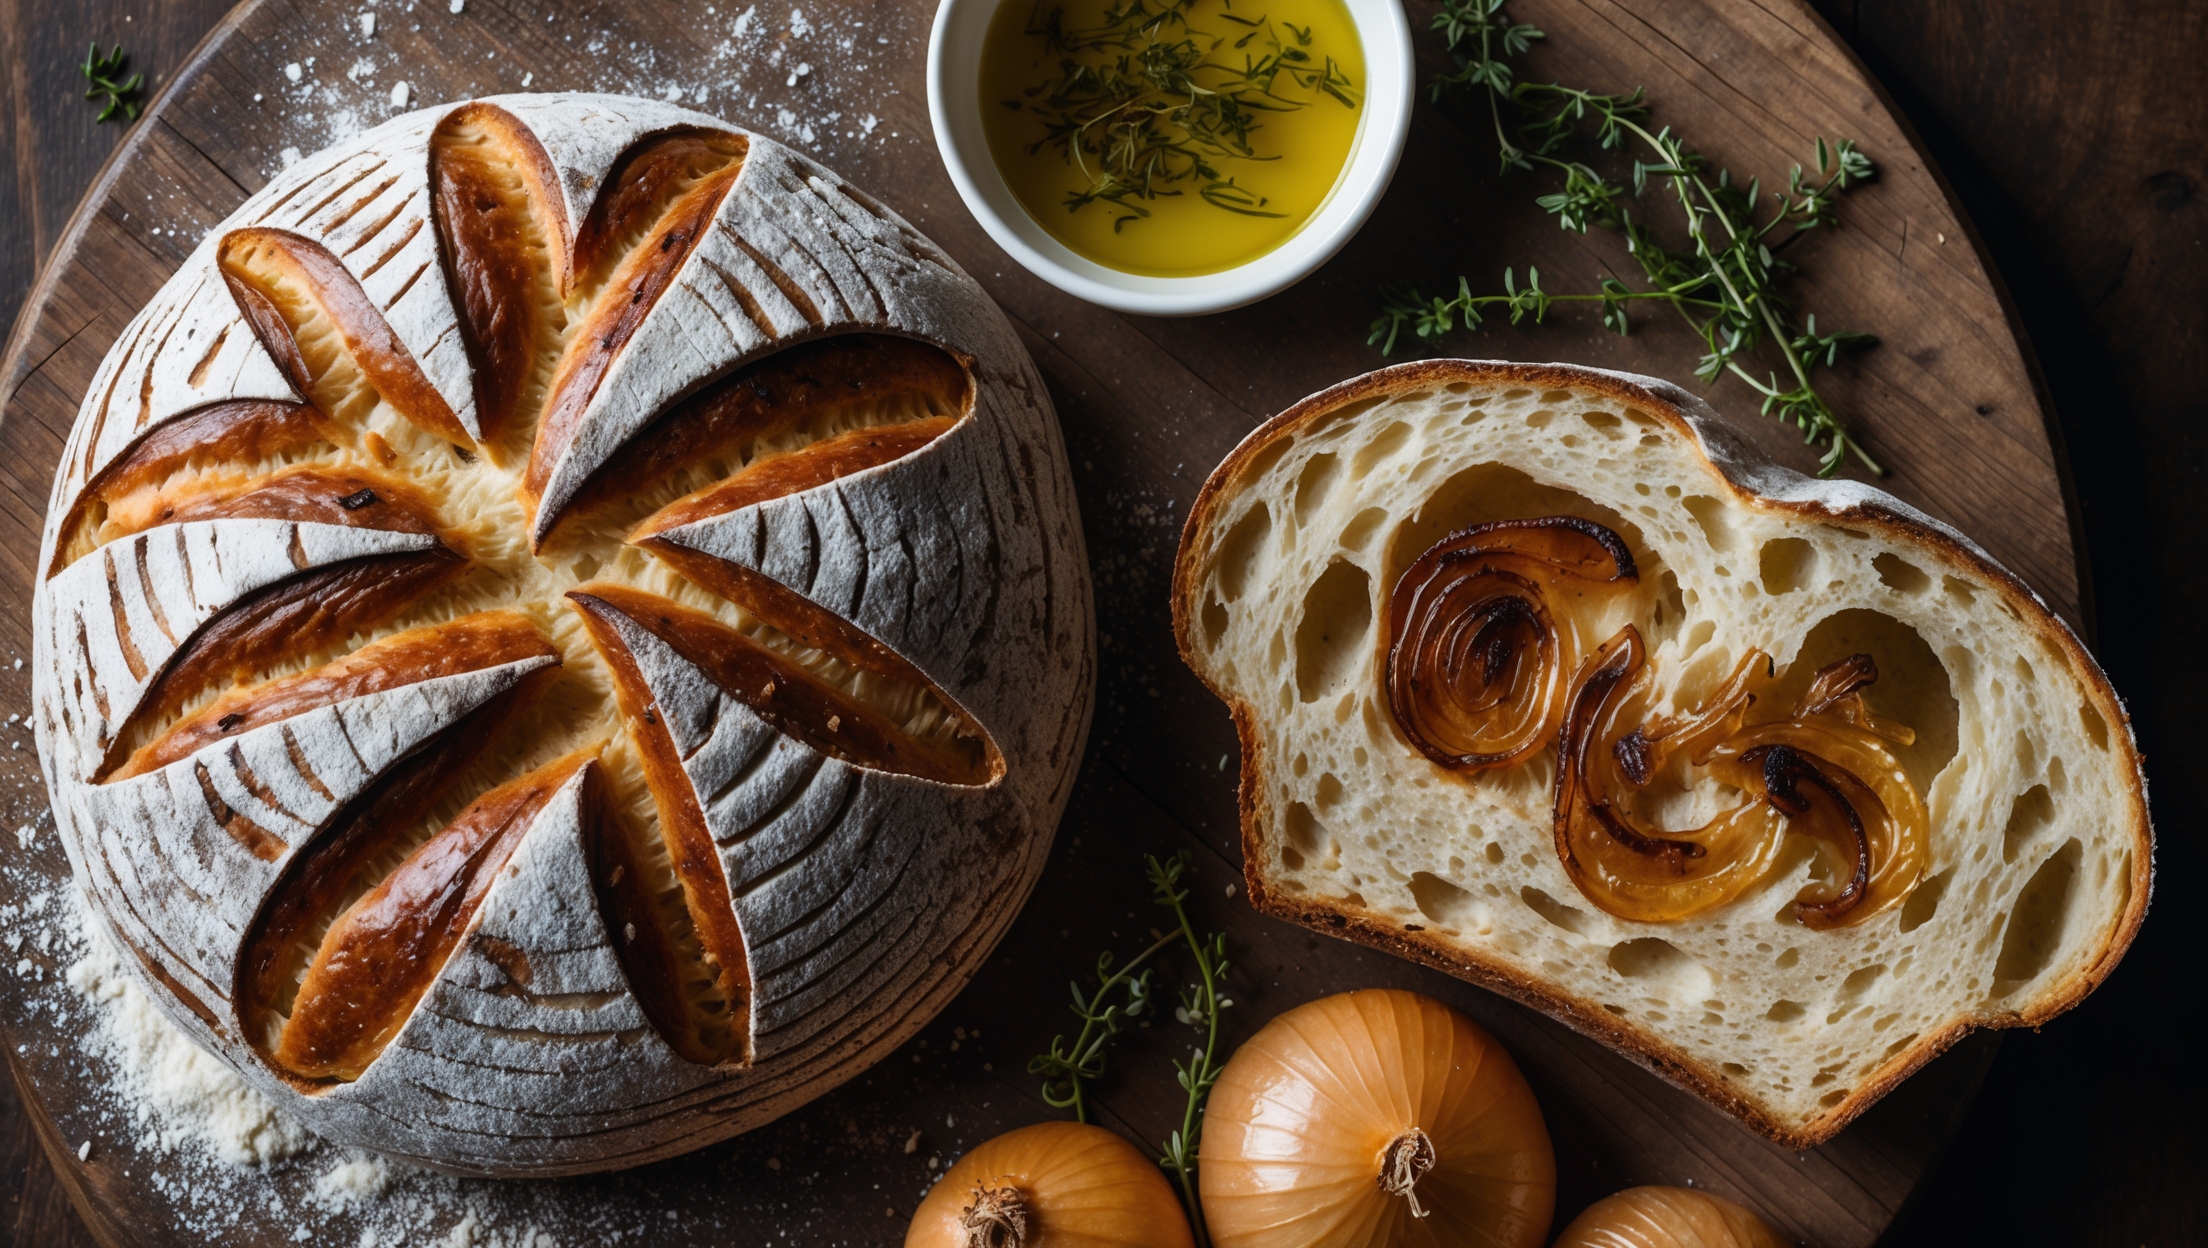
Psyllium husk powder is crucial because it mimics gluten's elasticity and structure, trapping air bubbles during rising and baking. It gives the bread a cohesive, flexible texture rather than the crumbly result common in gluten-free baking. Always use powder form rather than whole husks for best results.
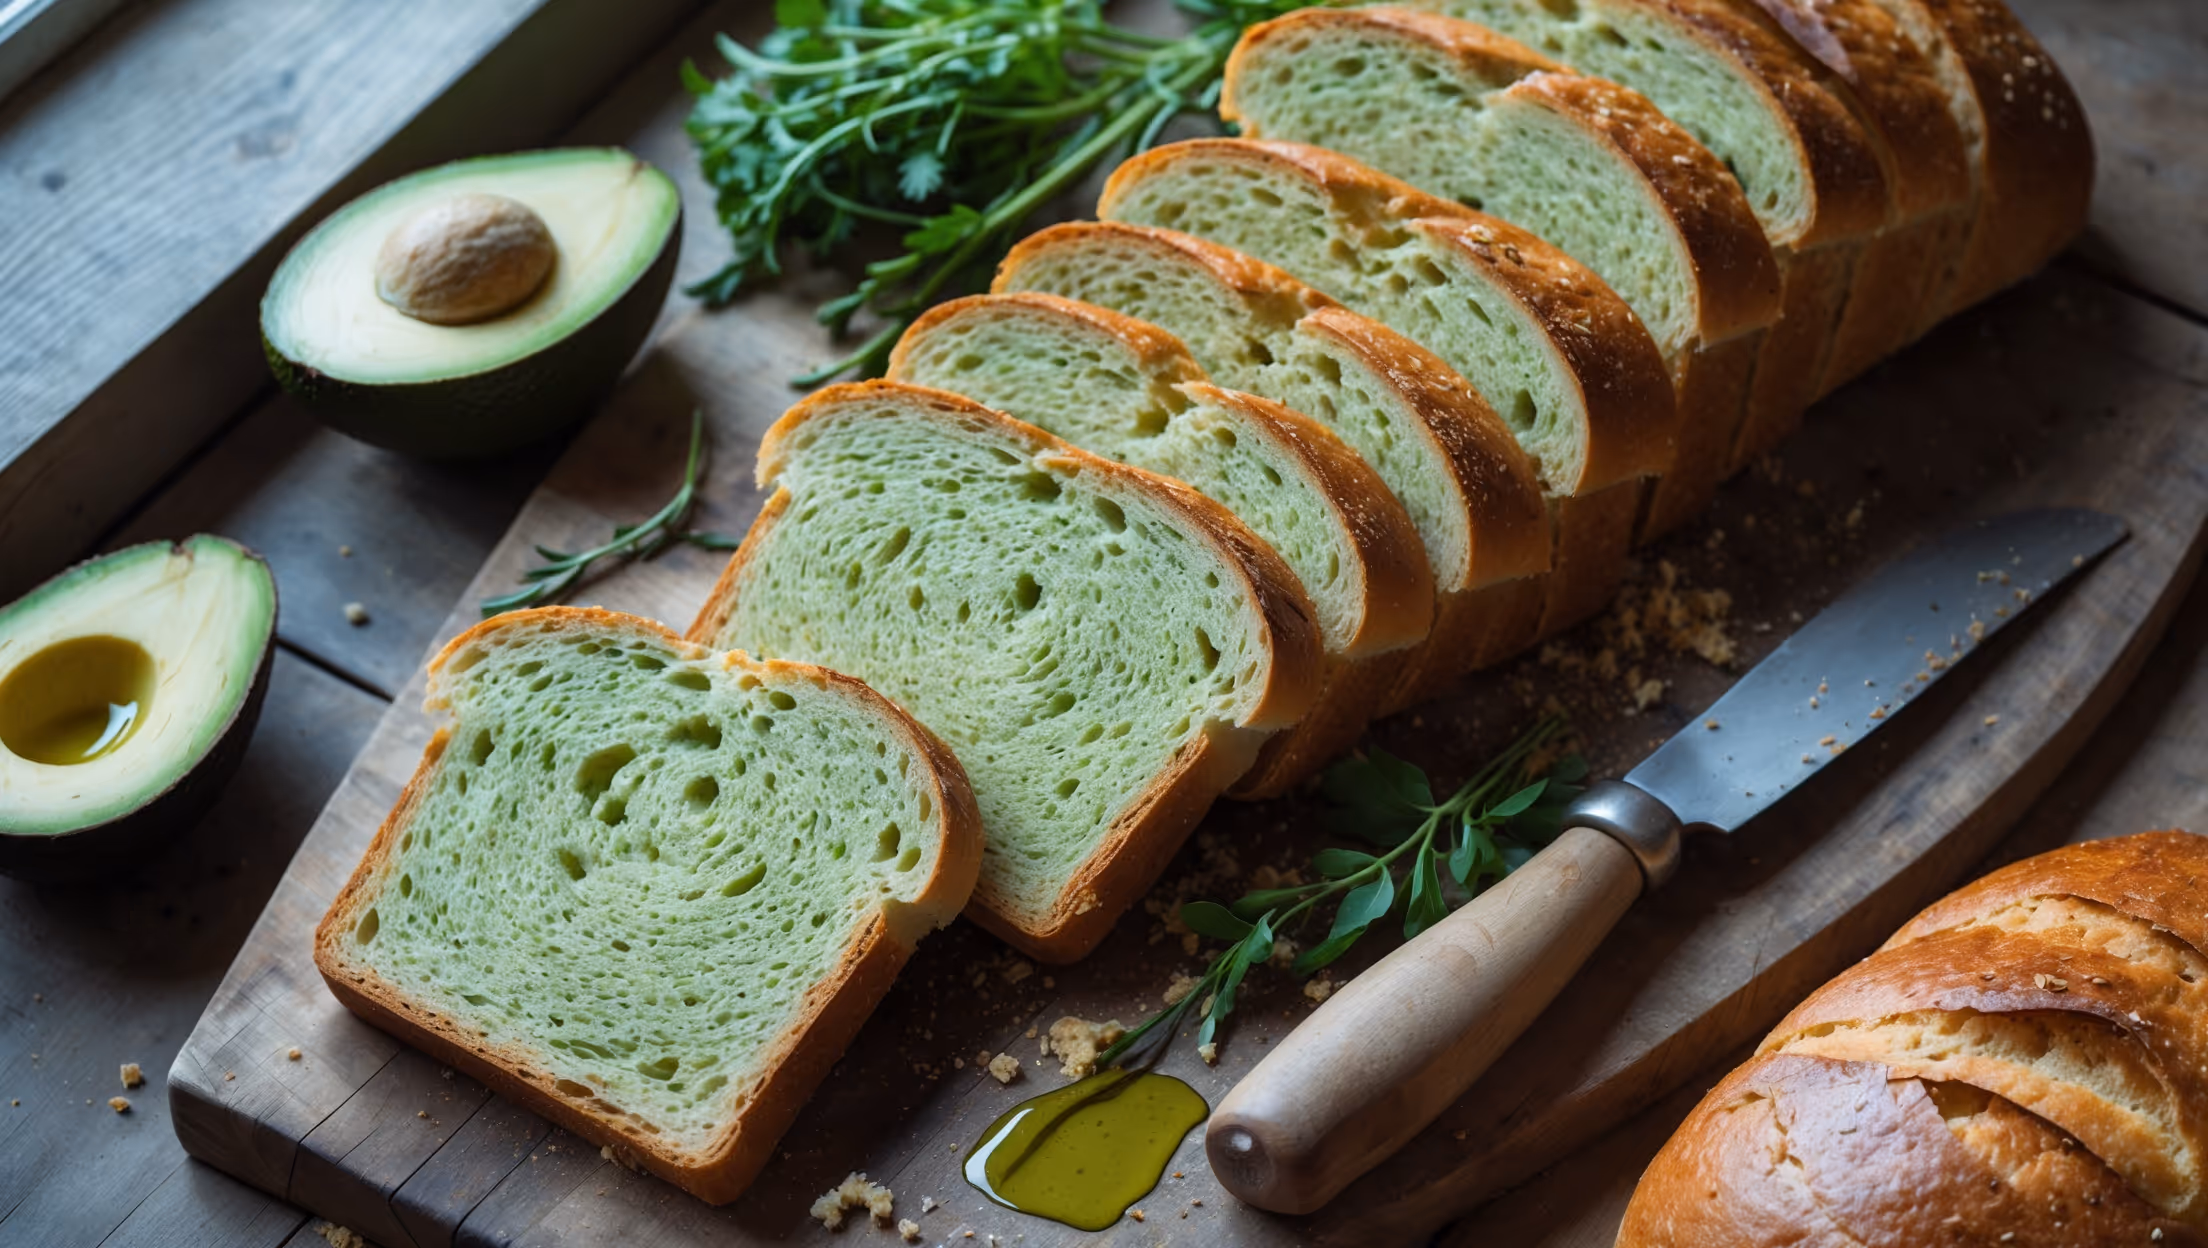
Some substitutions are possible but may affect texture. Almond flour can replace some rice flour, whilst brown rice flour can substitute white. However, psyllium husk and xanthan gum are essential structural elements. Oil can replace butter, but eggs are difficult to substitute without significant recipe adjustments.
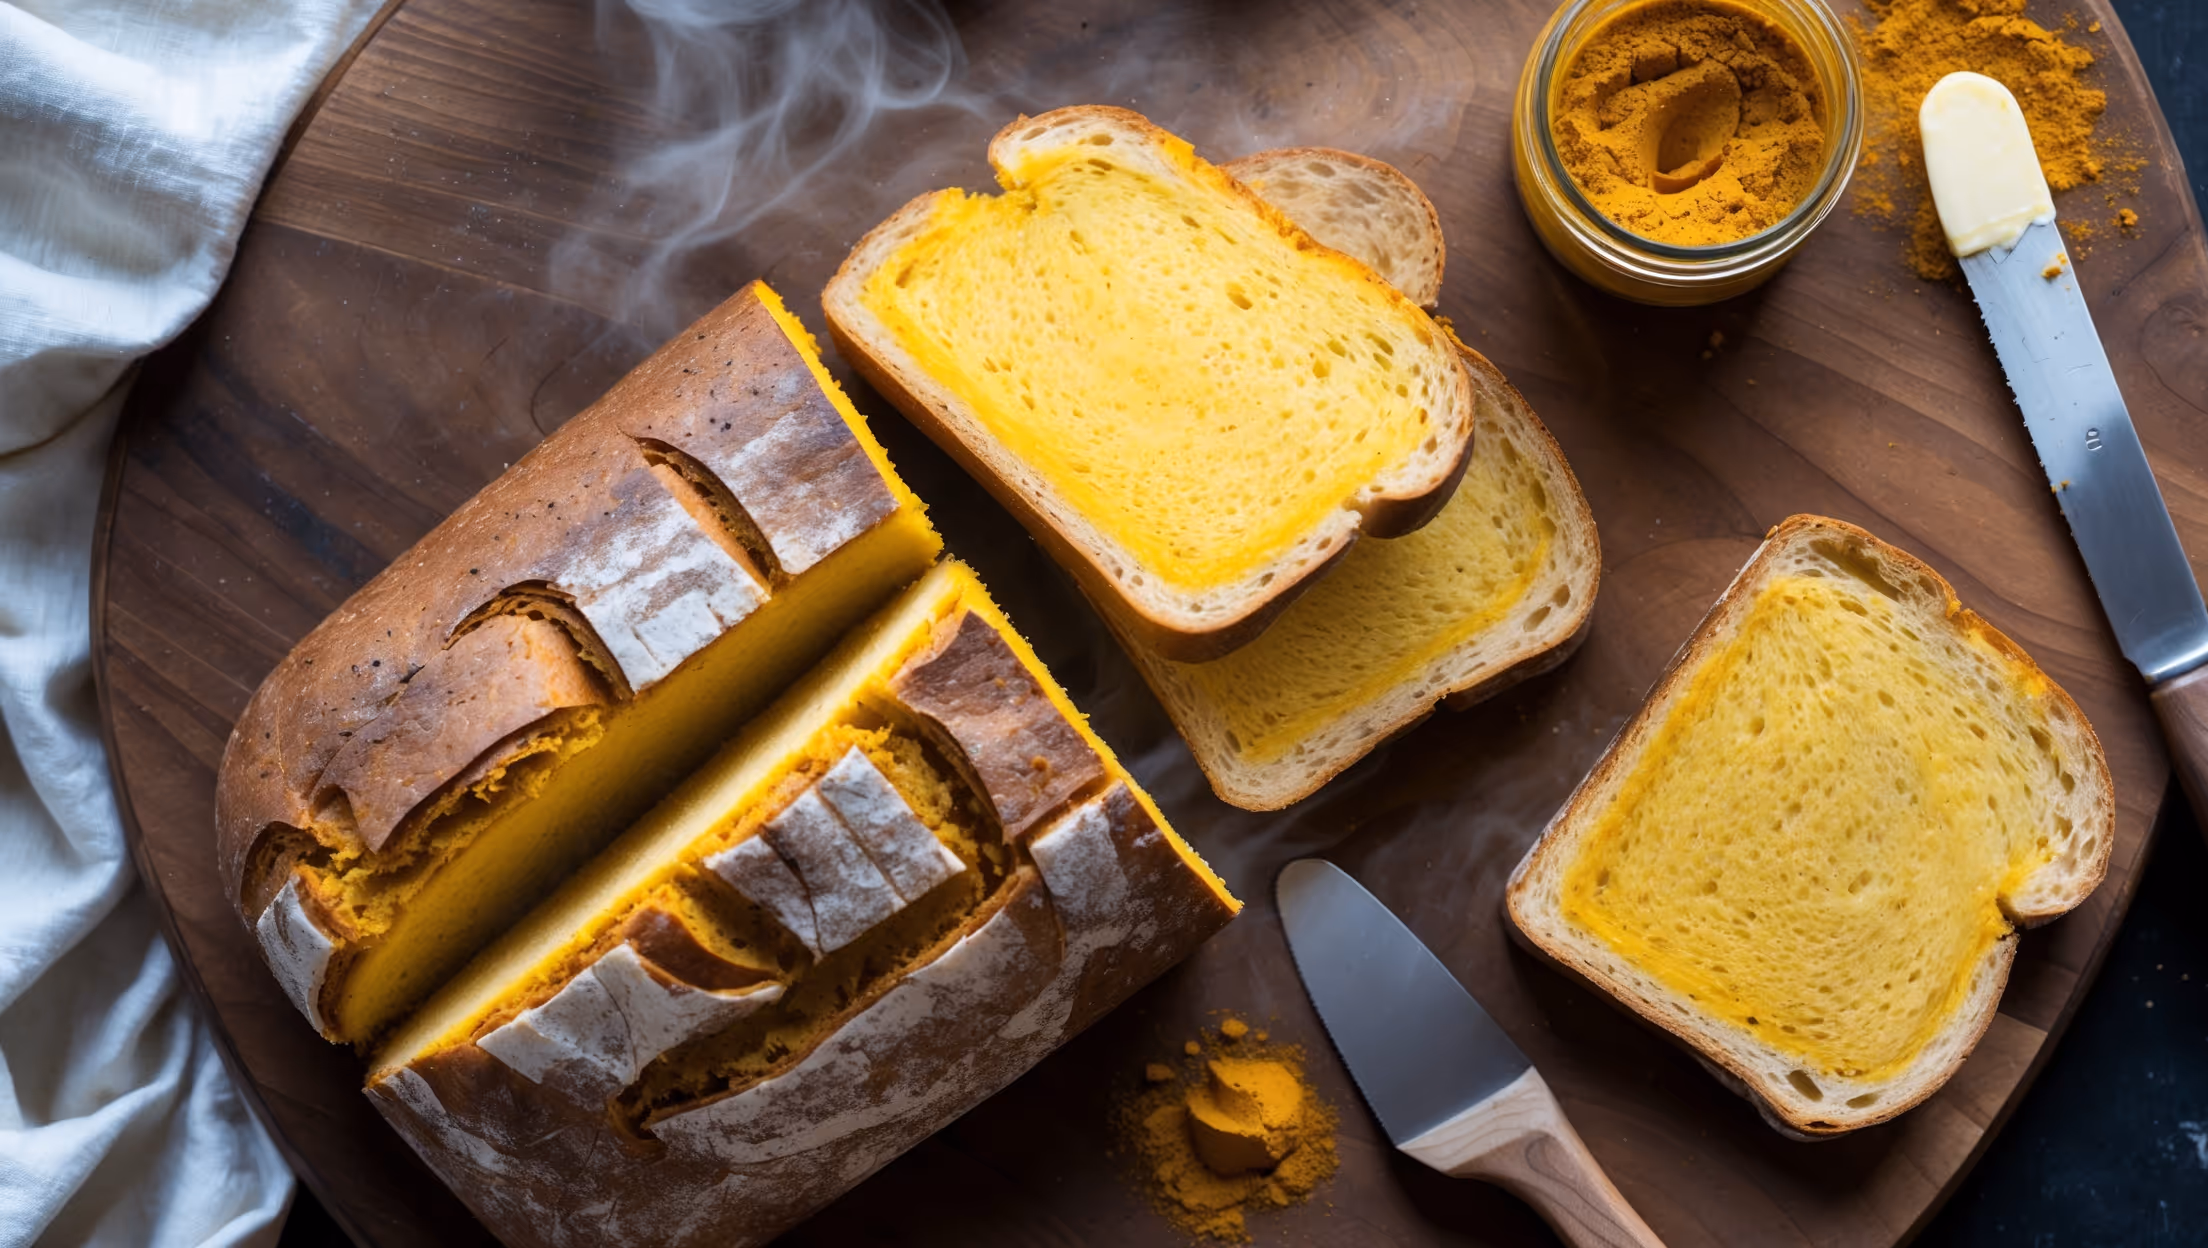
Collapsed gluten-free bread typically results from over-proofing, under-baking, or incorrect flour ratios. Ensure your dough rises just to about 1 cm from the pan's top, verify internal temperature reaches 99-102°C, and measure ingredients precisely with a kitchen scale for consistent structure.
Sandwich Bread
Try following recommended recipes