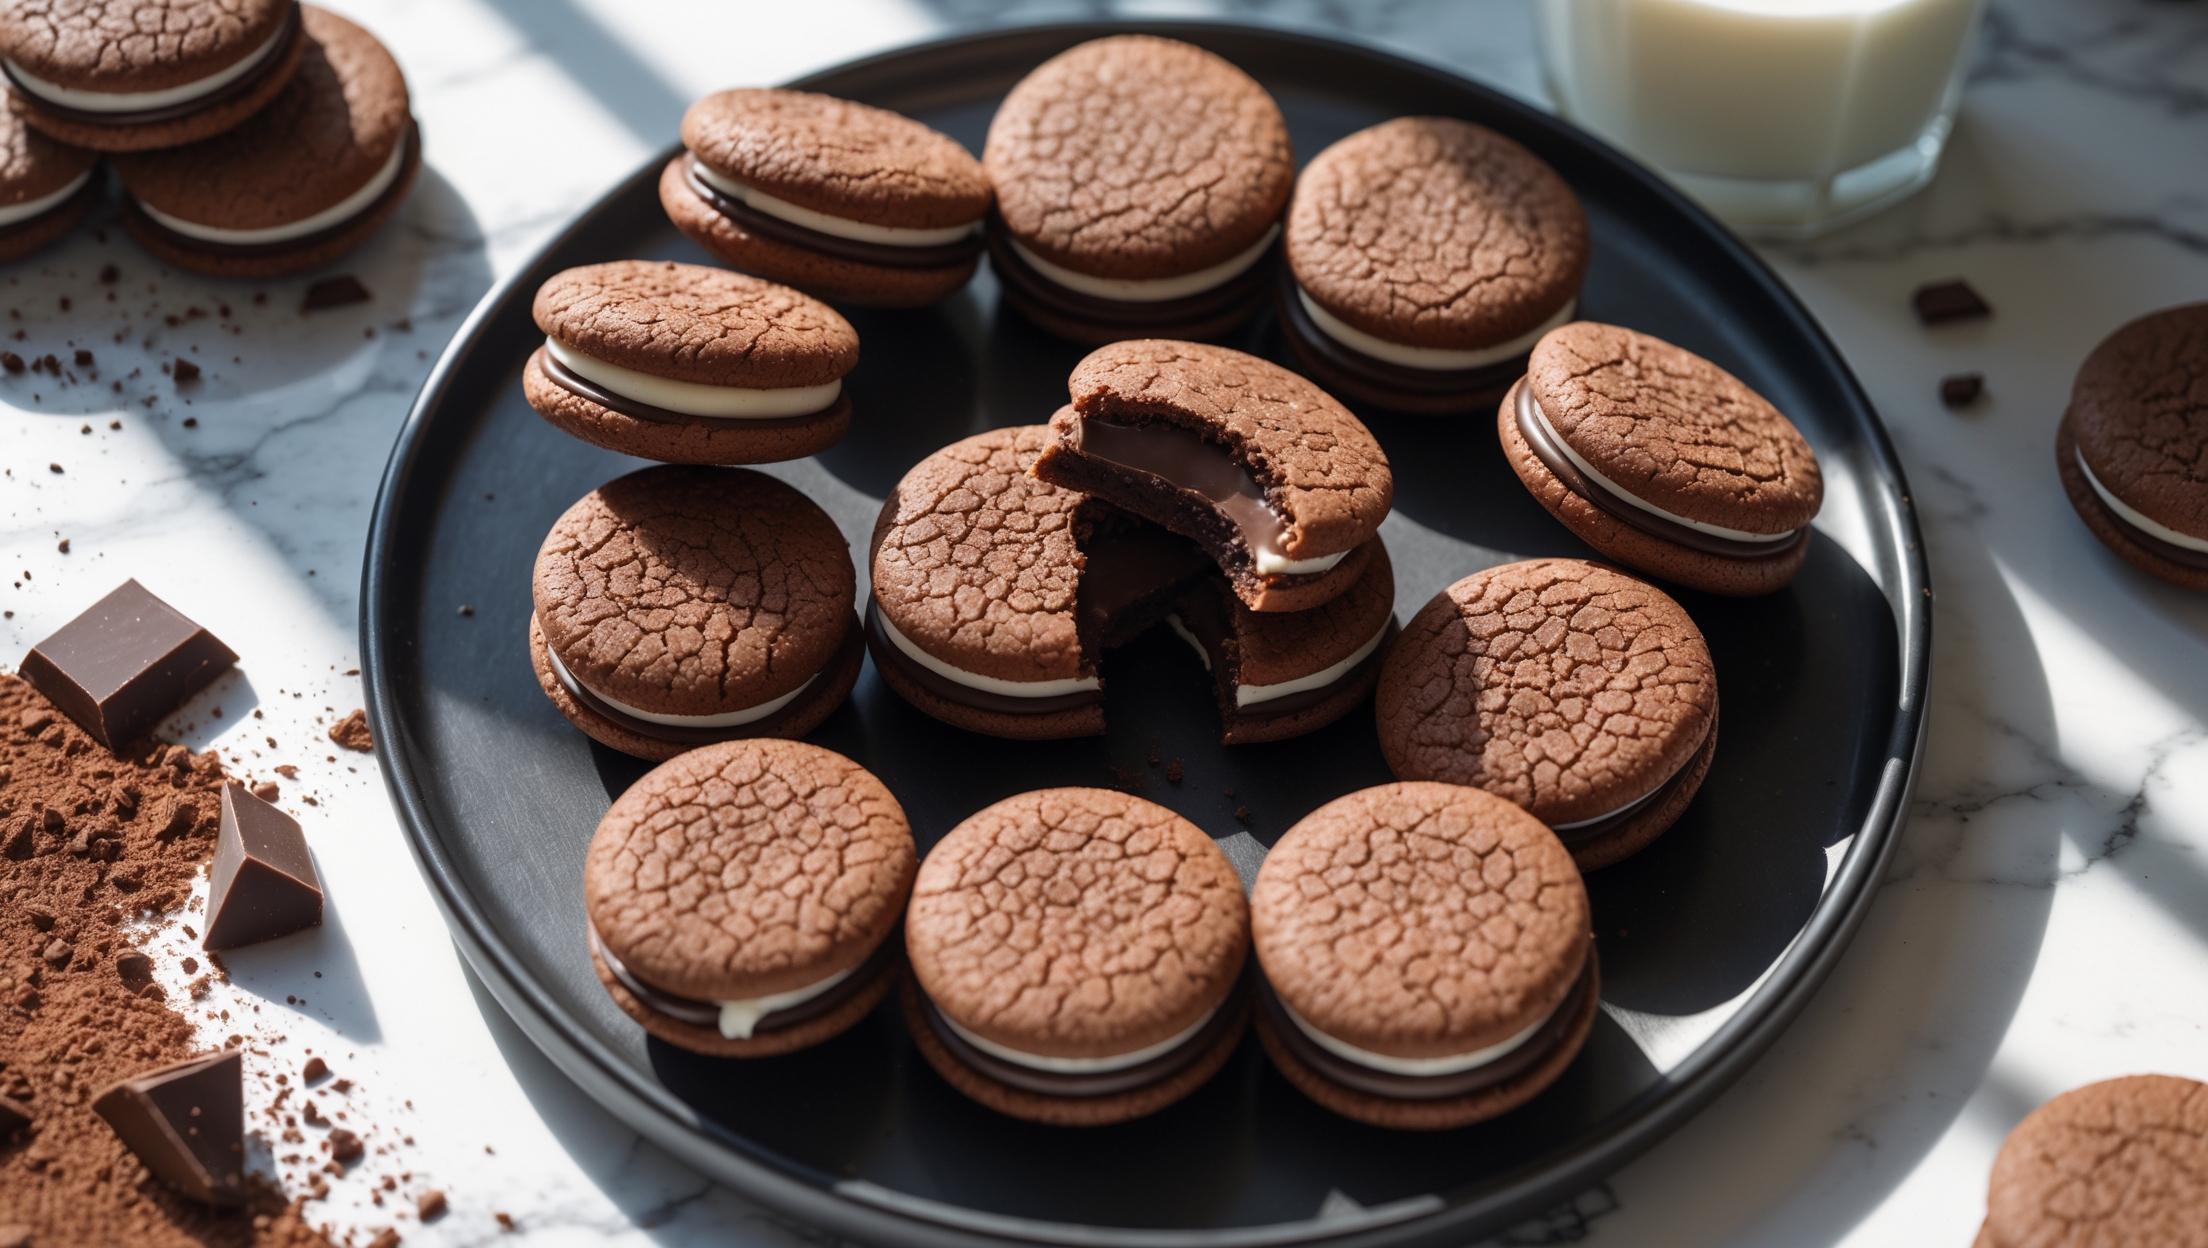
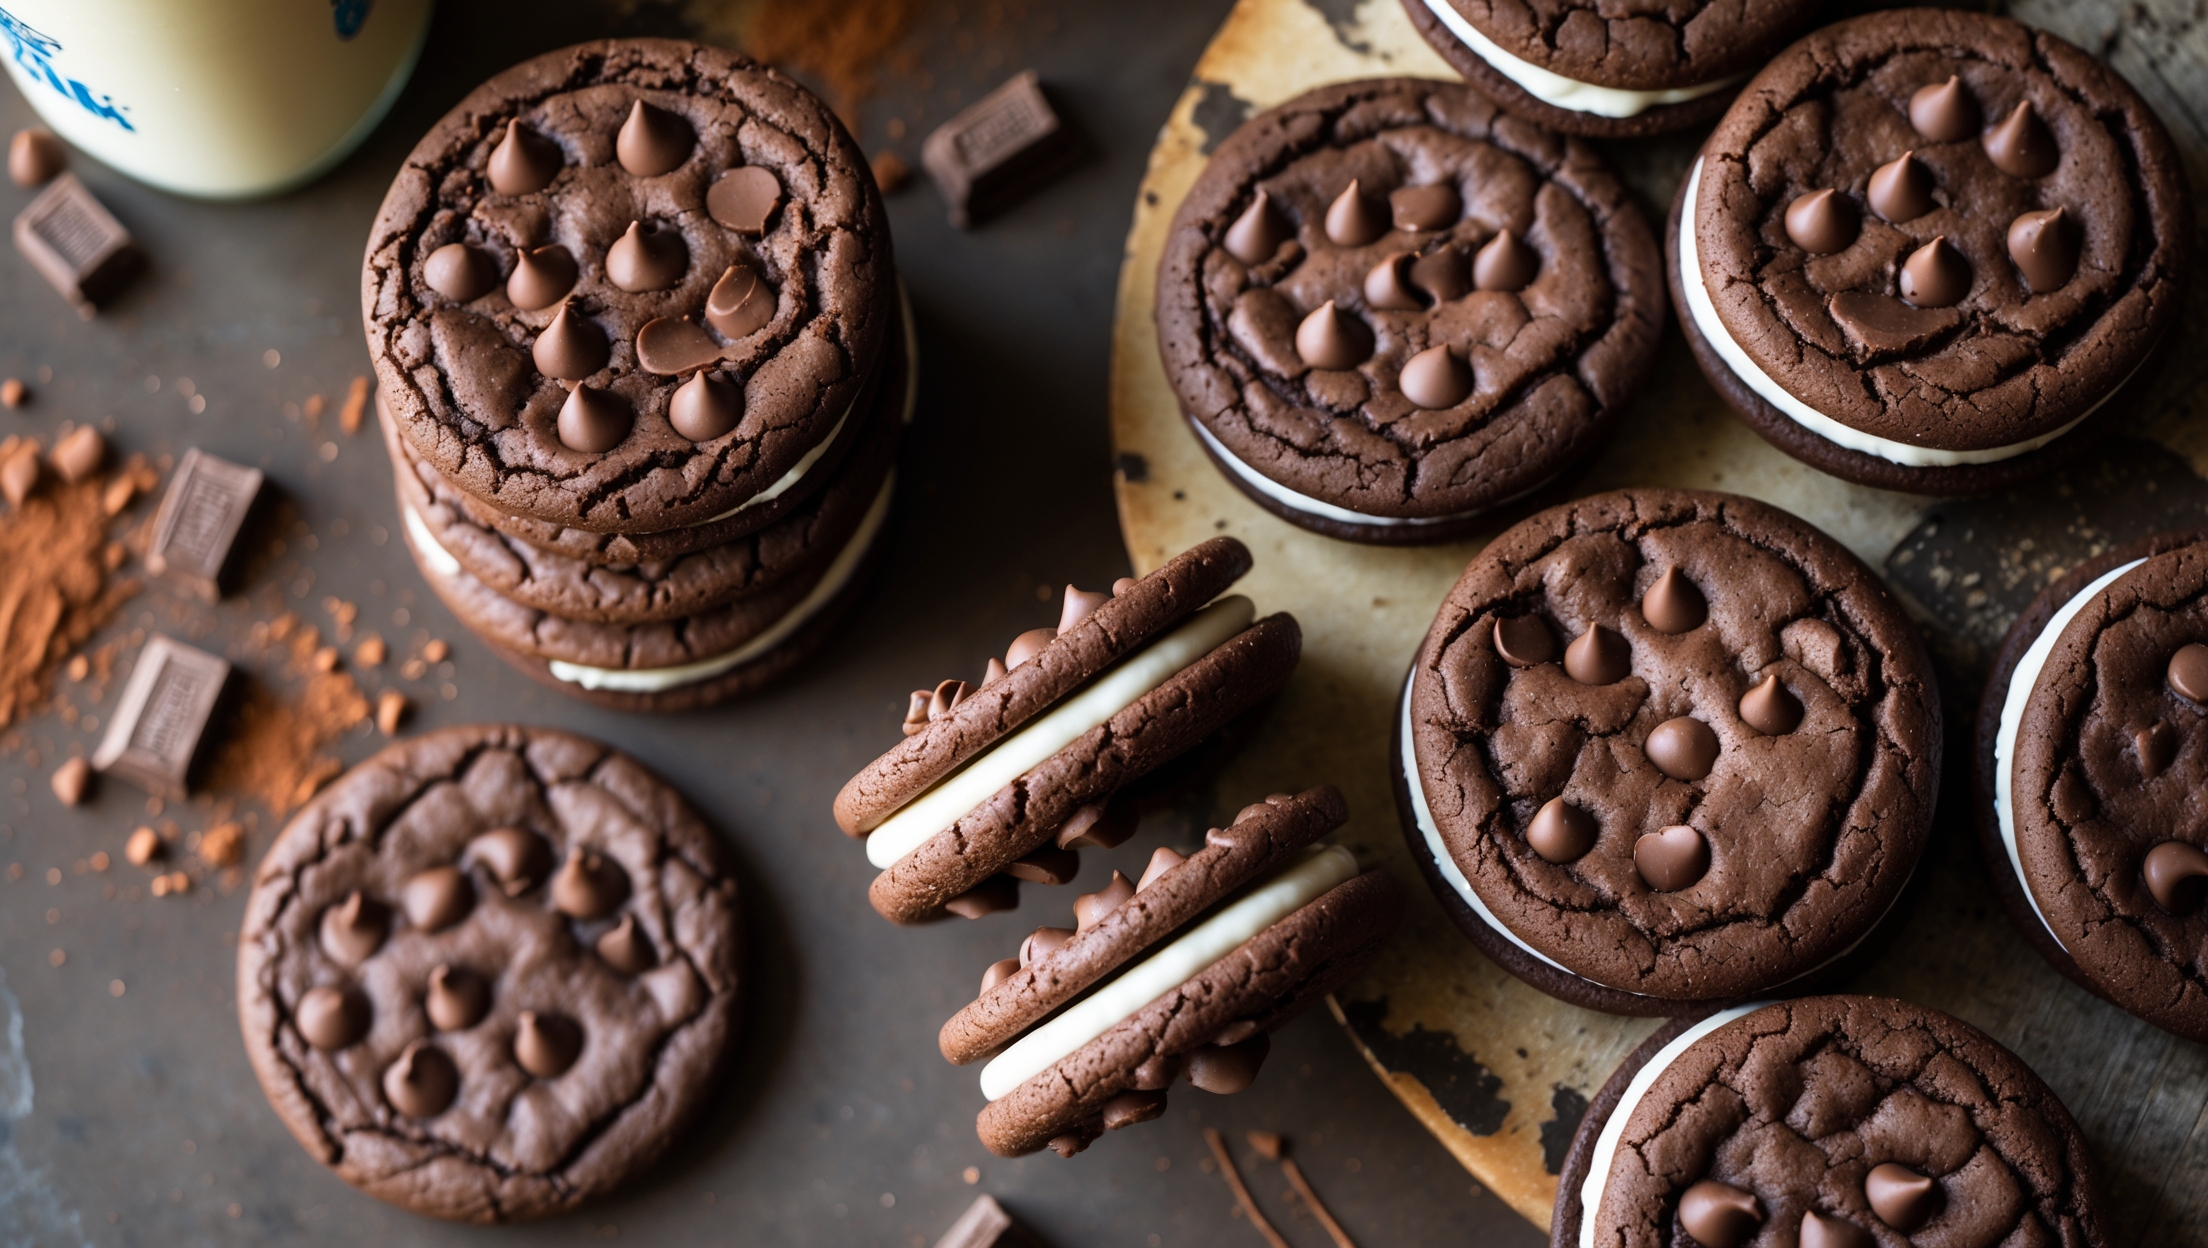
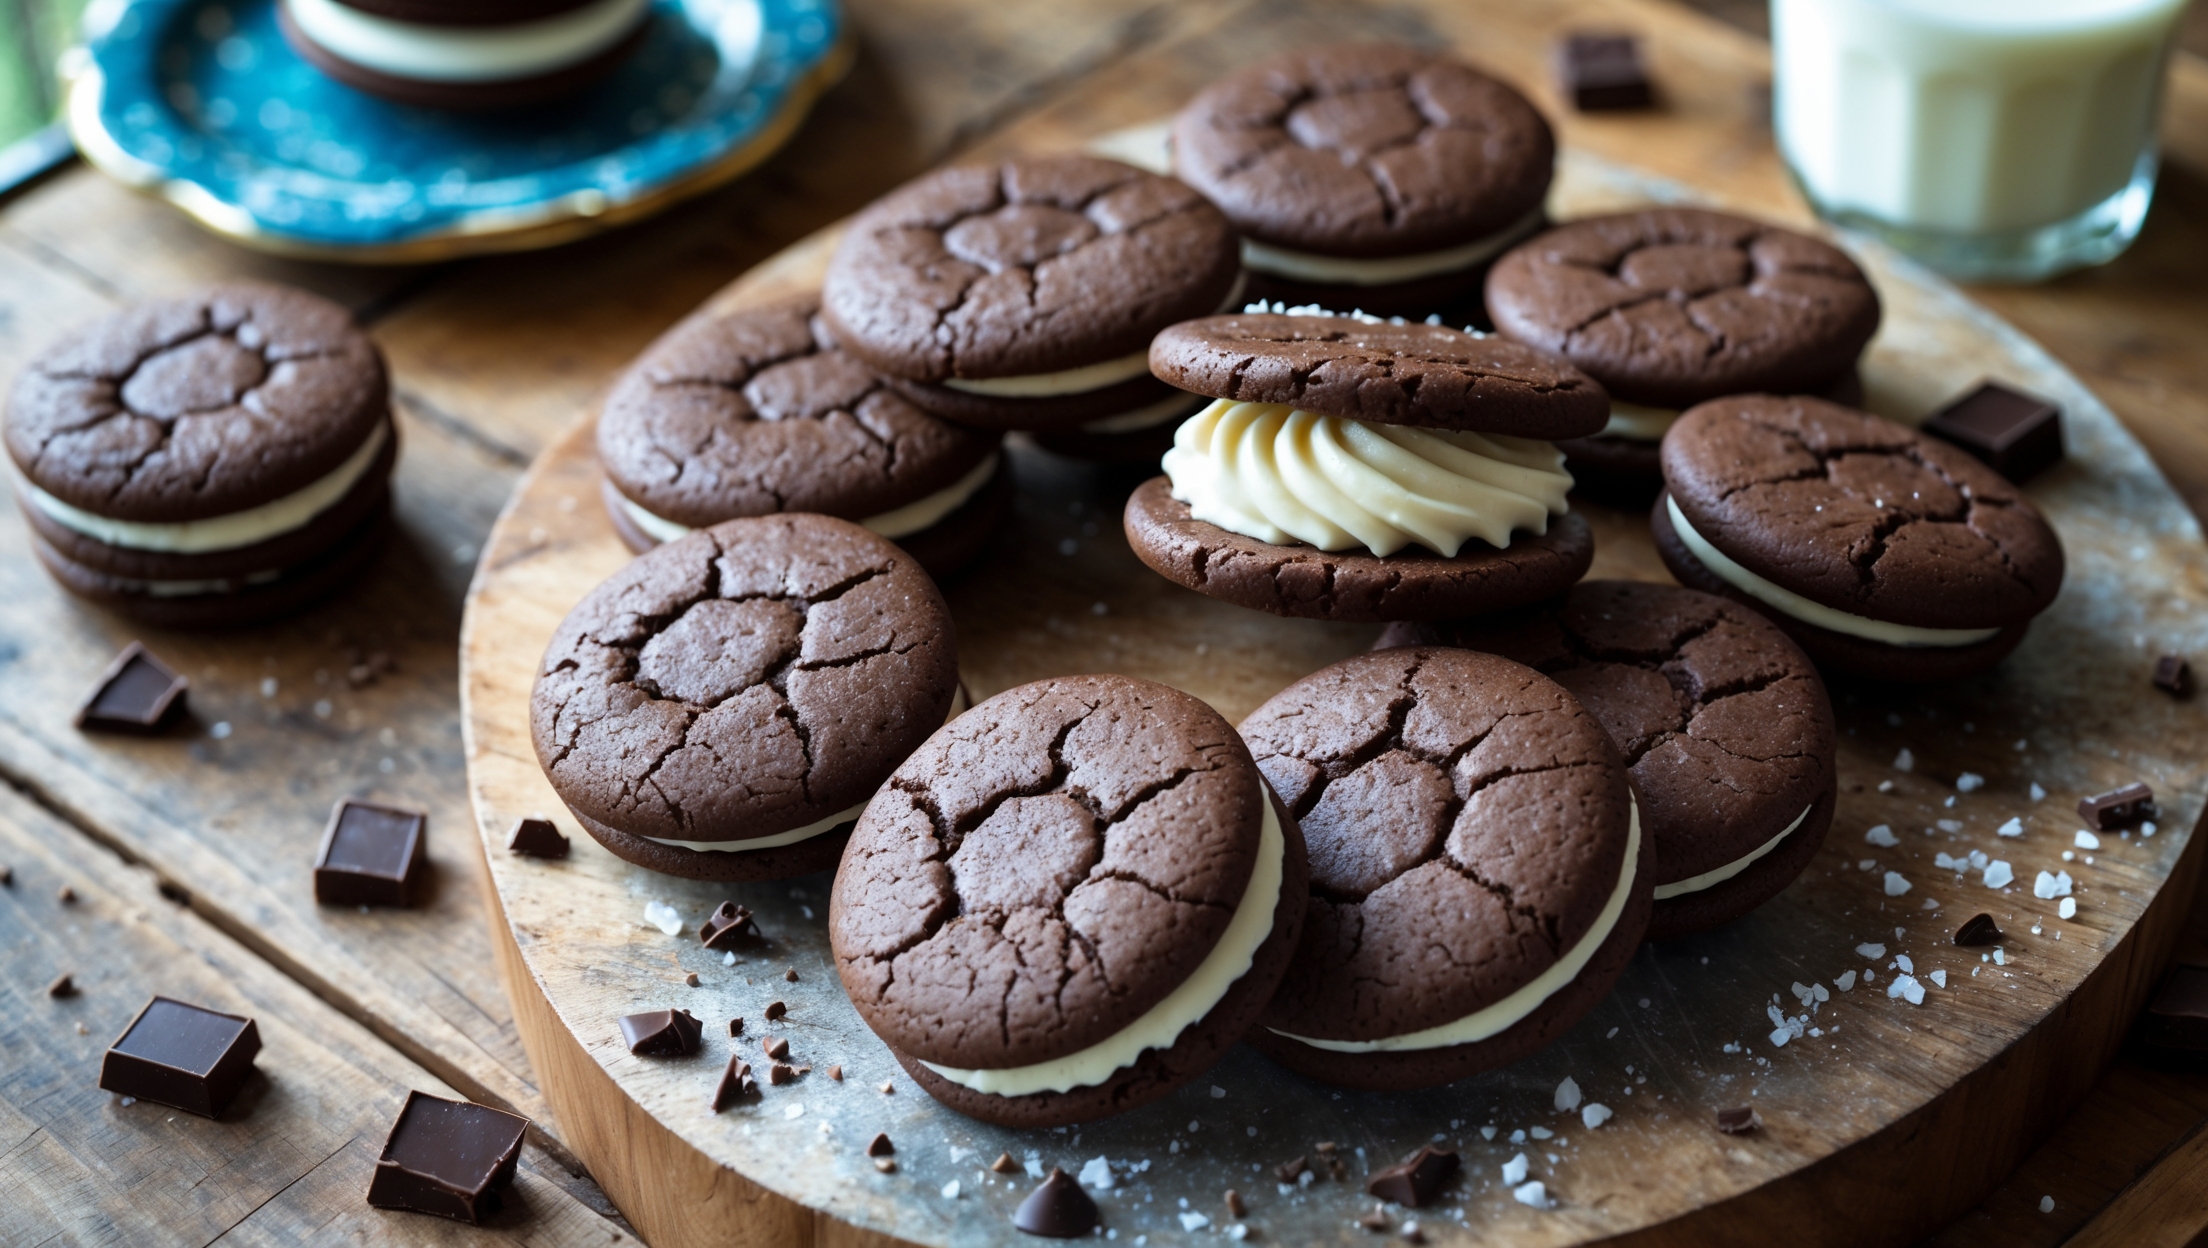
Gluten Free Chocolate Chunk Sandwich Cookies Recipe
Ingredients
Equipment
Directions
FAQs
Find answers to your most pressing questions about this delicious recipe right here.
They require gluten-free flour blend with xanthan gum, cocoa powder, butter, sugars, egg, vanilla, chocolate chunks, and sea salt. The cream filling needs butter, powdered sugar, milk, vanilla, and salt. All ingredients must be certified gluten-free.
Learn how to cook Gluten Free Chocolate Chunk Sandwich Cookies by mixing dry ingredients separately from creamed butter and sugars, then combining them gently. Form uniform dough balls, bake at 175°C for 10-12 minutes until edges are set but centres remain soft. Cool completely before filling with smooth vanilla cream and assembling into sandwiches.
For perfect gluten-free cookie texture, don't overmix the dough, slightly underbake (10-12 minutes) until edges are set but centres are soft, and let them cool completely on the baking sheet for 5 minutes before transferring to wire racks. The resting time is crucial.
Yes, these chocolate sandwich cookies freeze beautifully for up to 3 months. For best results, wrap individual cookies in cling film then place in an airtight container. Thaw at room temperature for 1-2 hours before serving to restore their crisp-yet-chewy texture.
The secret to silky filling is using room-temperature butter, sifting the powdered sugar thoroughly, beating for a full 3-4 minutes until very fluffy, and adding a tiny pinch of salt to balance sweetness. Let filled cookies rest 30 minutes before serving for optimal texture.
Sandwich Cookies
Try following recommended recipes