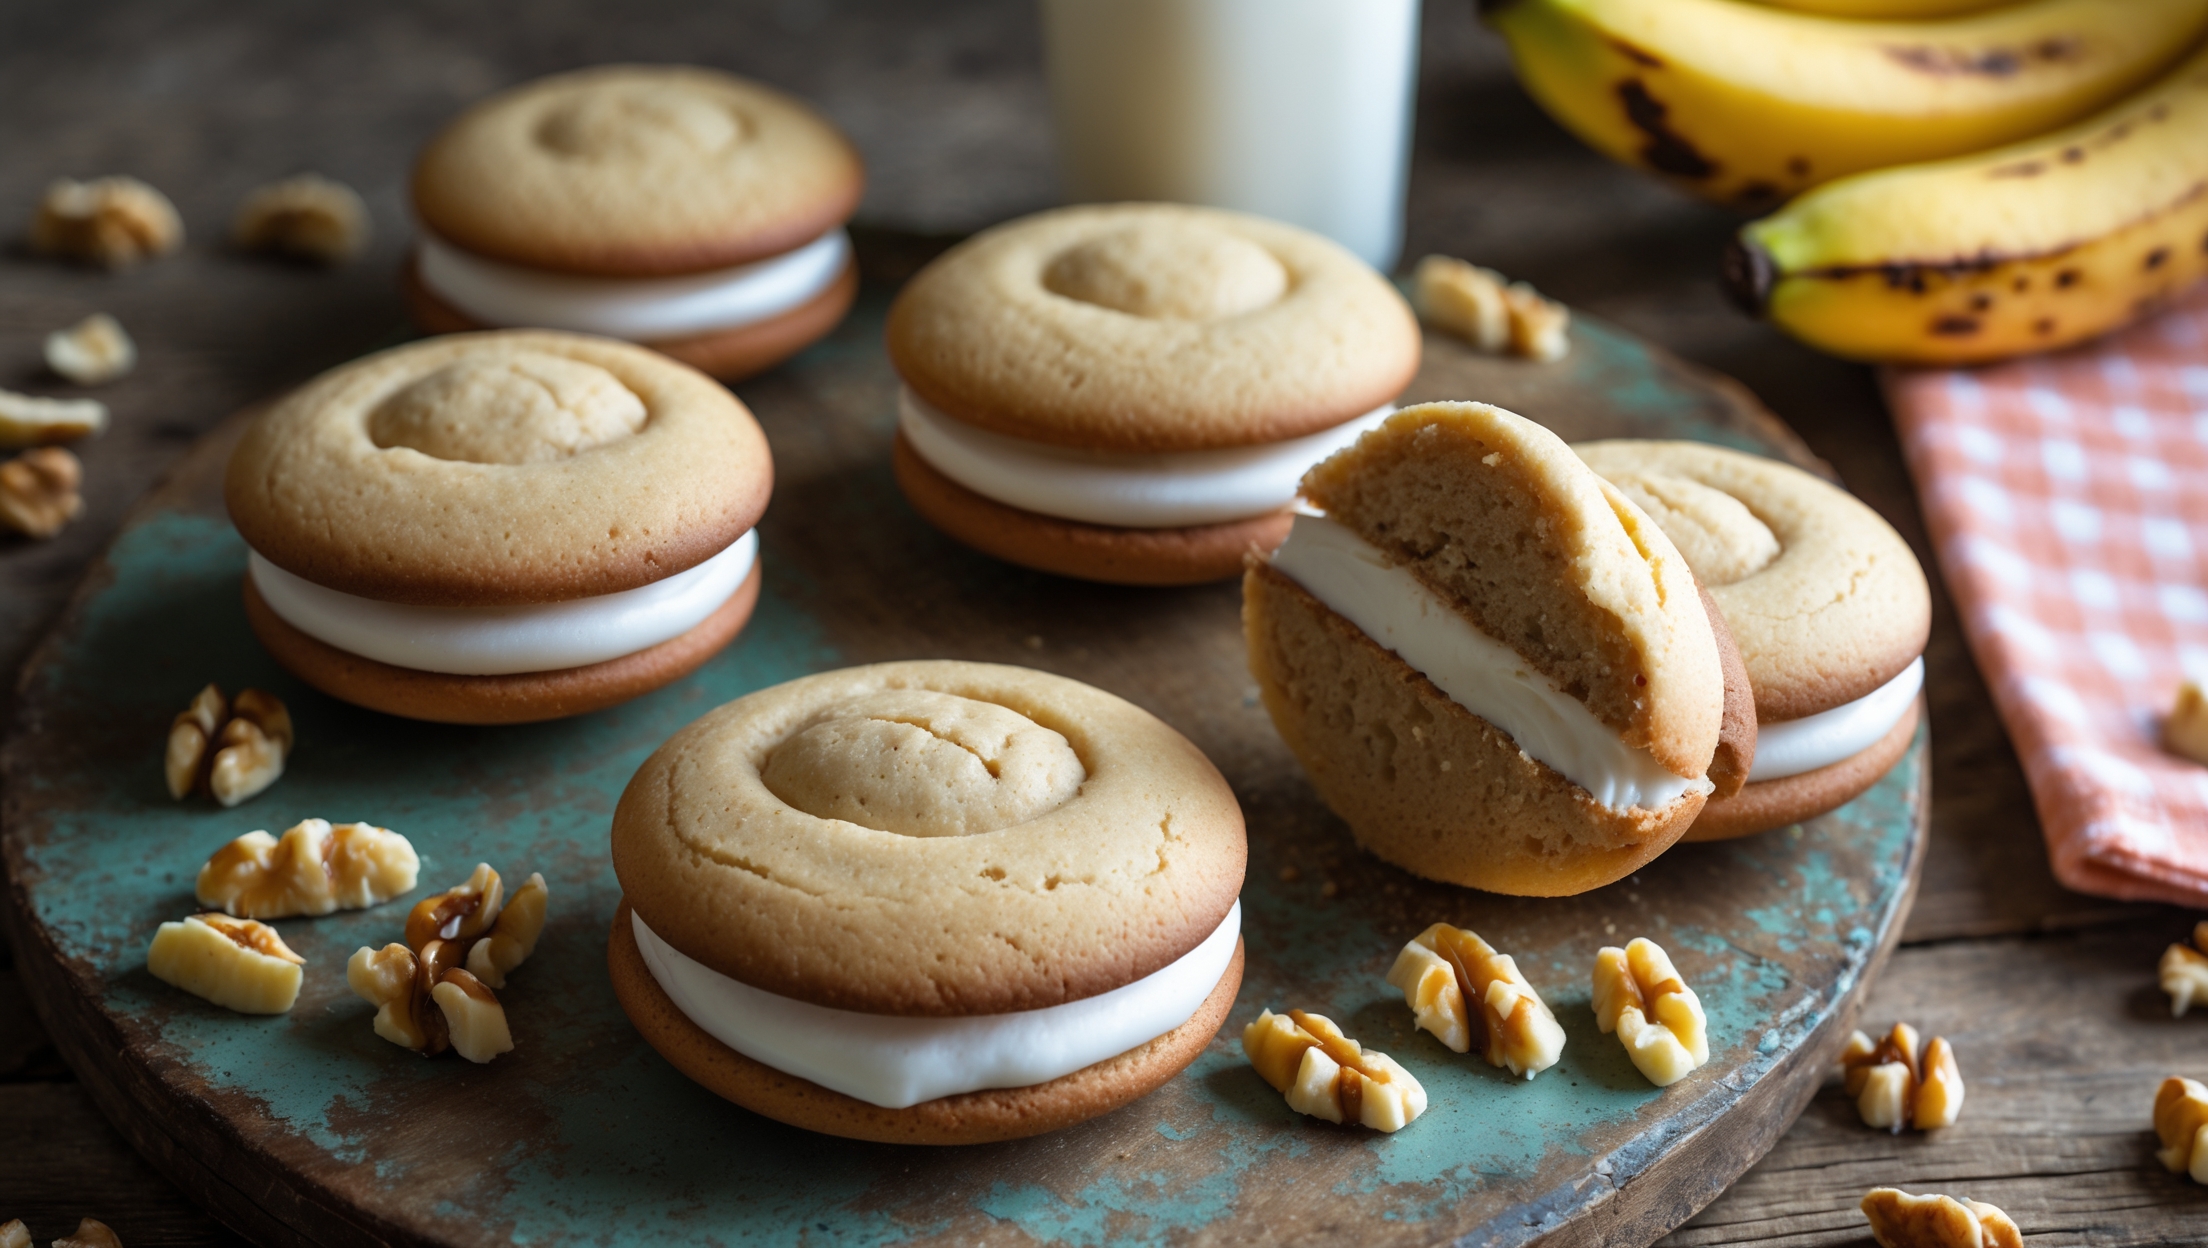
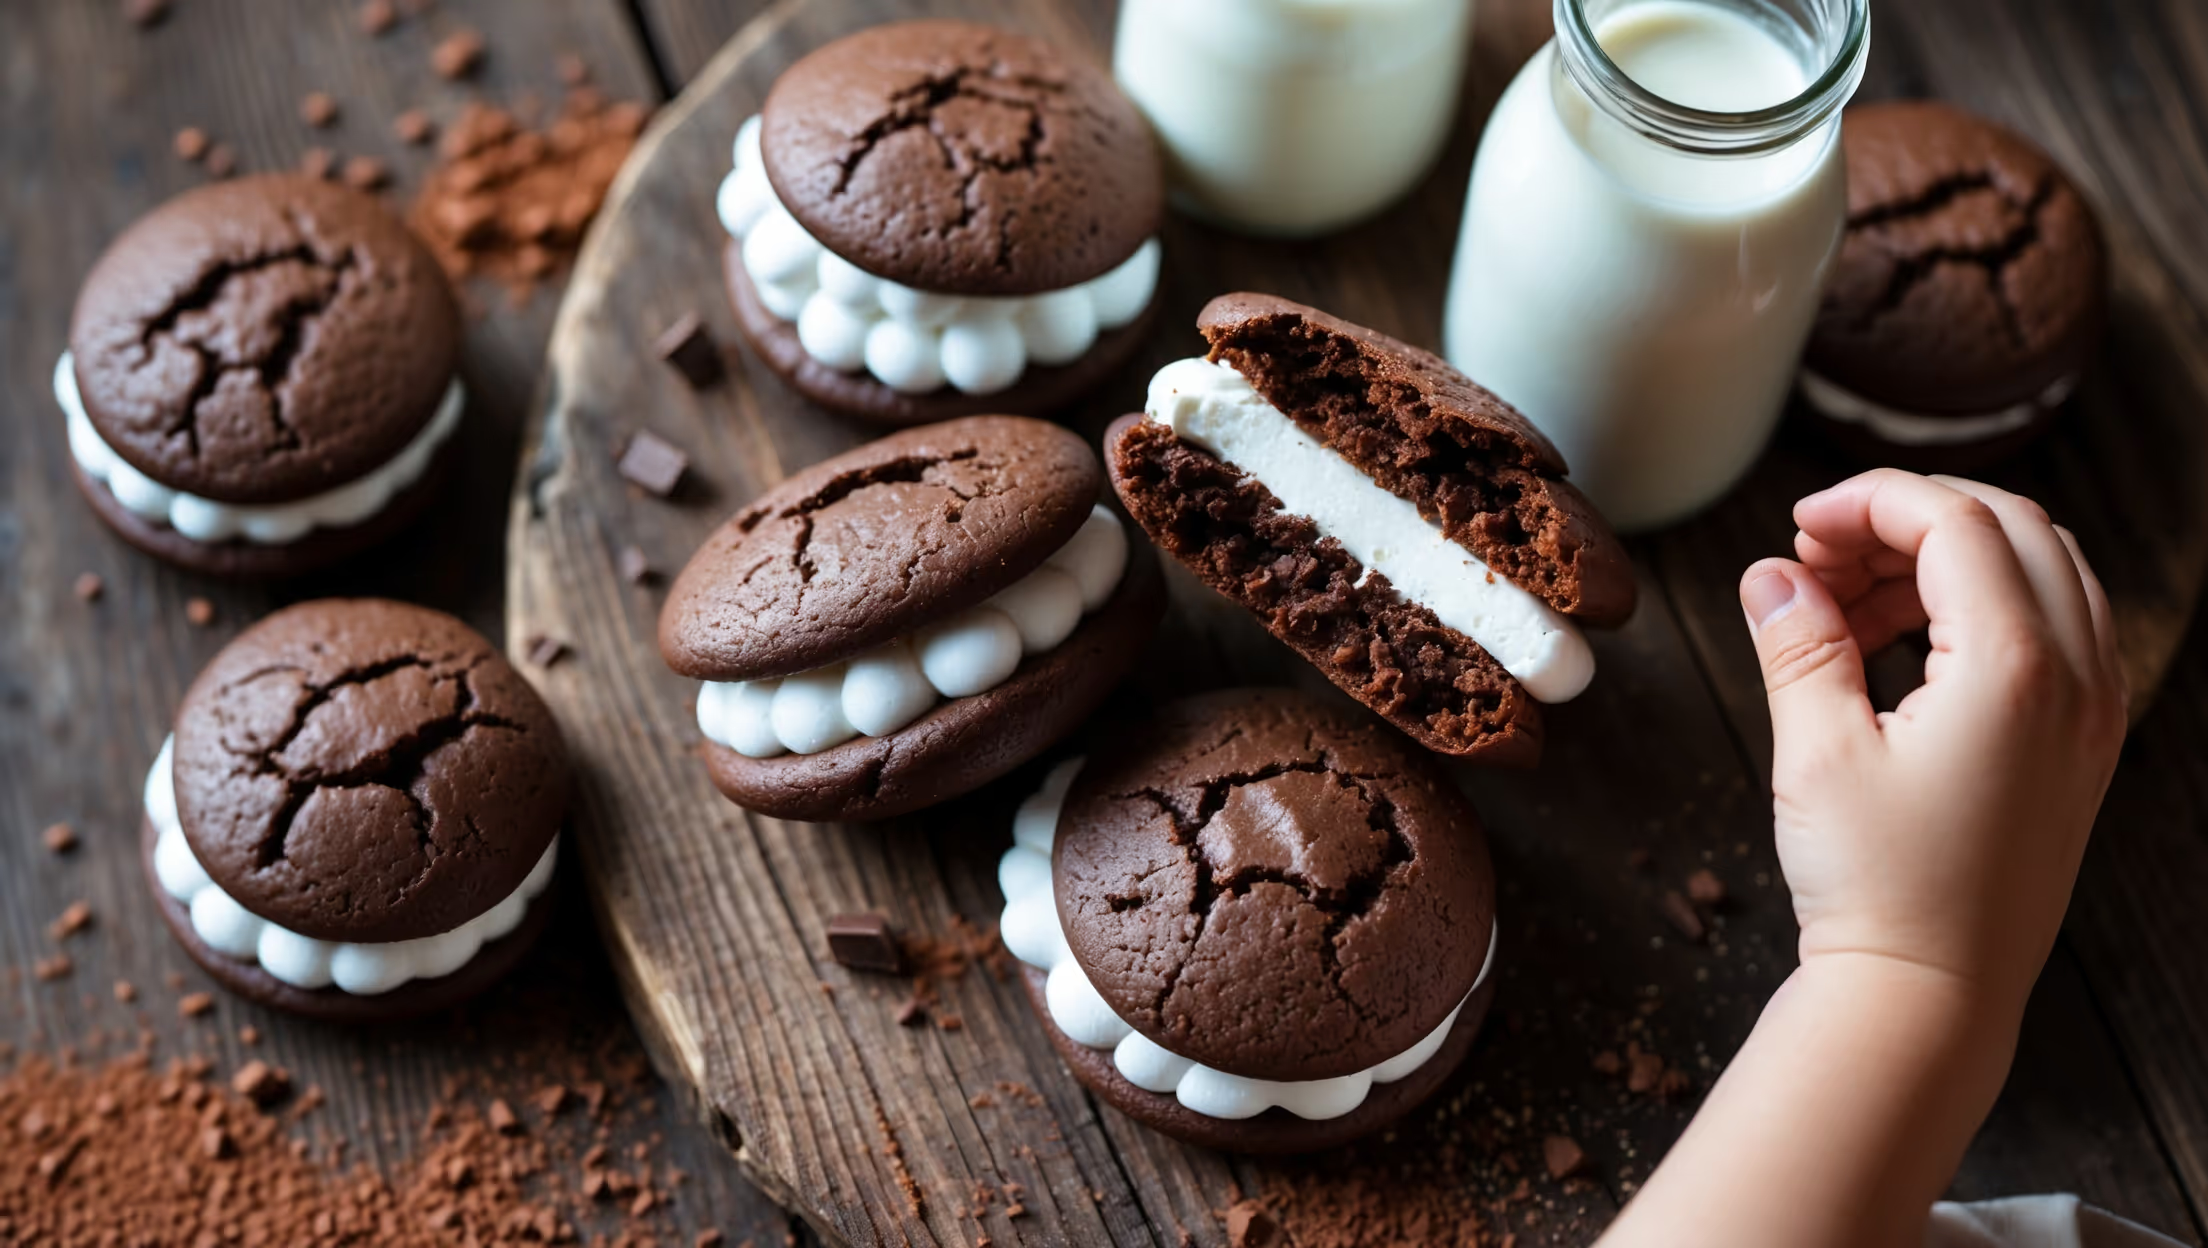
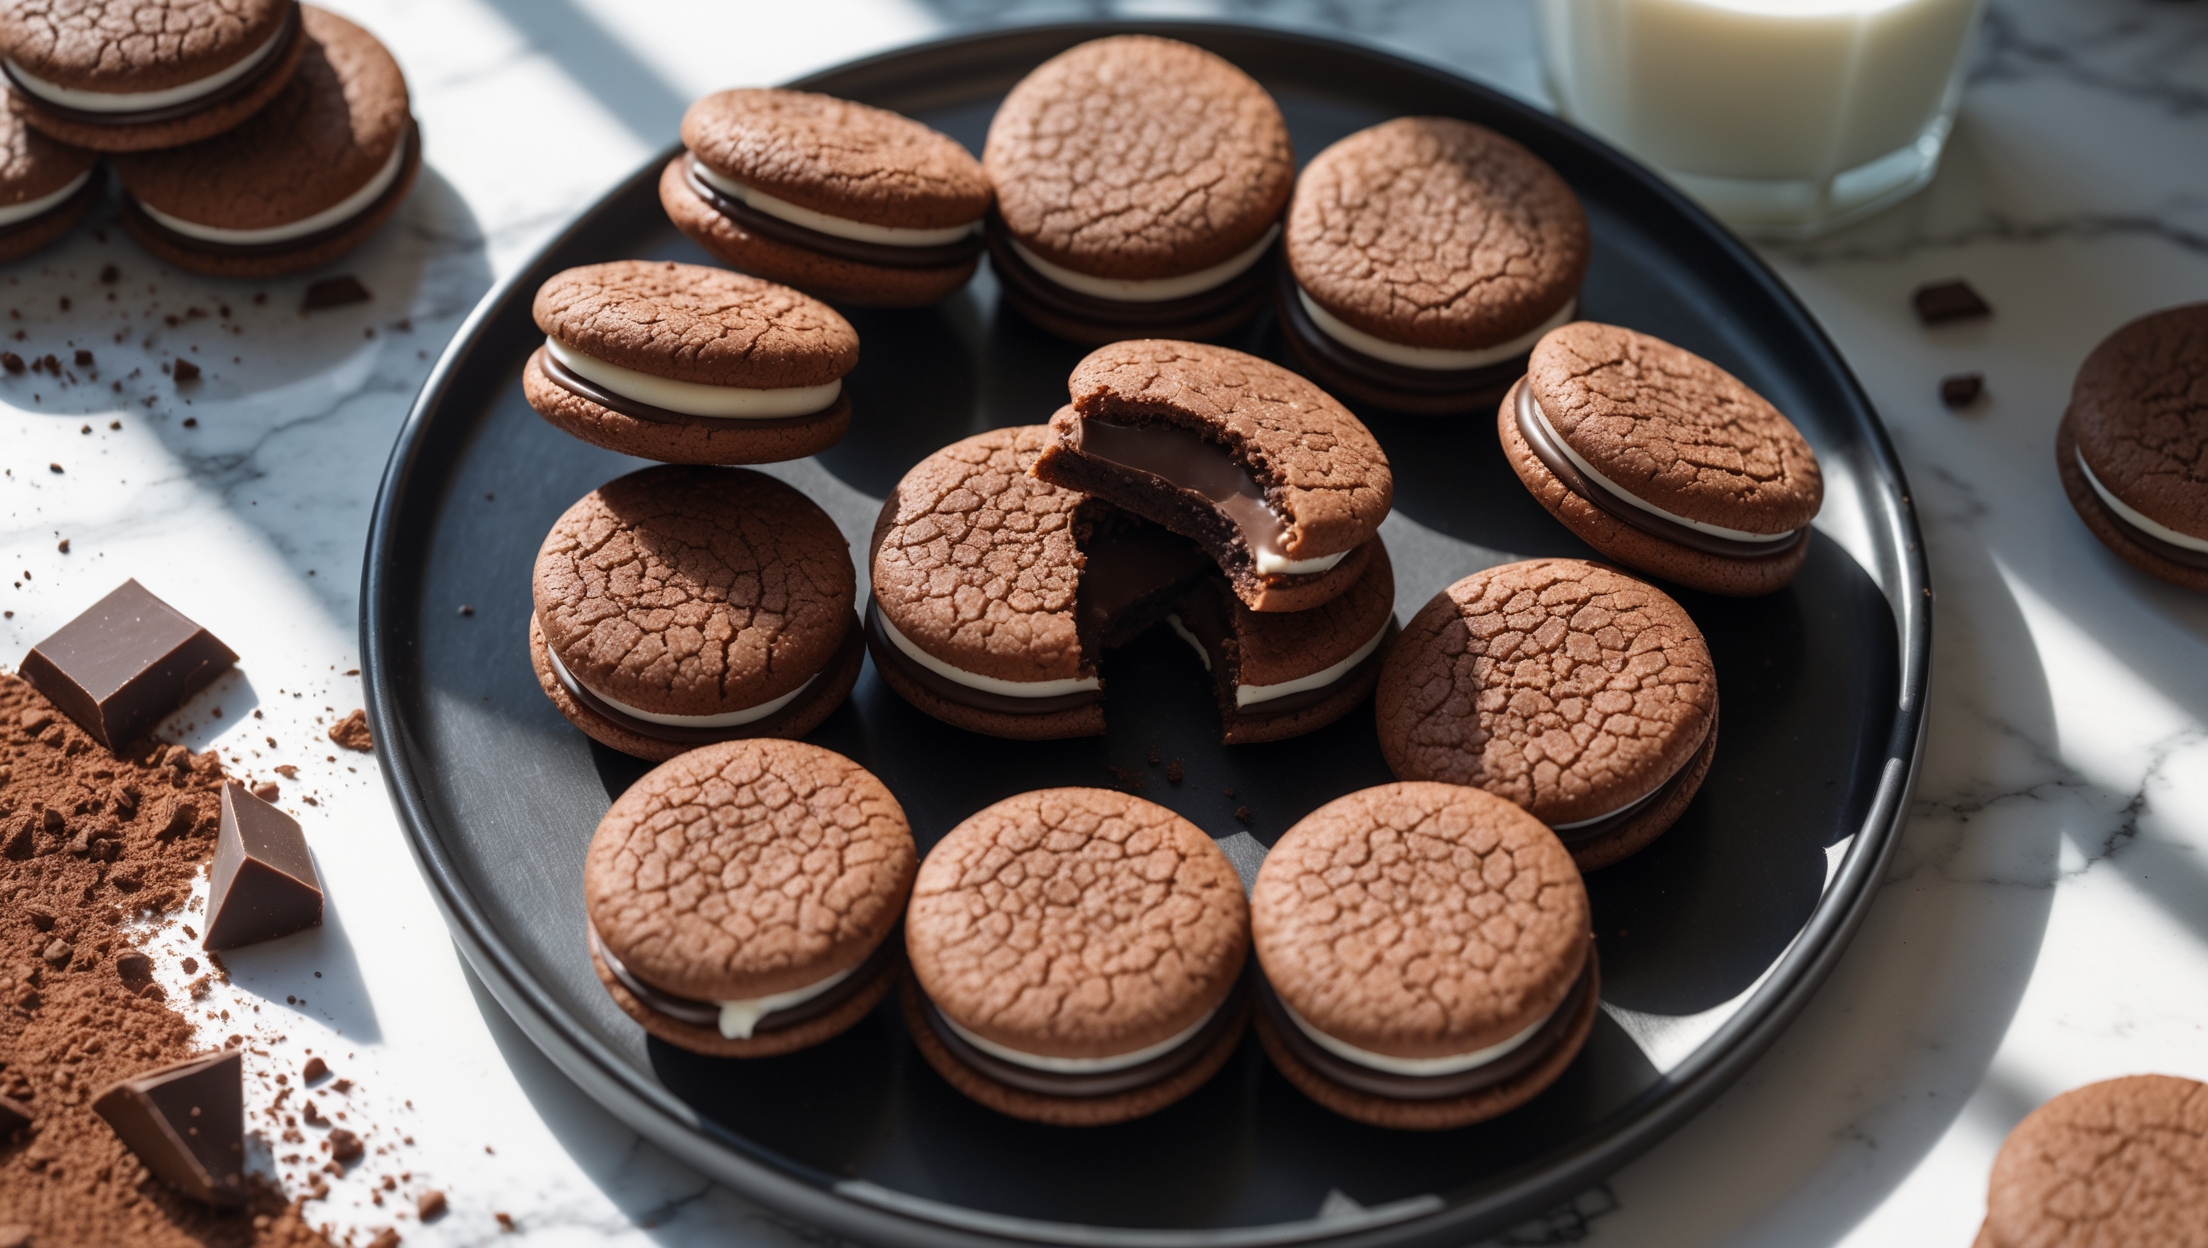
Directions
<ol class="no-list-style"><li class="MethodStepper"><h4 class="step-title">Step 1</h4>Preheat your oven to 180°C and line two baking sheets with parchment paper. In a medium bowl, whisk together the flour, ginger, cinnamon, cloves, nutmeg, salt, and baking soda until well combined. This mixture of warming spices creates the signature flavor profile of these cookies.</li><li class="MethodStepper"><h4 class="step-title">Step 2</h4>In the bowl of a stand mixer fitted with the paddle attachment (or using an electric hand mixer), cream together the butter and brown sugar on medium-high speed for about 3 minutes until light and fluffy. The creaming process incorporates air, giving your cookies better structure.</li><li class="MethodStepper"><h4 class="step-title">Step 3</h4>Add the egg, molasses, and vanilla extract to the butter mixture and beat until well incorporated, scraping down the sides of the bowl as needed. The mixture might look slightly curdled, but don't worry - this is normal!</li><li class="MethodStepper"><h4 class="step-title">Step 4</h4>Gradually add the dry ingredients to the wet ingredients on low speed, mixing just until combined. Fold in the chopped crystallized ginger if using. Be careful not to overmix, which would develop too much gluten and result in tough cookies.</li><li class="MethodStepper"><h4 class="step-title">Step 5</h4>Place the granulated sugar in a small bowl. Using a cookie scoop or tablespoon, portion the dough into small balls (about 2cm in diameter). Roll each ball in the granulated sugar until completely coated. The sugar coating will give your cookies a beautiful sparkle and slight crunch.</li><li class="MethodStepper"><h4 class="step-title">Step 6</h4>Place the dough balls on the prepared baking sheets, spacing them about 5cm apart as they will spread during baking. Gently flatten each ball slightly with your palm or the bottom of a glass.</li><li class="MethodStepper"><h4 class="step-title">Step 7</h4>Bake for 10-12 minutes, until the edges are set but the centers still appear slightly soft. The cookies will continue to firm up as they cool. For a crisper cookie, bake for an additional 1-2 minutes. Look for small cracks forming on the surface - this is a good indicator they're done.</li><li class="MethodStepper"><h4 class="step-title">Step 8</h4>Allow the cookies to cool on the baking sheets for 5 minutes before transferring to wire racks to cool completely. It's essential they're fully cooled before adding the filling, or it will melt and slide off.</li><li class="MethodStepper"><h4 class="step-title">Step 9</h4>While the cookies cool, prepare the creme filling. In a clean mixing bowl, beat the softened butter until creamy and smooth, about 2 minutes. Gradually add the sifted powdered sugar, beating after each addition. The sifting prevents lumps and ensures a silky-smooth filling.</li><li class="MethodStepper"><h4 class="step-title">Step 10</h4>Add the vanilla extract, heavy cream, and a pinch of salt. Beat on medium-high speed for 3-4 minutes until the filling is light, fluffy, and holds its shape. The heavy cream adds richness while making the filling easier to spread.</li><li class="MethodStepper"><h4 class="step-title">Step 11</h4>To assemble, turn half of the cookies upside down. Pipe or spread about 1-2 teaspoons of filling onto the flat side of each cookie. Top with another cookie, flat side down, pressing gently to spread the filling to the edges without squeezing it out.</li><li class="MethodStepper"><h4 class="step-title">Step 12</h4>Allow the sandwich cookies to set for about 30 minutes at room temperature. This helps the filling firm up slightly. Store in an airtight container at room temperature for up to 5 days, or refrigerate for up to a week. The flavor actually improves after a day as the spices meld with the creamy filling!</li></ol>