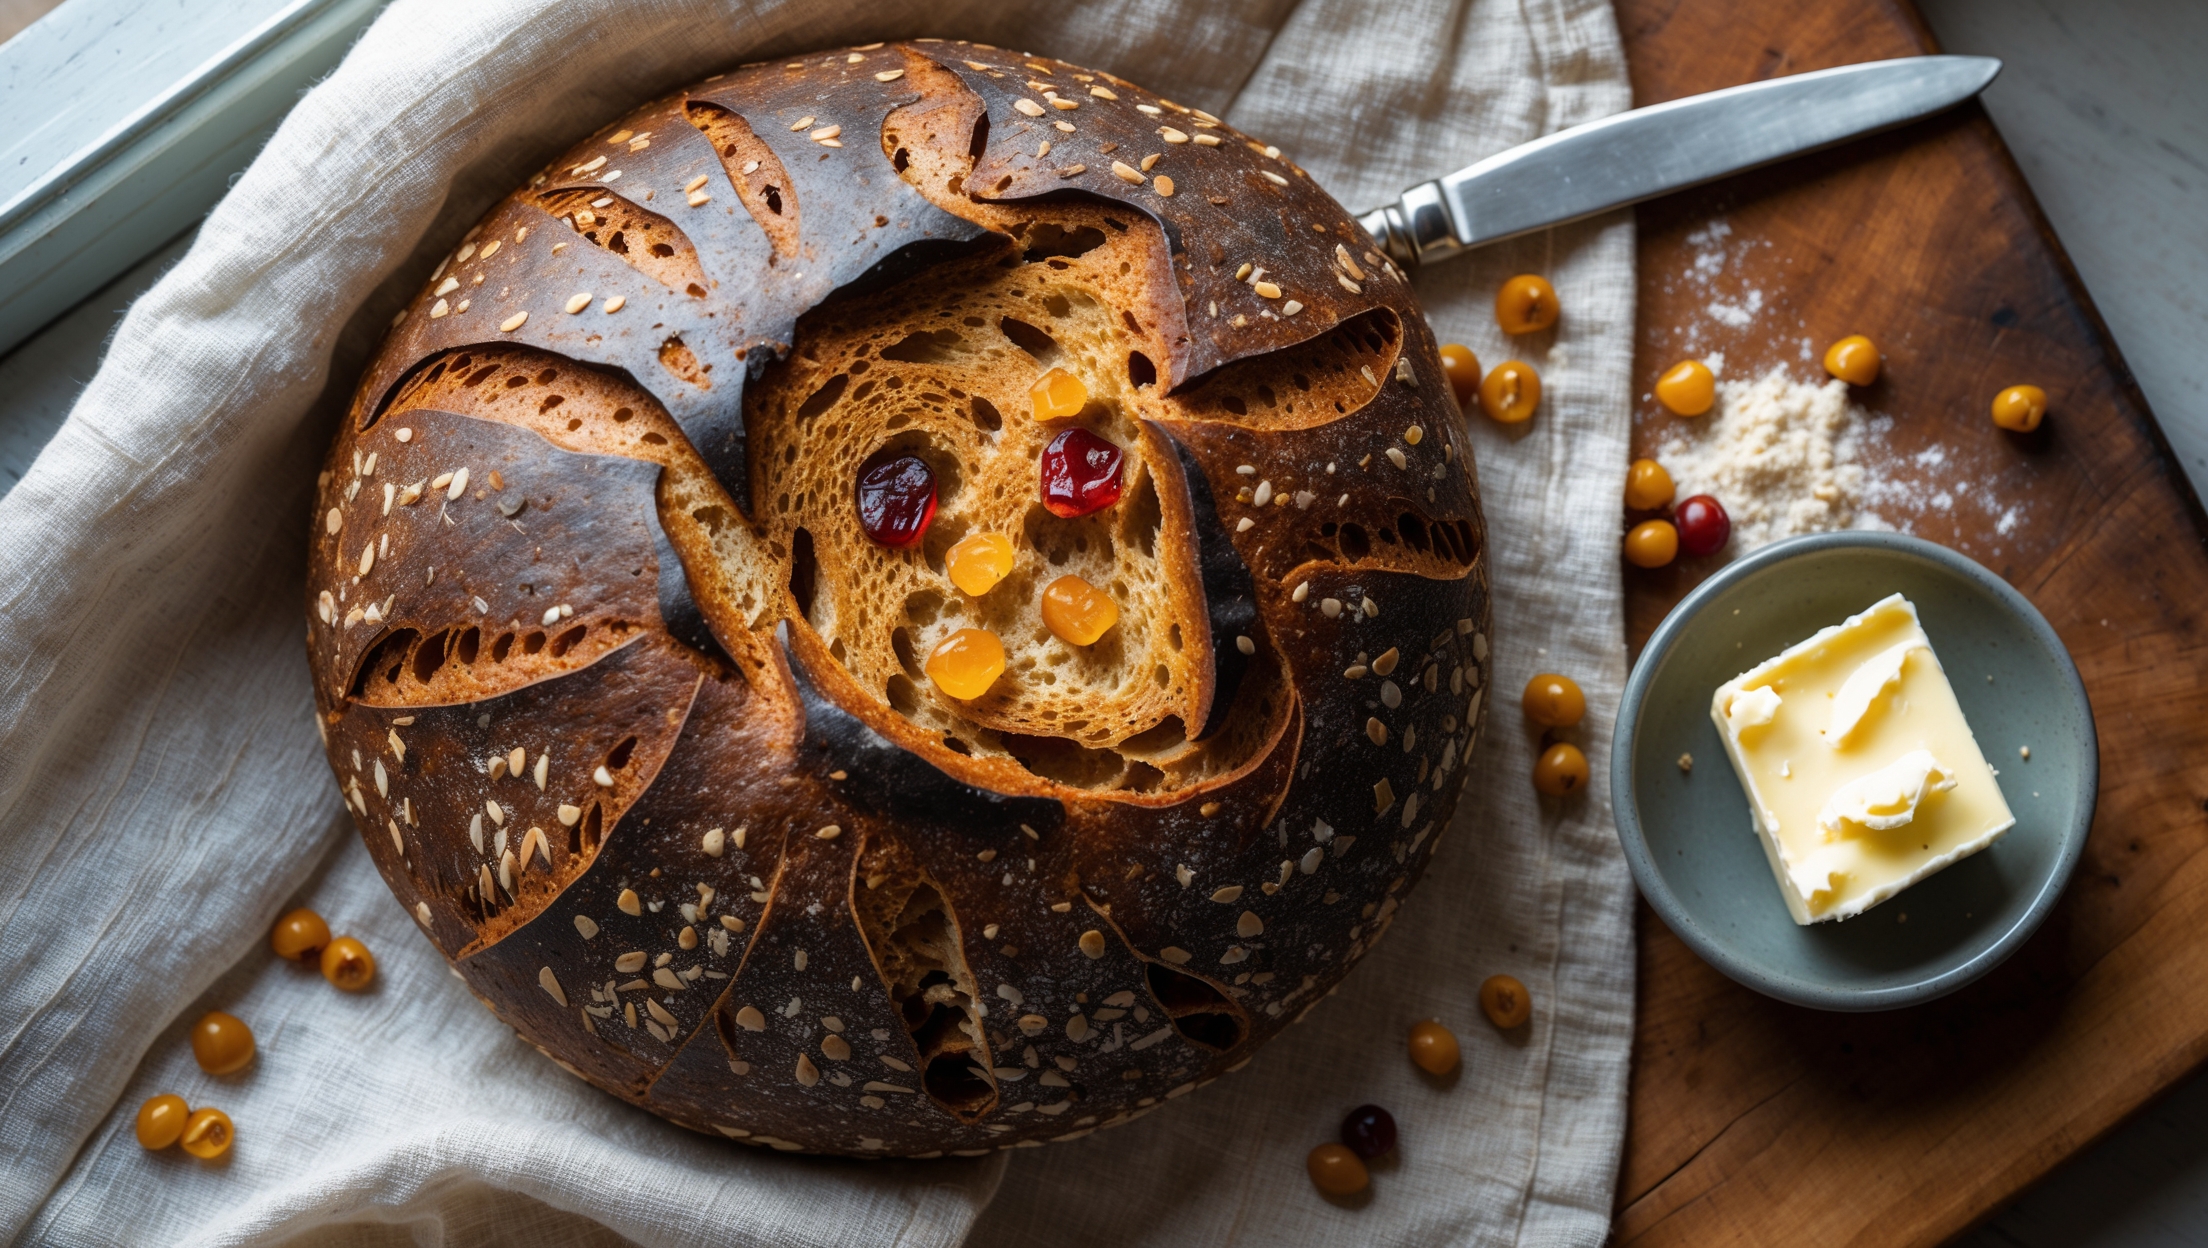
Fig and Anise Bread Recipe
Ingredients
Equipment
Directions
FAQs
Find answers to your most pressing questions about this delicious recipe right here.
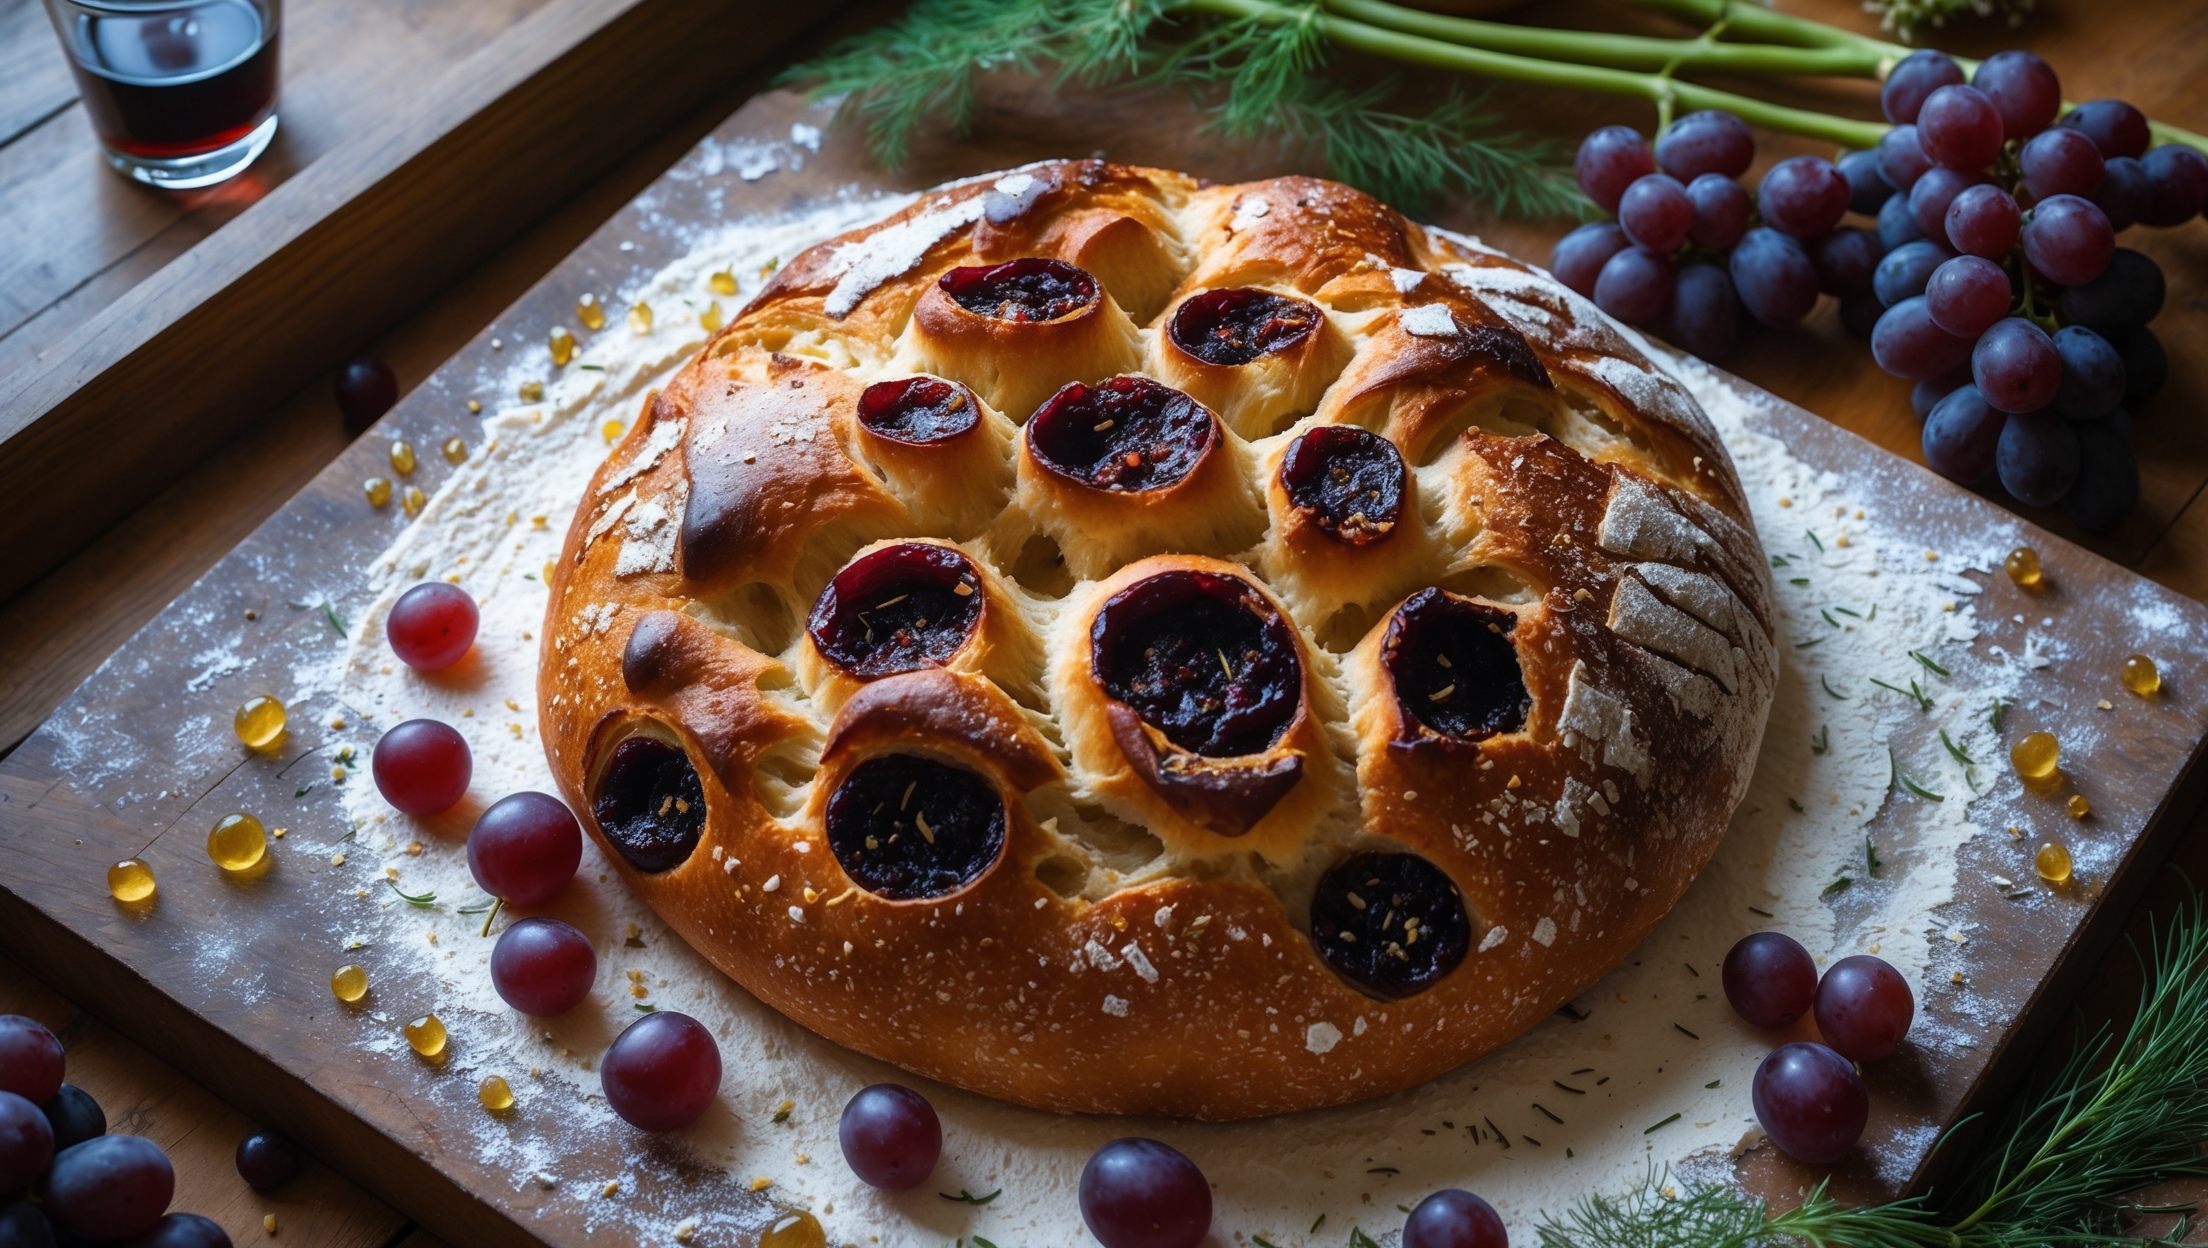
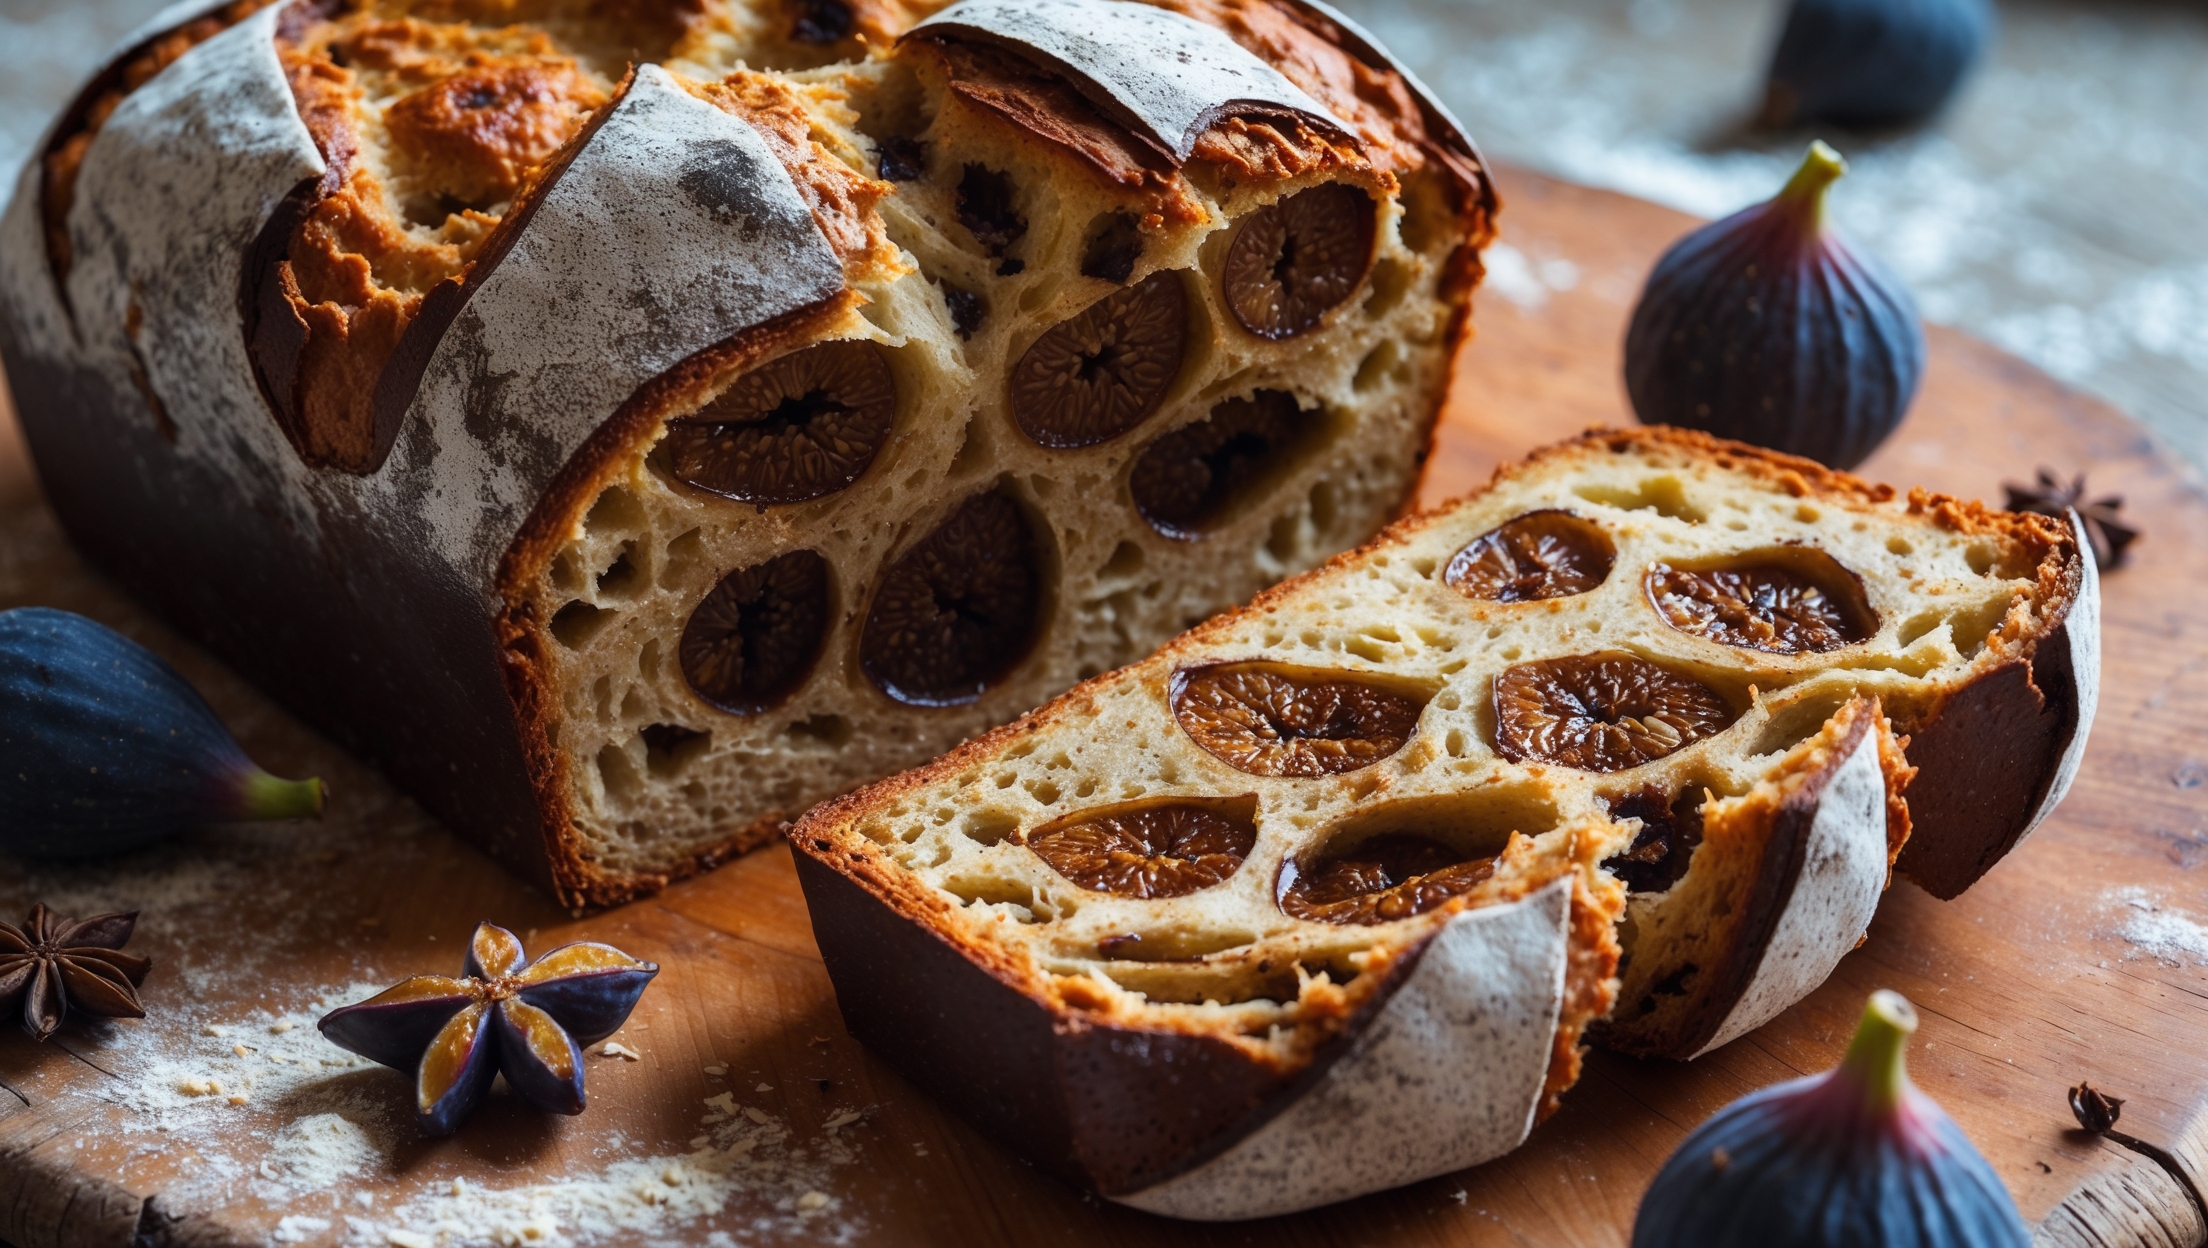
Fig and Anise Bread requires strong bread flour, salt, active dry yeast, lukewarm water, olive oil, anise seeds, dried figs, honey, and extra flour for dusting. These ingredients create a perfect balance of sweetness from the figs and aromatic notes from the anise.
Learn how to cook Fig and Anise Bread by activating yeast with honey and water, kneading a dough with flour, salt and olive oil, then folding in chopped figs and toasted anise seeds. After two rises, score the dough, bake in a preheated Dutch oven at 230°C for 25 minutes covered, then 15-20 minutes uncovered until golden and hollow-sounding.
Yes, you can substitute anise seeds with fennel seeds for a similar licorice flavour, or try caraway seeds for a different aromatic profile. Cardamom also works beautifully with figs. Adjust quantities to taste, as some spices are stronger than others.
Dense bread usually results from insufficient kneading (underdeveloped gluten), inadequate proofing time, or using old yeast. Ensure your yeast is active, knead until the dough passes the windowpane test, and allow proper rising time in a warm environment.
For the first 24 hours, store your bread cut-side down on a cutting board. After that, wrap loosely in paper (not plastic) or place in a cloth bread bag. To refresh the crust, sprinkle with water and heat in a 180°C oven for 5-10 minutes.
Artisan Bread
Try following recommended recipes