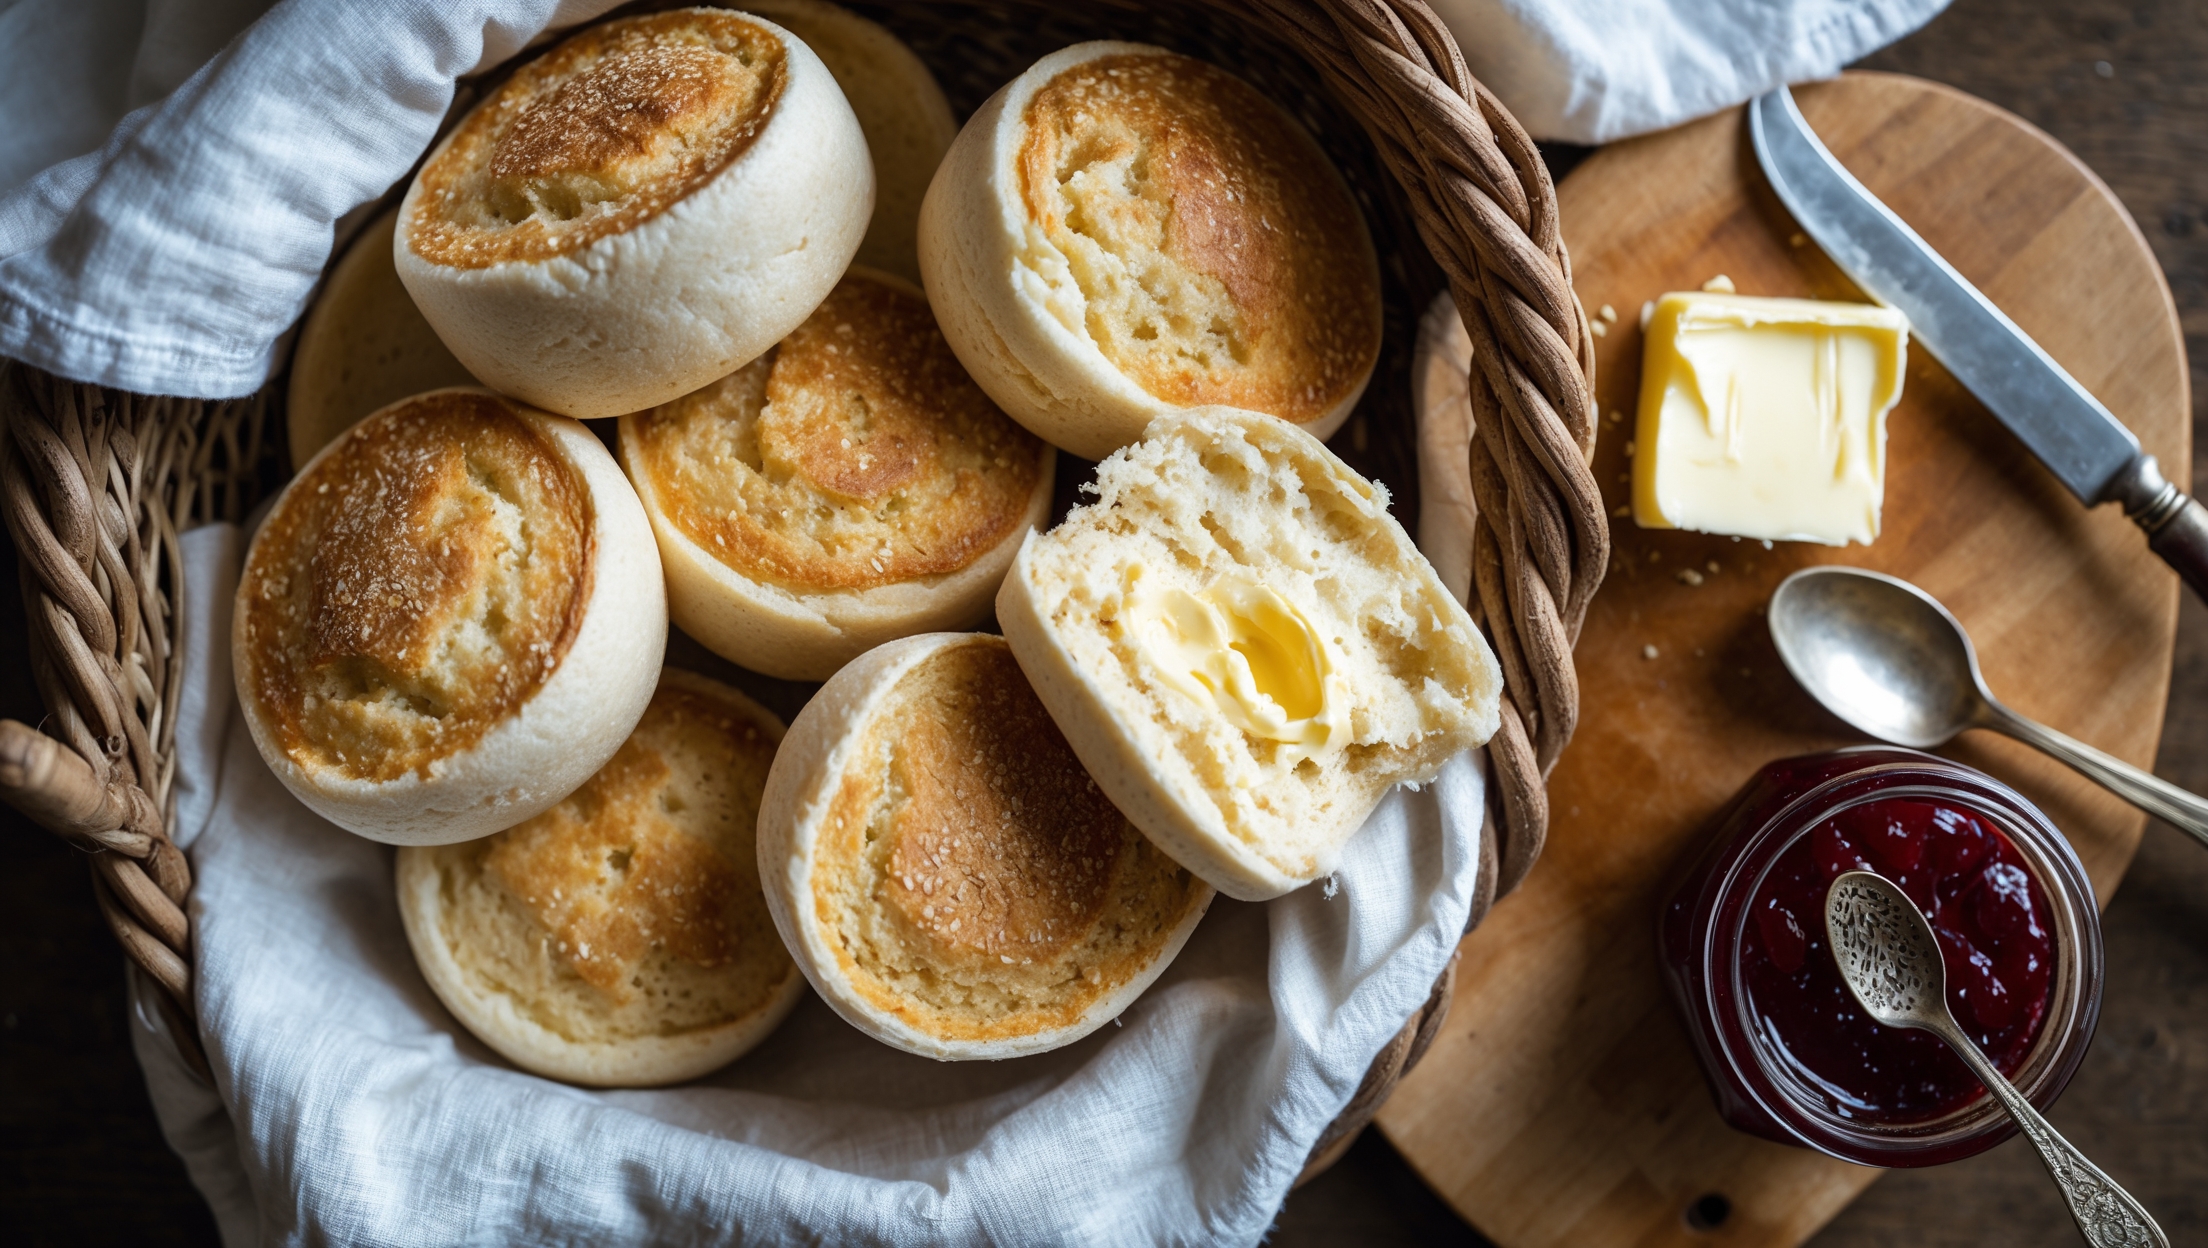
English Muffins Recipe
Ingredients
Equipment
Directions
FAQs
Find answers to your most pressing questions about this delicious recipe right here.
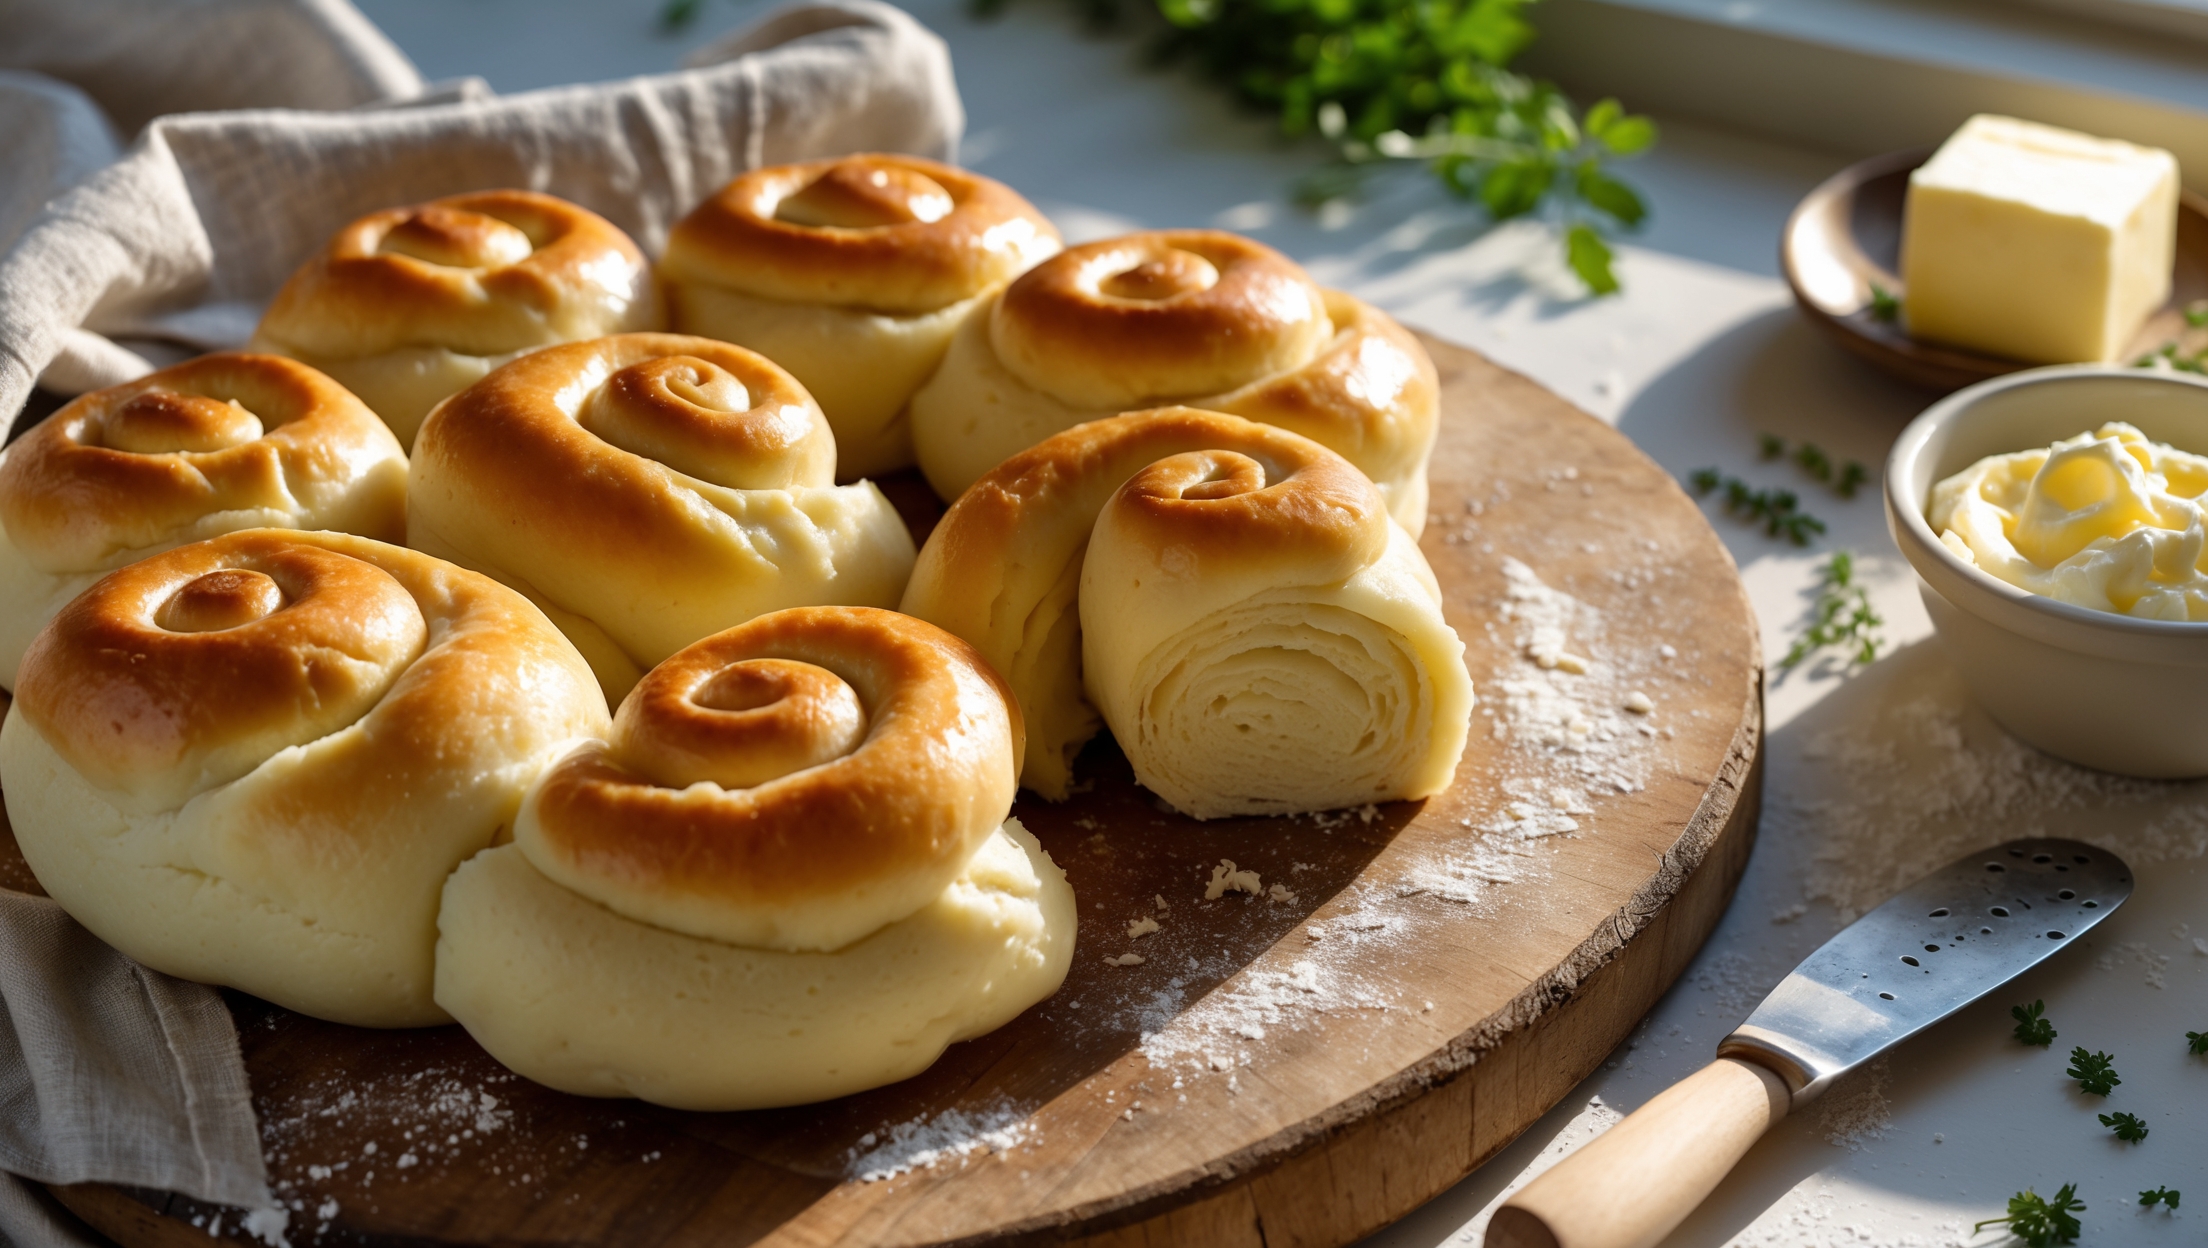
Traditional English muffins require strong bread flour, instant dried yeast, salt, sugar, milk, unsalted butter, and semolina or cornmeal for dusting. These simple ingredients combine to create the iconic texture with distinctive nooks and crannies.
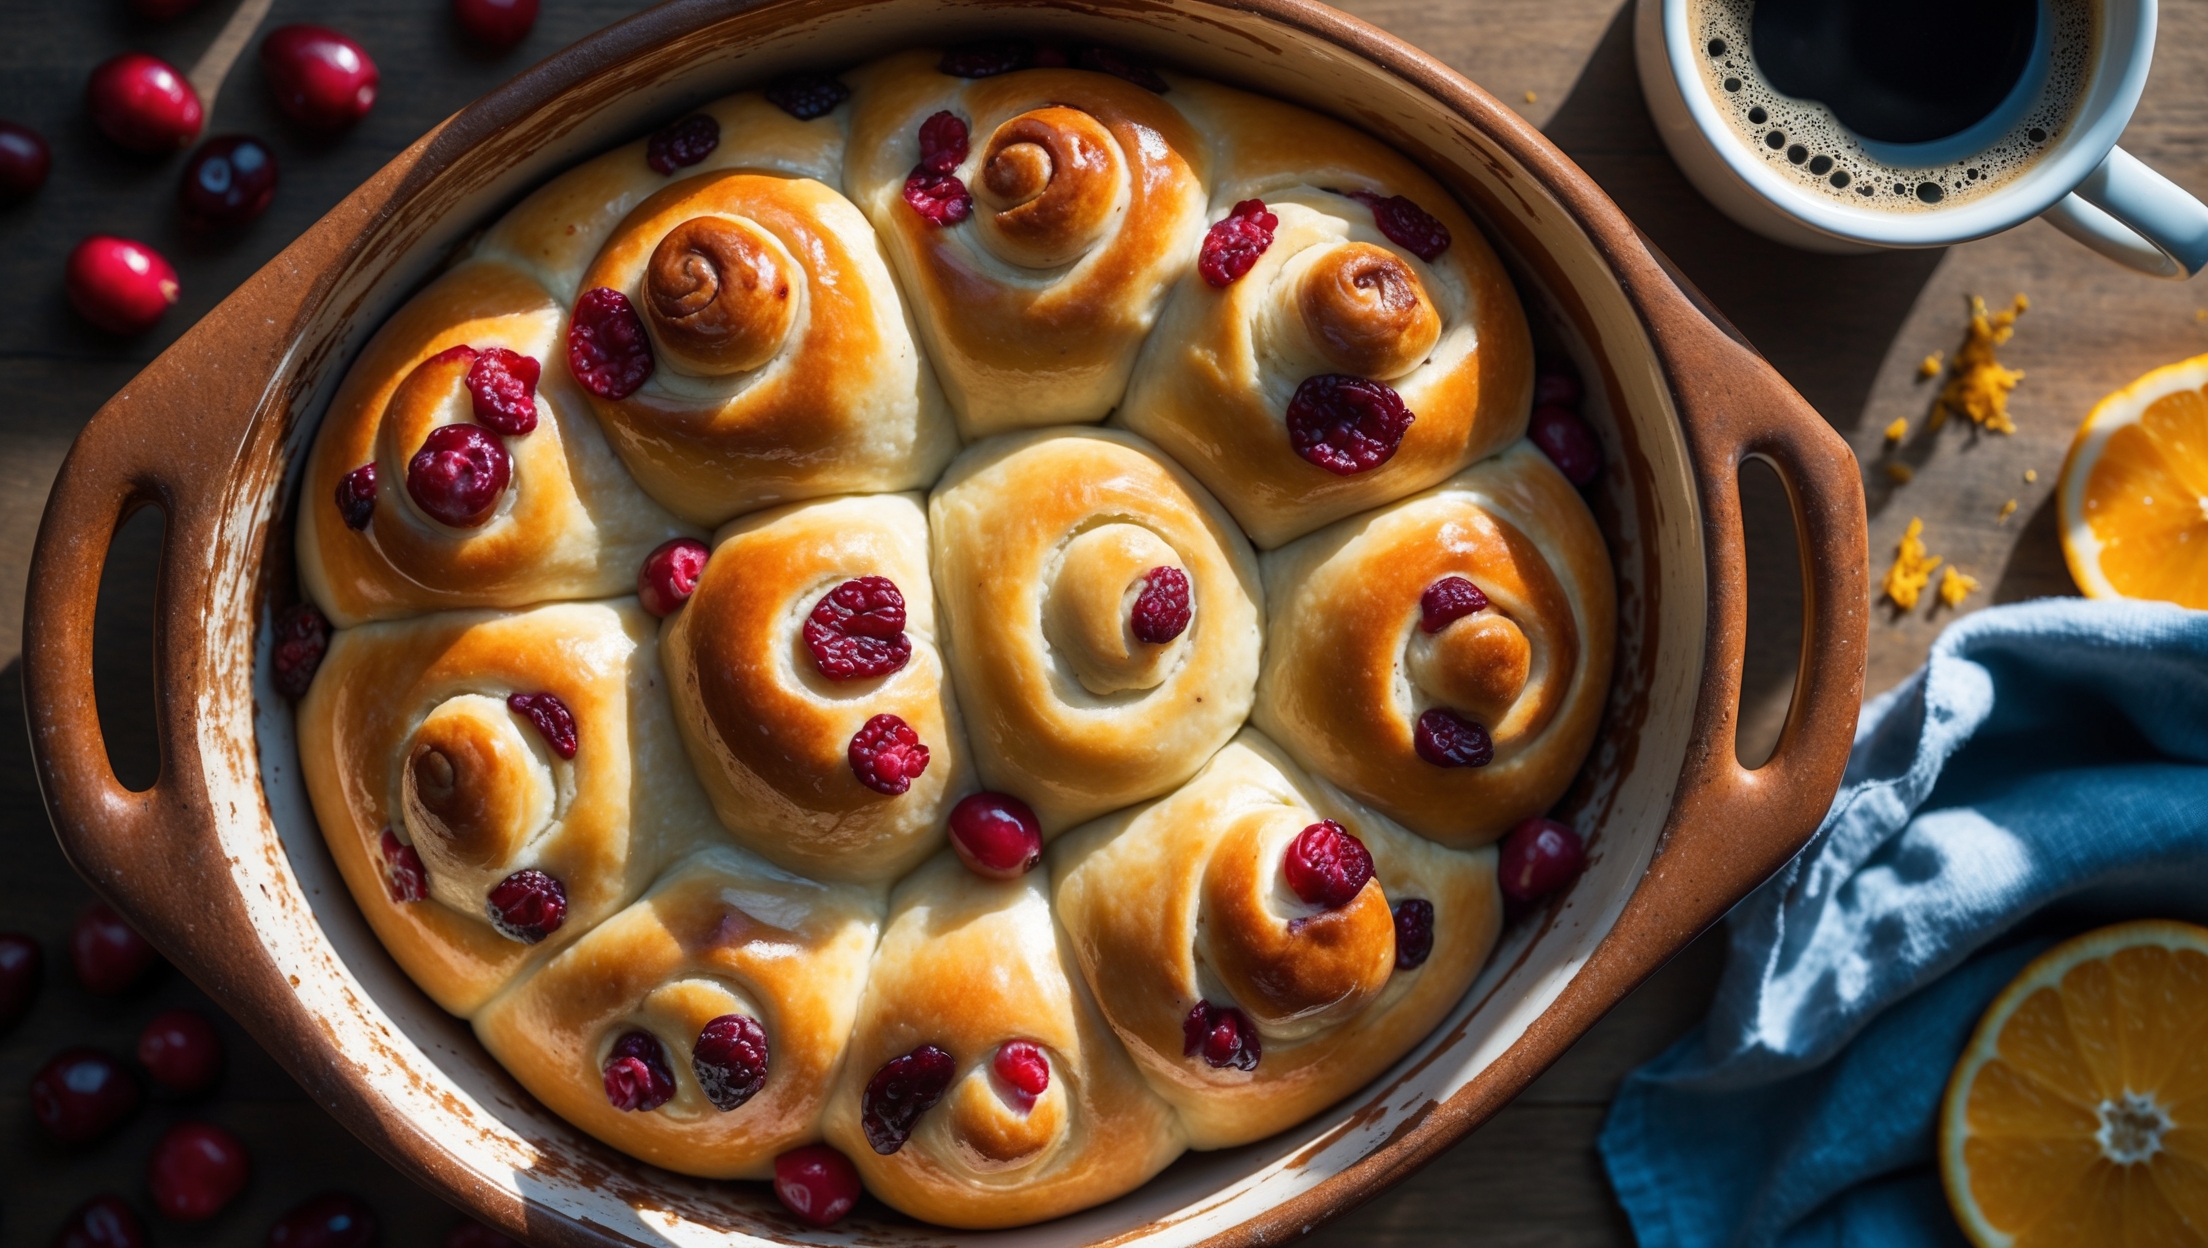
Learn how to cook English Muffins Recipe by preparing a yeasted dough, allowing it to rise, then cutting into rounds and cooking on a griddle or heavy skillet. The key technique is cooking them slowly on low-medium heat (about 7-8 minutes per side) until golden brown, which develops their signature texture and ensures they're cooked through.
The signature honeycomb texture comes from proper fermentation and handling. Use a slow overnight proof in the refrigerator, handle the dough gently to preserve air bubbles, and always split with a fork rather than cutting with a knife to expose the natural interior texture.
Absolutely! Once completely cooled, wrap individual muffins tightly in cling film, then place in a freezer bag for up to 3 months. Defrost at room temperature and toast before serving for that fresh-baked taste. They maintain their texture beautifully when frozen.
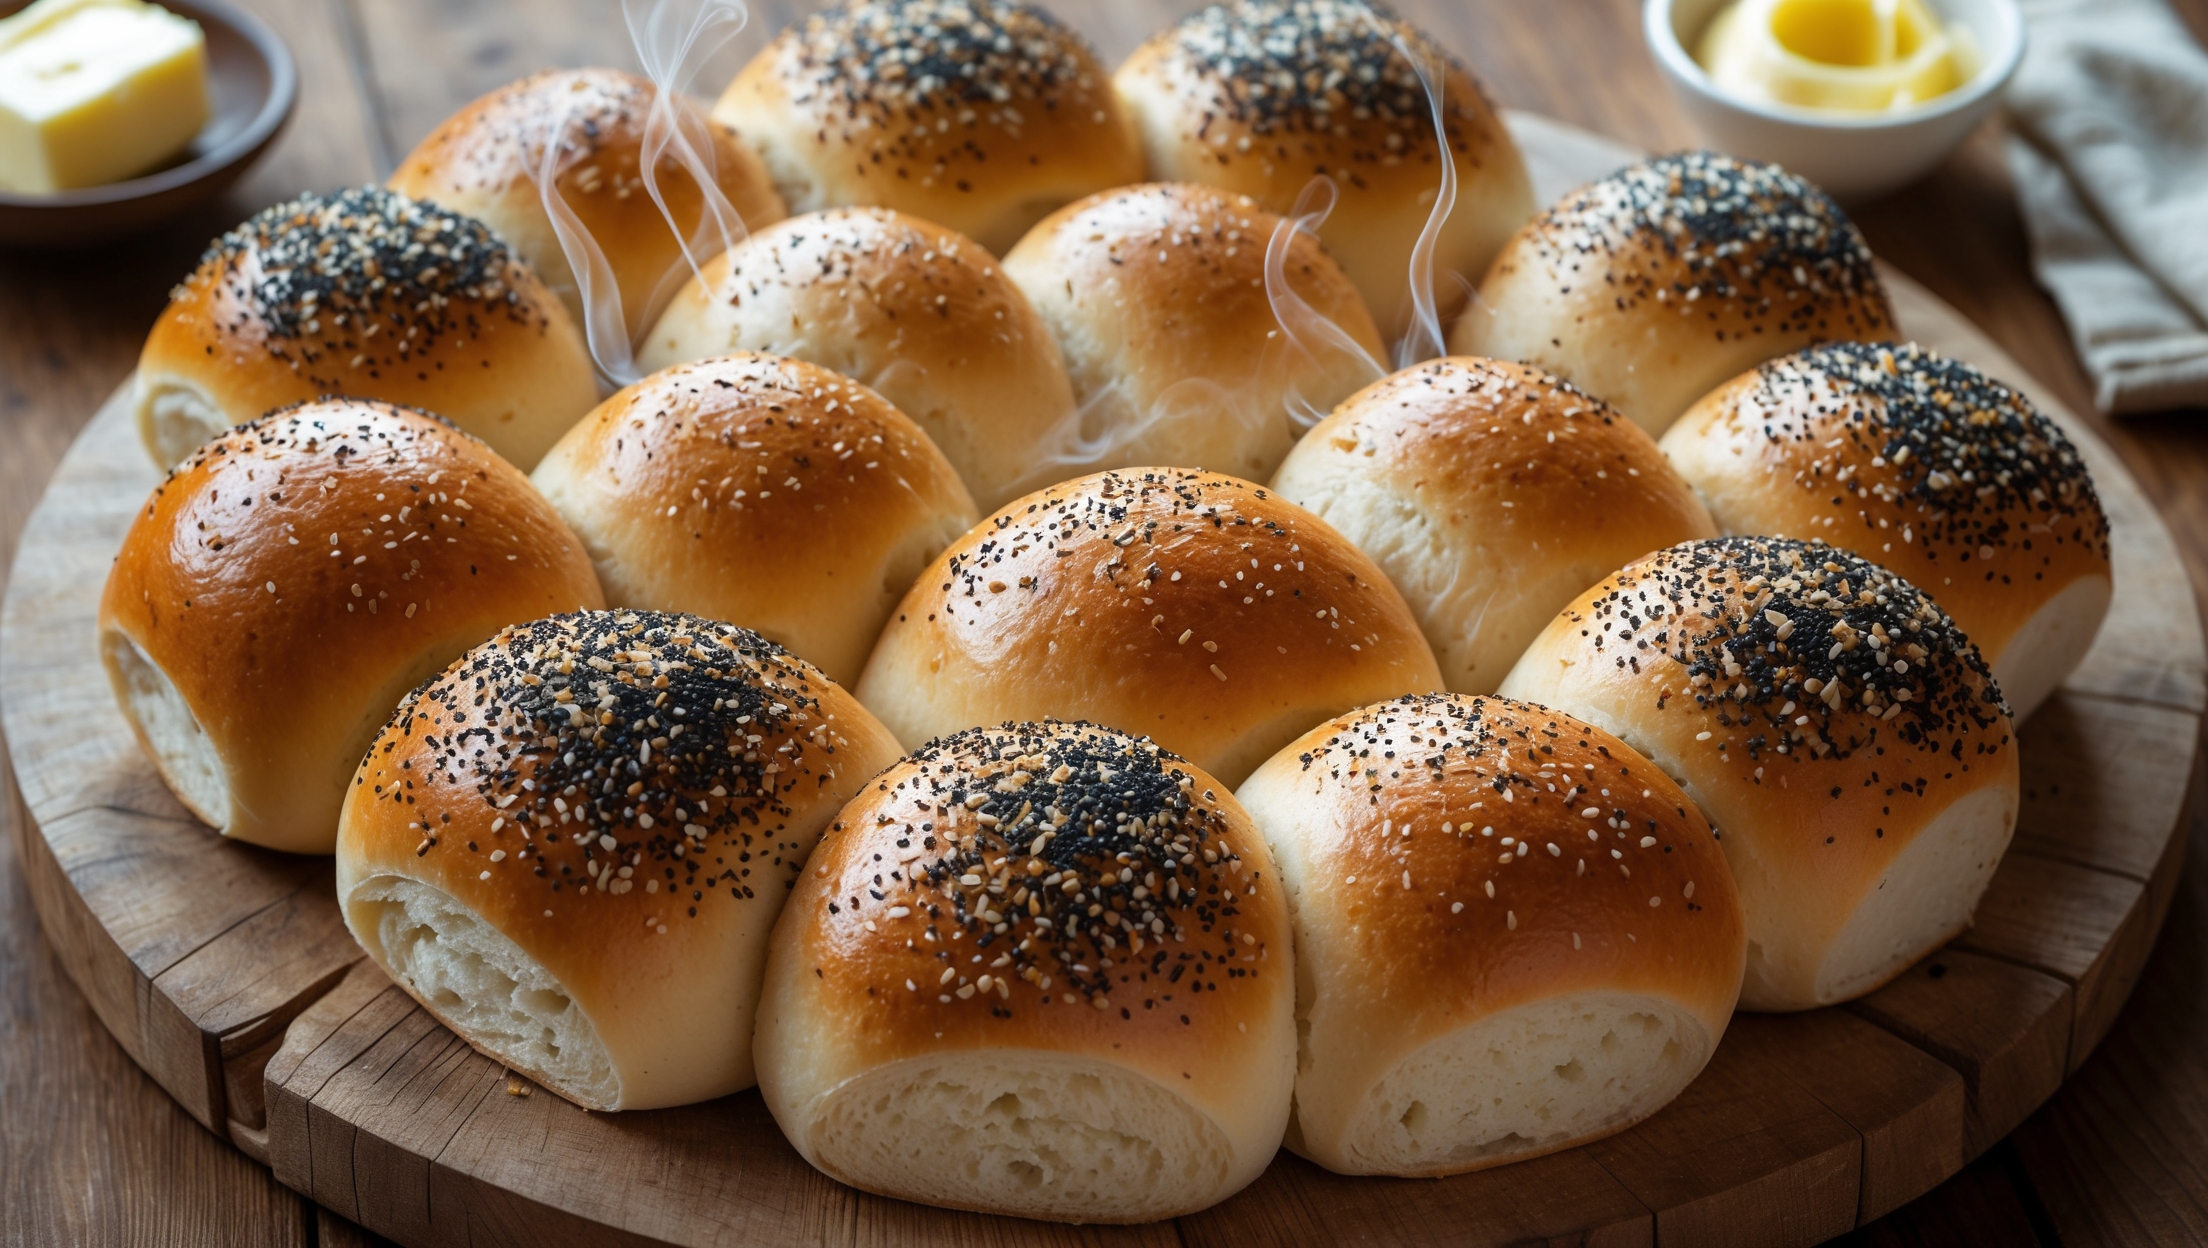
Cast iron provides consistent, even heat distribution essential for proper English muffin development. It maintains temperature well and creates the perfect exterior crust while allowing the interior to cook through slowly, ensuring that signature contrast between crisp exterior and soft, airy interior.
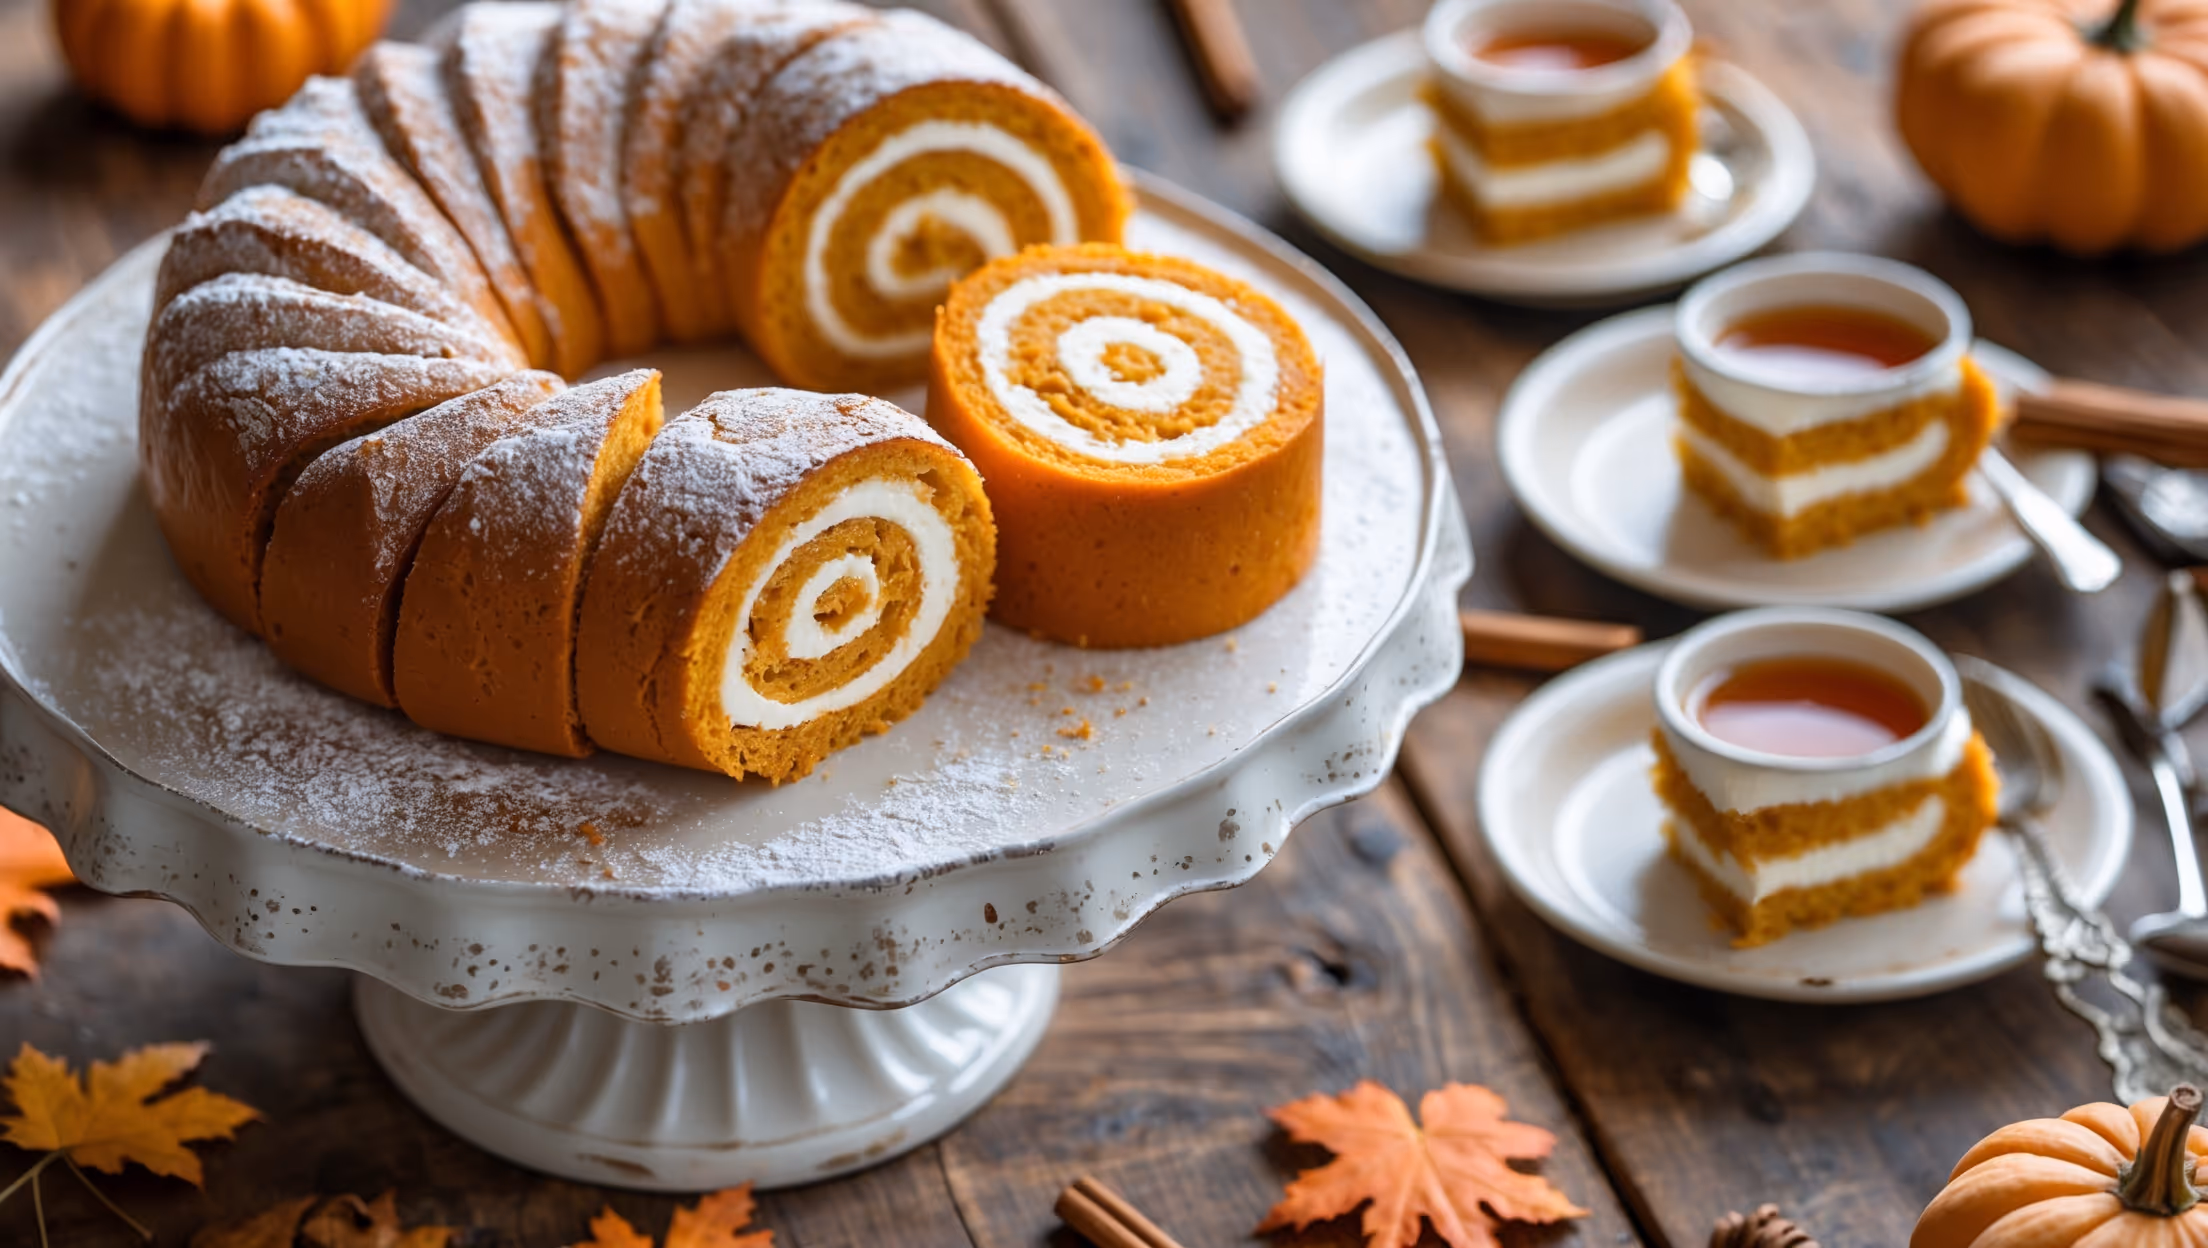
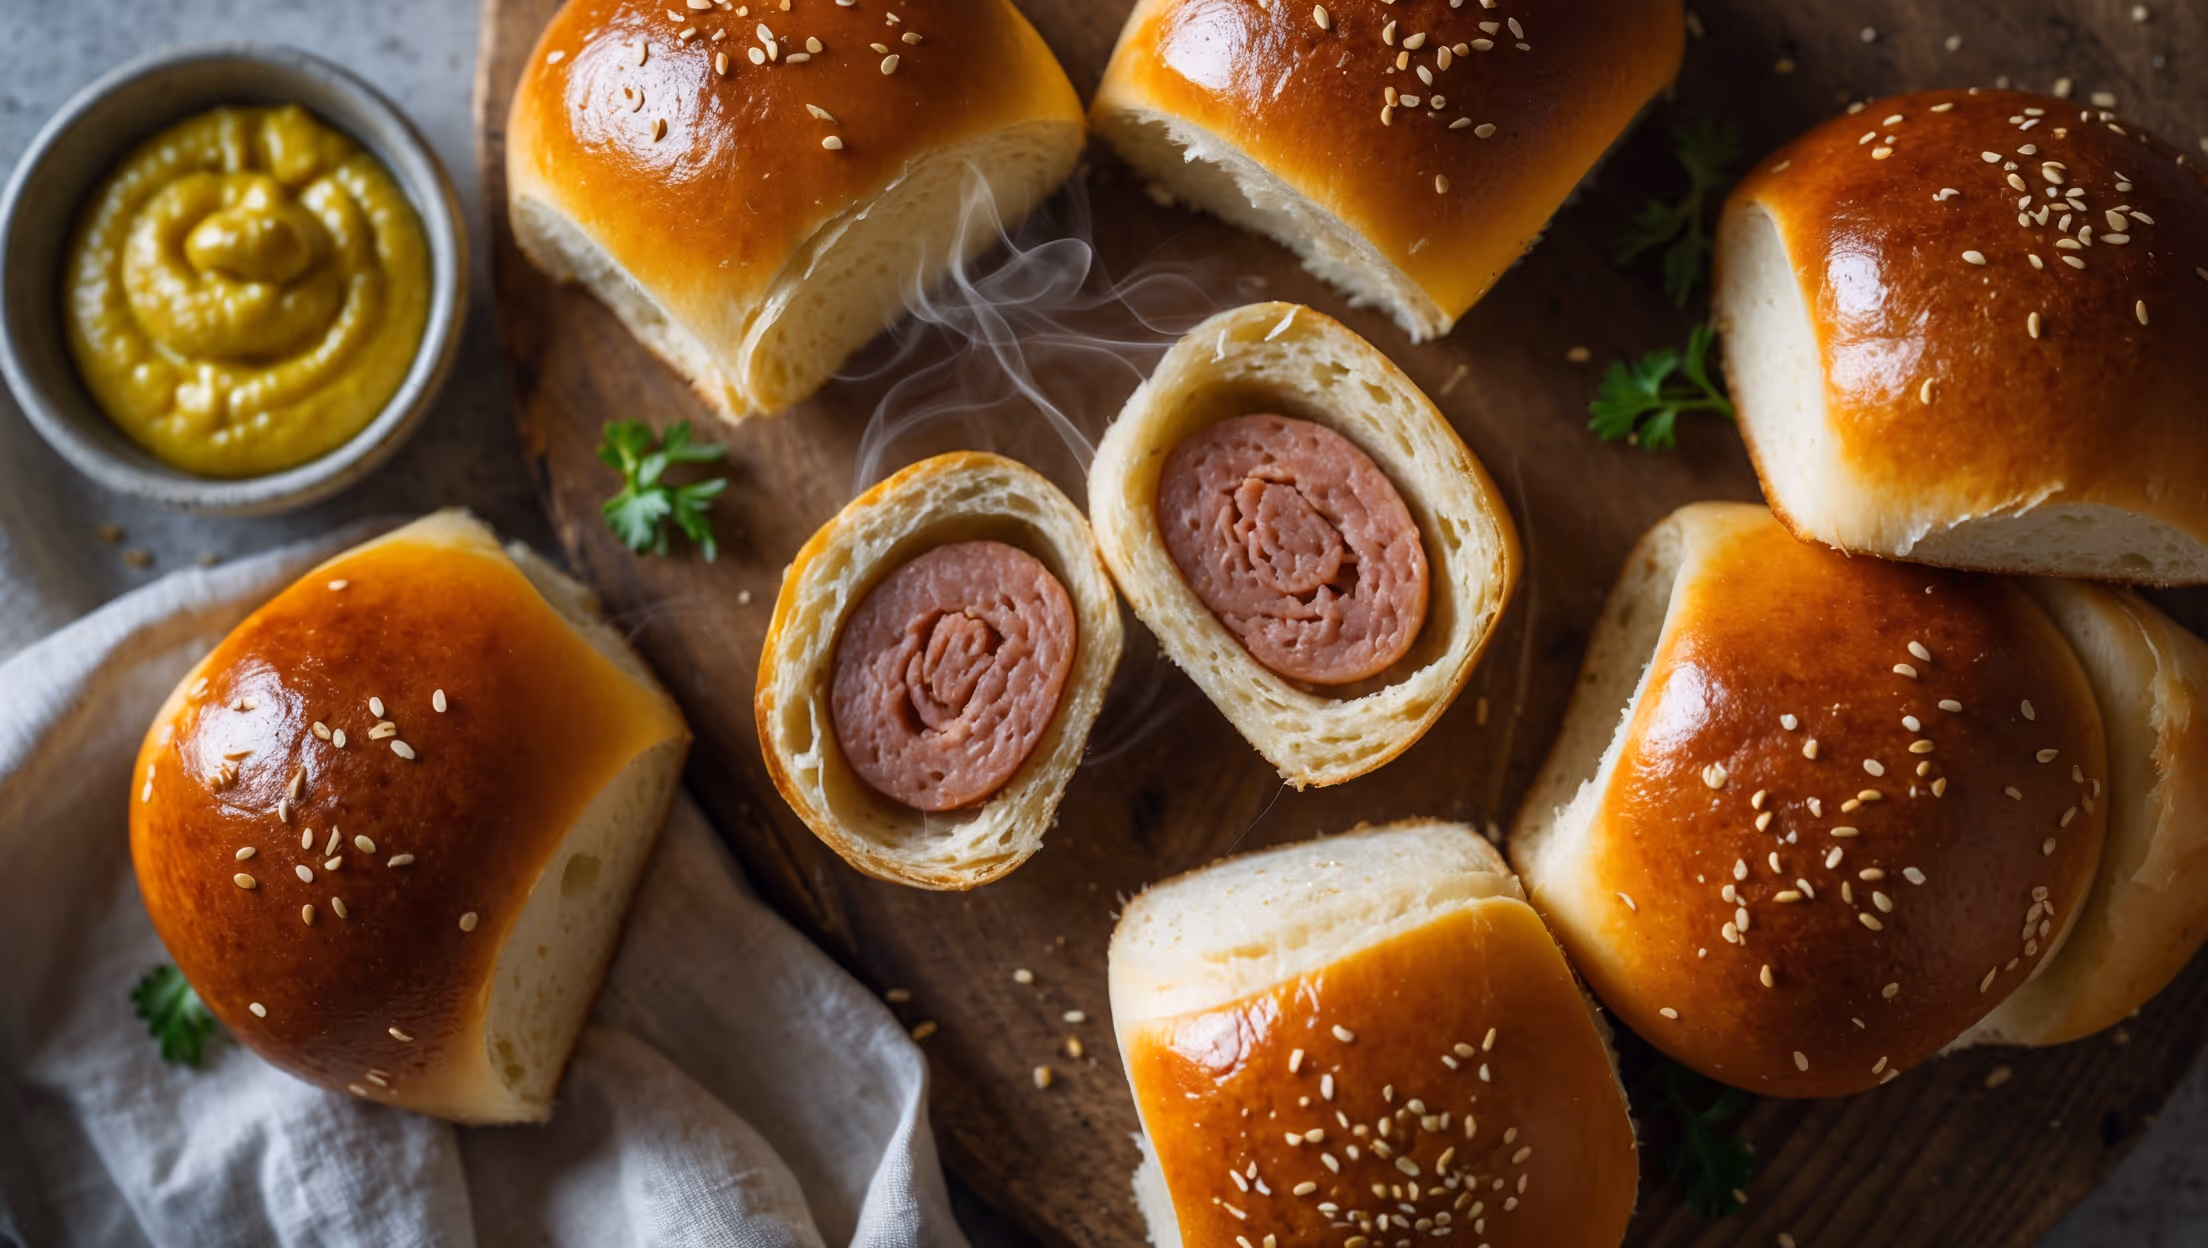
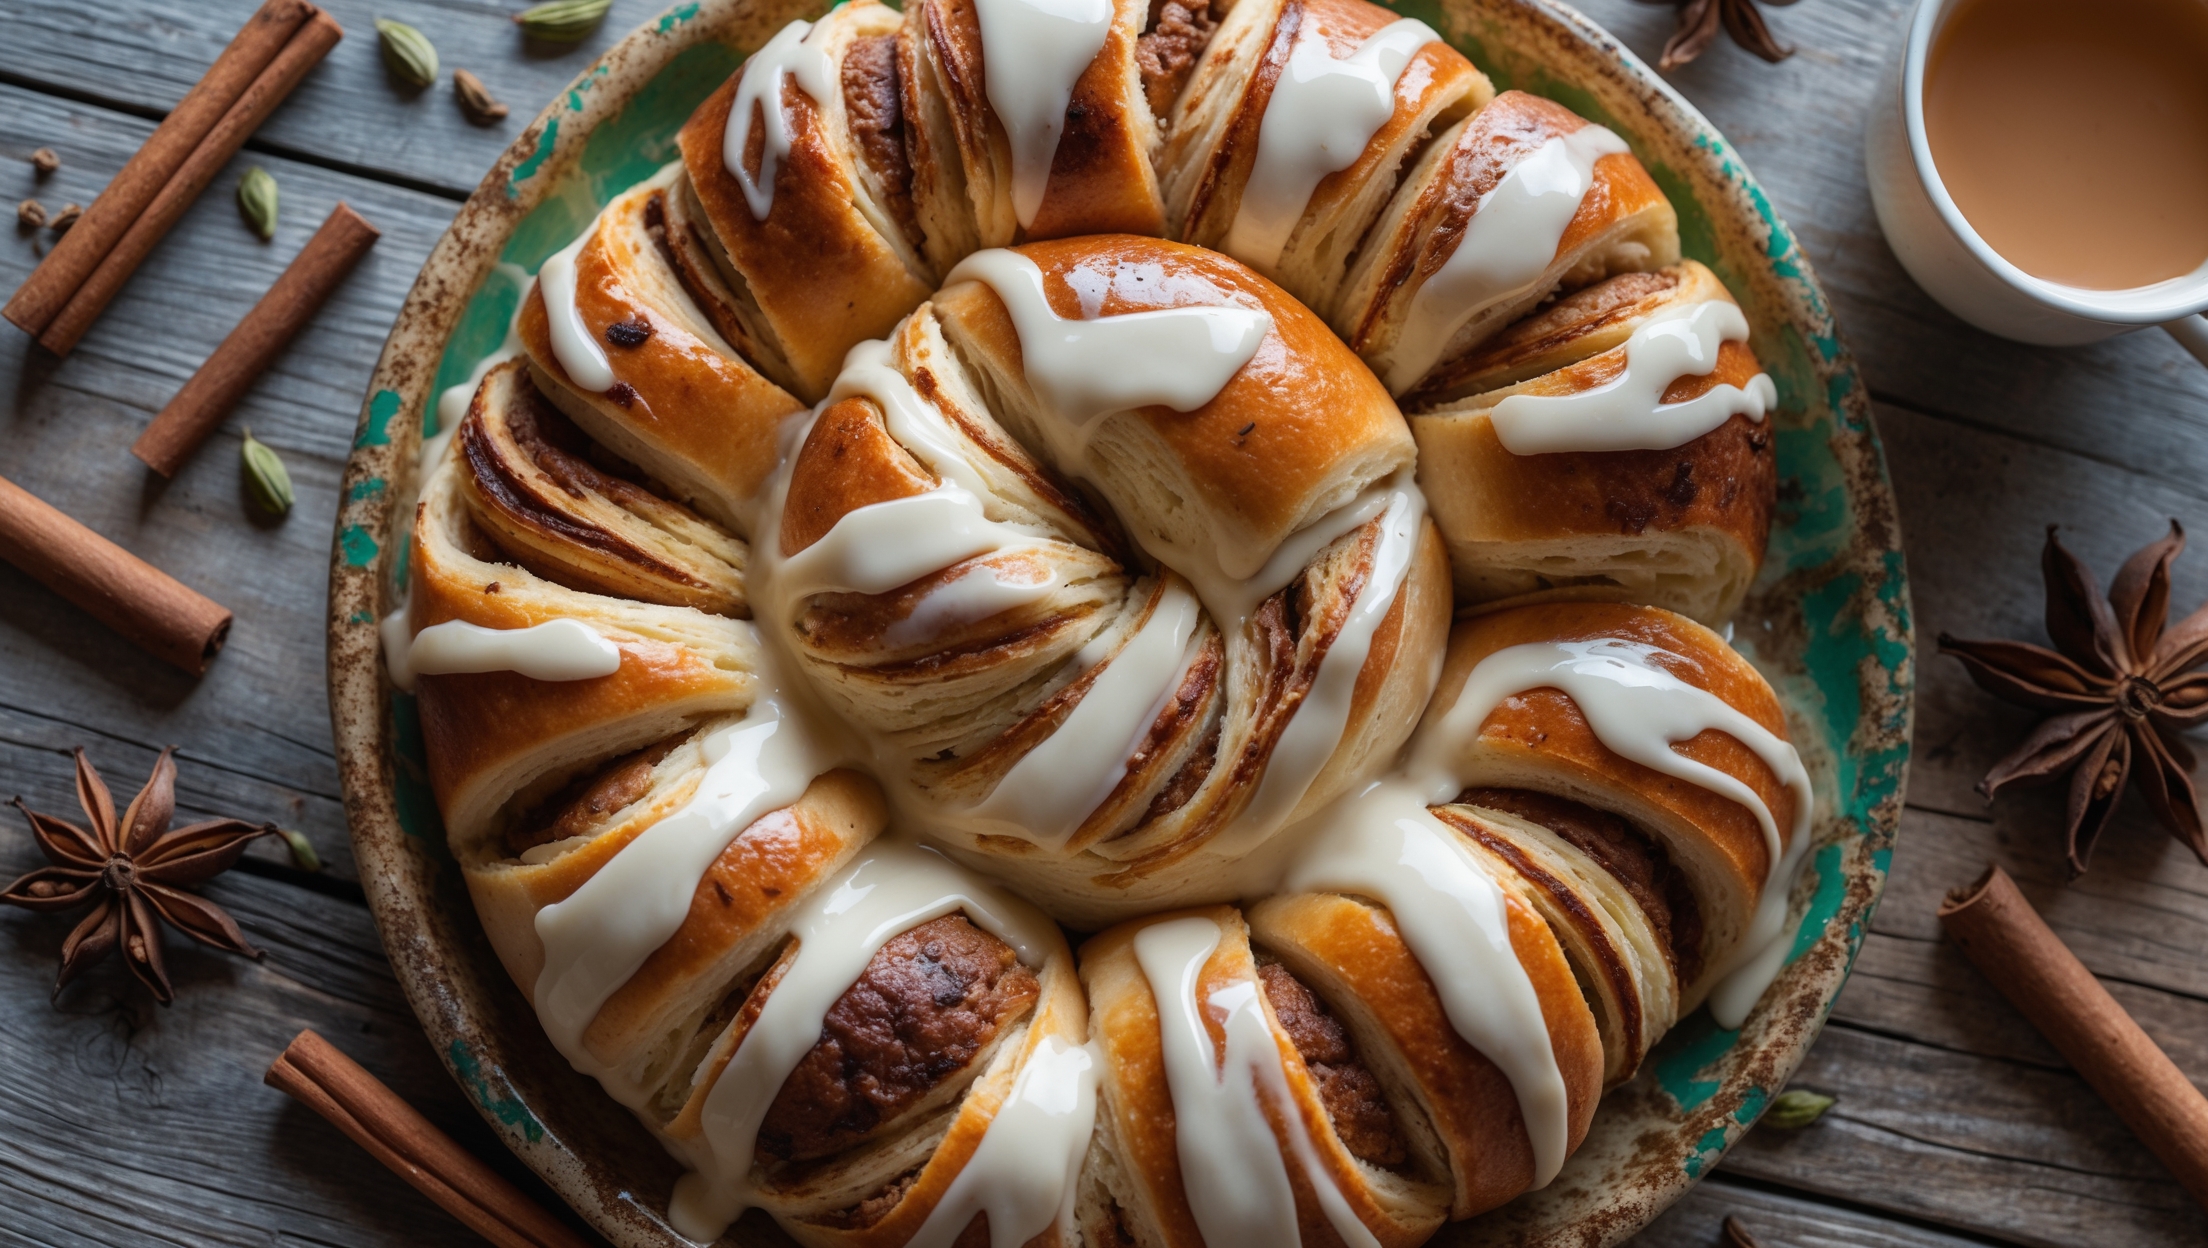
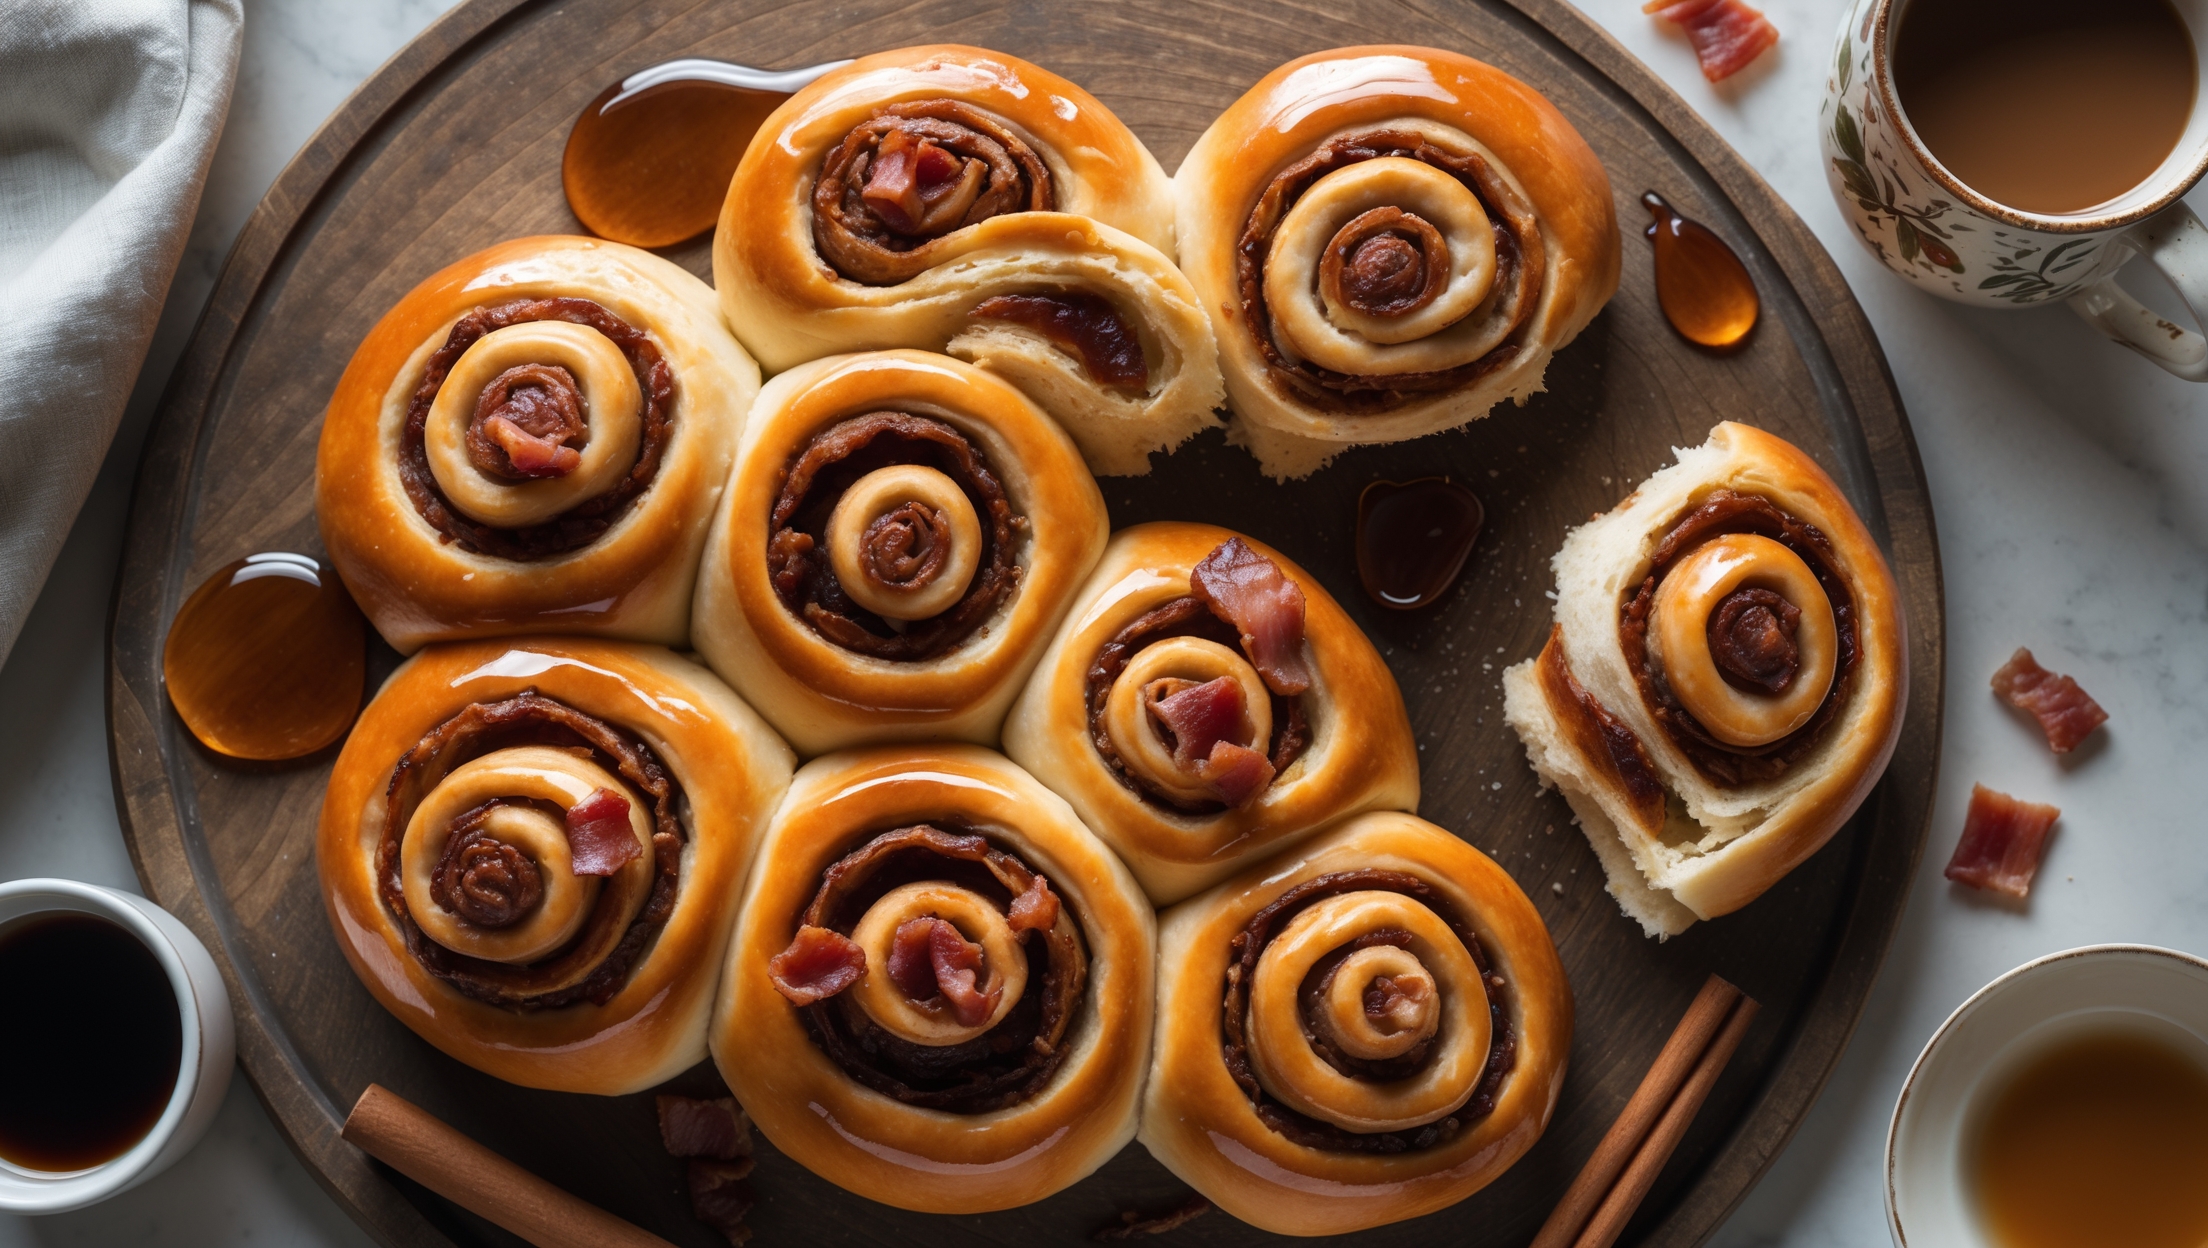
Rolls and Buns
Try following recommended recipes