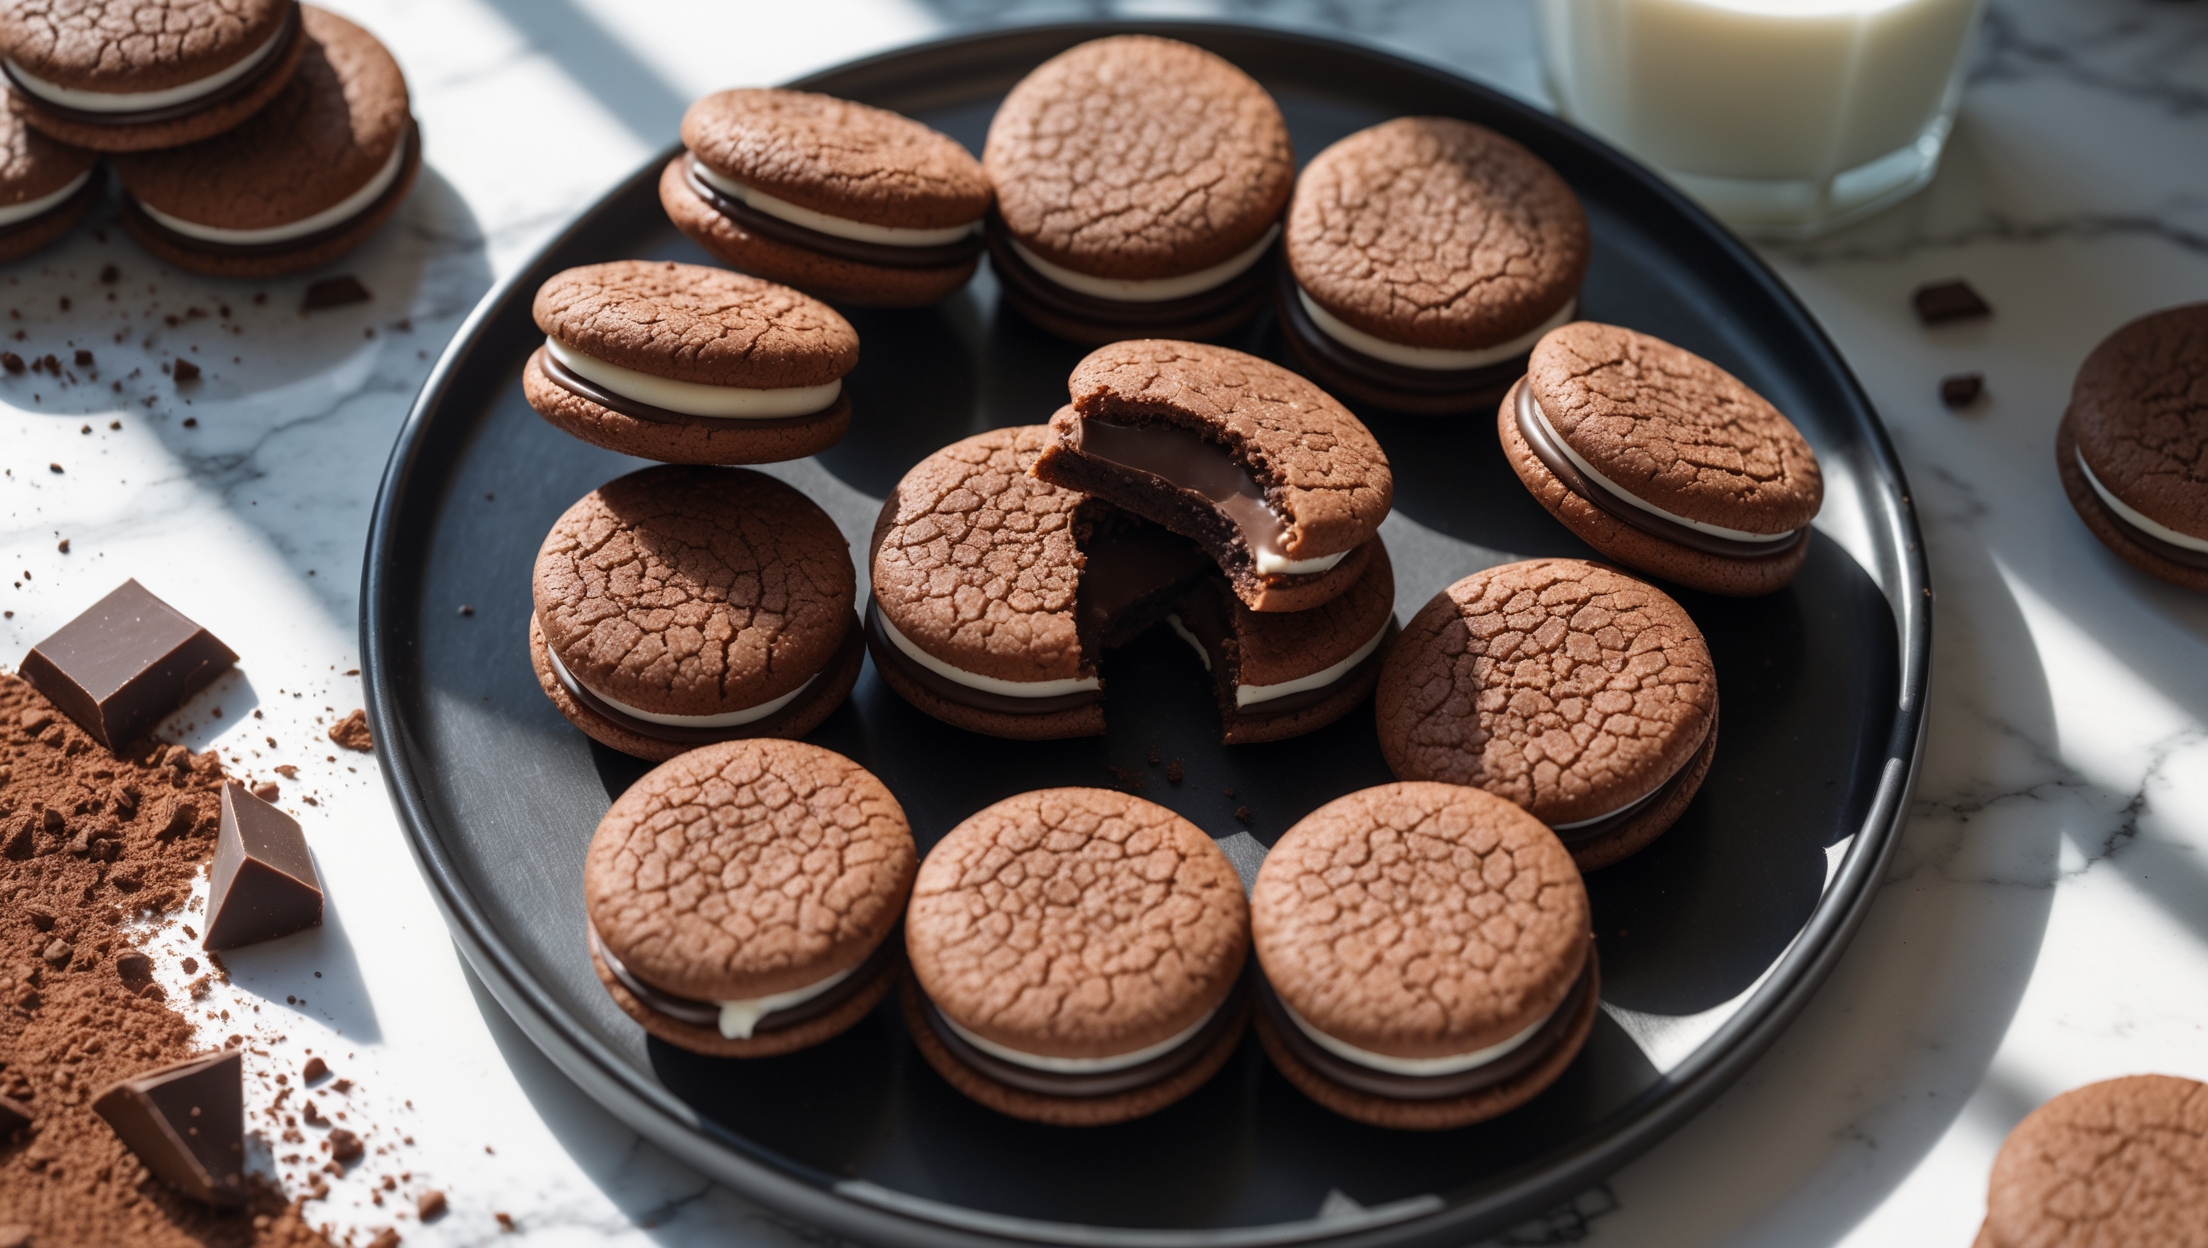
Directions
<ol class="no-list-style"> <li class="MethodStepper"> <h4 class="step-title">Step 1</h4> Preheat your oven to 180°C and line two baking sheets with parchment paper. This preparation ensures your cookies will bake evenly and won't stick to the pan. </li> <li class="MethodStepper"> <h4 class="step-title">Step 2</h4> In a medium bowl, whisk together the flour, baking powder, baking soda, salt, cinnamon, nutmeg, and cloves until well combined. This mixture of warming spices will give your cookies that characteristic holiday flavor that pairs beautifully with eggnog. </li> <li class="MethodStepper"> <h4 class="step-title">Step 3</h4> In the bowl of a stand mixer fitted with the paddle attachment (or using an electric hand mixer), cream together the butter and brown sugar on medium-high speed for about 3 minutes until light and fluffy. This extended beating incorporates air into the mixture, resulting in softer, cake-like cookies. </li> <li class="MethodStepper"> <h4 class="step-title">Step 4</h4> Add the egg and vanilla extract to the butter mixture and beat until fully incorporated, about 2 minutes, scraping down the sides of the bowl as needed. The mixture should look smooth and slightly increased in volume. </li> <li class="MethodStepper"> <h4 class="step-title">Step 5</h4> With the mixer on low speed, gradually add the dry ingredients to the wet ingredients in three additions, alternating with the buttermilk (beginning and ending with the dry ingredients). Mix just until combined after each addition. Overmixing at this stage can develop too much gluten, resulting in tough cookies. </li> <li class="MethodStepper"> <h4 class="step-title">Step 6</h4> Using a cookie scoop or tablespoon measure, drop rounded tablespoons of dough onto the prepared baking sheets, spacing them about 5cm apart. The cookies will spread slightly during baking, so be sure to leave enough room. For more uniform cookies, use a piping bag fitted with a large round tip. </li> <li class="MethodStepper"> <h4 class="step-title">Step 7</h4> Bake for 10-12 minutes, until the cookies are puffed and spring back lightly when touched. They should not brown too much around the edges – you're looking for a soft, cake-like texture. Rotate the pans halfway through baking if your oven has hot spots. </li> <li class="MethodStepper"> <h4 class="step-title">Step 8</h4> Allow the cookies to cool on the baking sheets for 5 minutes before transferring to a wire rack to cool completely. The cookies must be completely cool before filling, otherwise the buttercream will melt. </li> <li class="MethodStepper"> <h4 class="step-title">Step 9</h4> While the cookies cool, prepare the eggnog filling. In a stand mixer fitted with the paddle attachment, beat the butter on medium speed until creamy, about 2 minutes. The butter needs to be very soft but not melted for the smoothest texture. </li> <li class="MethodStepper"> <h4 class="step-title">Step 10</h4> Gradually add the sifted powdered sugar, about 100g at a time, mixing well after each addition. Sifting the sugar prevents lumps in your final buttercream. </li> <li class="MethodStepper"> <h4 class="step-title">Step 11</h4> Add the eggnog, nutmeg, cinnamon, vanilla extract, and salt. Beat on medium-high speed for 3-4 minutes until light and fluffy. The extended beating time creates a silky texture and incorporates air for a lighter mouthfeel. If the filling is too thick, add more eggnog one teaspoon at a time. If too thin, add more powdered sugar. </li> <li class="MethodStepper"> <h4 class="step-title">Step 12</h4> Match cookies of similar size into pairs. Pipe or spread a generous amount (about 2 tablespoons) of eggnog filling onto the flat side of one cookie from each pair. Top with the matching cookie, flat side down, and press gently to spread the filling to the edges. </li> <li class="MethodStepper"> <h4 class="step-title">Step 13</h4> For the best flavor, refrigerate the assembled whoopie pies for at least 30 minutes to allow the flavors to meld. The cookies will soften slightly as they sit, creating that perfect cake-like whoopie pie texture. Bring to room temperature for about 15 minutes before serving for the best taste and texture. </li> <li class="MethodStepper"> <h4 class="step-title">Step 14</h4> Store any leftover whoopie pies in an airtight container in the refrigerator for up to 3 days, or freeze for up to 1 month. If freezing, place them in a single layer on a baking sheet until firm, then transfer to a container with parchment between layers. </li> </ol>