Directions
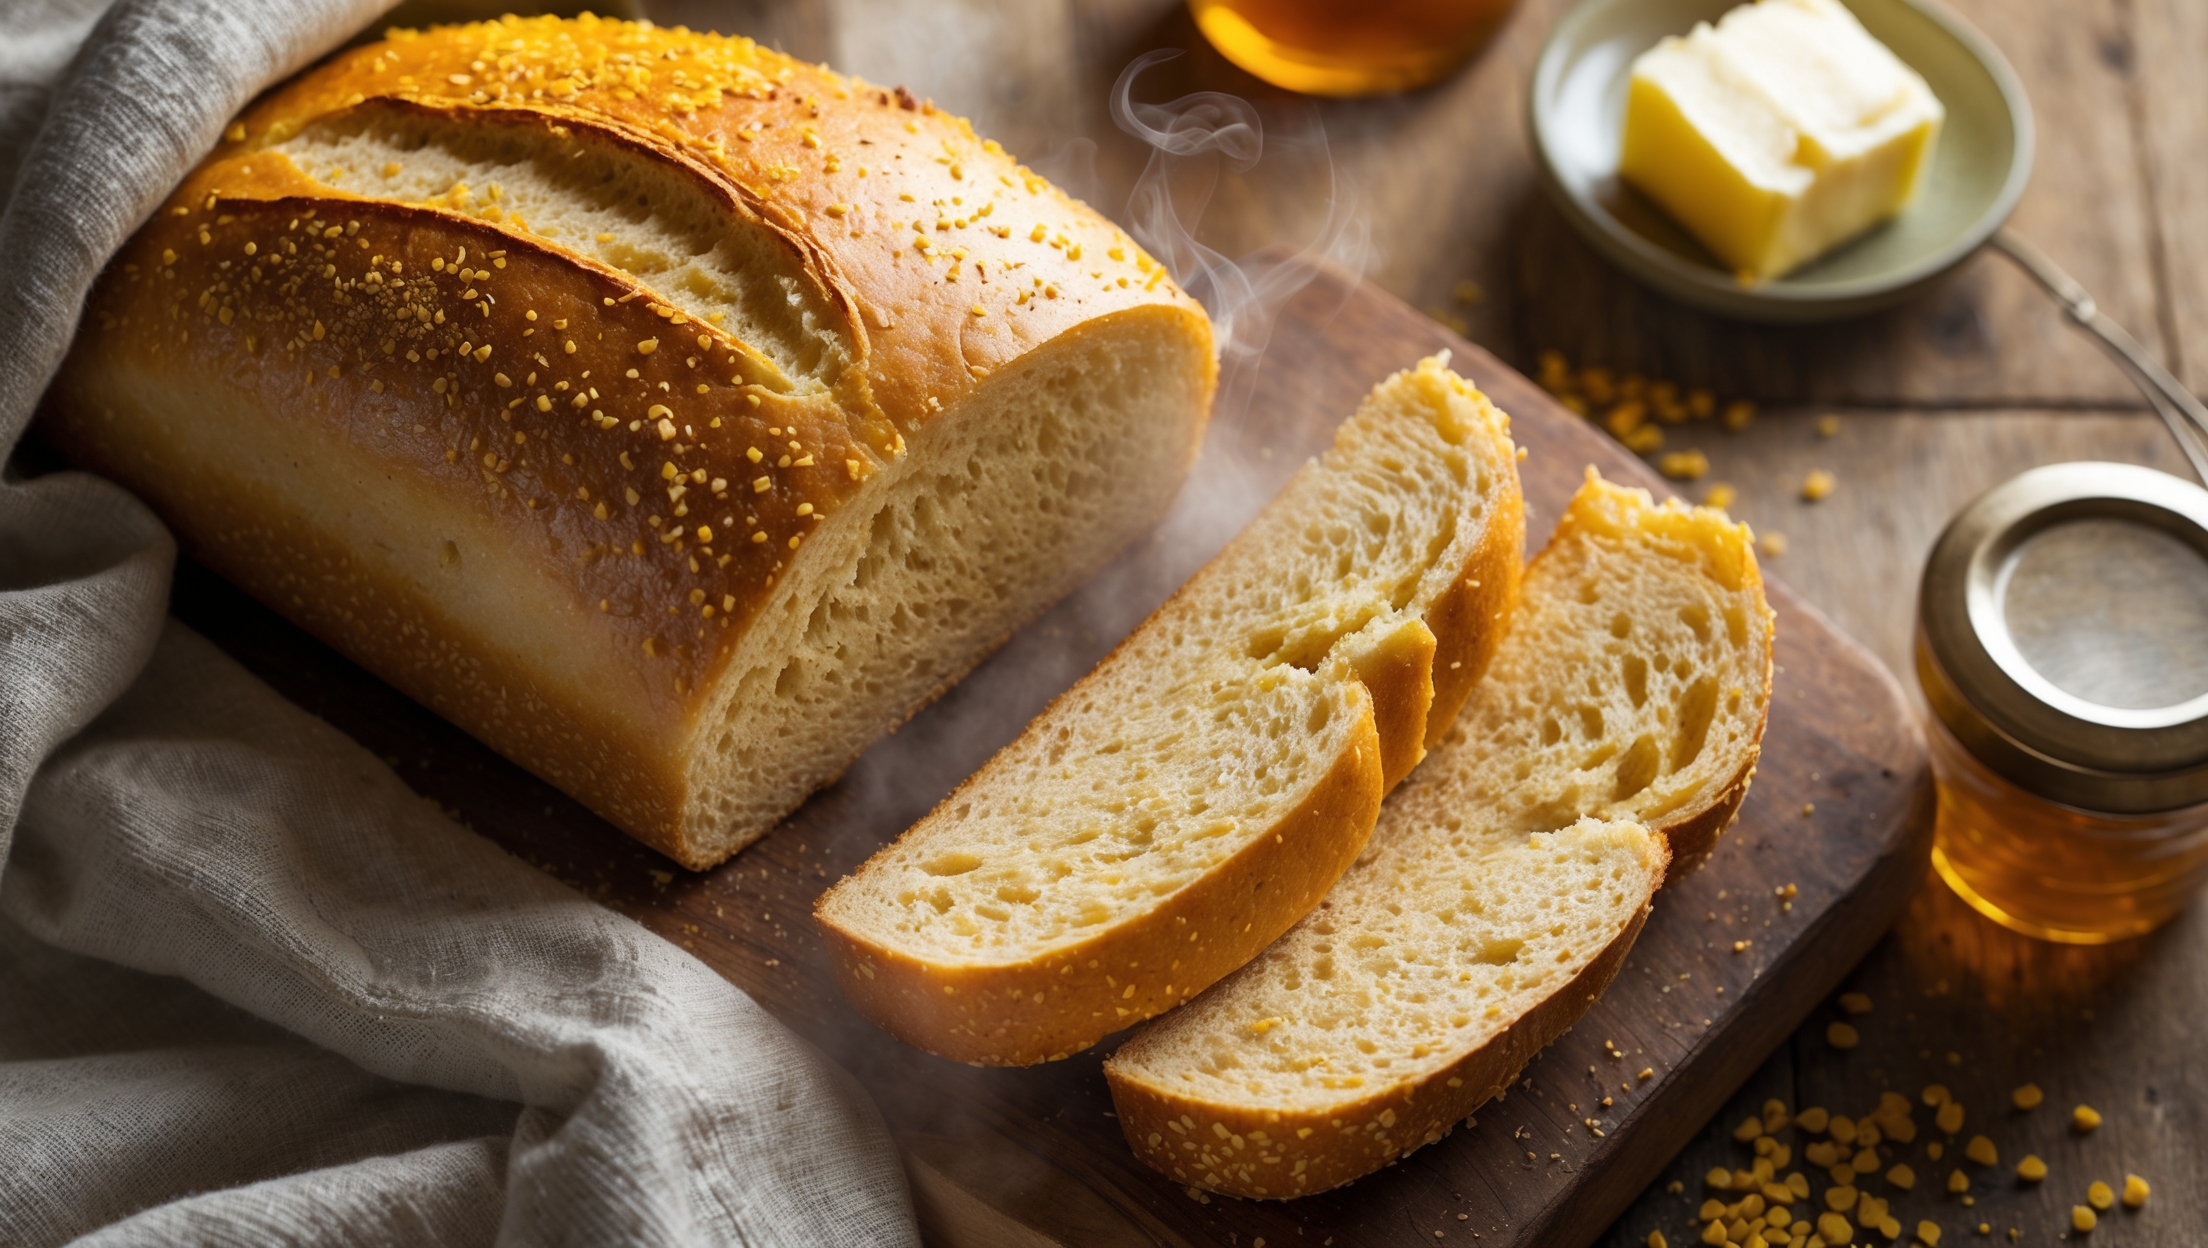
<ol class="no-list-style"><li class="MethodStepper"><h4 class="step-title">Step 1</h4>Begin by combining the flour, instant yeast, salt, and sugar in the bowl of your stand mixer. Keep the salt and yeast on opposite sides of the bowl as direct contact can inhibit the yeast's activity. Make a well in the center of the dry ingredients.</li><li class="MethodStepper"><h4 class="step-title">Step 2</h4>Lightly beat 3 eggs in a separate bowl. Pour the beaten eggs and warm milk (around 37°C/98°F – it should feel just warm to the touch, not hot) into the well of dry ingredients. Using the dough hook attachment, mix on low speed until the ingredients come together to form a rough dough.</li><li class="MethodStepper"><h4 class="step-title">Step 3</h4>Increase the mixer speed to medium and knead for 5 minutes until the dough becomes smoother and more elastic. The dough will initially be quite sticky – resist the urge to add more flour as this will affect the final texture.</li><li class="MethodStepper"><h4 class="step-title">Step 4</h4>With the mixer running on medium speed, gradually add the softened butter, one cube at a time. Wait until each piece is fully incorporated before adding the next. This slow addition prevents the dough from separating and ensures proper emulsification of the butter. This process might take 8-10 minutes.</li><li class="MethodStepper"><h4 class="step-title">Step 5</h4>Once all the butter is incorporated, continue kneading for another 5-8 minutes until the dough passes the "window pane test" – when a small piece can be stretched between your fingers to form a thin, translucent membrane without tearing. This indicates proper gluten development, essential for the bread's structure.</li><li class="MethodStepper"><h4 class="step-title">Step 6</h4>Transfer the dough to a lightly oiled bowl, cover with plastic wrap or a damp cloth, and let it rise in a warm place (around 24-27°C/75-80°F) for 1.5-2 hours, or until doubled in size. The enriched dough will rise more slowly than regular bread dough due to the fat content.</li><li class="MethodStepper"><h4 class="step-title">Step 7</h4>Once risen, gently deflate the dough by pressing down with your fingertips. Transfer to a lightly floured surface and divide into three equal portions. Roll each portion into a tight ball, then roll each ball into a long rope about 30cm (12 inches) long.</li><li class="MethodStepper"><h4 class="step-title">Step 8</h4>Arrange the three ropes side by side and pinch them together at one end. Braid the ropes by crossing the right strand over the middle one, then the left strand over the new middle one. Continue this pattern until you reach the end, then pinch the ends together to seal.</li><li class="MethodStepper"><h4 class="step-title">Step 9</h4>Carefully transfer the braided loaf to a greased and parchment-lined loaf tin. Cover loosely with oiled plastic wrap and let rise again for about 45-60 minutes, or until the dough has risen to just above the edge of the tin. Meanwhile, preheat your oven to 180°C (350°F).</li><li class="MethodStepper"><h4 class="step-title">Step 10</h4>Beat the remaining egg with 1 tablespoon of water to make an egg wash. When the dough has risen, gently brush the surface with the egg wash, taking care not to deflate the dough. The egg wash gives the bread its characteristic glossy, golden crust.</li><li class="MethodStepper"><h4 class="step-title">Step 11</h4>Bake in the preheated oven for 30-35 minutes until deeply golden brown. If the top browns too quickly, loosely cover with aluminum foil. The bread is done when it sounds hollow when tapped on the bottom, or when an internal temperature reads 88-93°C (190-200°F).</li><li class="MethodStepper"><h4 class="step-title">Step 12</h4>Remove from the oven and allow to cool in the tin for 10 minutes before transferring to a wire rack to cool completely. This resting period allows the crumb structure to set properly. Resist the temptation to slice while hot, as this can make the bread gummy. Once cooled, slice and enjoy your beautiful egg bread!</li></ol>