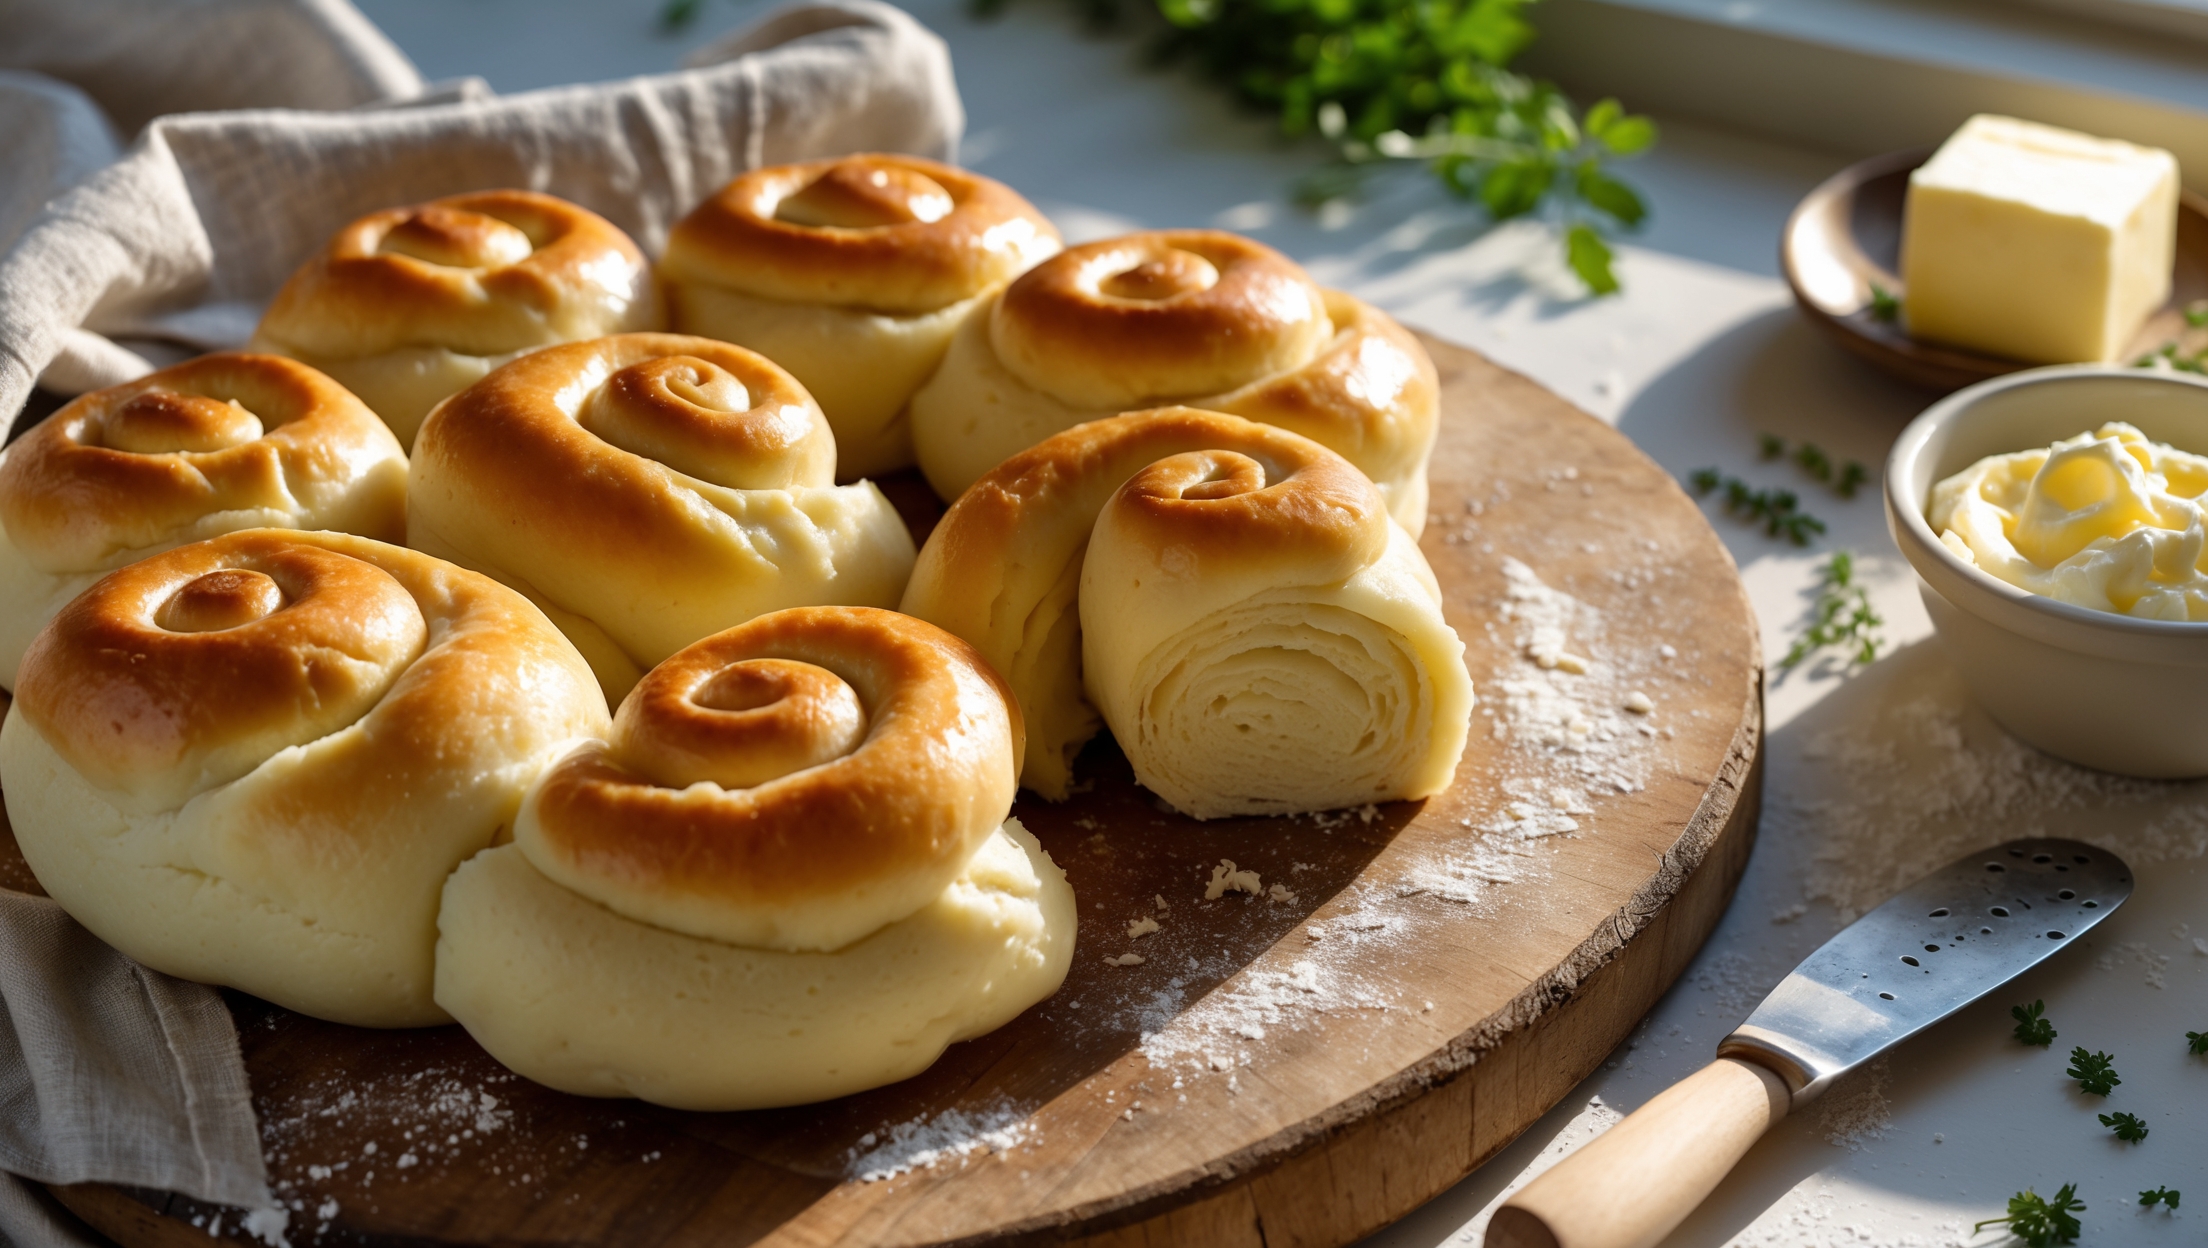
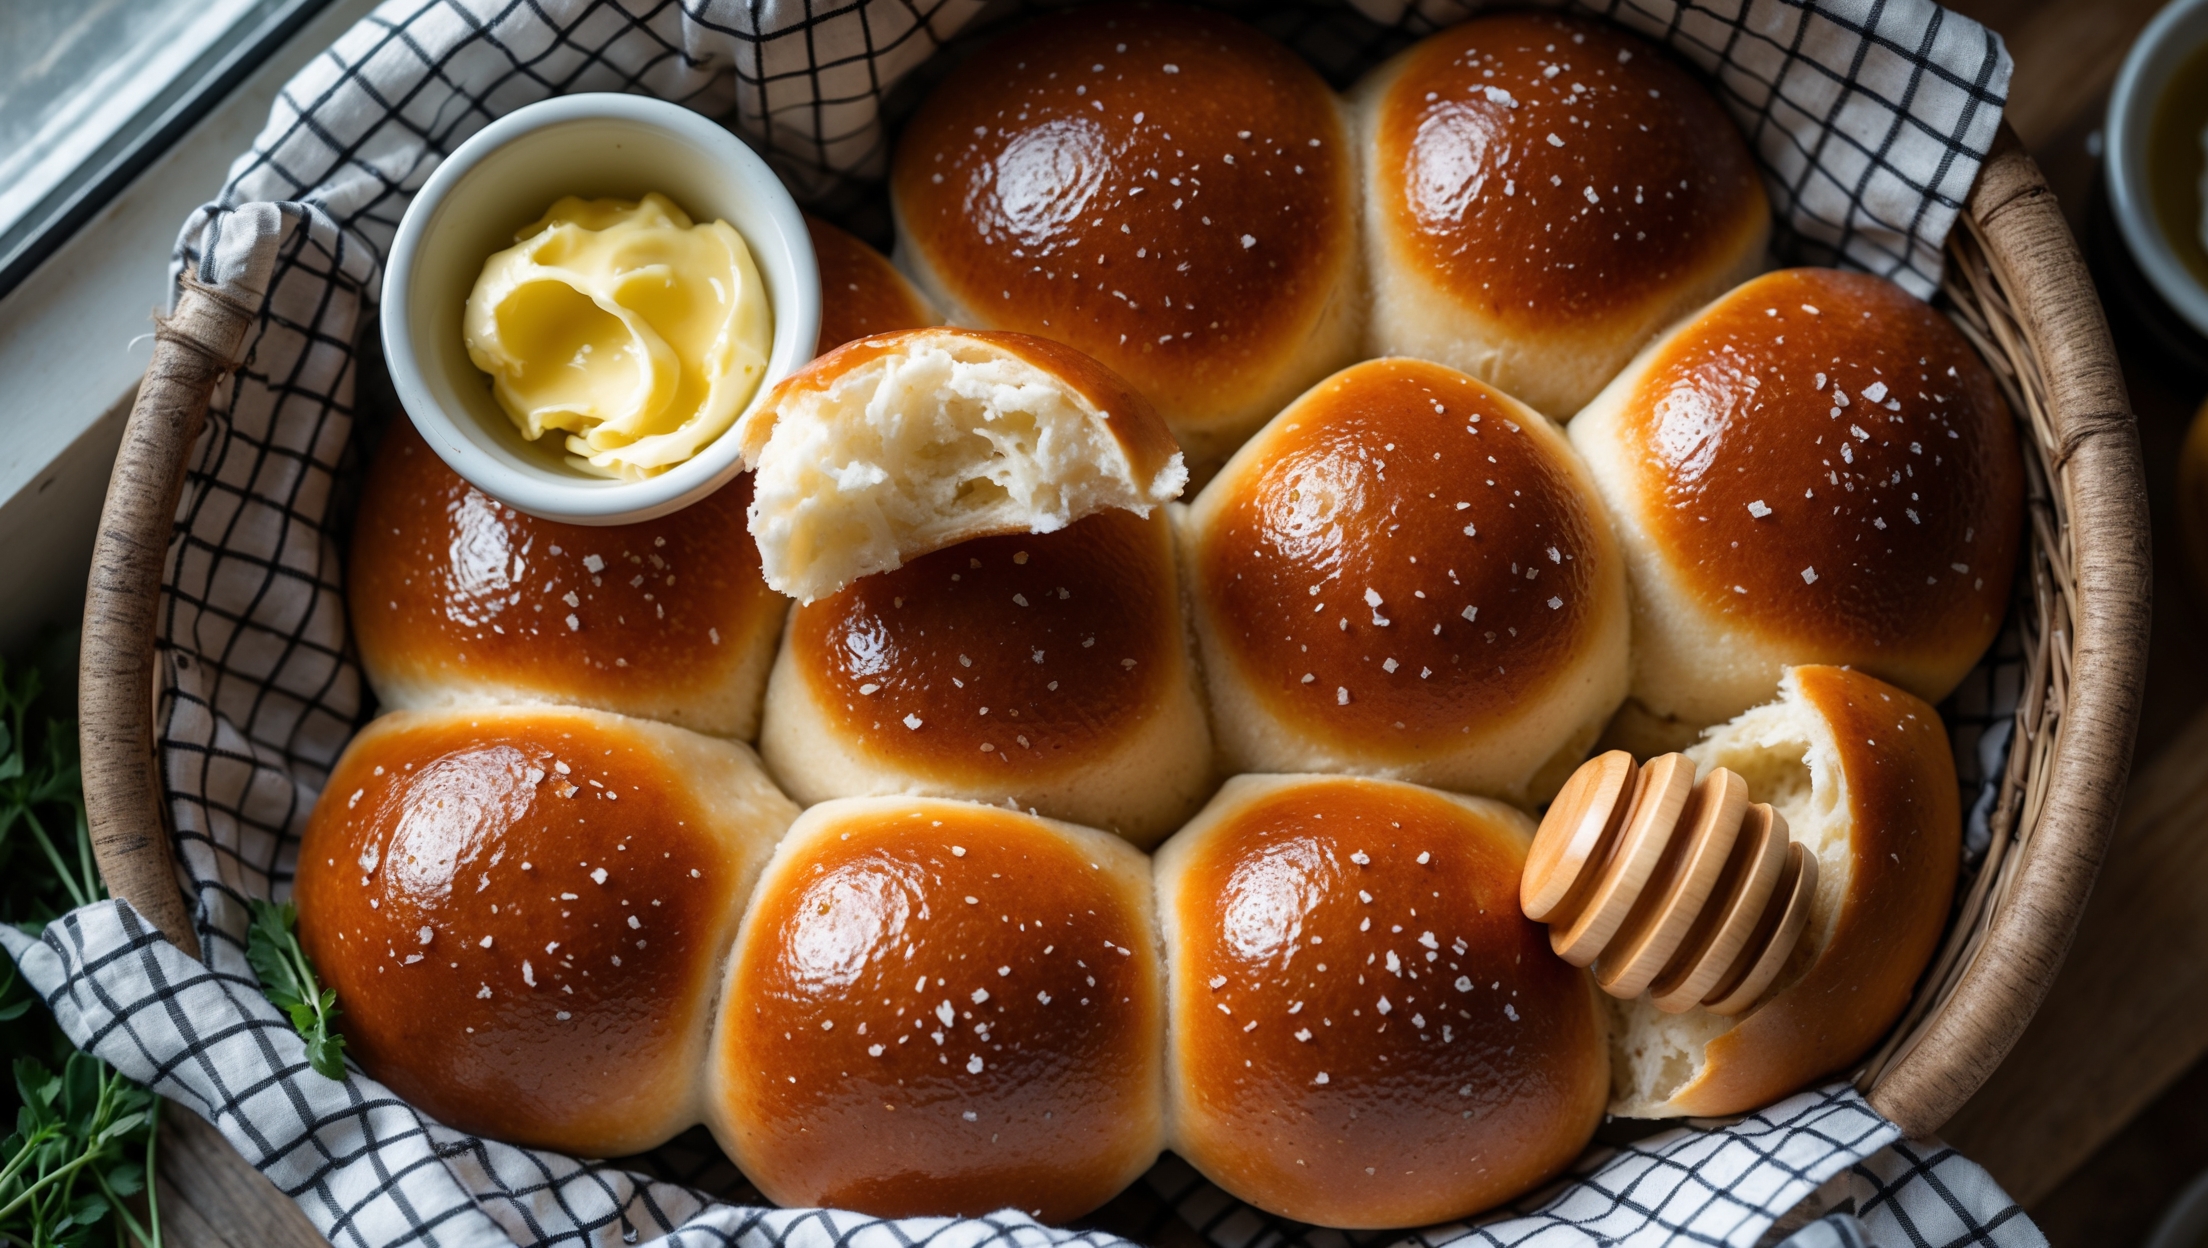
Cloverleaf Rolls Recipe
Ingredients
Equipment
Directions
FAQs
Find answers to your most pressing questions about this delicious recipe right here.
The key ingredients include all-purpose flour, warm milk, unsalted butter, granulated sugar, active dry yeast, egg, and salt. For finishing, additional melted butter is used for brushing the tops, with optional flaky sea salt for extra flavour.
Learn how to cook Cloverleaf Rolls by first activating yeast in warm milk and sugar, then combining with butter, egg and flour to form a dough. After kneading and rising, divide into small balls, arranging three per muffin cup to create the signature cloverleaf shape. Let rise again before baking at 190°C until golden brown.
Dense dinner rolls typically result from under-proofing (not allowing enough rise time), overworking the dough, or using expired yeast. Ensure your yeast is active by checking for foaming, don't add too much flour, and give the dough sufficient time to double during both rises.
Absolutely! You can prepare the dough up to 24 hours in advance and refrigerate after shaping. Allow the chilled rolls to come to room temperature and complete their second rise before baking. Alternatively, freeze baked rolls for up to a month and reheat wrapped in foil.
The secret to achieving that irresistible golden, glossy finish is brushing the rolls with melted butter both before and immediately after baking. For extra shine, you can also use an egg wash (beaten egg with a splash of water) before baking instead of the pre-bake butter.
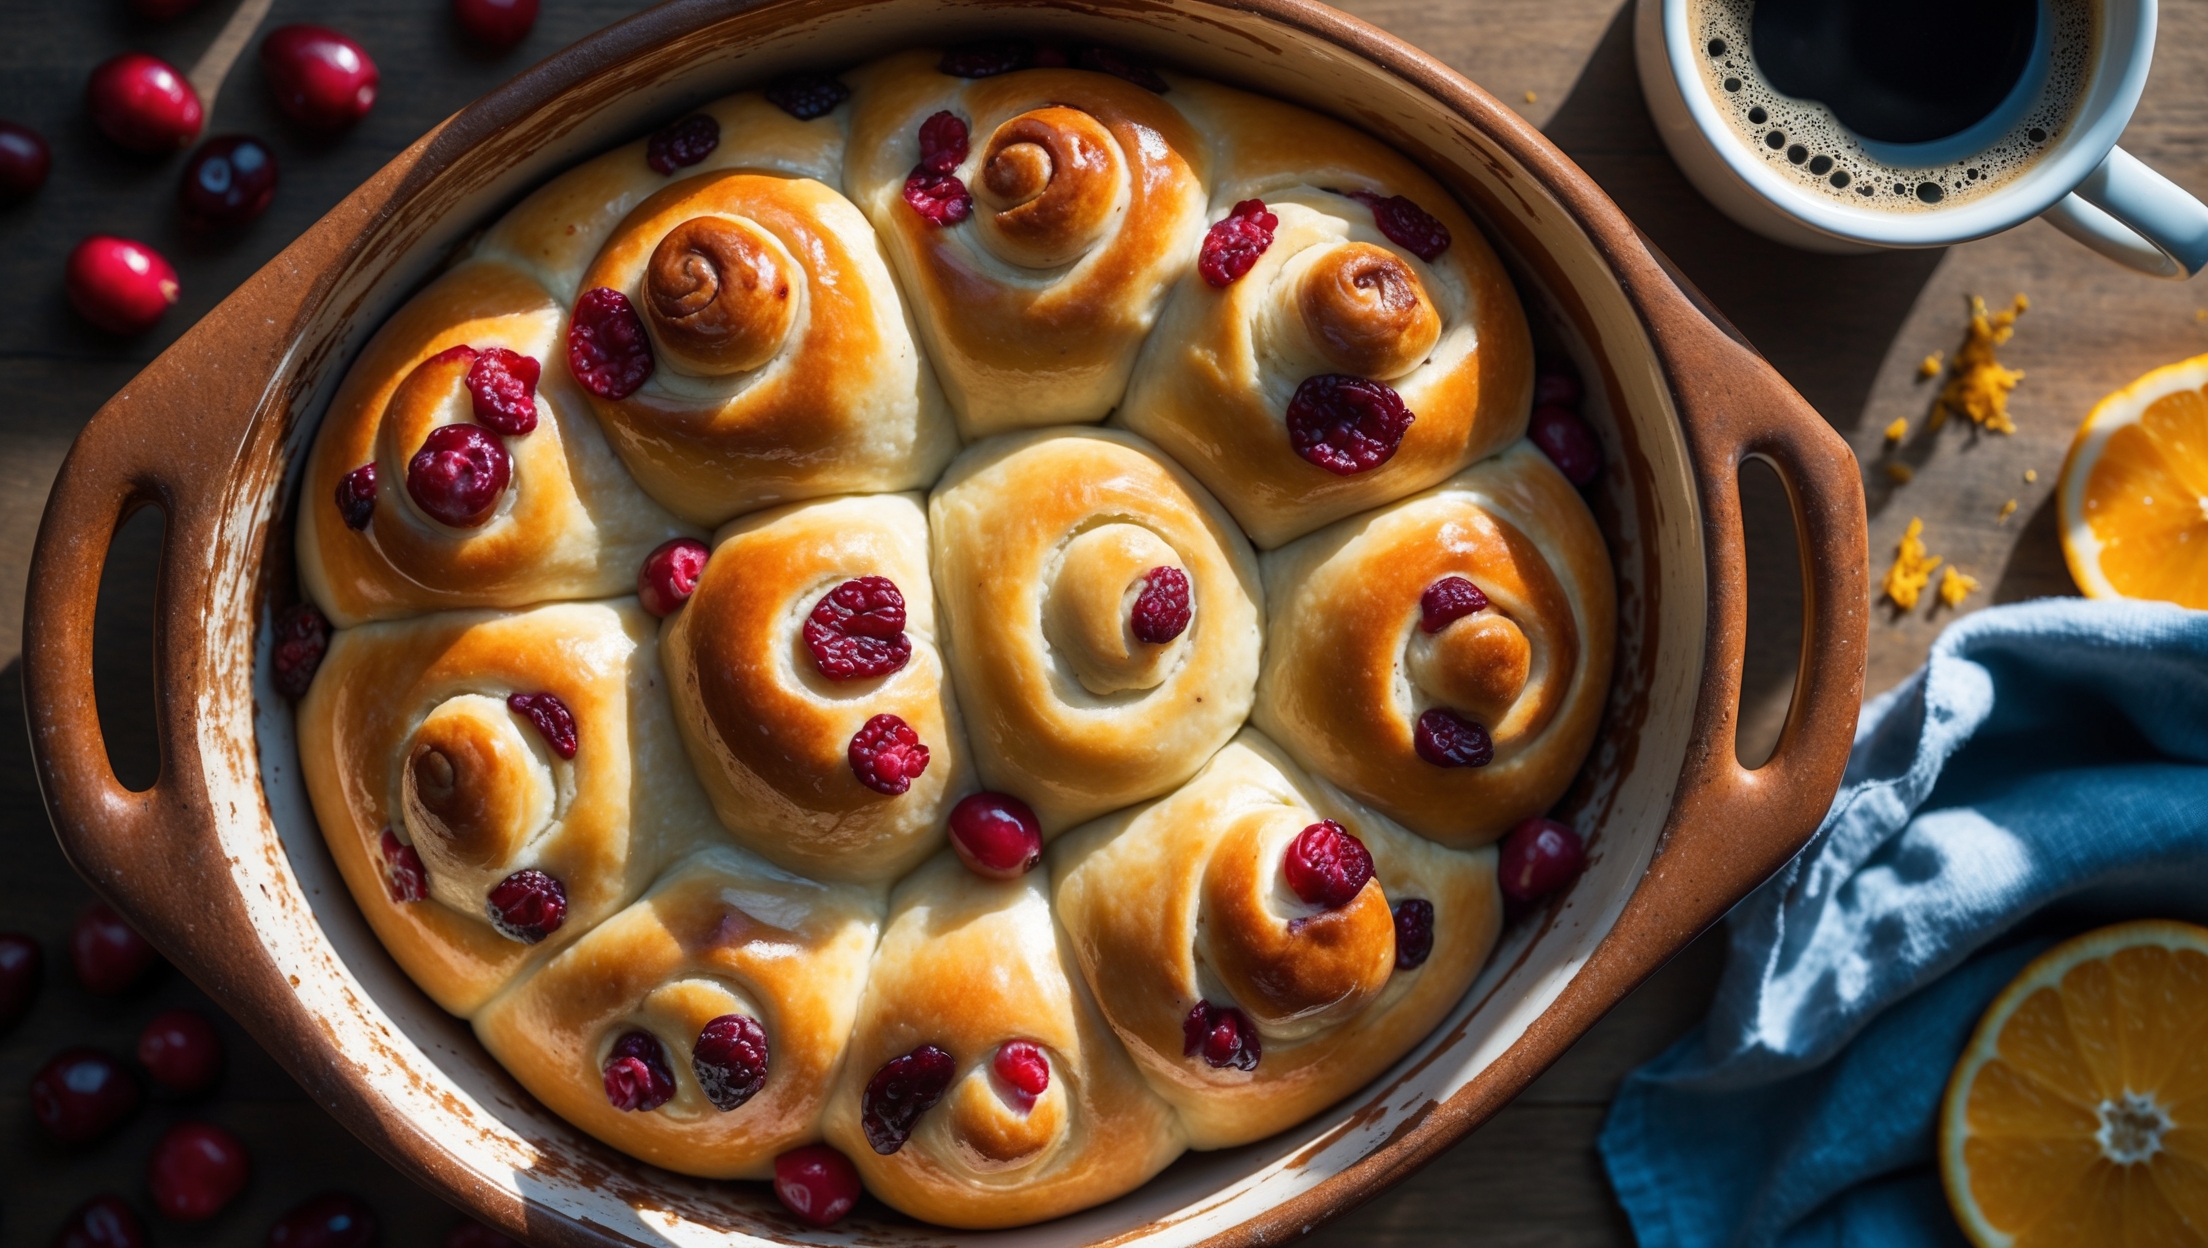
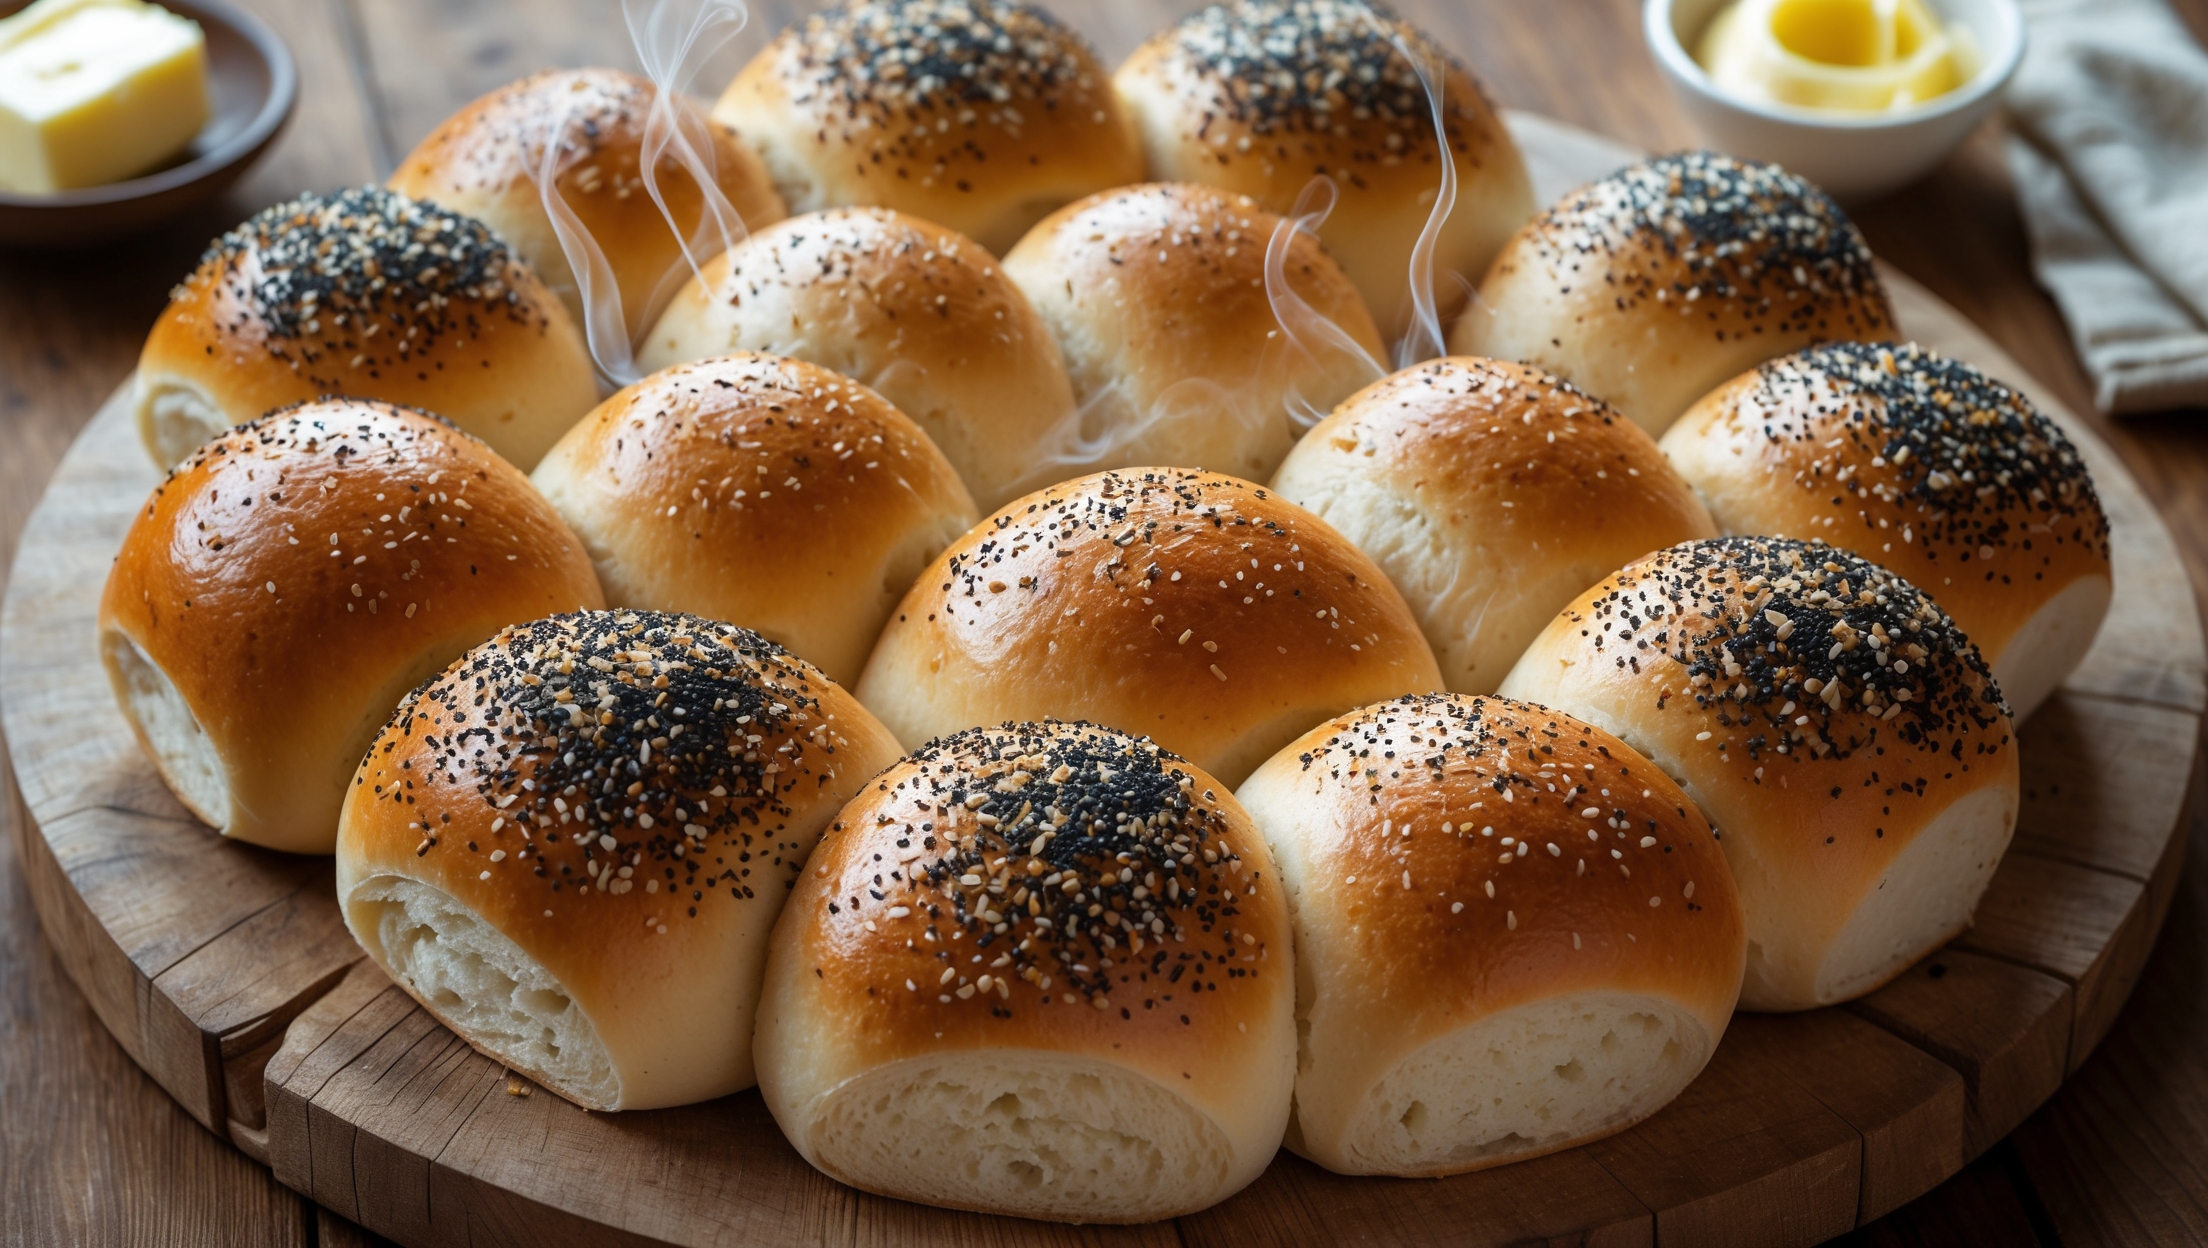
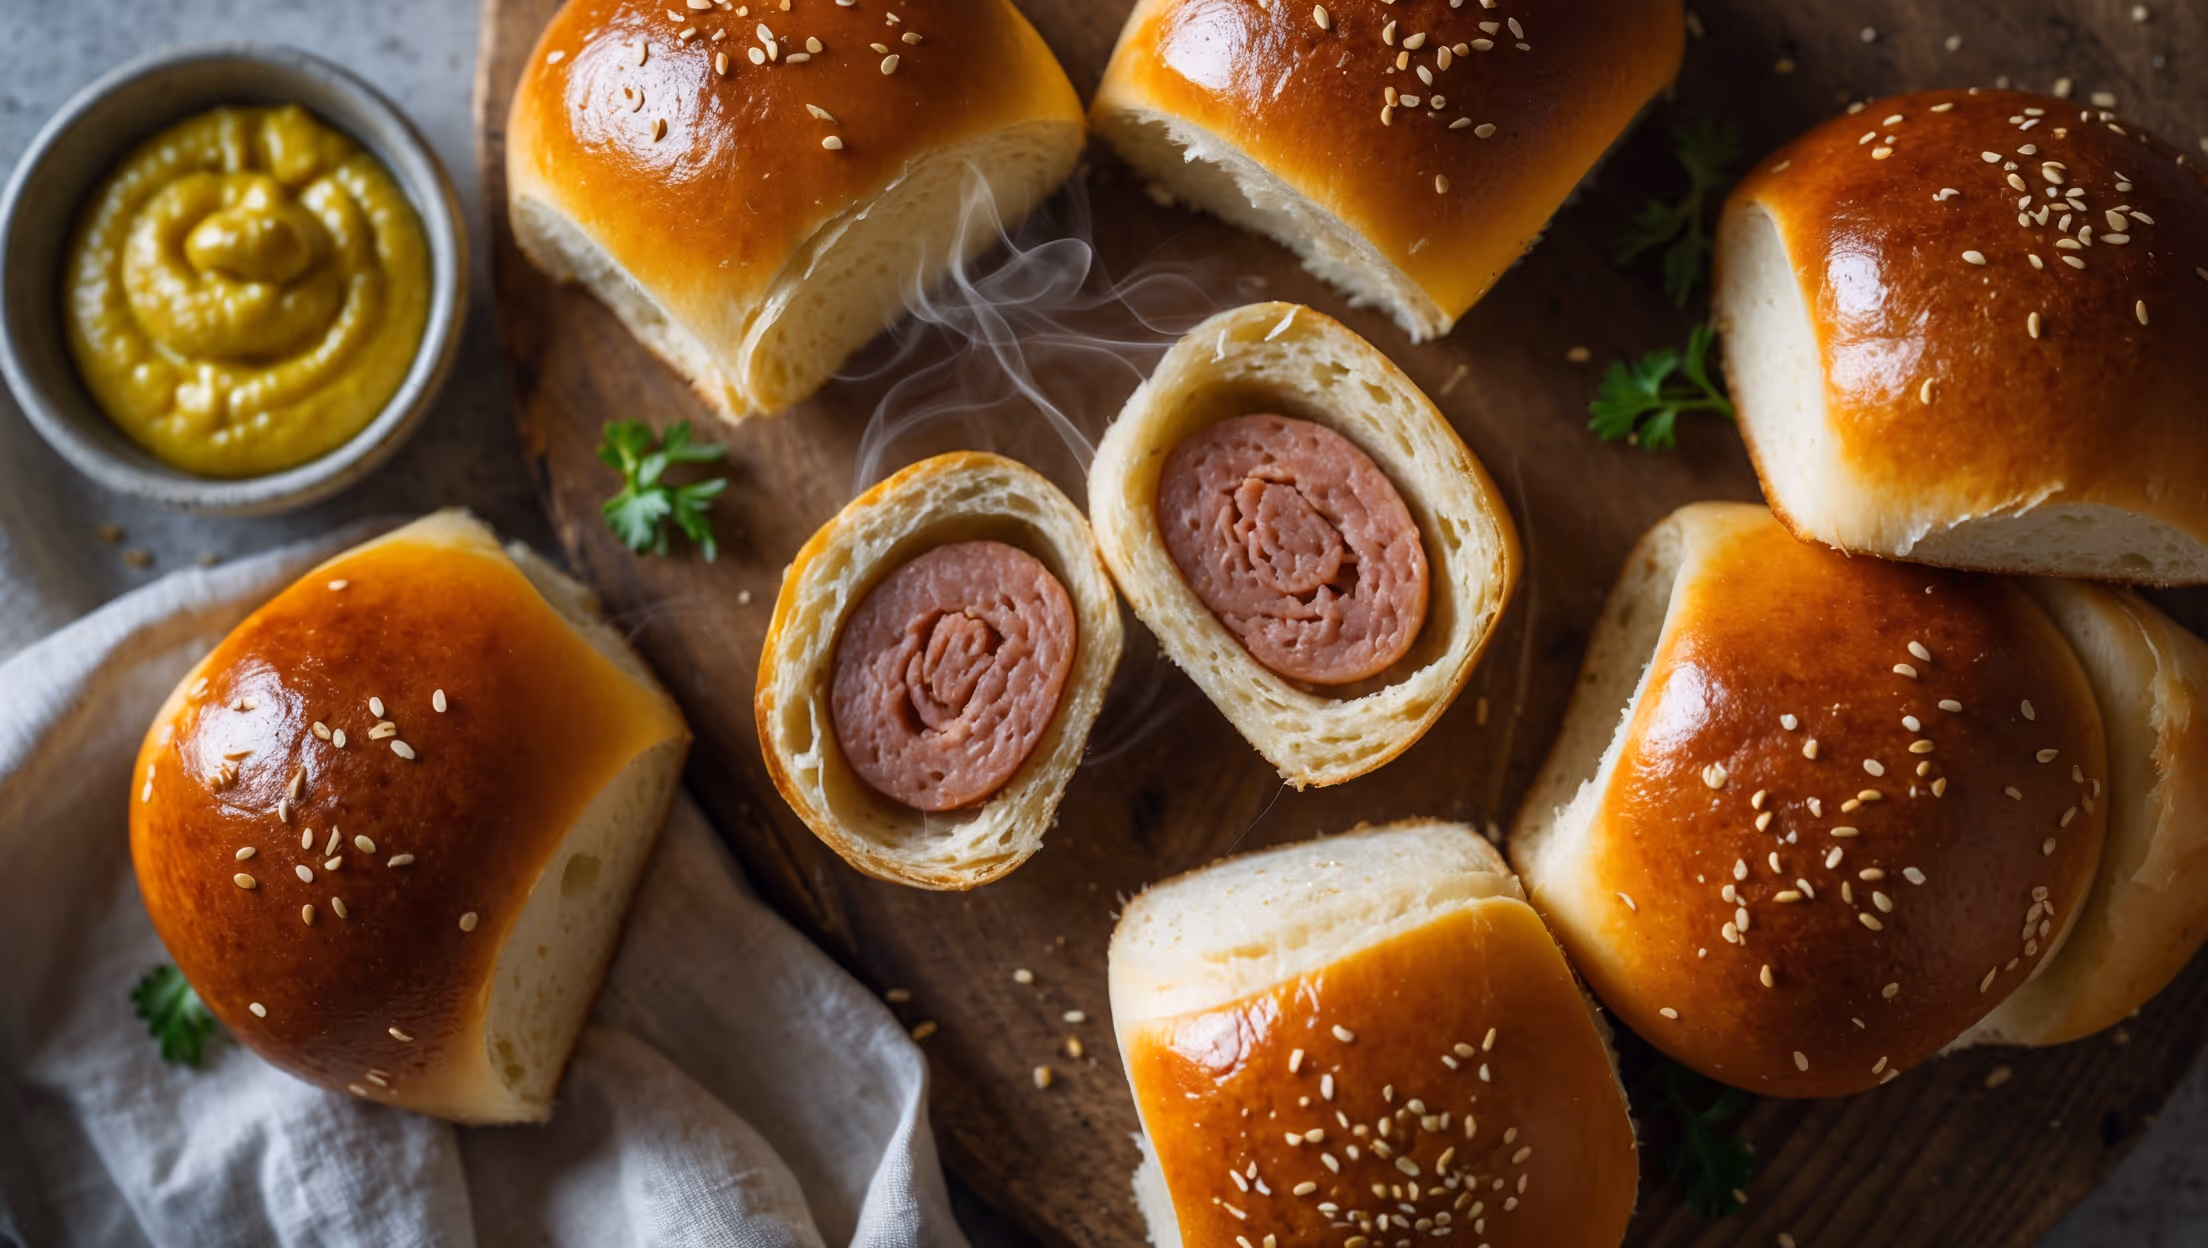
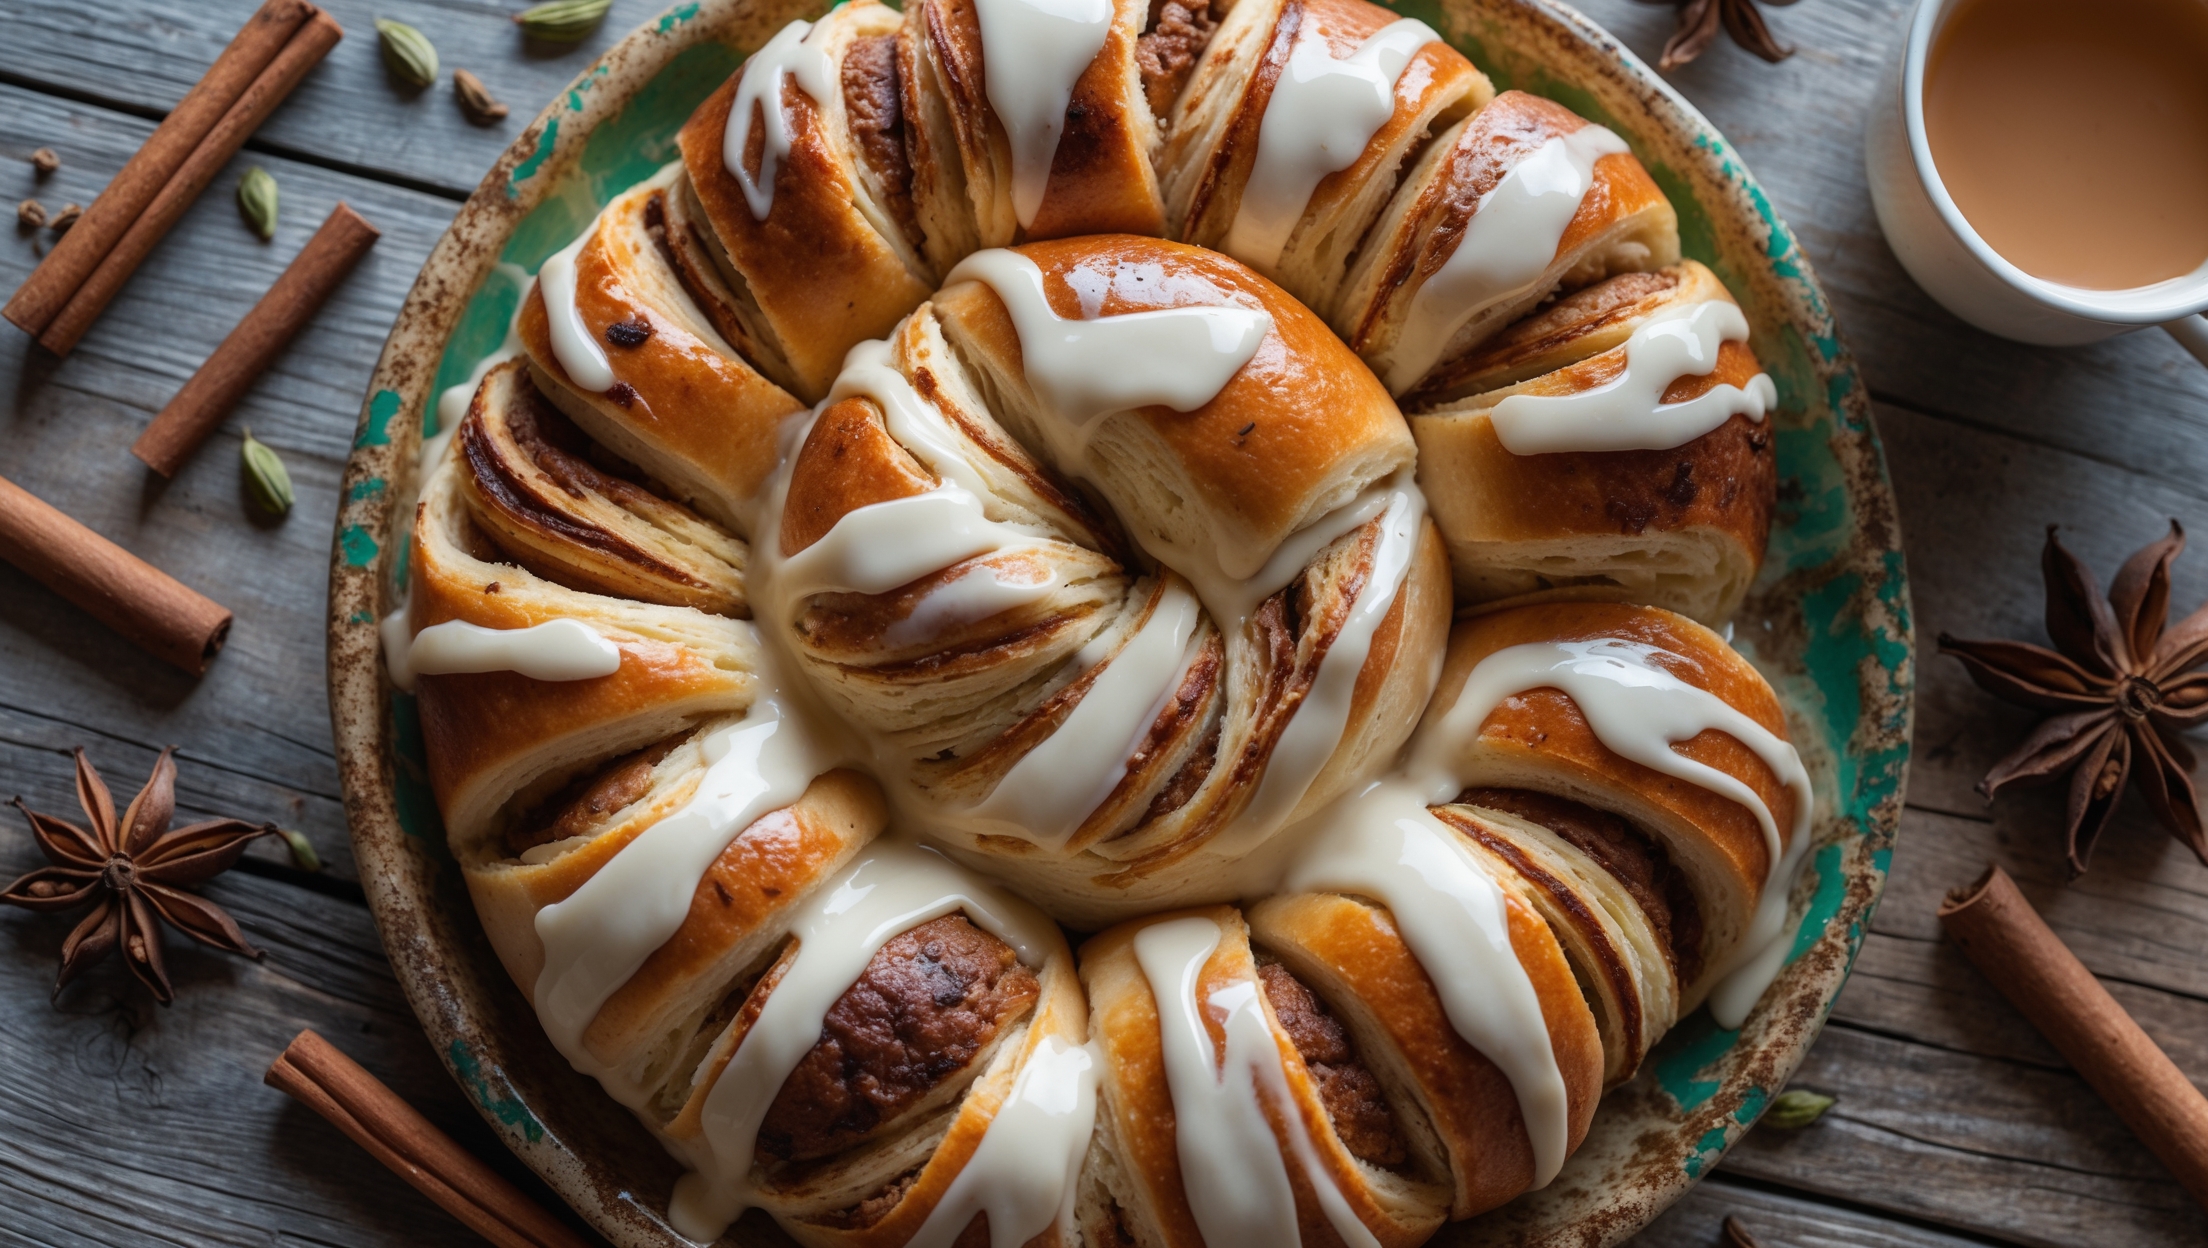
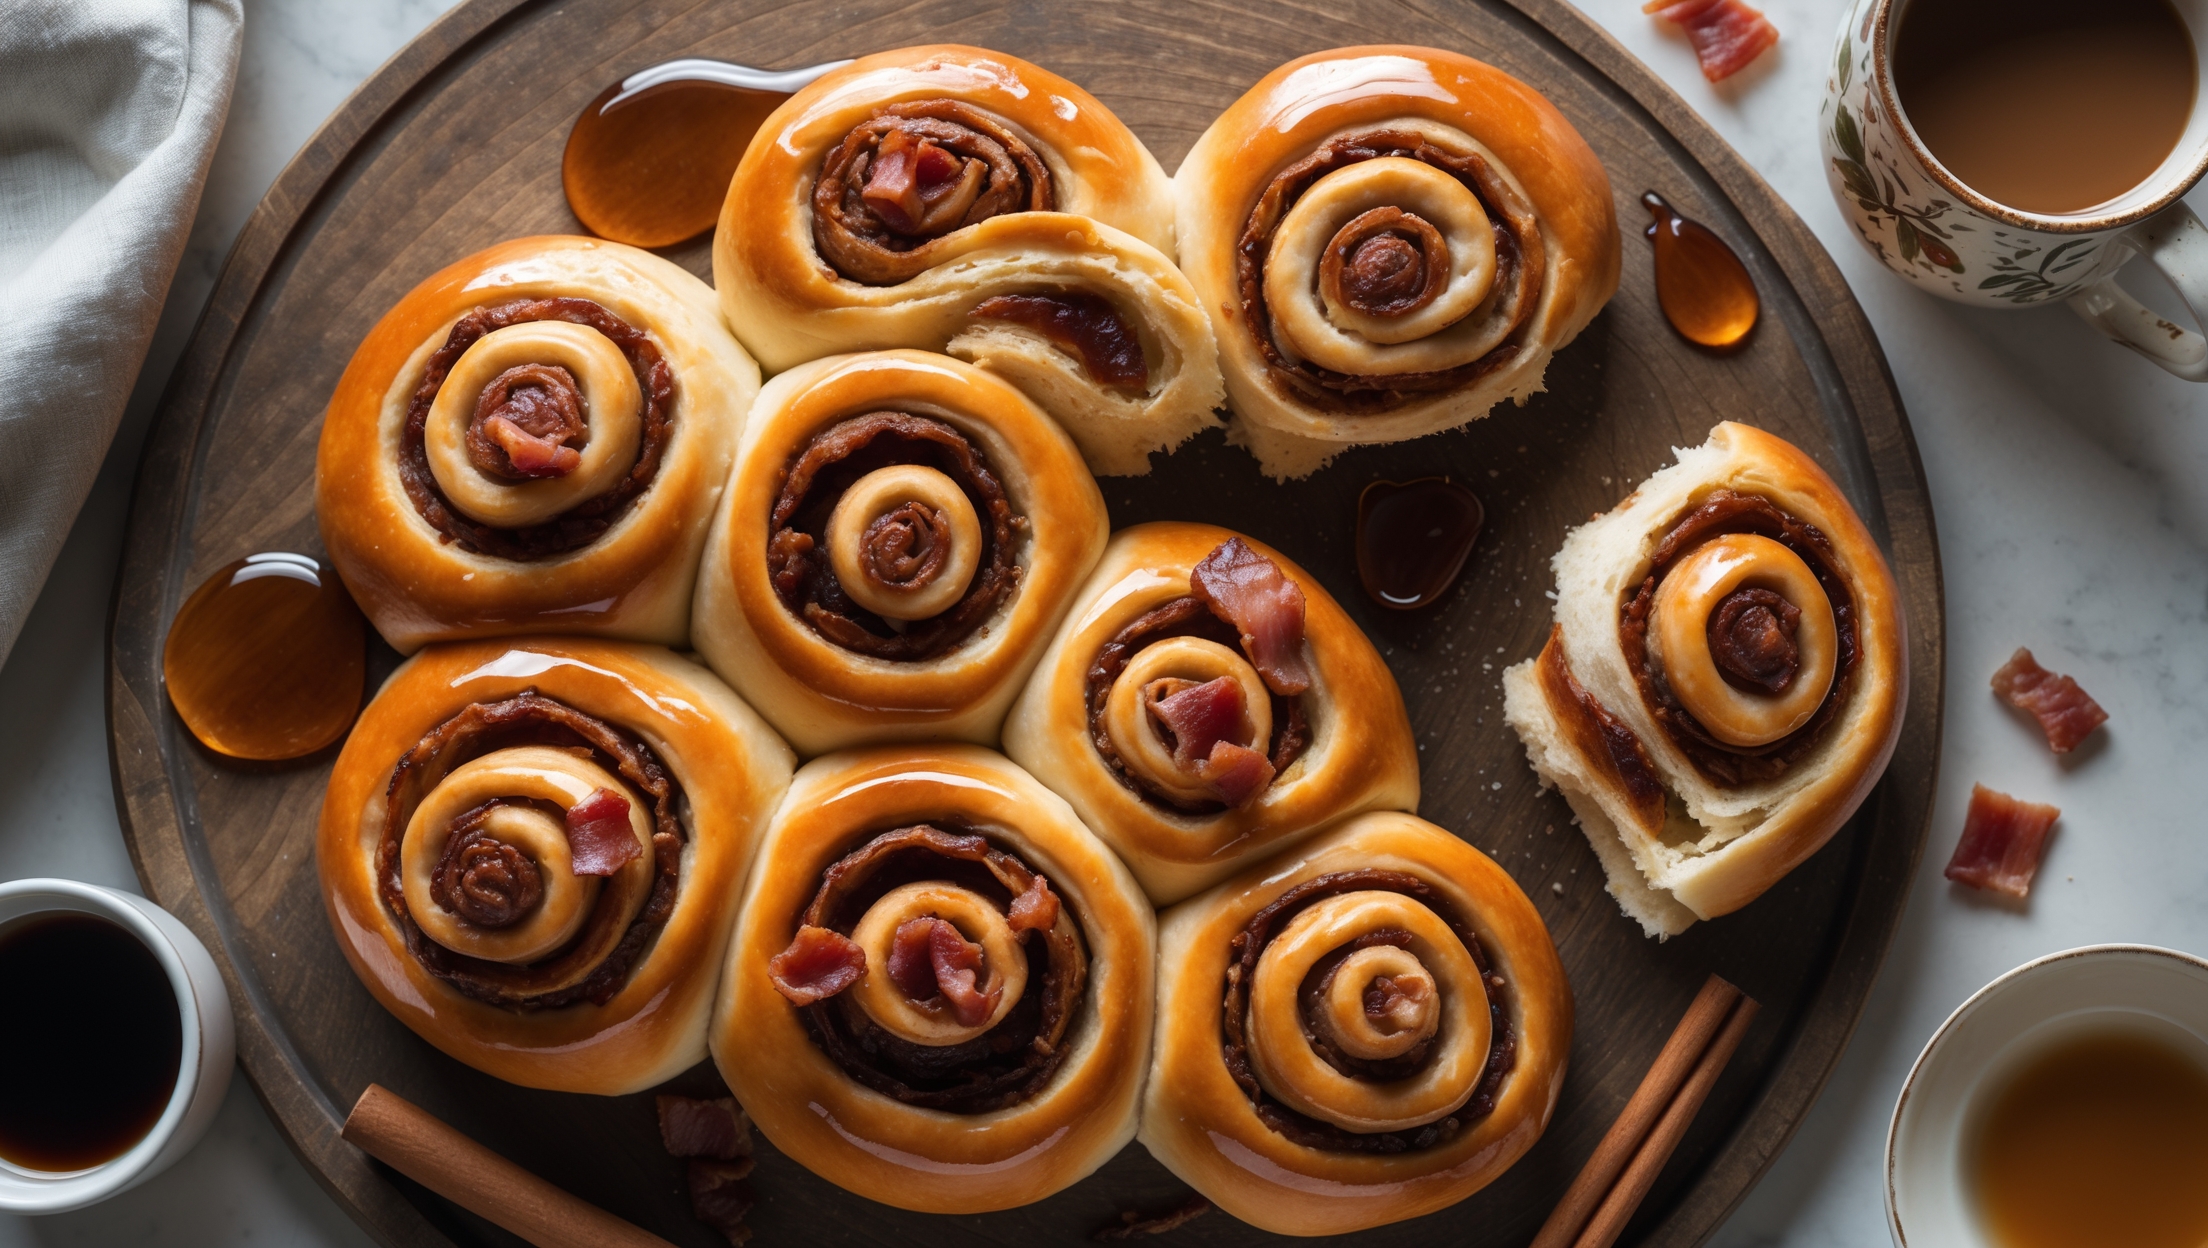
Rolls and Buns
Try following recommended recipes