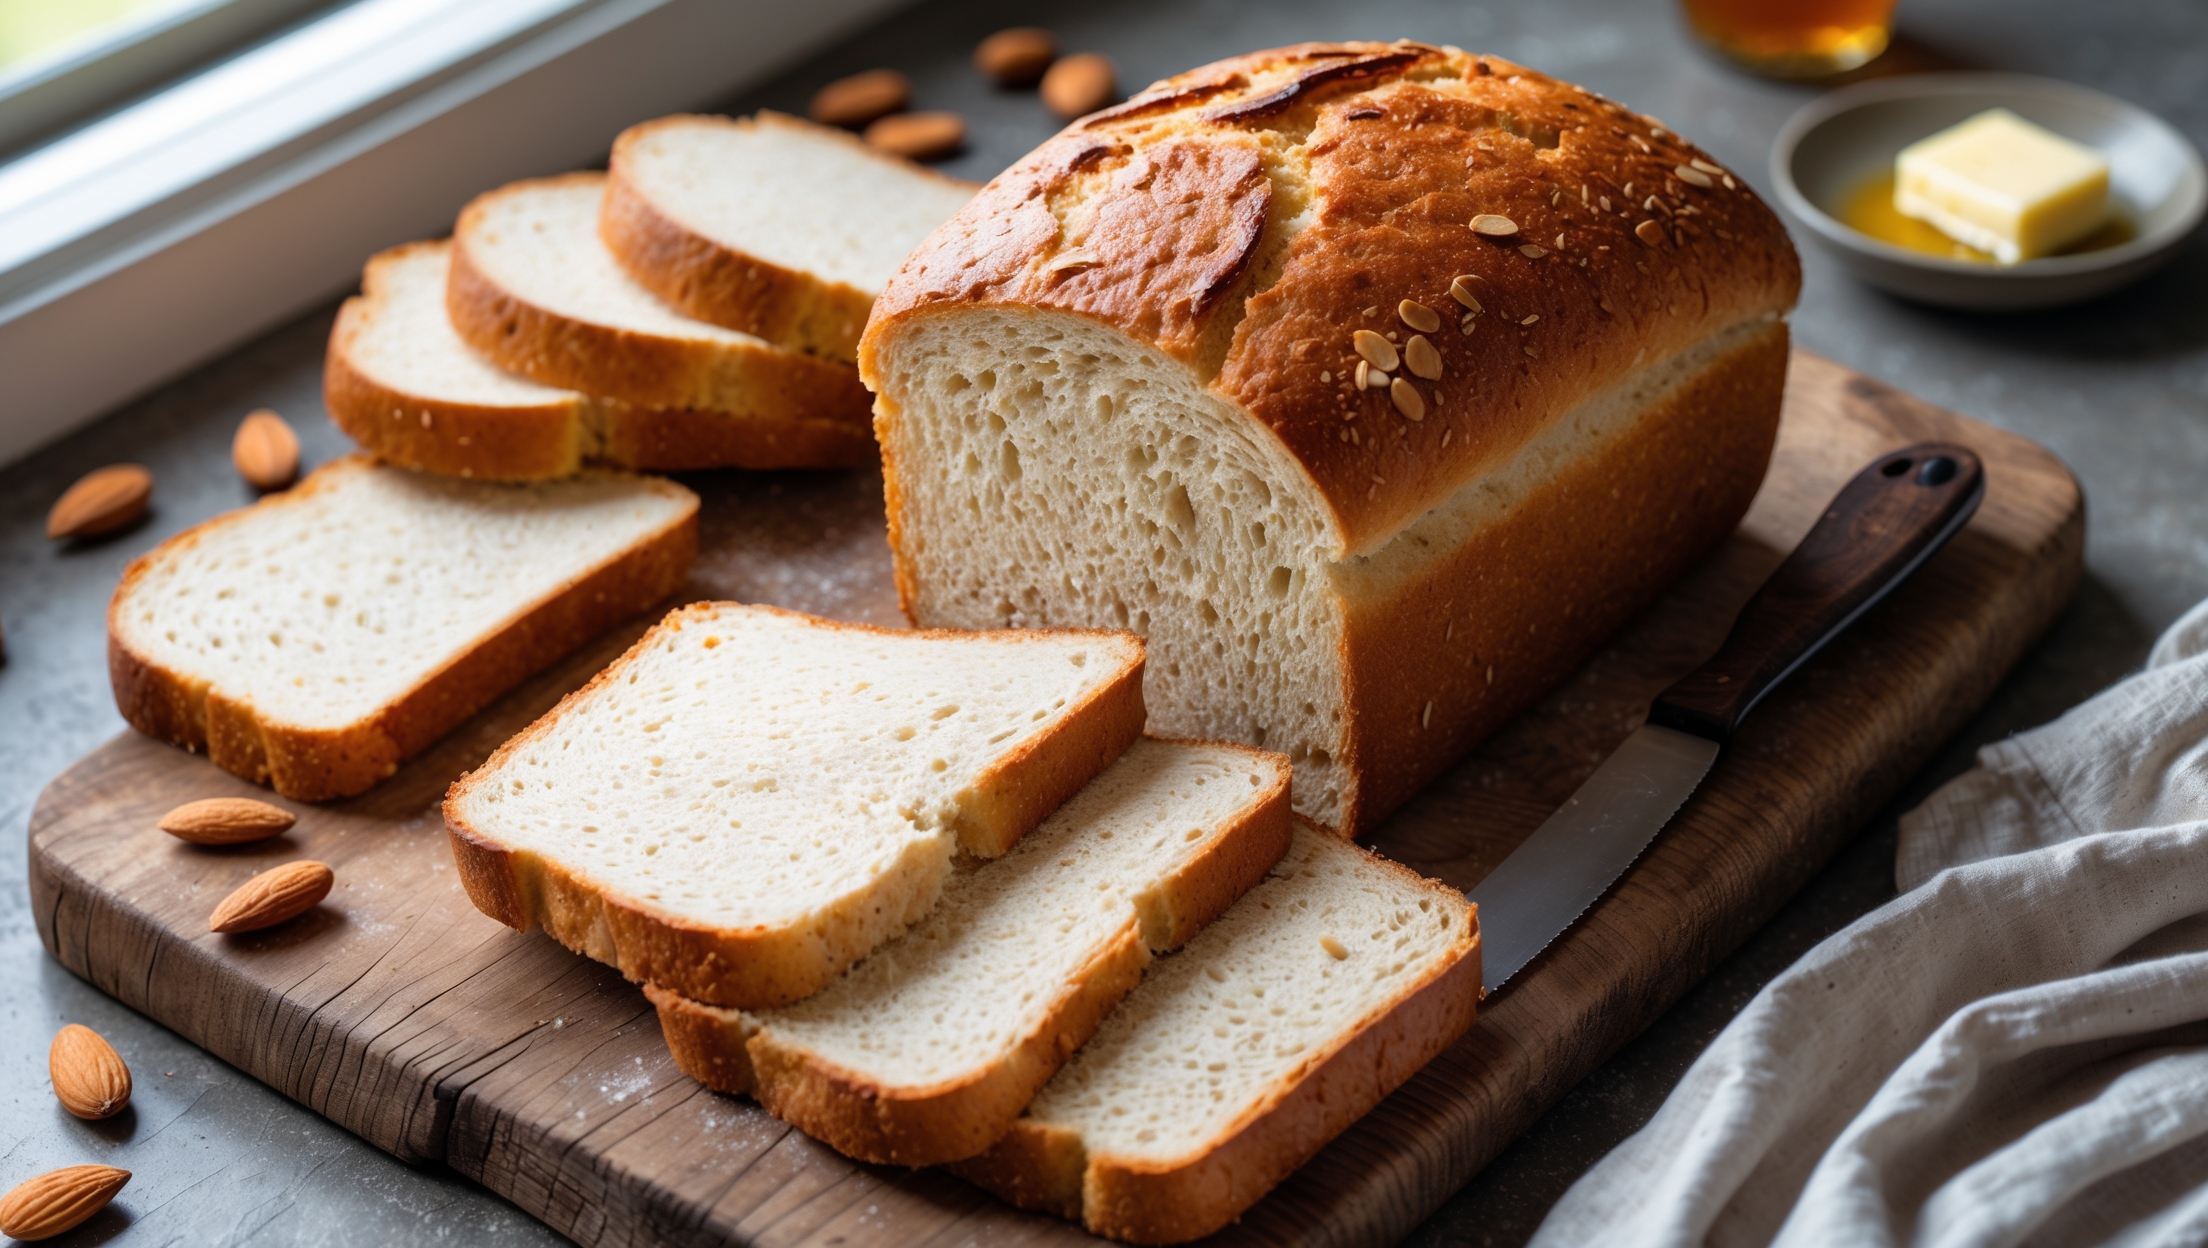
Classic White Sandwich Bread Recipe

Ingredients
Equipment
Directions
FAQs
Find answers to your most pressing questions about this delicious recipe right here.
This homemade bread requires bread flour (strong white flour), instant dry yeast, salt, sugar, softened unsalted butter, lukewarm water, and vegetable oil for greasing. These simple pantry staples combine to create a perfectly soft, golden loaf with a tender crumb.
Learn how to cook Classic White Sandwich Bread by mixing dry ingredients, incorporating butter and water, kneading until elastic, letting it rise twice, shaping into a loaf, and baking at 200°C for 30-35 minutes until golden. The key steps include proper kneading, patient proofing, and ensuring the bread reaches 90-95°C internally before cooling completely.
Dense bread usually results from insufficient kneading (underdeveloped gluten), insufficient rising time, or incorrect water temperature affecting yeast activation. Other culprits include using expired yeast, adding too much flour during kneading, or not allowing proper proofing in a warm environment.
Absolutely! While a stand mixer makes the process easier, you can achieve excellent results kneading by hand. Simply mix ingredients in a bowl until combined, then knead on a lightly floured surface for 10-12 minutes until smooth and elastic. The tactile experience can actually help you better feel when the dough is ready.
For maximum freshness, allow bread to cool completely before storing in an airtight container or bread bag at room temperature (3 days max). For longer storage, slice the entire loaf and freeze with parchment paper between slices. Frozen bread toasts beautifully straight from the freezer and lasts up to 3 months.
Sandwich Bread
Try following recommended recipes