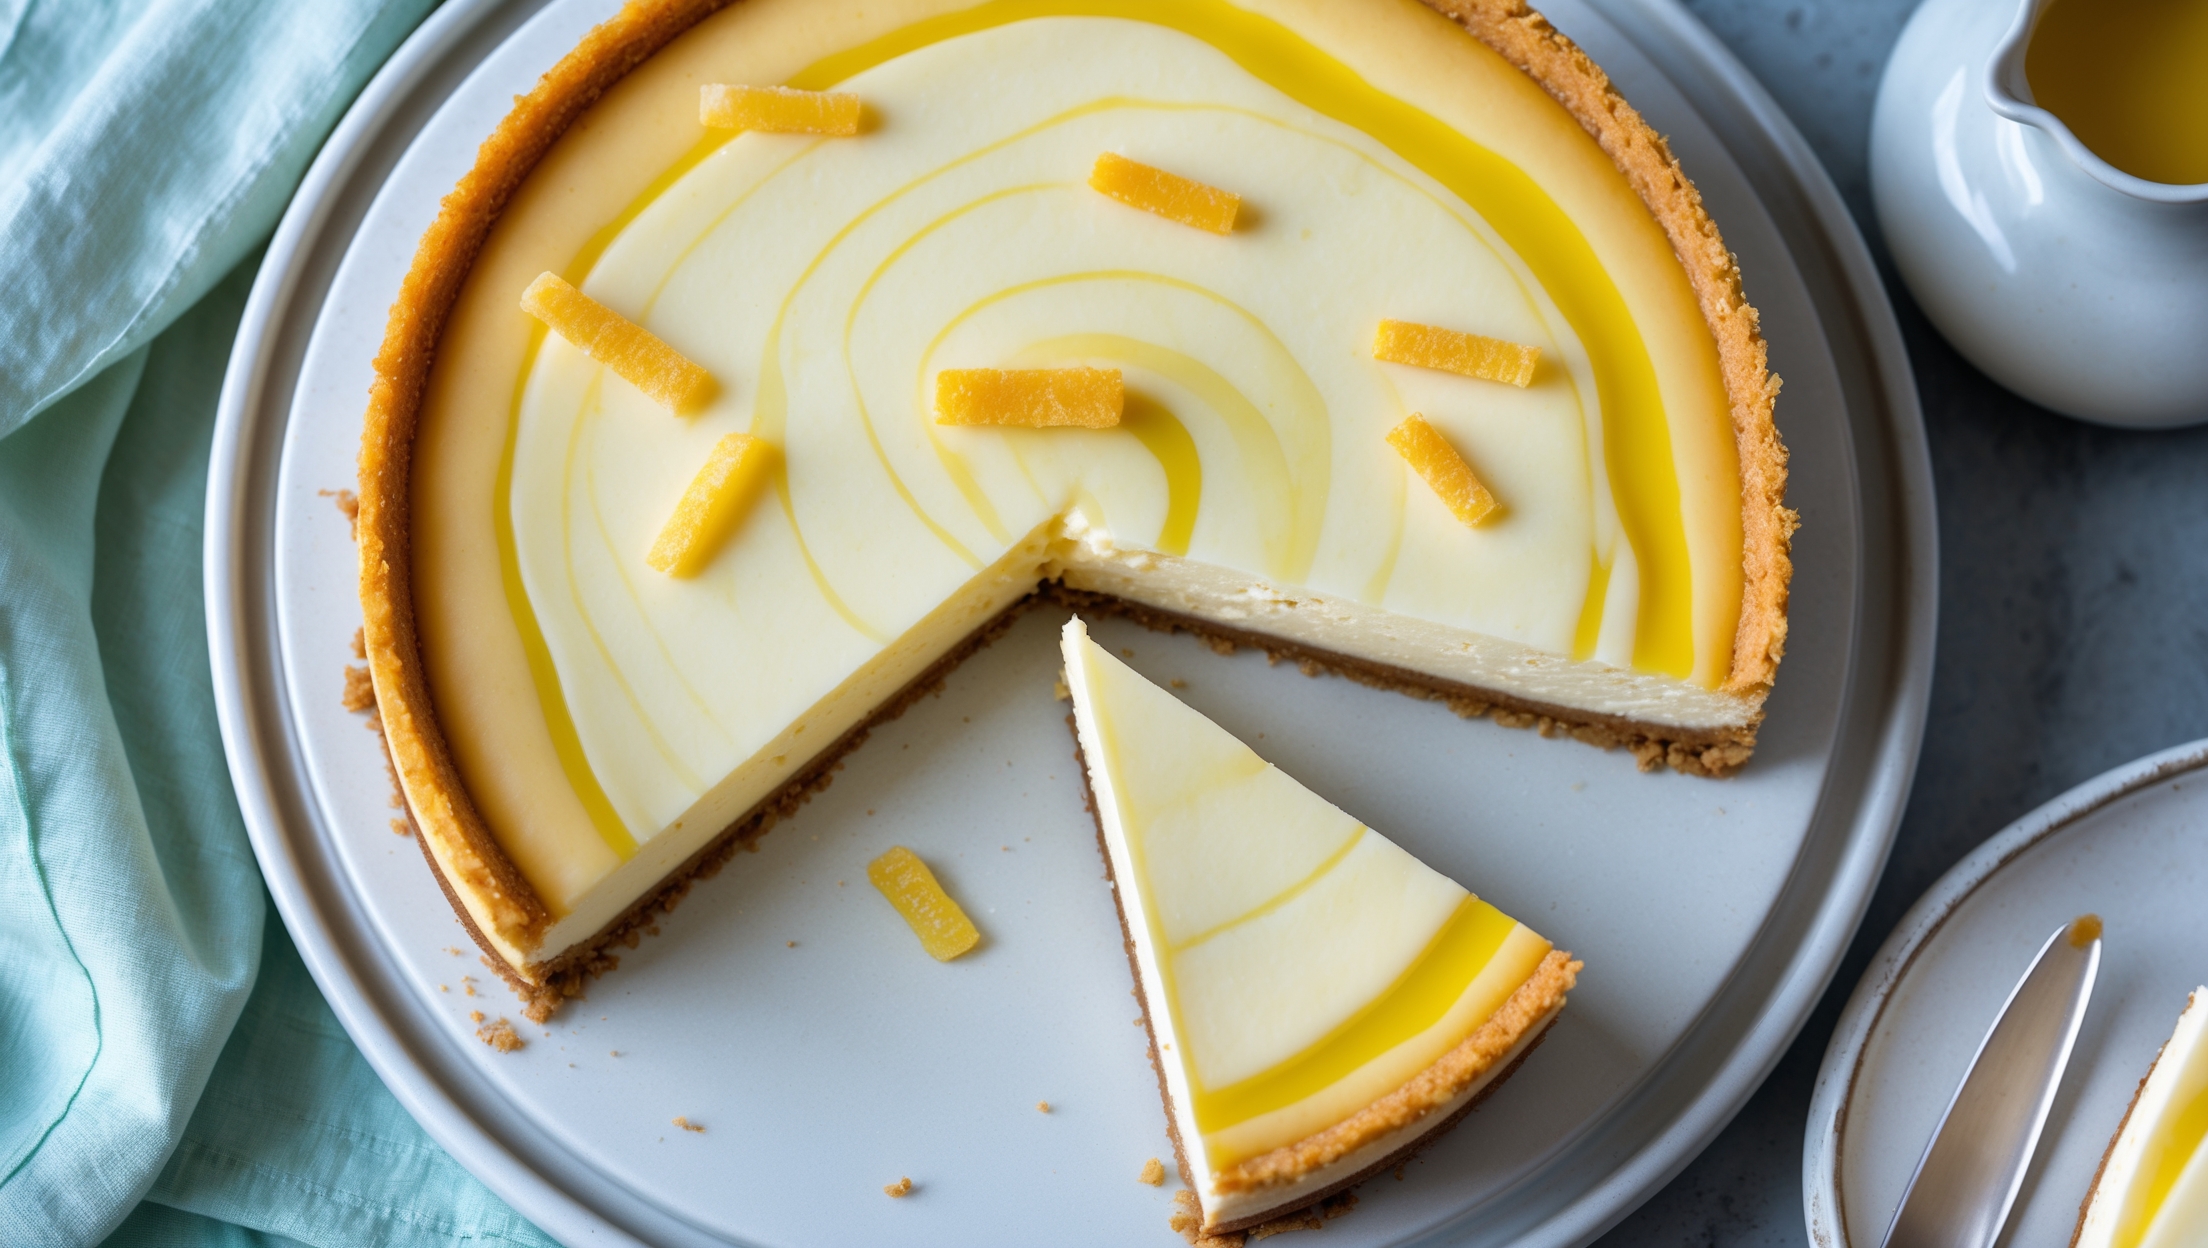
Classic New York Cheesecake Recipe
Ingredients
Equipment
Directions
FAQs
Find answers to your most pressing questions about this delicious recipe right here.
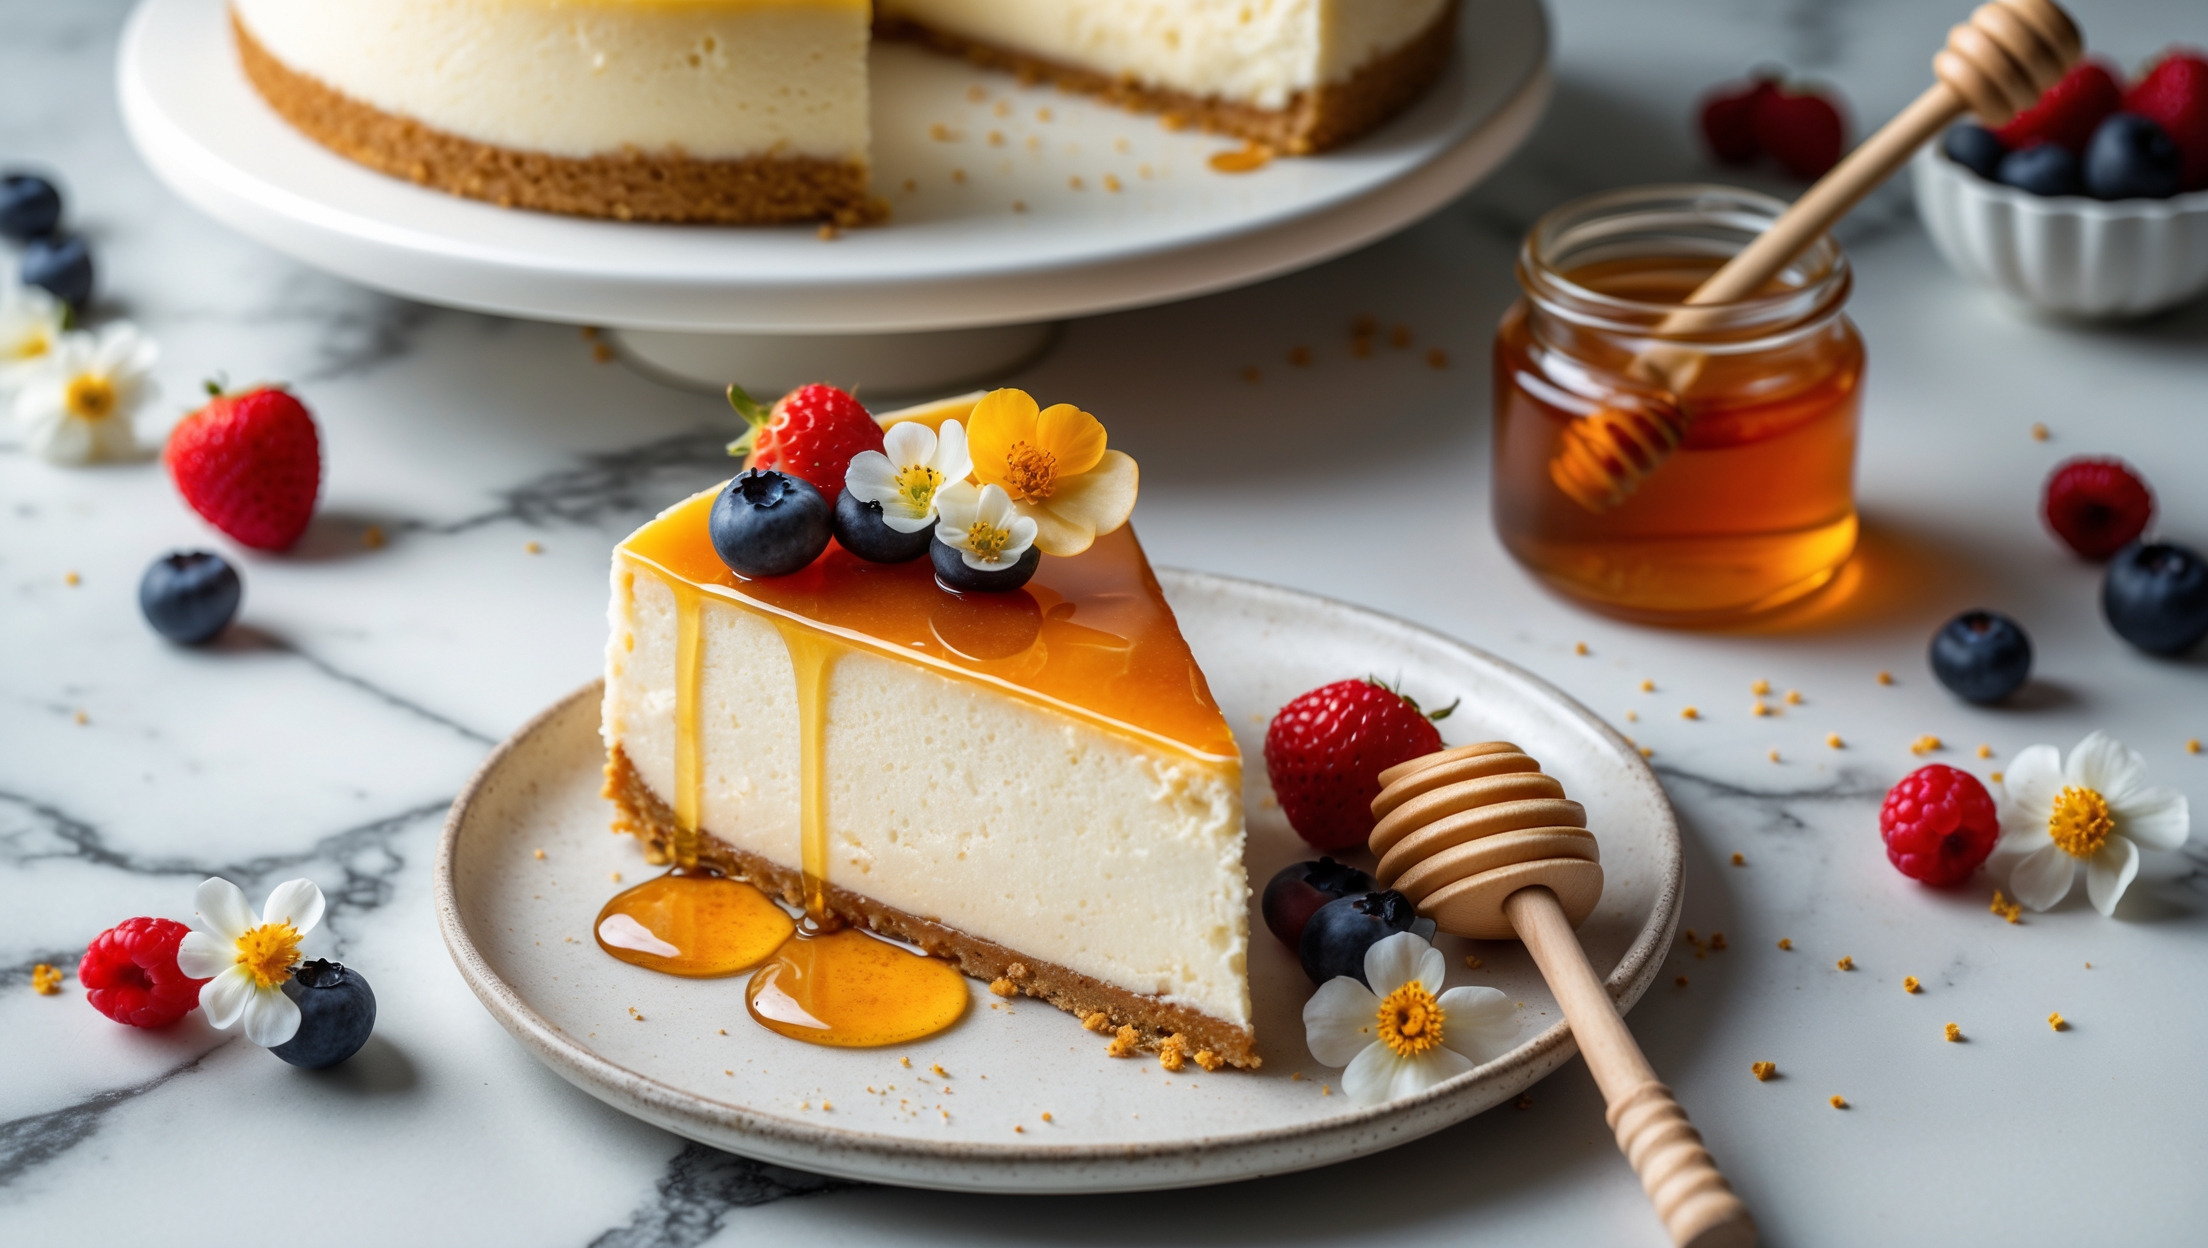
The key ingredients include full-fat cream cheese, eggs, sour cream, sugar, and a graham cracker crust. The addition of a small amount of flour, vanilla extract, lemon zest and juice gives it that authentic New York taste and dense-yet-creamy texture.
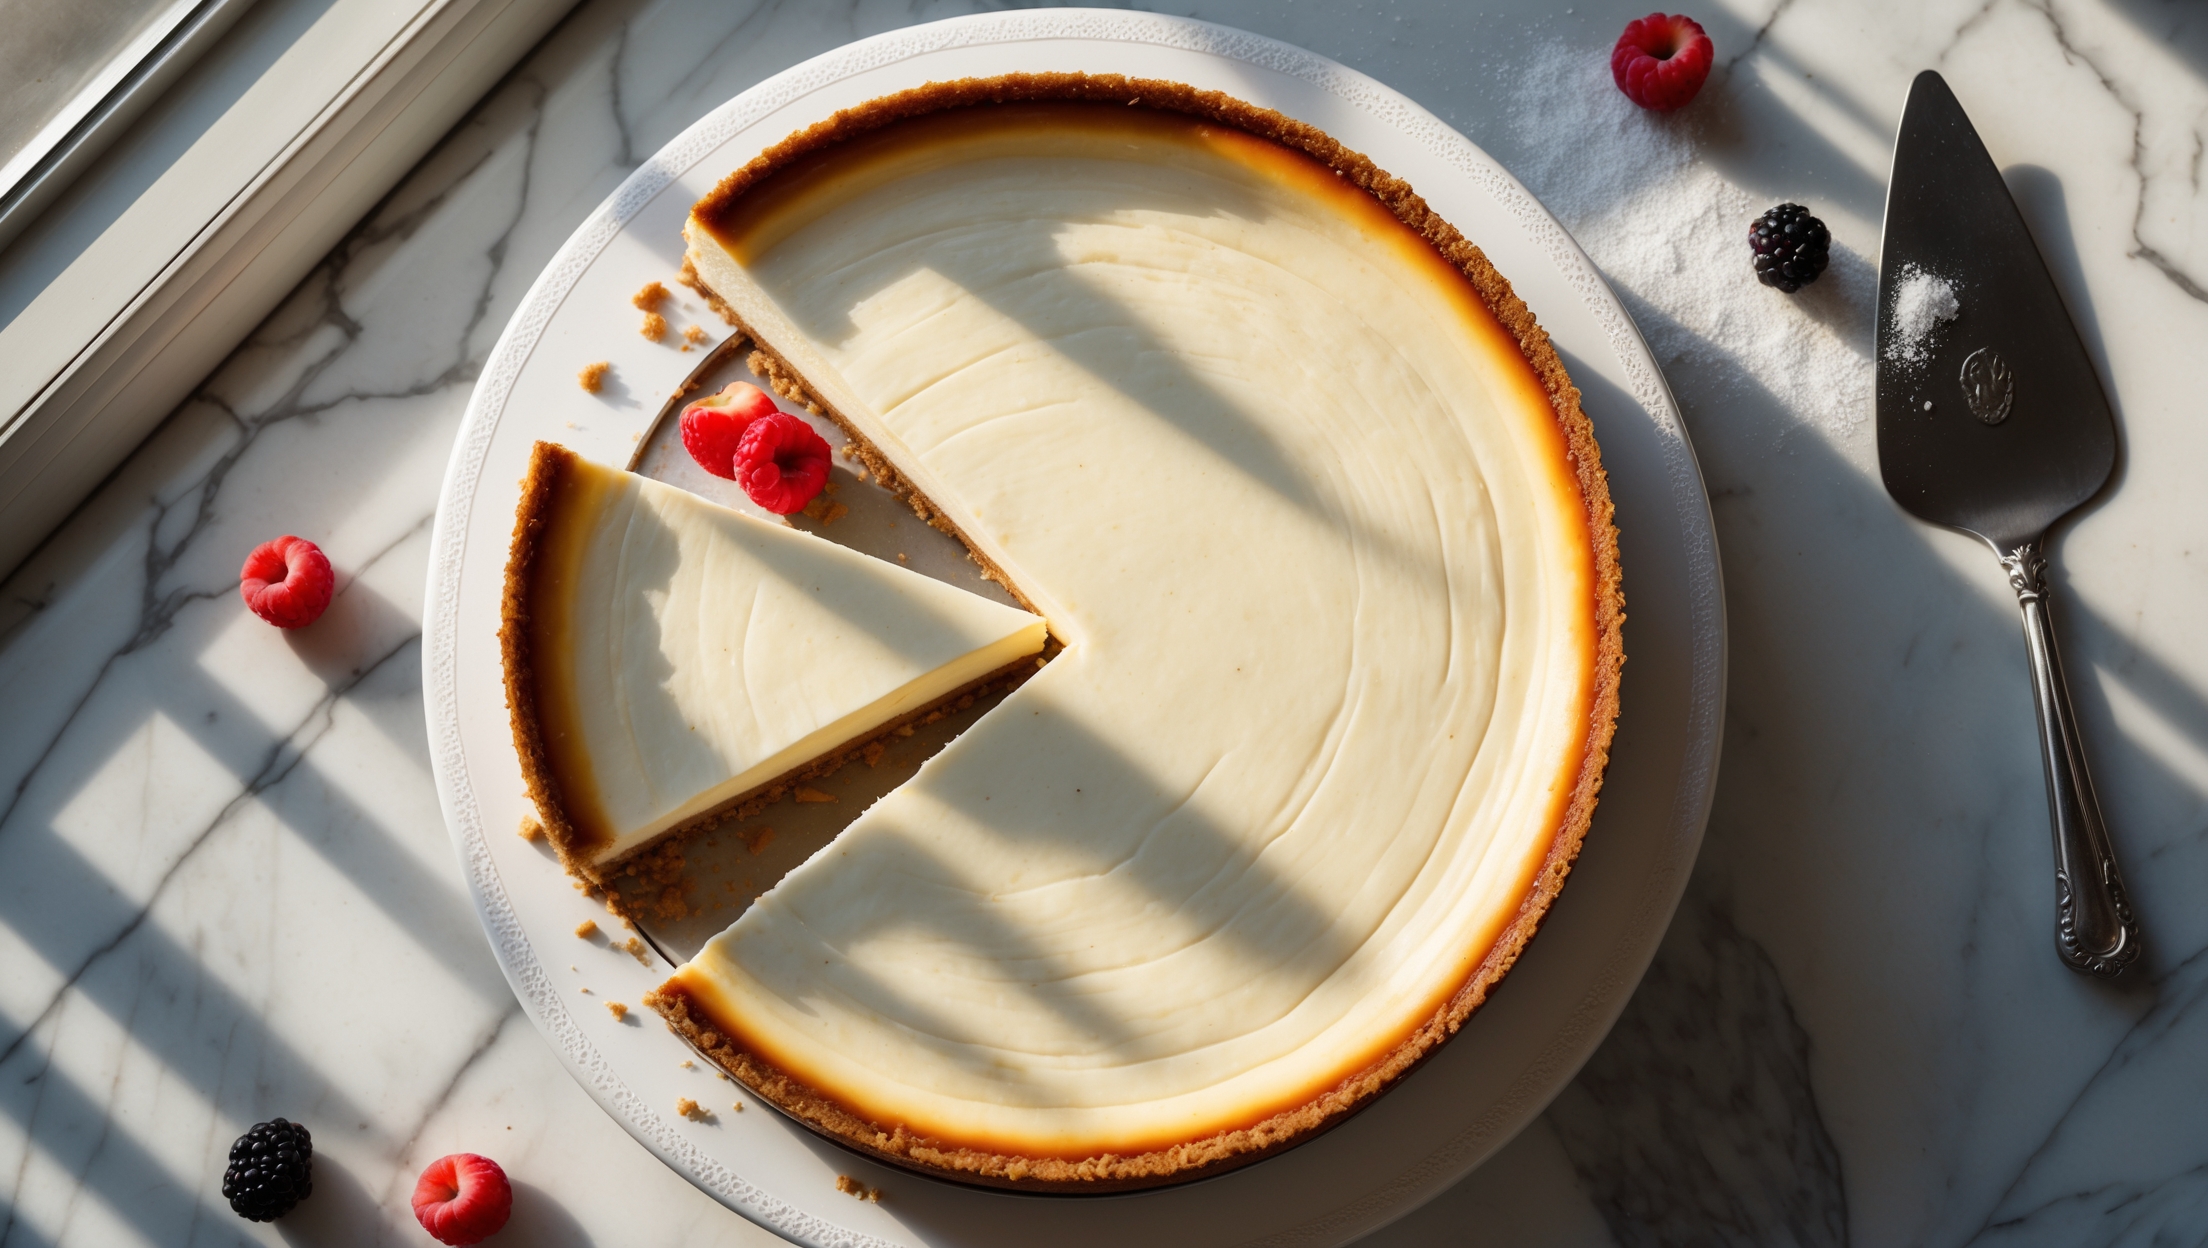
Learn how to cook Classic New York Cheesecake by mastering the water bath technique, which involves wrapping your springform pan in foil and placing it in a larger pan filled with hot water. Bake at a low temperature (150°C), cool gradually in the oven with the door cracked open, then refrigerate overnight for that perfect creamy texture without cracks.
A water bath creates a humid environment in the oven that allows the cheesecake to bake gently and evenly. This gentle cooking method prevents the edges from cooking too quickly, reduces the risk of cracks, and helps achieve that signature silky-smooth texture that melts in your mouth.
Prevent cracks by bringing ingredients to room temperature, avoiding overmixing, using a water bath, baking at a low temperature, and cooling gradually. Don't open the oven door during baking, and when finished, turn off the heat and let the cheesecake cool slowly in the oven with the door cracked.
Allow your cheesecake to cool gradually—first in the turned-off oven with the door cracked for about an hour, then at room temperature for another 1-2 hours. This slow cooling process prevents the dramatic temperature change that can cause cracks before refrigerating overnight.
Cheesecakes
Try following recommended recipes