Chocolate Sandwich Cookies Recipe

Rich, chocolatey cookie pairs embrace velvety sweet filling for a blissful homemade treat that rivals any store-bought favorite.
Difficulty:
Beginner
Prep Time:
30 mins
Cook Time:
12 mins
Serves:
24 sandwich cookies
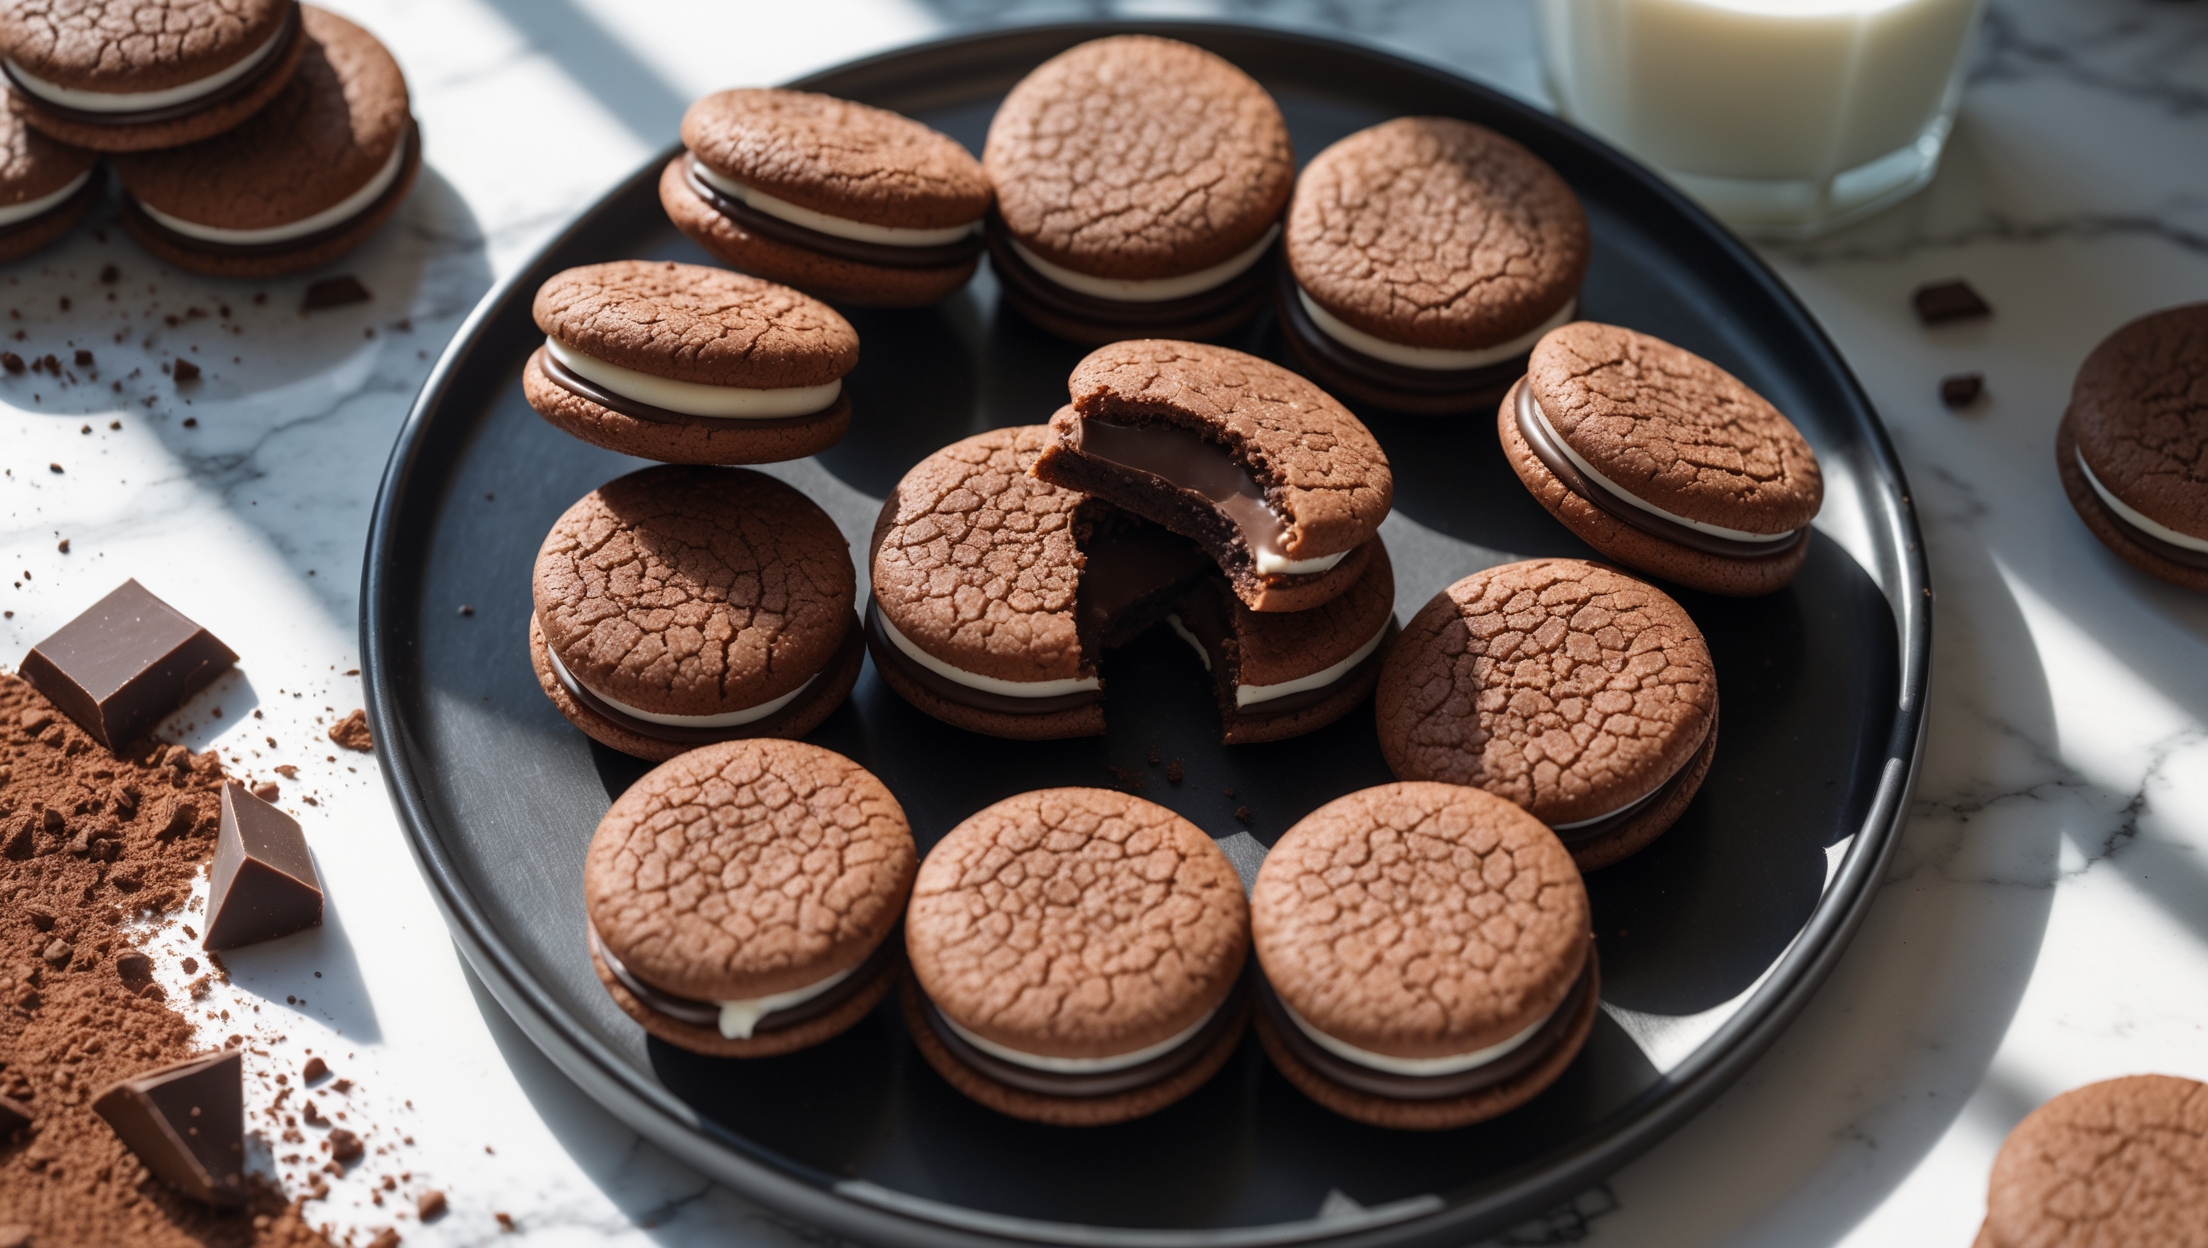
An overhead shot of perfectly round chocolate sandwich cookies arranged in a spiral pattern on a matte black ceramic plate, with one cookie broken in half revealing the contrasting creamy white filling. Shot in soft natural light that accentuates the cookies' slight sheen and deep chocolate color. In the background, out-of-focus elements include a vintage milk bottle with a metal straw, scattered cocoa powder, and fresh chocolate chunks. A close-up captures the textural details - slightly crackled cookie surfaces with a tender crumb and the smooth, pristine filling that peeks out between the chocolate layers.

Ingredients

<ul class="ingredients-main-list"><li class="ingredients-single-item">200g all-purpose flour</li><li class="ingredients-single-item">75g unsweetened cocoa powder</li><li class="ingredients-single-item">1/2 tsp baking soda</li><li class="ingredients-single-item">1/4 tsp baking powder</li><li class="ingredients-single-item">1/4 tsp salt</li><li class="ingredients-single-item">170g unsalted butter, softened</li><li class="ingredients-single-item">150g granulated sugar</li><li class="ingredients-single-item">1 large egg, room temperature</li><li class="ingredients-single-item">1 tsp vanilla extract</li><li class="ingredients-single-item">For the filling:</li><li class="ingredients-single-item">115g unsalted butter, softened</li><li class="ingredients-single-item">240g powdered sugar, sifted</li><li class="ingredients-single-item">1 tsp vanilla extract</li><li class="ingredients-single-item">1-2 tbsp heavy cream</li><li class="ingredients-single-item">Pinch of salt</li></ul>

Equipment

<ul class="equipment-main-list"><li class="equipment-single-item">Stand mixer or electric hand mixer</li><li class="equipment-single-item">Baking sheets</li><li class="equipment-single-item">Parchment paper or silicone baking mats</li><li class="equipment-single-item">5cm (2-inch) round cookie cutter</li><li class="equipment-single-item">Piping bag with round tip (optional)</li></ul>
BAKE SMARTER

Kitchen Converter

Quickly switch between common baking units without leaving the recipe.

Convert
Result—

Volume uses US cups, tablespoons, and teaspoons. Converting weight to volume depends on the ingredient.

Directions

<ol class="no-list-style"><li class="MethodStepper"><h4 class="step-title">Step 1</h4>In a medium bowl, whisk together the flour, cocoa powder, baking soda, baking powder, and salt. This pre-mixing ensures even distribution of leavening agents for consistent texture throughout your cookies.</li><li class="MethodStepper"><h4 class="step-title">Step 2</h4>In a stand mixer fitted with the paddle attachment (or using a hand mixer), cream together the butter and sugar on medium speed for 3-4 minutes until light and fluffy. This incorporates air into the mixture, creating a more tender cookie texture.</li><li class="MethodStepper"><h4 class="step-title">Step 3</h4>Add the egg and vanilla extract to your butter mixture, beating until fully incorporated and smooth, about 1 minute. Scrape down the sides of the bowl to ensure everything mixes evenly.</li><li class="MethodStepper"><h4 class="step-title">Step 4</h4>With the mixer on low speed, gradually add the dry ingredients to the wet ingredients, mixing just until the dough comes together. Be careful not to overmix - this can develop the gluten in the flour, resulting in tough cookies instead of the tender, crisp texture we're aiming for.</li><li class="MethodStepper"><h4 class="step-title">Step 5</h4>Divide the dough into two equal portions and shape each into a flat disk. Wrap in plastic wrap and refrigerate for at least 1 hour or up to 2 days. Chilling relaxes the gluten and firms the butter, preventing spread during baking.</li><li class="MethodStepper"><h4 class="step-title">Step 6</h4>When ready to bake, preheat your oven to 180°C (350°F) and line baking sheets with parchment paper or silicone baking mats.</li><li class="MethodStepper"><h4 class="step-title">Step 7</h4>On a lightly floured surface, roll out one portion of dough to approximately 3mm (1/8 inch) thickness. The thinness is key for a crisp cookie that mimics classic sandwich cookies. Use your cookie cutter to cut out rounds, rerolling scraps as needed.</li><li class="MethodStepper"><h4 class="step-title">Step 8</h4>Transfer the cut cookies to prepared baking sheets, spacing them about 2cm apart. These cookies won't spread much, but they still need room to bake evenly. If the dough becomes too soft at any point, return it to the refrigerator to firm up.</li><li class="MethodStepper"><h4 class="step-title">Step 9</h4>Bake for 10-12 minutes until the cookies appear set and no longer shiny on top. Don't wait for them to brown - chocolate cookies can easily overbake without showing visual cues. Allow them to cool on the baking sheet for 5 minutes before transferring to a wire rack to cool completely.</li><li class="MethodStepper"><h4 class="step-title">Step 10</h4>For the filling, beat the softened butter in a clean bowl until smooth and creamy. Gradually add the sifted powdered sugar, mixing on low speed until incorporated. Add the vanilla extract, 1 tablespoon of heavy cream, and a pinch of salt. Beat on medium-high speed until light and fluffy, about 3 minutes. If the filling seems too thick, add the remaining tablespoon of cream.</li><li class="MethodStepper"><h4 class="step-title">Step 11</h4>Once cookies are completely cooled (this is important - warm cookies will melt the filling), spread or pipe about 1 teaspoon of filling onto the flat side of half the cookies. Top with the remaining cookies, flat side down, pressing gently to spread the filling to the edges.</li><li class="MethodStepper"><h4 class="step-title">Step 12</h4>Allow the filled cookies to set at room temperature for about 30 minutes, or refrigerate for 15 minutes if your kitchen is warm. This helps the filling firm up to the perfect consistency. Store your chocolate sandwich cookies in an airtight container at room temperature for up to 5 days, or refrigerate for up to a week.</li></ol>

Nutrition Facts (per serving)

🍽️ Serving Size: 1 serving
🔥 Calories: 185 calories
🥑 Fat: 9 g
🧈 Saturated Fat: 5 g
🍞 Carbohydrates: 24 g
🍭 Sugar: 15 g
🍗 Protein: 2 g
🫀 Cholesterol: 35 mg
🧂 Sodium: 110 mg

Chef’s Notes

A few helpful details for making this recipe.

Can I make these chocolate cookies without a stand mixer?

Absolutely! While a stand mixer makes the process easier, you can use a hand mixer instead. In a pinch, you can even cream the butter and sugar by hand with a wooden spoon, though it will require more elbow grease to achieve the light, fluffy texture needed.

How do I get the perfect texture for sandwich biscuits?

The key is rolling the dough to 3mm thickness and not overbaking. Unlike other biscuits, these shouldn't brown - they're done when they lose their shine and appear set. For optimal texture, allow them to cool completely before filling, which gives them time to crisp up.

What variations can I make to the cream filling?

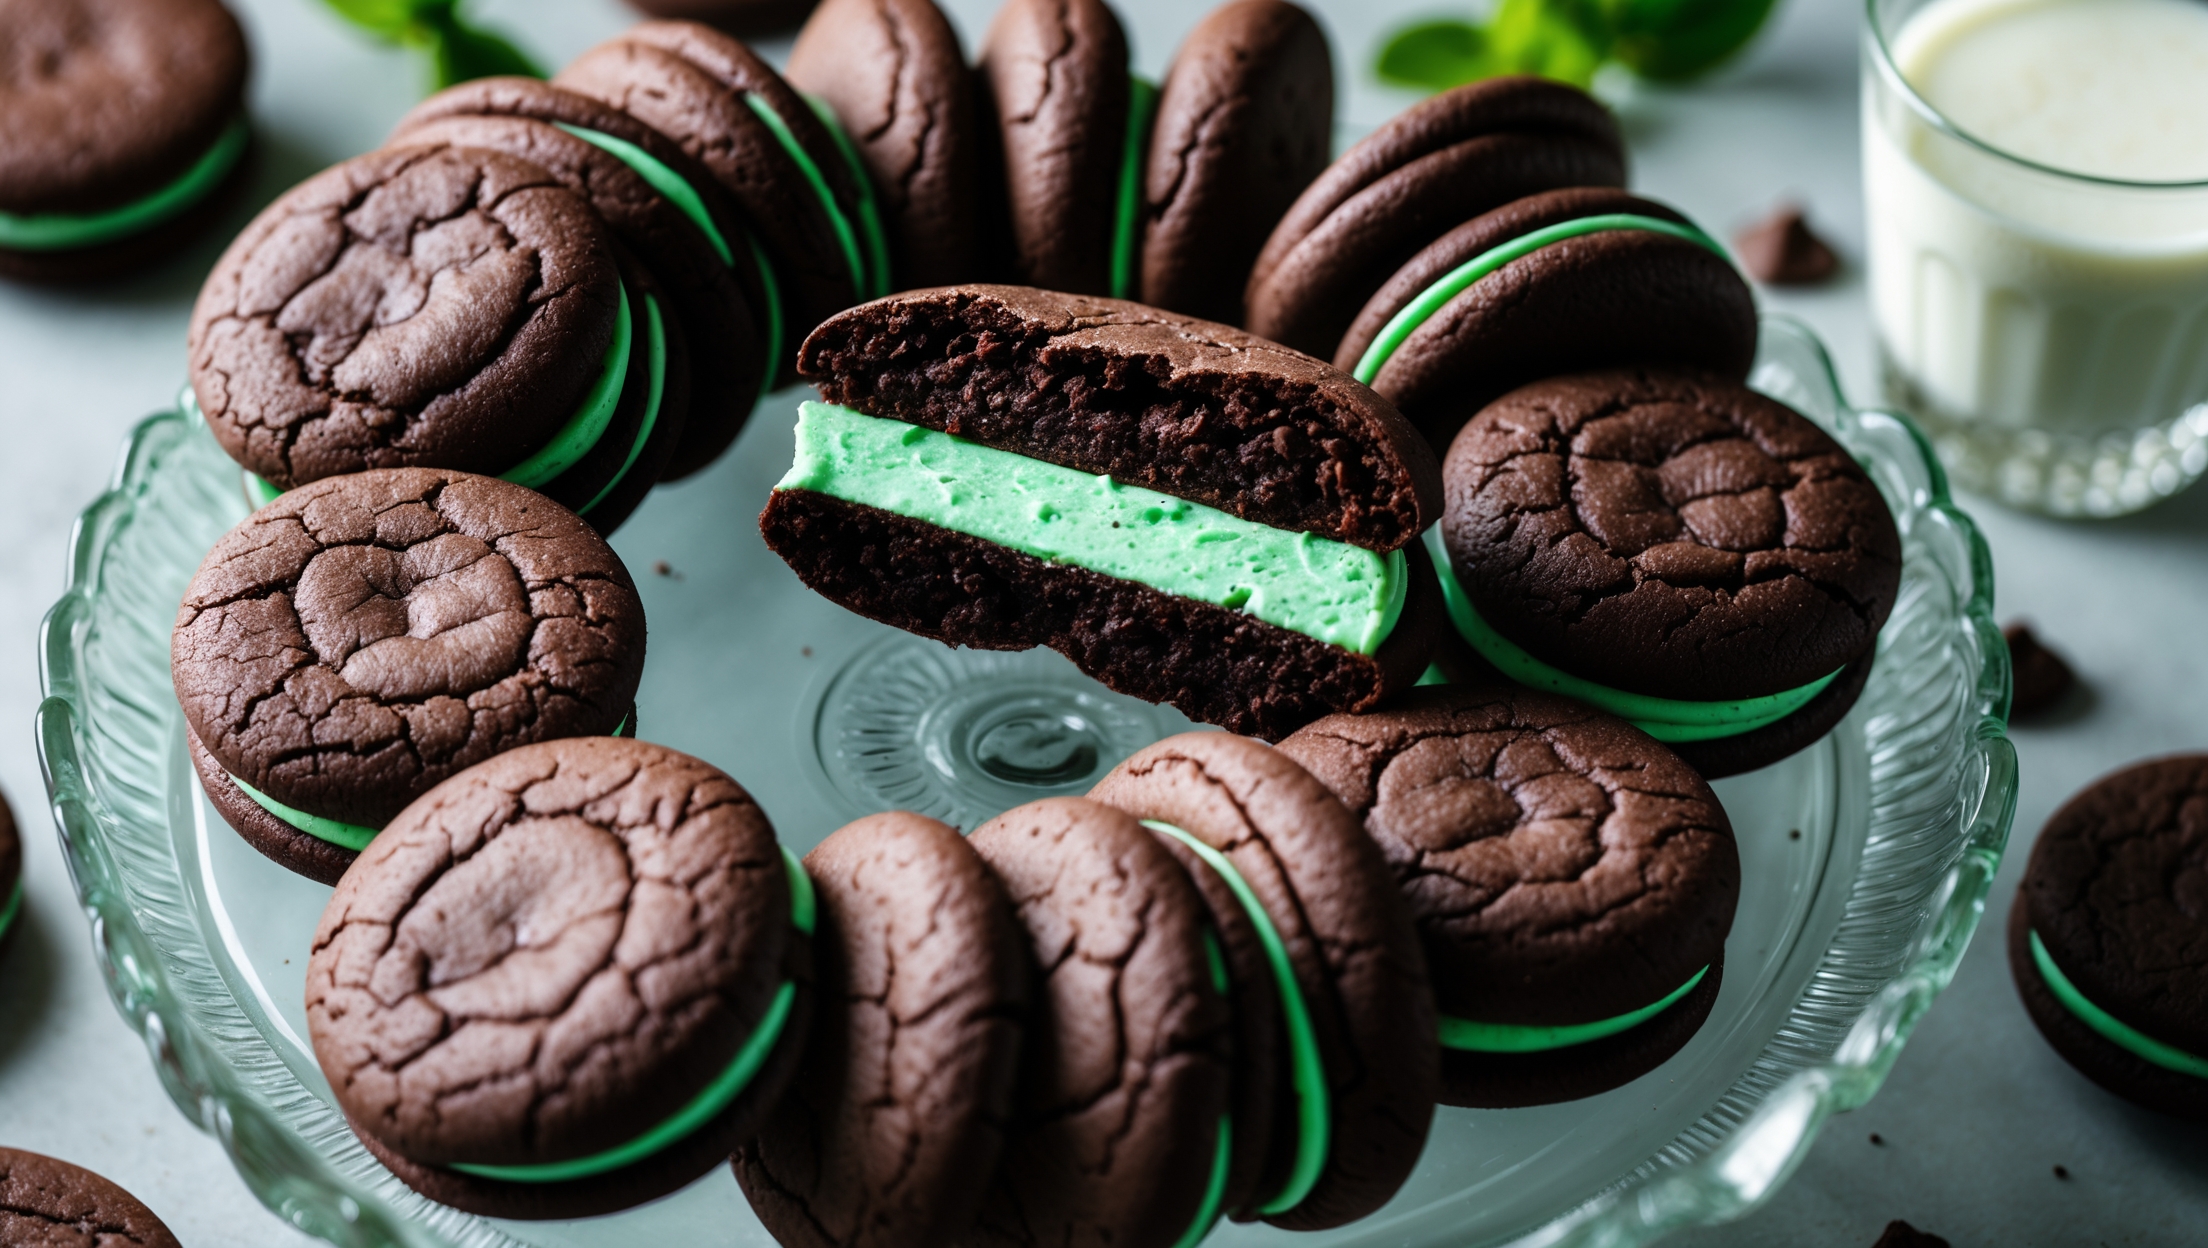
The possibilities are endless! Add peppermint extract for a mint chocolate version, fold in strawberry powder for a fruity twist, incorporate peanut butter for a nutty flavour, or mix in espresso powder for a coffee cream. You can even tint the filling with food colouring for festive occasions.

Want to try something else in ...

More recipes you might like

Keep exploring with more recipes from What's Baking.