Directions
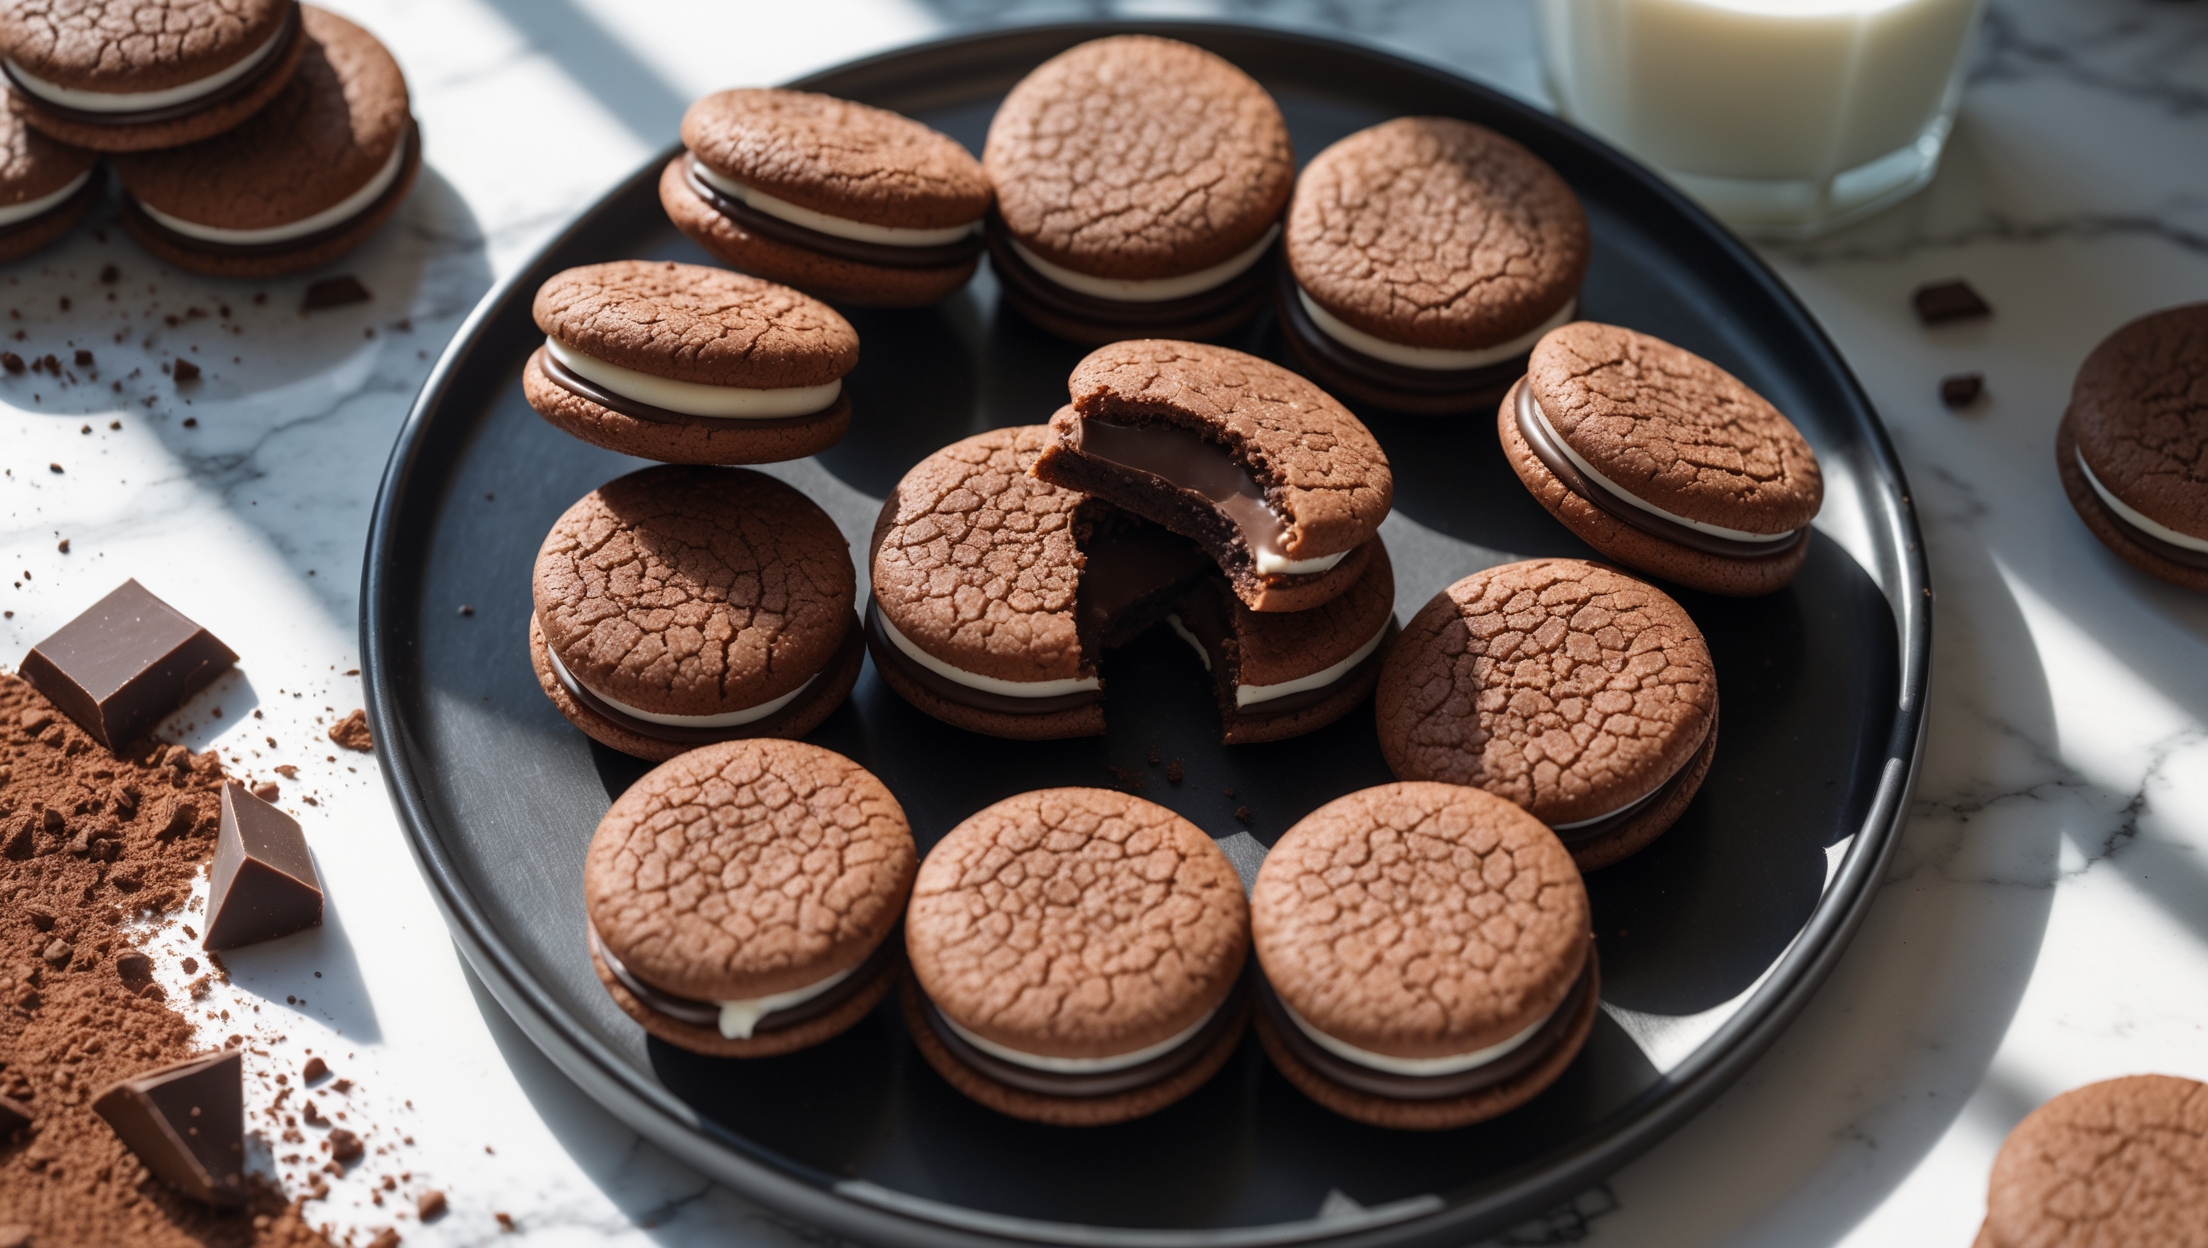
<ol class="no-list-style"><li class="MethodStepper"><h4 class="step-title">Step 1</h4>Preheat your oven to 180°C and line two baking sheets with parchment paper. This preparation ensures even cooking and prevents the cookies from sticking.</li><li class="MethodStepper"><h4 class="step-title">Step 2</h4>In a large bowl, cream together 225g softened butter with both sugars until light and fluffy, about 3-4 minutes. This extended creaming process incorporates air into the mixture, creating a lighter textured cookie with more lift.</li><li class="MethodStepper"><h4 class="step-title">Step 3</h4>Add eggs one at a time, mixing well after each addition, then stir in the vanilla extract. Ensure each egg is fully incorporated before adding the next – this creates a stable emulsion that helps with the cookie structure.</li><li class="MethodStepper"><h4 class="step-title">Step 4</h4>In a separate bowl, whisk together the flour, baking soda, and salt. Gradually add this dry mixture to the wet ingredients, mixing on low speed just until combined. Overmixing at this stage develops gluten, which can make your cookies tough rather than tender.</li><li class="MethodStepper"><h4 class="step-title">Step 5</h4>Fold in the chopped chocolate chunks by hand using a spatula. Using roughly chopped chocolate instead of chips creates melty pockets and varied texture throughout each cookie.</li><li class="MethodStepper"><h4 class="step-title">Step 6</h4>Using a cookie scoop, portion the dough into 24 equal balls (about 40g each) and place on prepared baking sheets, leaving 5cm between each cookie to allow for spreading. For perfectly round cookies, roll each portion briefly between your palms.</li><li class="MethodStepper"><h4 class="step-title">Step 7</h4>Gently press down on each cookie dough ball to slightly flatten, then sprinkle with a small amount of flaky sea salt. The salt enhances the chocolate flavor and adds a sophisticated flavor contrast.</li><li class="MethodStepper"><h4 class="step-title">Step 8</h4>Bake for 10-12 minutes, until the edges are set but the centers remain soft. They might look slightly underdone in the middle – this is perfect! The cookies will continue to cook on the hot baking sheet after removal from the oven.</li><li class="MethodStepper"><h4 class="step-title">Step 9</h4>Allow the cookies to cool on the baking sheets for 5 minutes before transferring to wire racks to cool completely. This brief resting period allows the cookies to set up enough to move without breaking.</li><li class="MethodStepper"><h4 class="step-title">Step 10</h4>While the cookies cool, prepare the filling. Beat 115g softened butter until creamy, about 2 minutes. Gradually add the sifted powdered sugar, mixing on low speed initially to prevent a sugar cloud, then increasing to medium-high once incorporated.</li><li class="MethodStepper"><h4 class="step-title">Step 11</h4>Add the vanilla extract and heavy cream to the buttercream, then beat on high speed for 3 minutes until light and fluffy. The cream adds a silky texture while air incorporated during whipping creates a lighter mouthfeel.</li><li class="MethodStepper"><h4 class="step-title">Step 12</h4>Once cookies are completely cool, match them in pairs of similar size. Pipe or spread about 2 tablespoons of filling onto the flat side of one cookie from each pair, then gently press the second cookie on top, flat side down, to create a sandwich.</li><li class="MethodStepper"><h4 class="step-title">Step 13</h4>Allow the sandwich cookies to set at room temperature for 30 minutes before serving. This resting time lets the filling firm up slightly so it doesn't squeeze out when bitten. Store in an airtight container for up to 4 days, or freeze for up to 3 months.</li></ol>