Chilaquiles Recipe
Ingredients
Equipment
Directions
FAQs
Find answers to your most pressing questions about this delicious recipe right here.
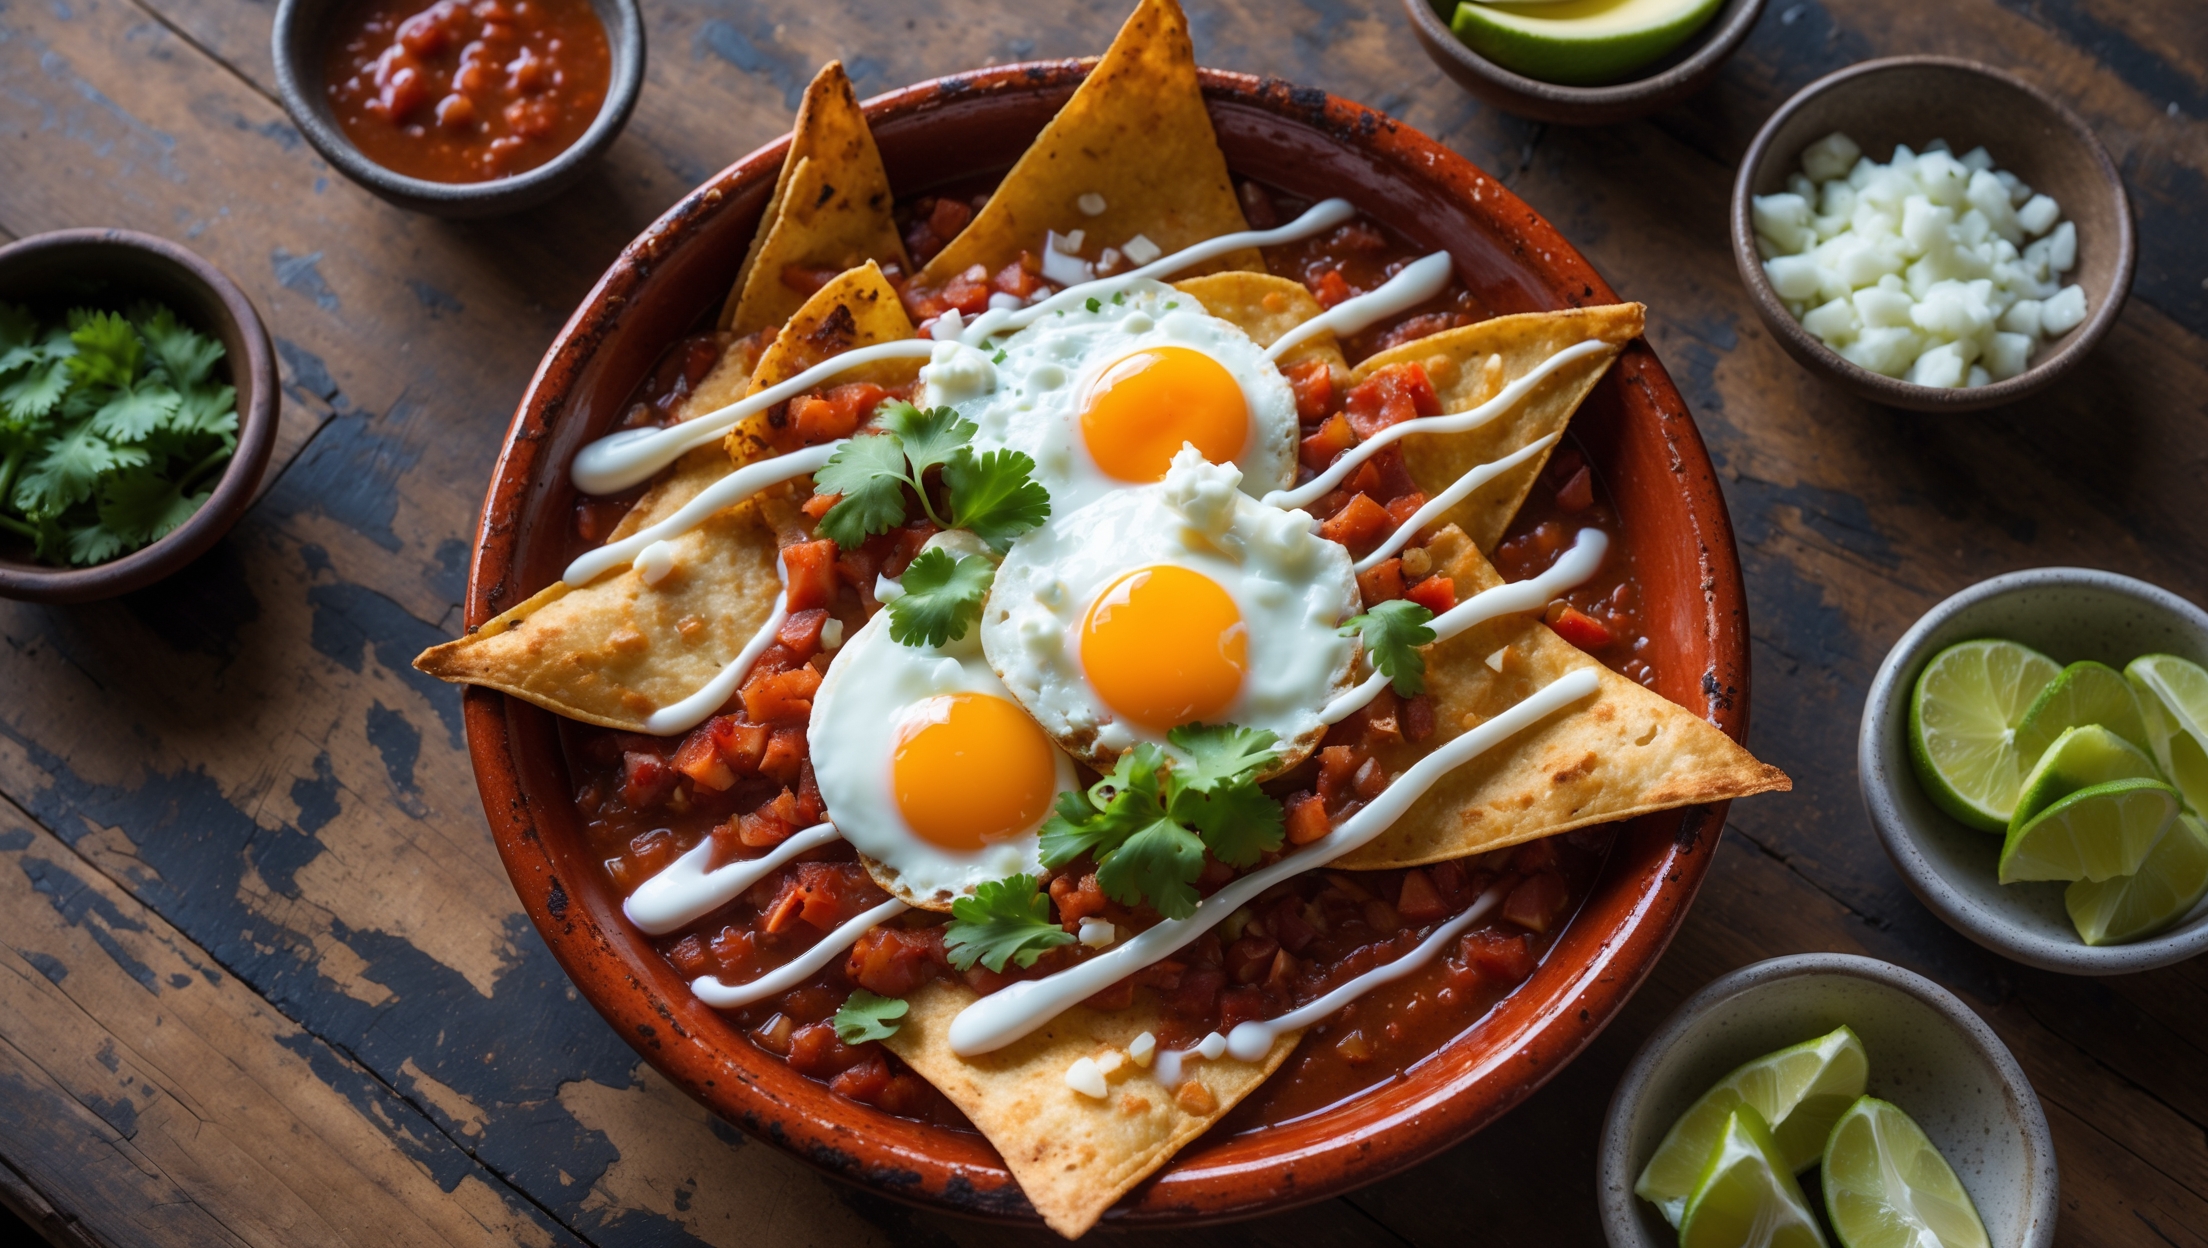
Traditional chilaquiles require corn tortillas, olive oil, salsa roja ingredients (tomatoes, dried chiles, onion, garlic), and toppings like eggs, queso fresco, Mexican crema, red onion, avocado, and lime wedges. The recipe balances crispy tortillas with a flavourful sauce and fresh garnishes.
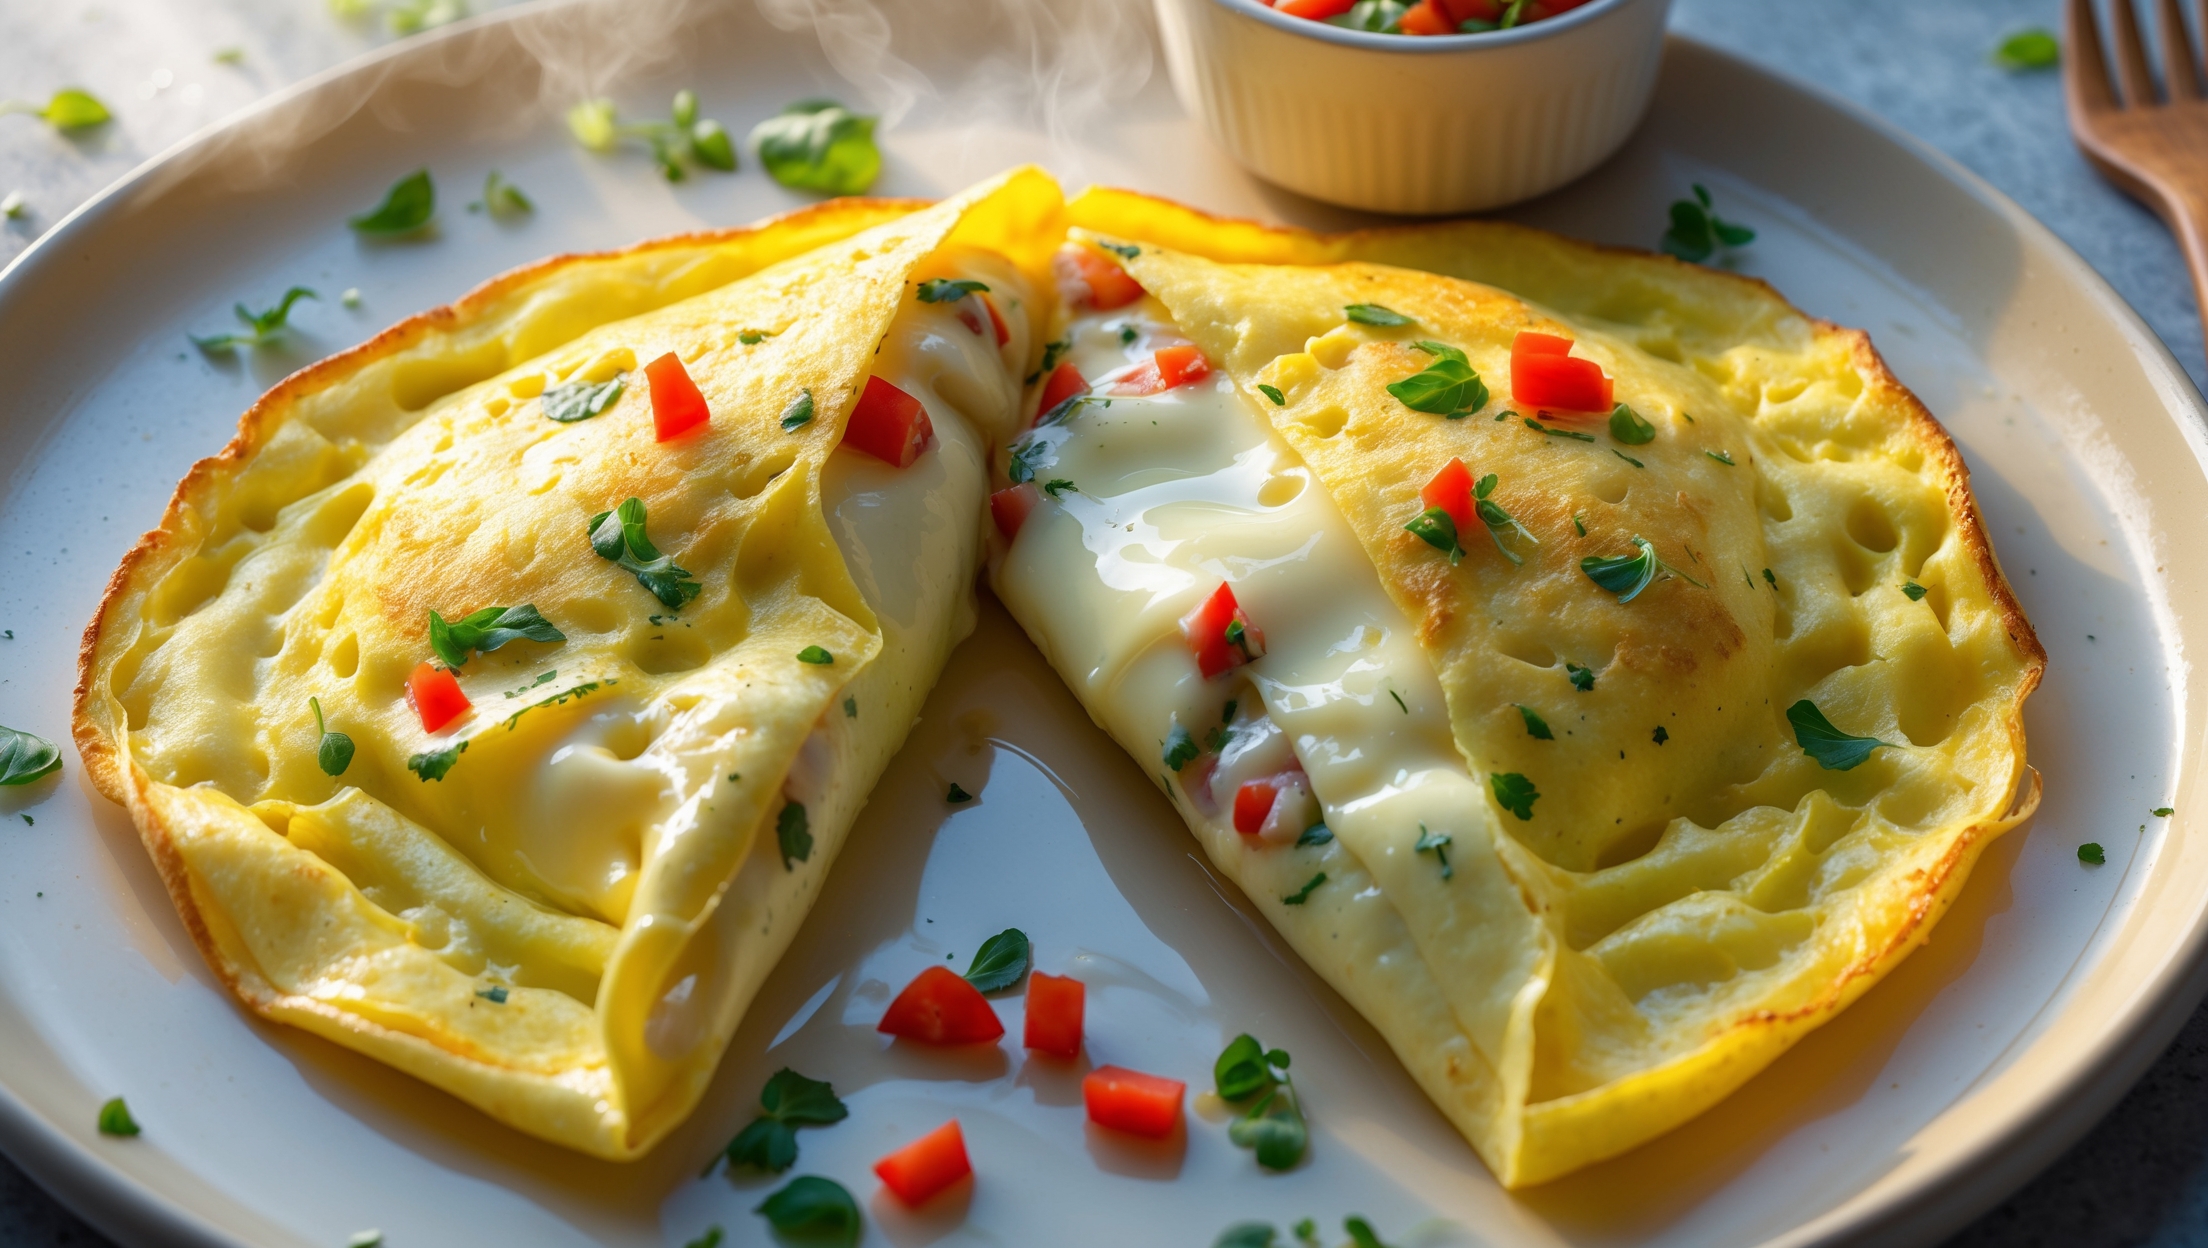
Learn how to cook Chilaquiles Recipe by baking tortilla triangles until crisp, making a homemade salsa roja with tomatoes and chiles, then gently folding the chips into the warm sauce. Create wells for cracking eggs, bake until the whites set but yolks remain runny, then finish with traditional Mexican toppings like queso fresco, crema, and avocado.
Sogginess usually happens when tortilla chips are too thin, the salsa is too runny, or they've been mixed for too long. For perfect texture, use thicker homemade chips, reduce your salsa until slightly thickened, and only fold chips into the sauce right before serving, allowing some to maintain their structure.
The primary difference is in the sauce: red chilaquiles (chilaquiles rojos) use tomato-based salsa with dried red chiles like guajillo or ancho, creating a rich, smoky flavour. Green chilaquiles (chilaquiles verdes) feature tomatillos and green chiles for a bright, tangy taste with herbal notes.
Yes! The salsa roja can be made up to 3 days ahead and stored in the refrigerator. The tortilla chips can be baked a day in advance and stored in an airtight container. When ready to serve, simply reheat the salsa, fold in the chips, and add the eggs and toppings.
Breakfast & Brunch
Try following recommended recipes