Chelsea Buns Recipe
Ingredients
Equipment
Directions
FAQs
Find answers to your most pressing questions about this delicious recipe right here.
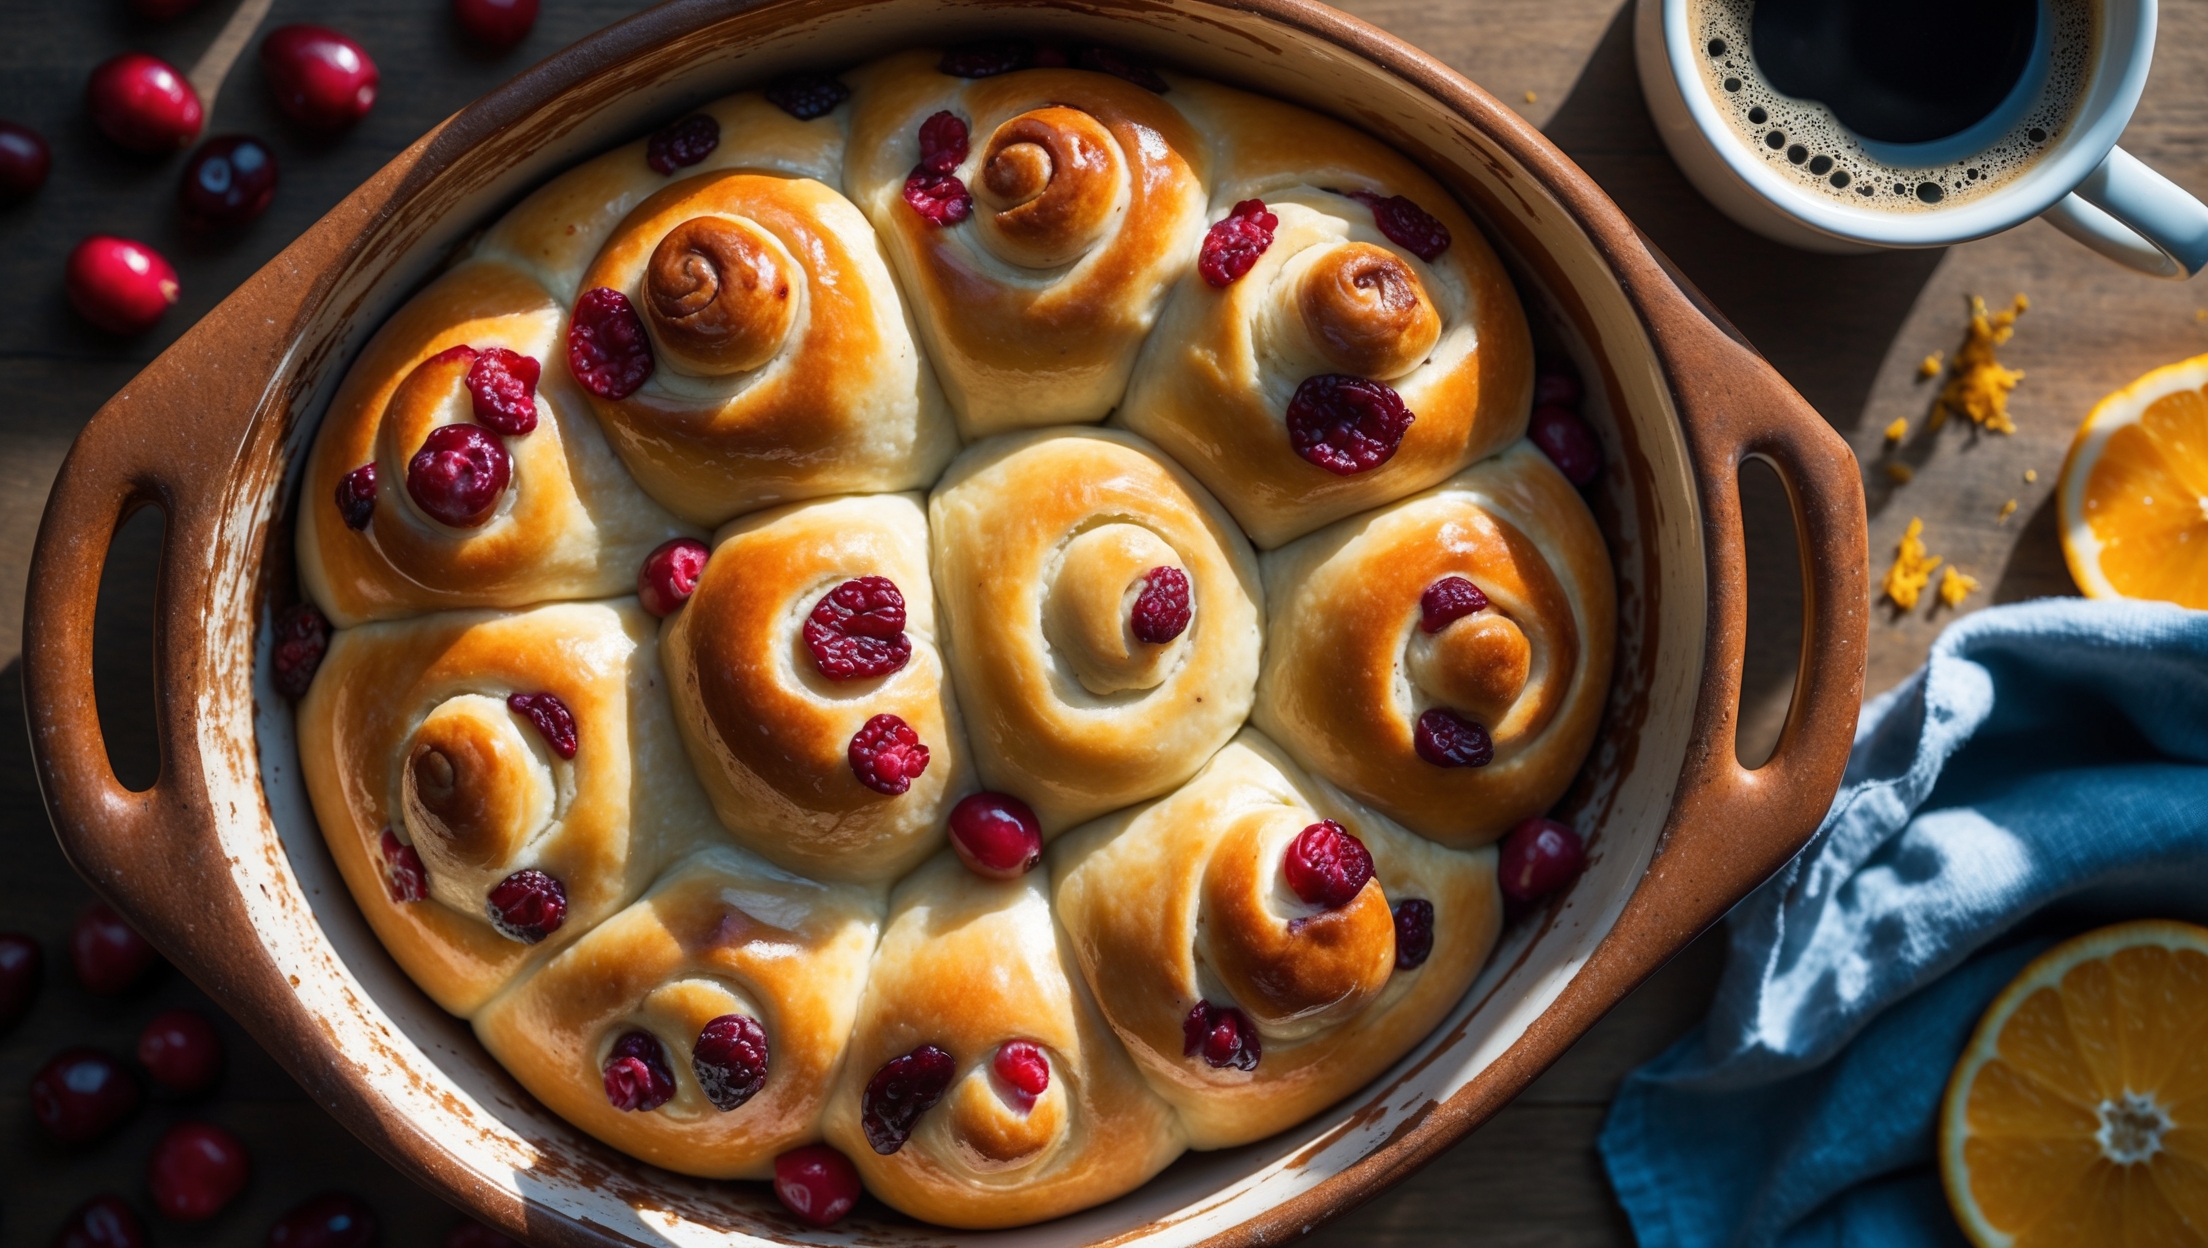
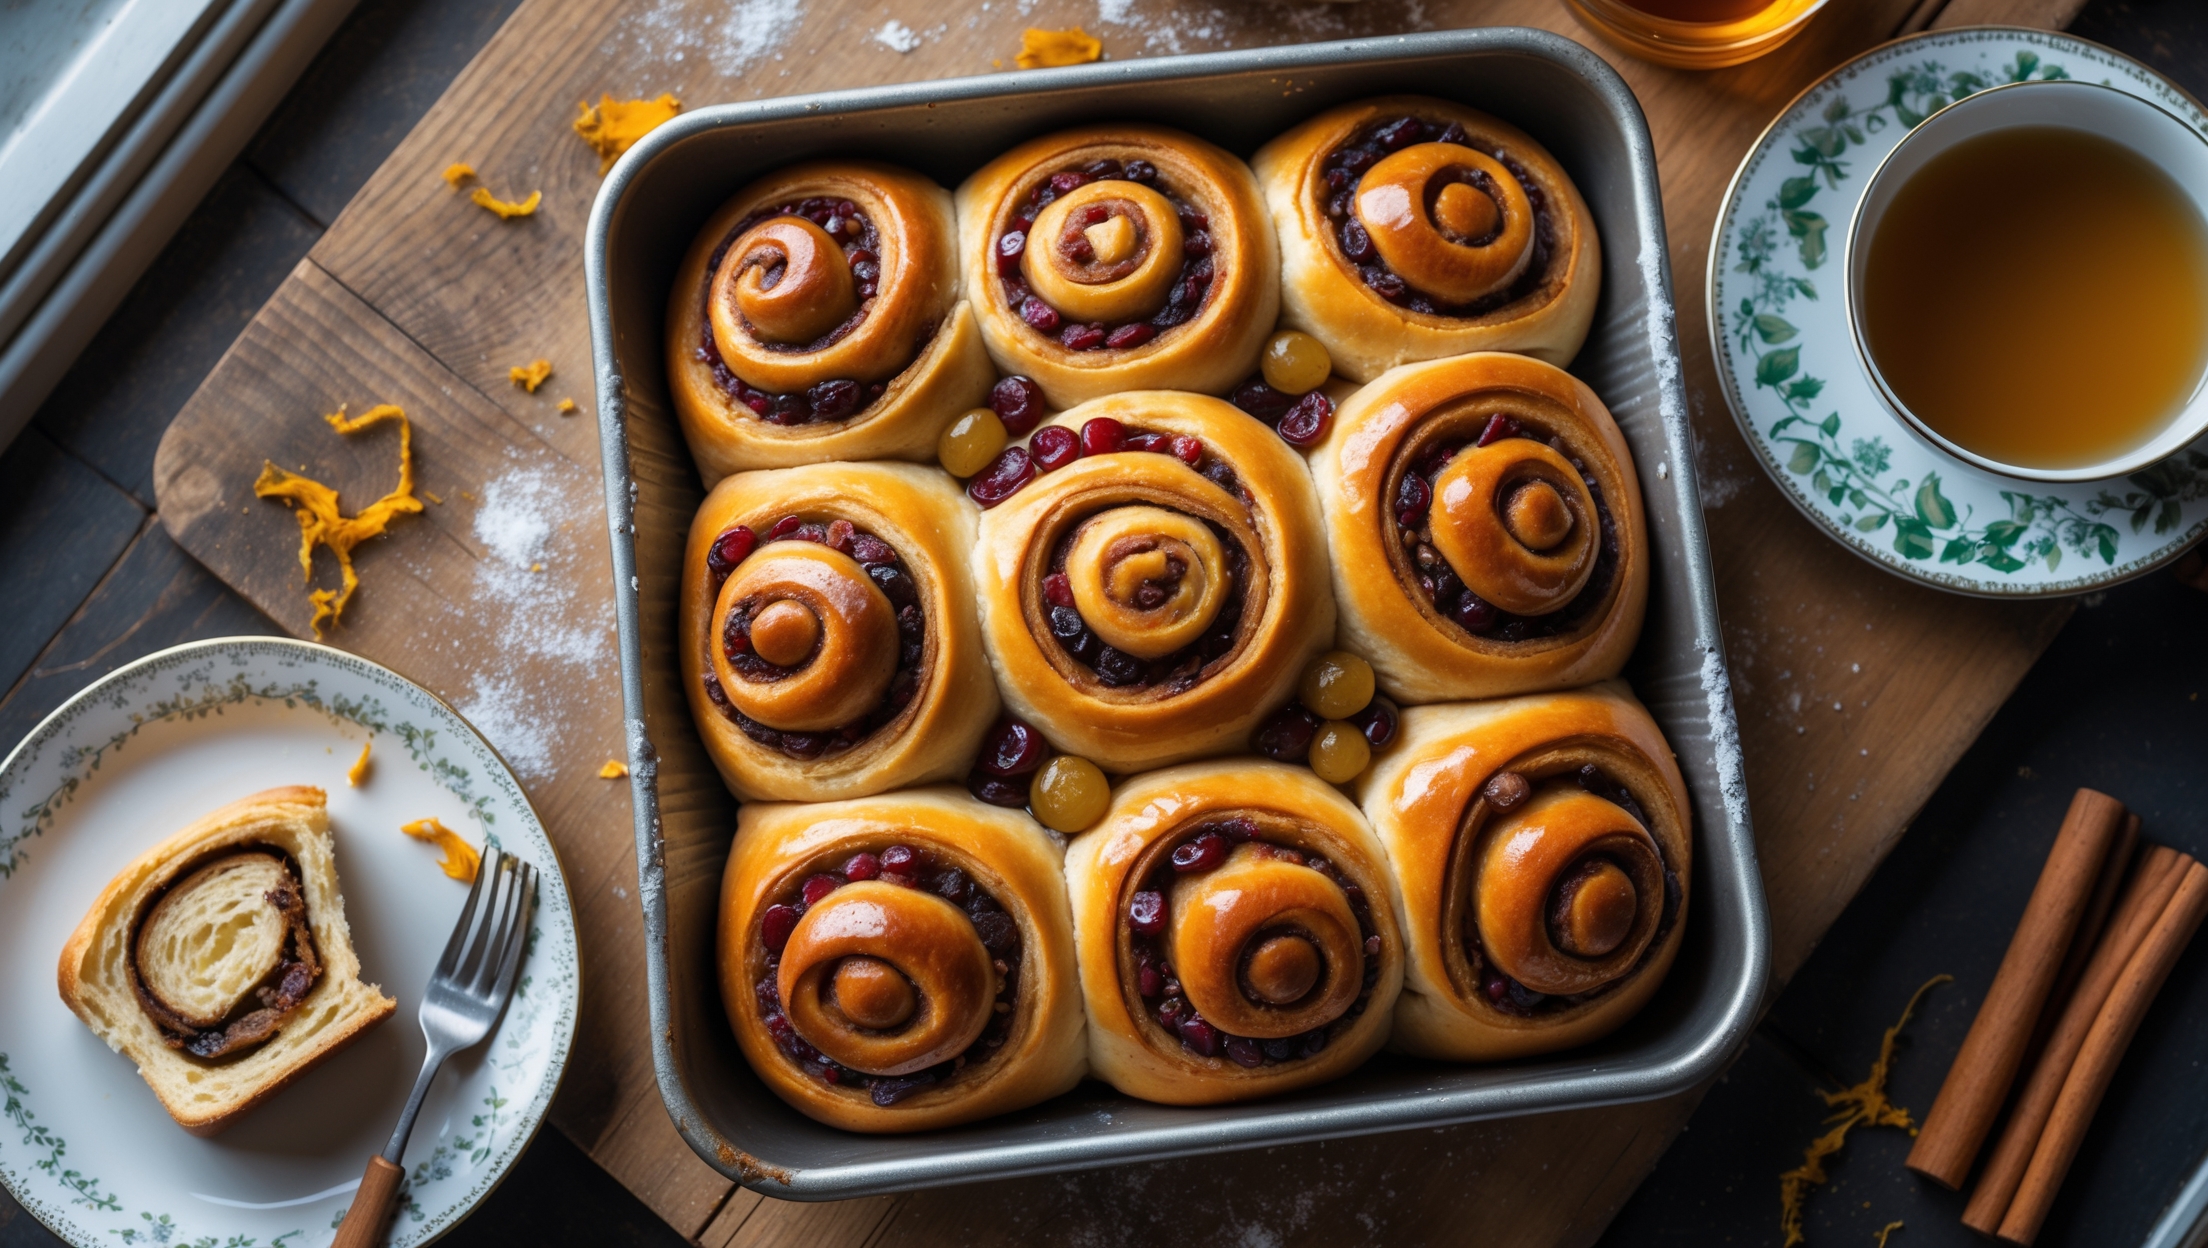
Chelsea Buns feature strong white bread flour, butter, sugar, eggs, yeast, milk, cinnamon, dried fruits (sultanas and currants), mixed peel, orange zest, and a honey glaze. These ingredients create the signature soft, enriched dough spirals with sweet, fruity fillings.
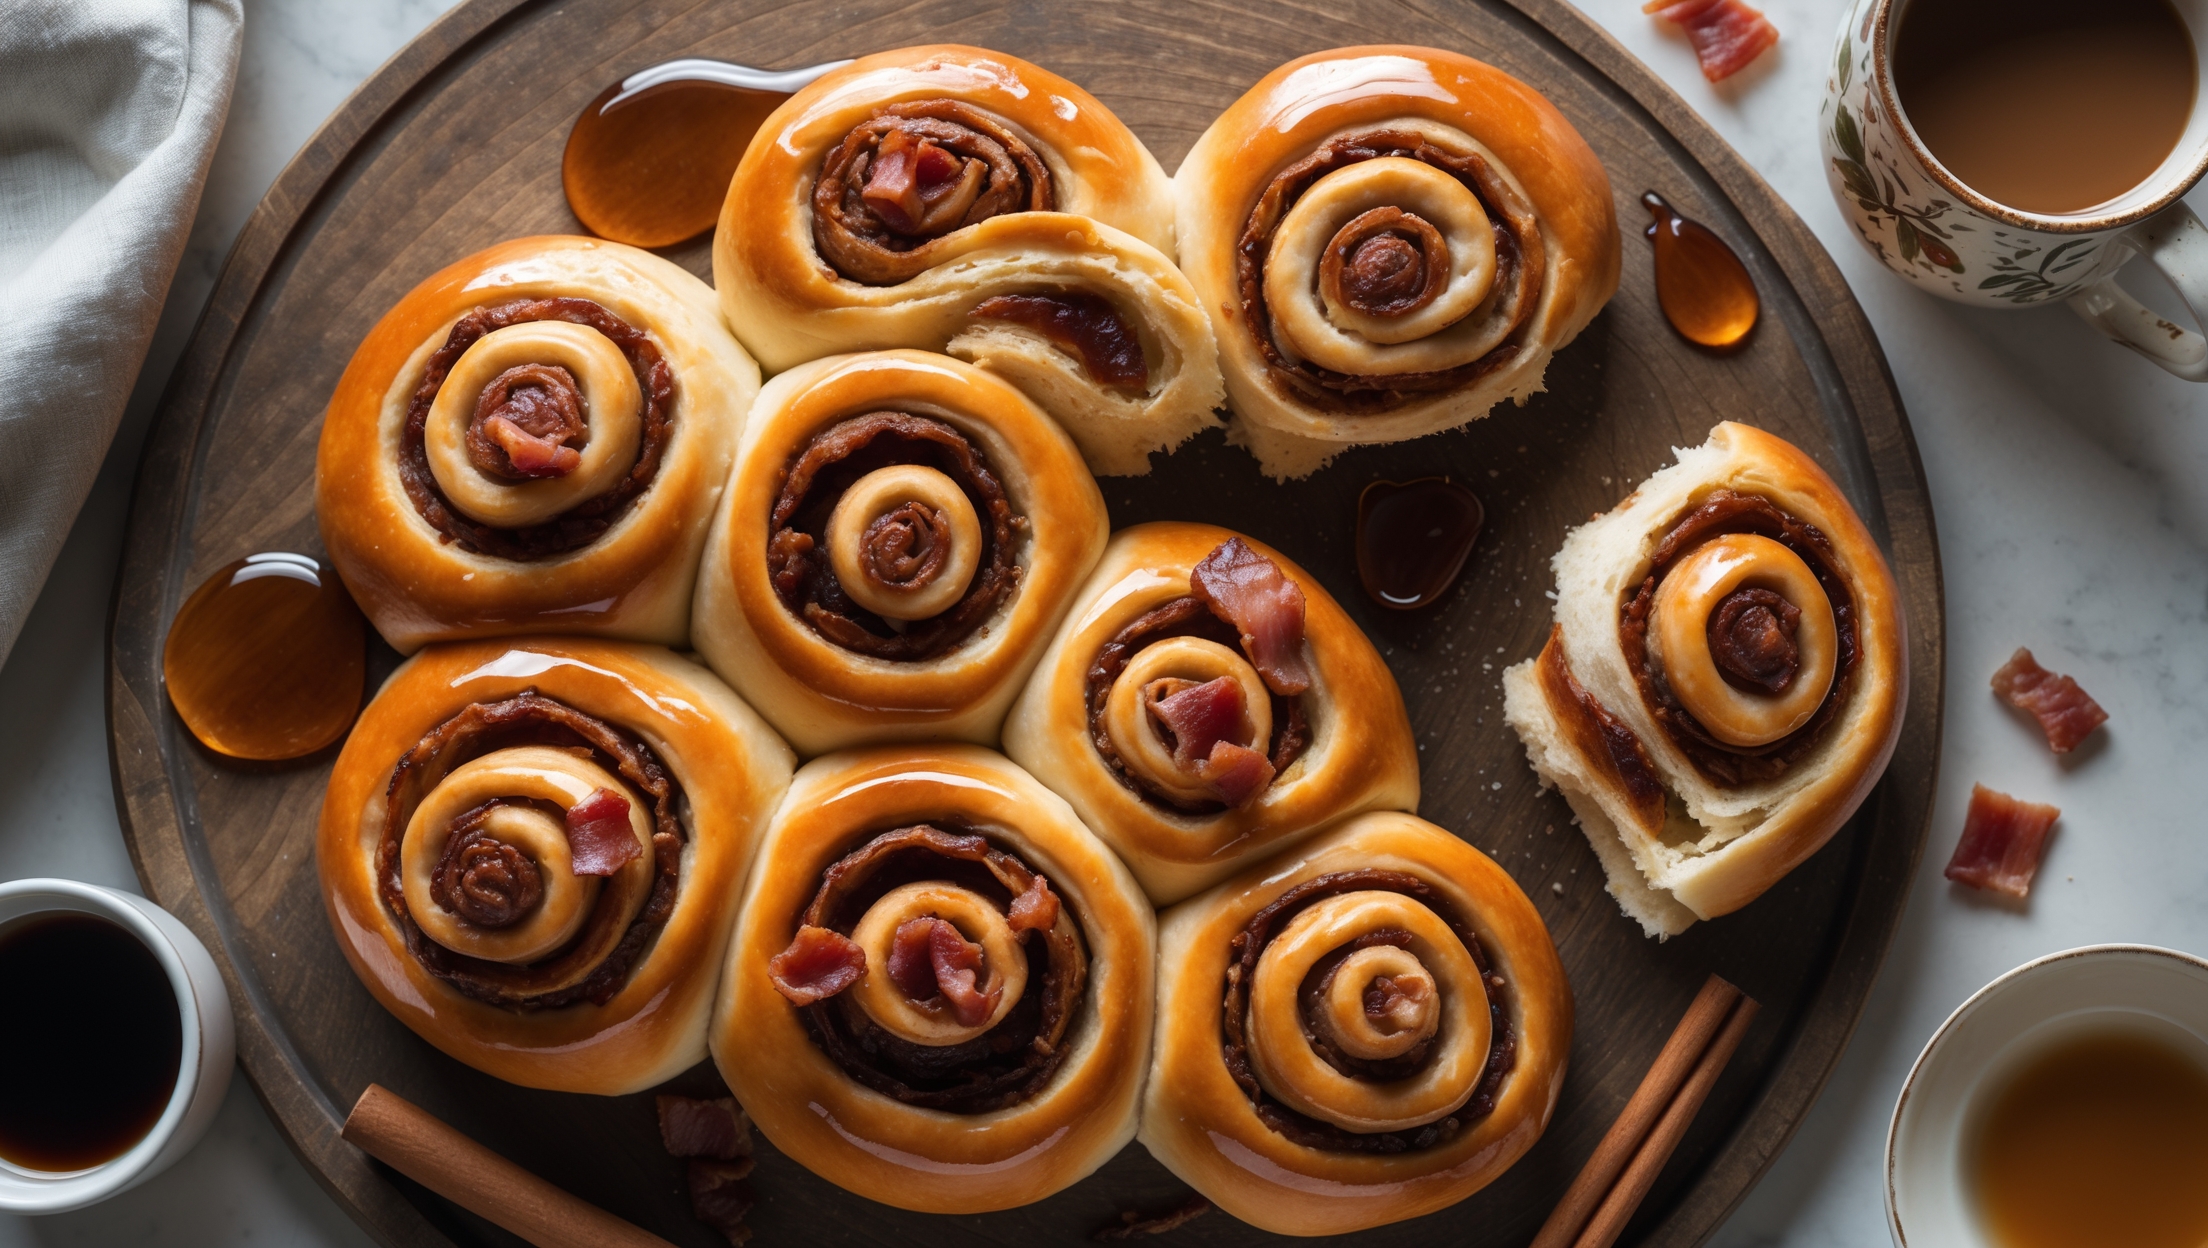
Learn how to cook Chelsea Buns by making an enriched dough that rises twice - once after kneading and again after shaping. Roll out the dough, spread with cinnamon-sugar butter, add dried fruits, roll into a log, slice, and arrange in a tin. Bake until golden brown, then immediately glaze with honey syrup for that classic sticky finish.
Dry Chelsea Buns typically result from overbaking or using too much flour. Ensure your dough is slightly tacky, not stiff. The enriched dough should contain enough butter and milk for moisture. Apply the honey glaze while the buns are hot, and don't miss the second rise for proper texture.
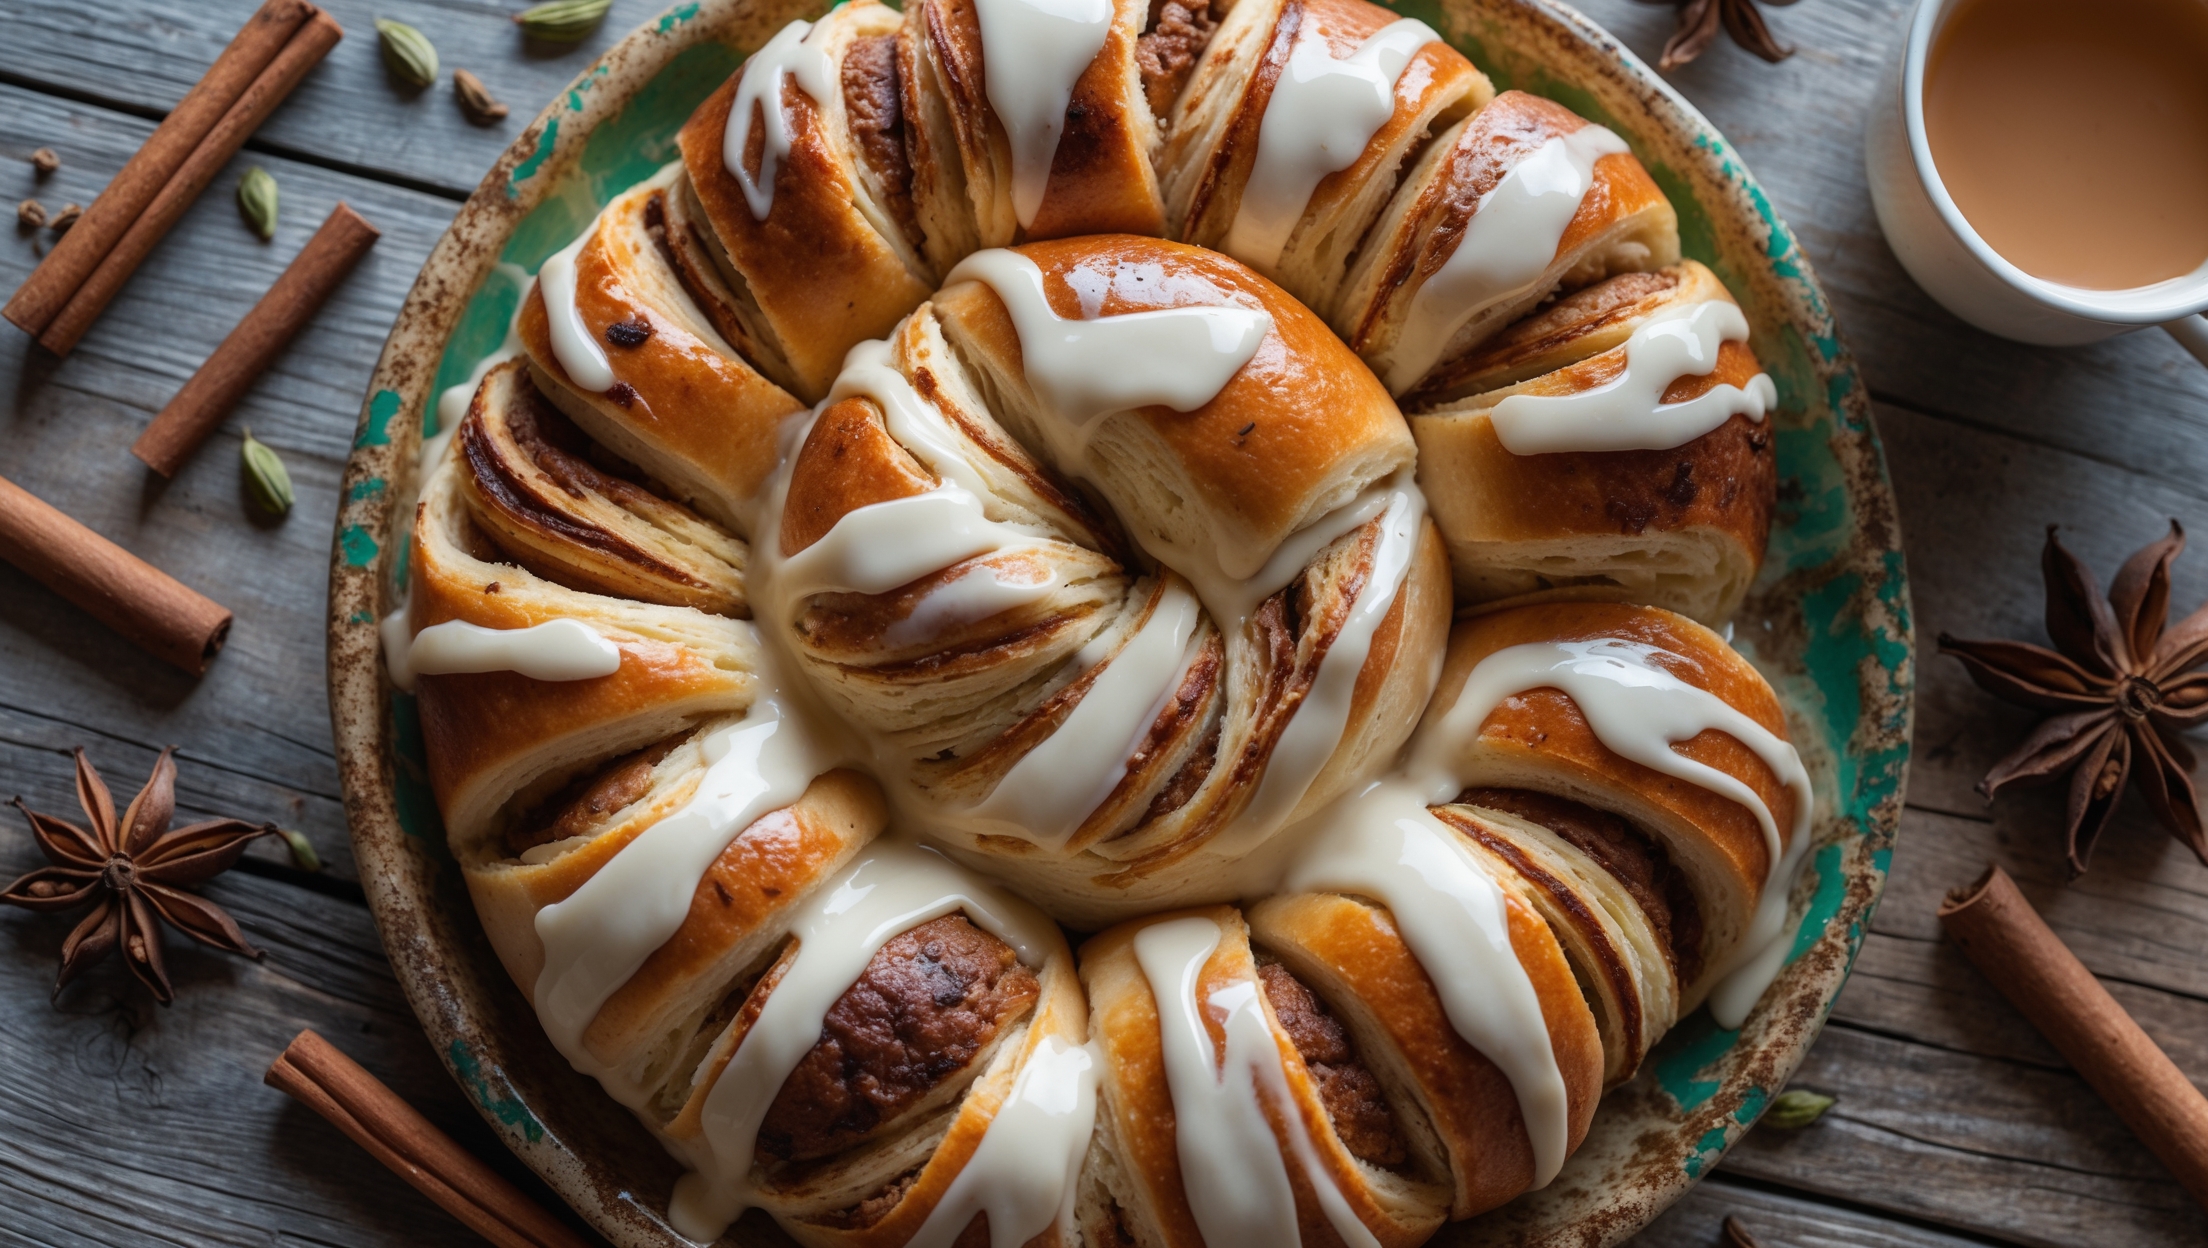
Chelsea Buns are a British classic featuring dried fruits (sultanas, currants) and candied peel in the filling, finished with a honey glaze. Cinnamon rolls typically contain just cinnamon sugar filling and are topped with cream cheese frosting. Chelsea Buns are also usually square-shaped when baked together.
Yes! Make the dough, shape the buns and arrange them in the tin, then cover and refrigerate overnight for a slow rise. In the morning, bring them to room temperature for 30-45 minutes before baking. This method actually enhances flavour development for even more delicious breakfast buns.
Rolls and Buns
Try following recommended recipes