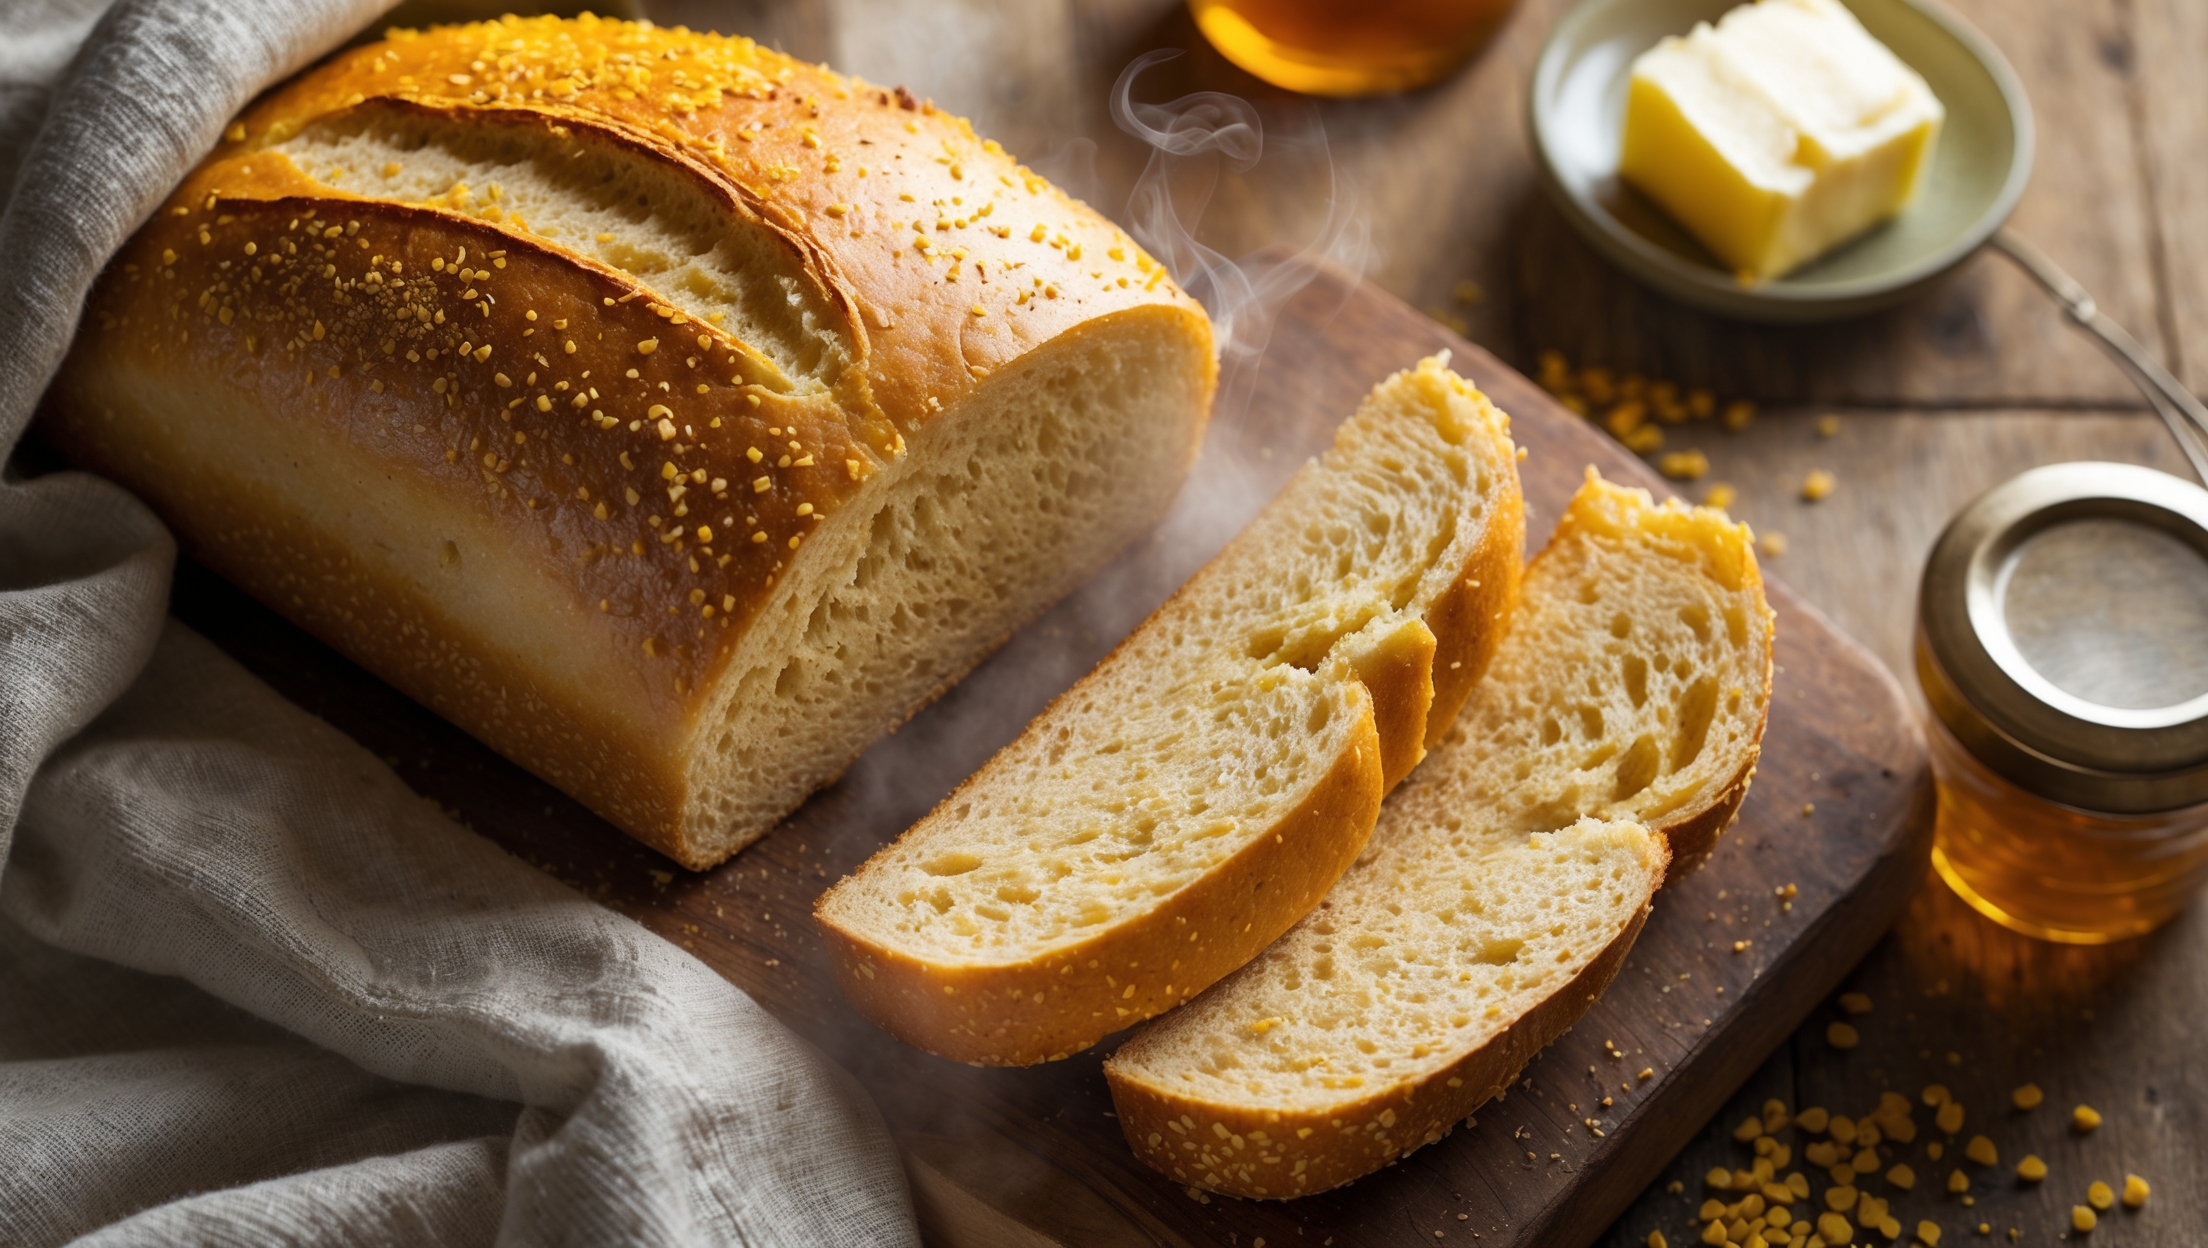
Directions
<ol class="no-list-style"><li class="MethodStepper"><h4 class="step-title">Step 1</h4>In a small bowl, combine warm water (38°C/100°F) with 1 tablespoon of the sugar and yeast. Stir gently and let it sit for 5-10 minutes until foamy. This proofing step ensures your yeast is active and will help your bread rise properly.</li><li class="MethodStepper"><h4 class="step-title">Step 2</h4>In the bowl of your stand mixer, whisk together the bread flour, remaining sugar, and salt. Create a well in the center. The high protein content in bread flour provides the structure needed for this enriched dough.</li><li class="MethodStepper"><h4 class="step-title">Step 3</h4>Pour the activated yeast mixture into the well. Add 2 eggs, 1 egg yolk, melted butter (make sure it's not hot), and honey. Using the dough hook attachment, mix on low speed until the ingredients come together, about 2 minutes.</li><li class="MethodStepper"><h4 class="step-title">Step 4</h4>Increase to medium speed and knead for 8-10 minutes until the dough is smooth, elastic, and pulls away from the sides of the bowl. The dough will be slightly tacky but not sticky - this is due to the high fat and sugar content which creates the characteristic soft texture.</li><li class="MethodStepper"><h4 class="step-title">Step 5</h4>Transfer the dough to a lightly floured surface and knead by hand for a minute to form a smooth ball. Place in a large, lightly oiled bowl, turning once to coat. Cover with plastic wrap or a damp cloth and let rise in a warm place (about 24-27°C/75-80°F) for 1-1.5 hours, or until doubled in size.</li><li class="MethodStepper"><h4 class="step-title">Step 6</h4>Once risen, gently punch down the dough to release air bubbles. Transfer to a clean surface and divide into three equal portions (using a scale ensures even braiding). Let the dough rest for 10 minutes, covered with a cloth, which relaxes the gluten and makes shaping easier.</li><li class="MethodStepper"><h4 class="step-title">Step 7</h4>Roll each portion into a rope about 30cm (12 inches) long. Place the three ropes parallel to each other on your work surface. Pinch the ropes together at the top end and braid them: left over middle, right over middle, and repeat until you reach the end. Pinch the bottom ends together firmly and tuck both ends under slightly.</li><li class="MethodStepper"><h4 class="step-title">Step 8</h4>Carefully transfer the braided loaf to a greased and parchment-lined loaf tin. Cover loosely with oiled plastic wrap and let rise for another 45-60 minutes until nearly doubled and the dough is just peeking over the top of the tin. Meanwhile, preheat your oven to 180°C (350°F).</li><li class="MethodStepper"><h4 class="step-title">Step 9</h4>Beat the remaining egg with 1 tablespoon of water to make an egg wash. Gently brush the risen loaf with egg wash, making sure to get into all the crevices of the braid but avoiding any pooling. This creates that signature glossy, golden crust. Sprinkle with sesame or poppy seeds if using.</li><li class="MethodStepper"><h4 class="step-title">Step 10</h4>Bake in the preheated oven for 30-35 minutes, or until deeply golden brown and the bread sounds hollow when tapped on the bottom. If the top browns too quickly, cover loosely with foil. The internal temperature should reach 88-93°C (190-200°F) when fully baked.</li><li class="MethodStepper"><h4 class="step-title">Step 11</h4>Remove from the oven and allow to cool in the tin for 10 minutes before transferring to a wire rack to cool completely, at least 2 hours. Slicing too soon will result in a gummy texture as the bread hasn't finished its internal cooking process.</li><li class="MethodStepper"><h4 class="step-title">Step 12</h4>Once cooled, slice and use for sandwiches, toast, or French toast. Store in an airtight container at room temperature for up to 3 days or freeze sliced for up to 1 month. The high fat content helps keep this bread soft longer than regular sandwich bread.</li></ol>