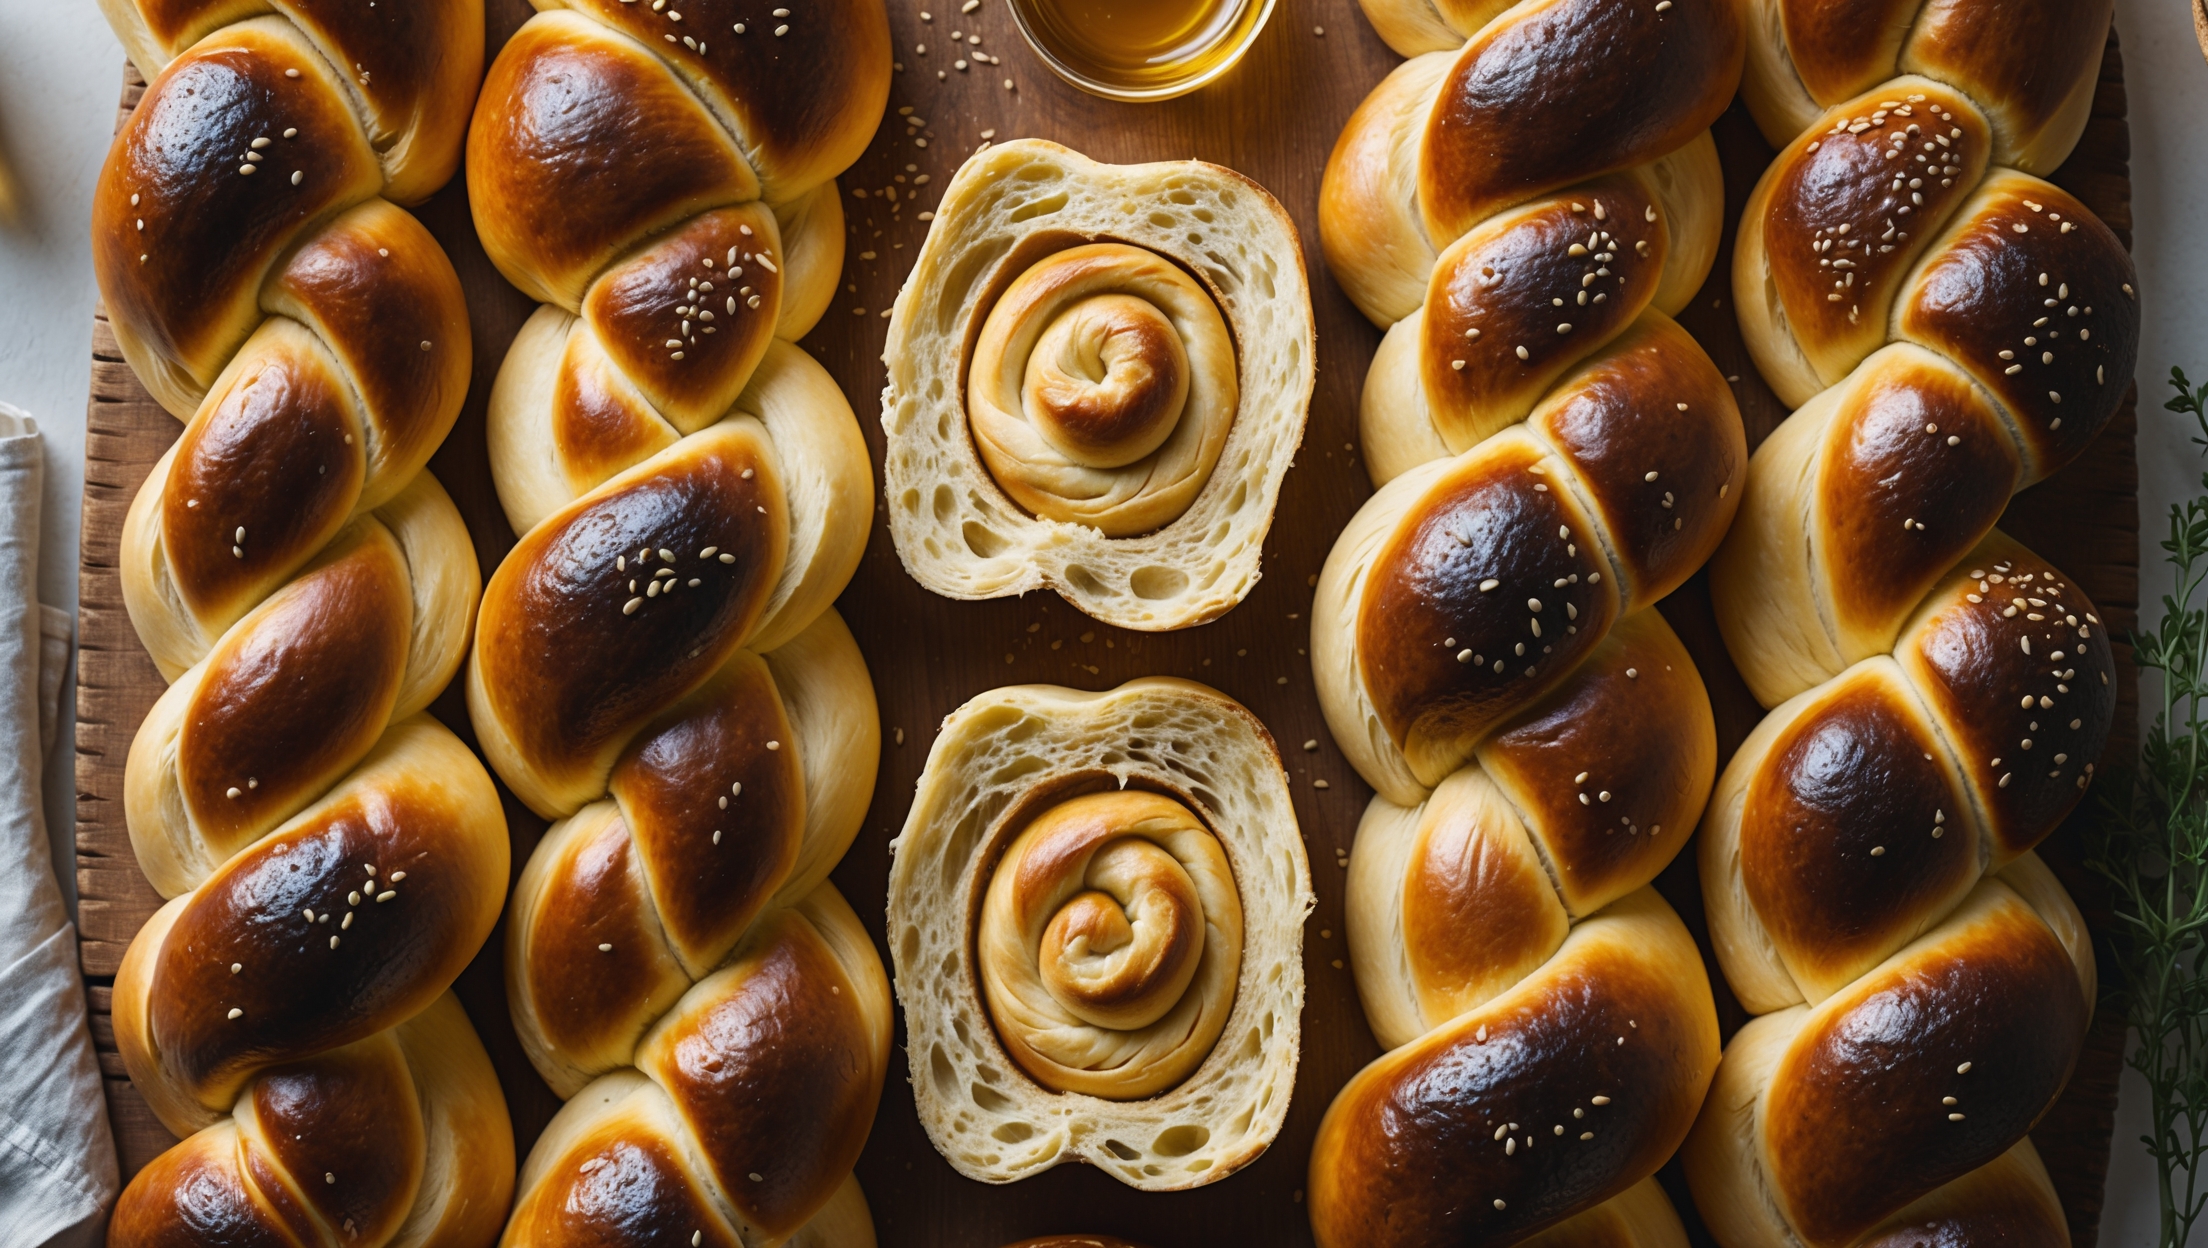
Challah Rolls Recipe
Ingredients
Equipment
Directions
FAQs
Find answers to your most pressing questions about this delicious recipe right here.
Traditional challah rolls require bread flour, active dry yeast, sugar, salt, eggs, vegetable oil, warm water, and honey. These ingredients create the signature slightly sweet flavour, tender crumb, and glossy golden crust that defines quality challah bread.
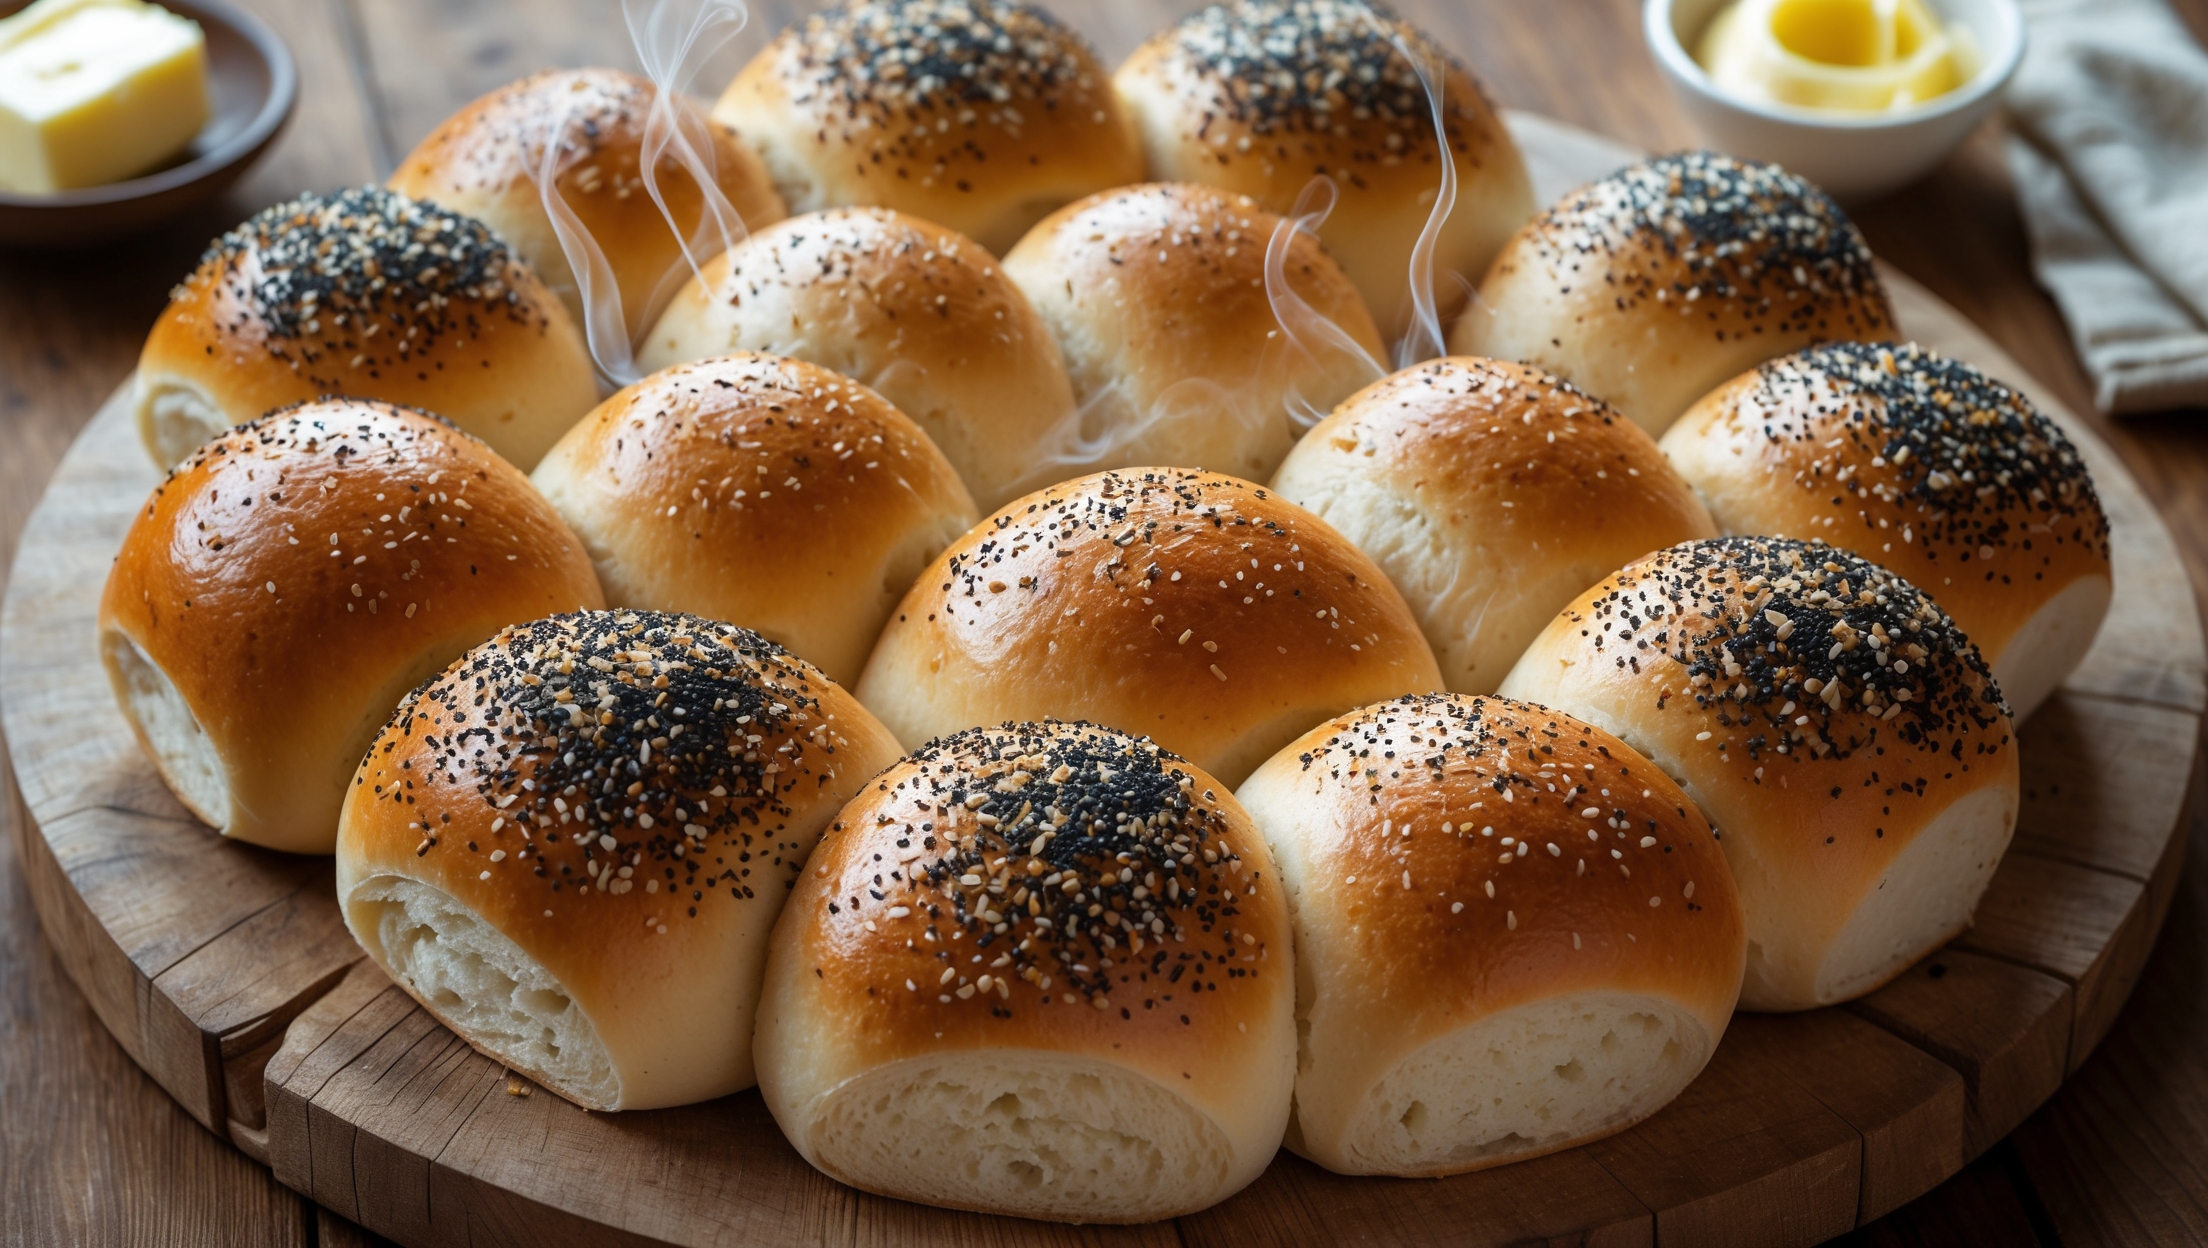
Learn how to cook Challah Rolls Recipe by first activating your yeast in warm water with sugar. Mix your dough, knead until elastic, then let it rise until doubled. Divide, braid into small rolls, and allow for a second rise. Brush with egg wash for that signature glossy finish, then bake at 180°C until deeply golden brown, about 18-20 minutes.
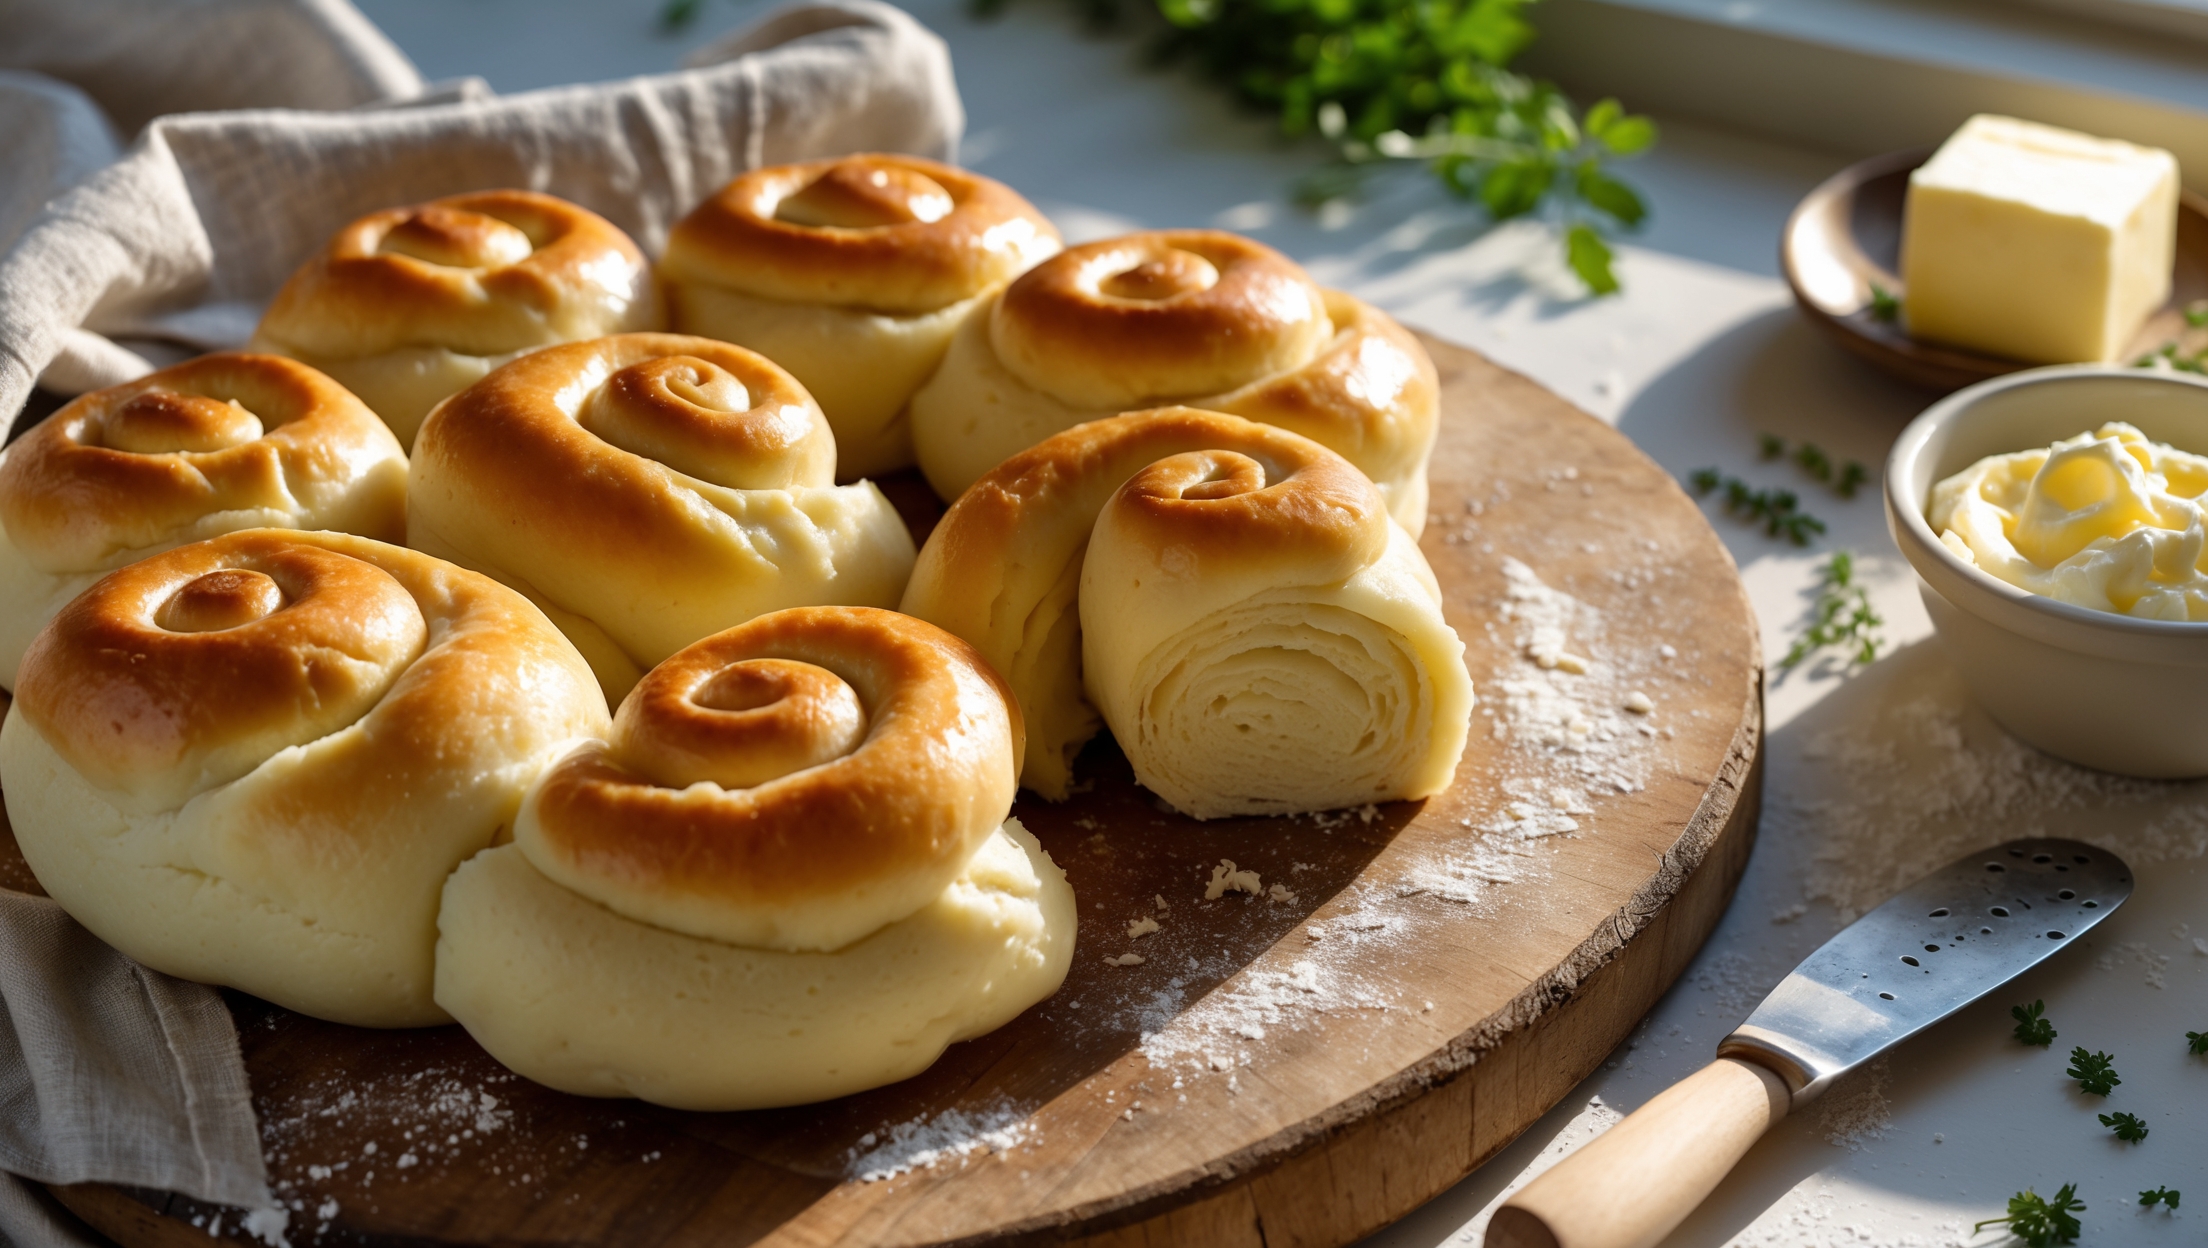
Braiding challah is both decorative and functional. The technique creates the signature pull-apart texture as the dough strands bake together while remaining distinct. Traditionally in Jewish culture, the braids hold symbolic meaning, with different numbers of strands representing various religious concepts.
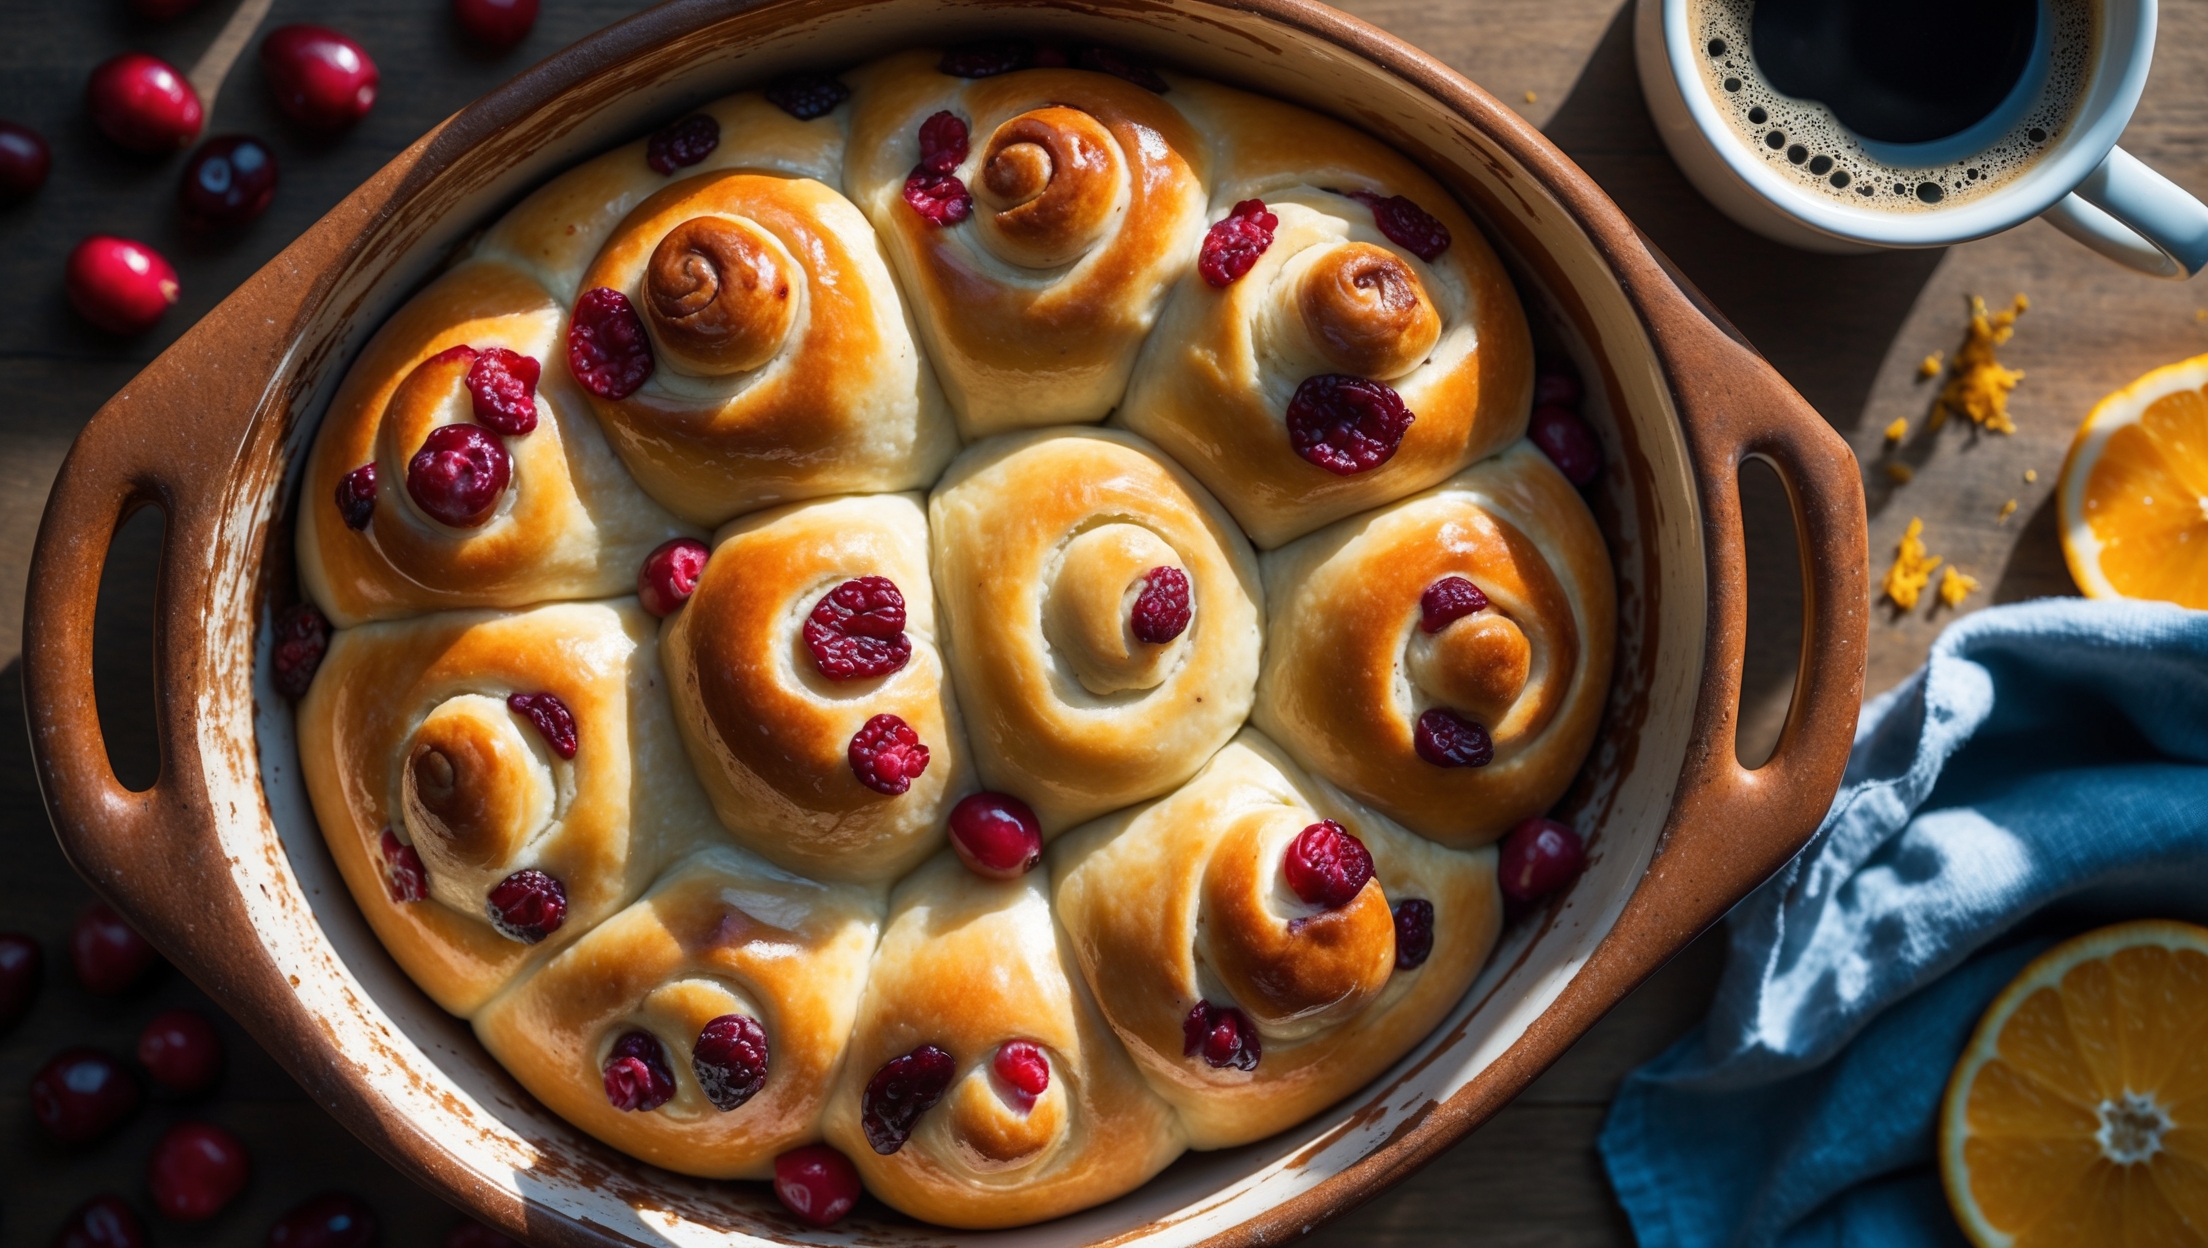
The signature glossy crust comes from a thorough egg wash application before baking. For best results, use a whole beaten egg with a splash of water, and apply it generously but gently to avoid deflating the risen dough. This creates the characteristic amber sheen on perfectly baked challah.
Yes! You can prepare challah rolls up to a day ahead and store at room temperature in an airtight container. For longer storage, freeze fully cooled rolls for up to a month. To serve, thaw completely and warm in a 150°C oven for 5-7 minutes to restore their fresh-baked texture.
Rolls and Buns
Try following recommended recipes