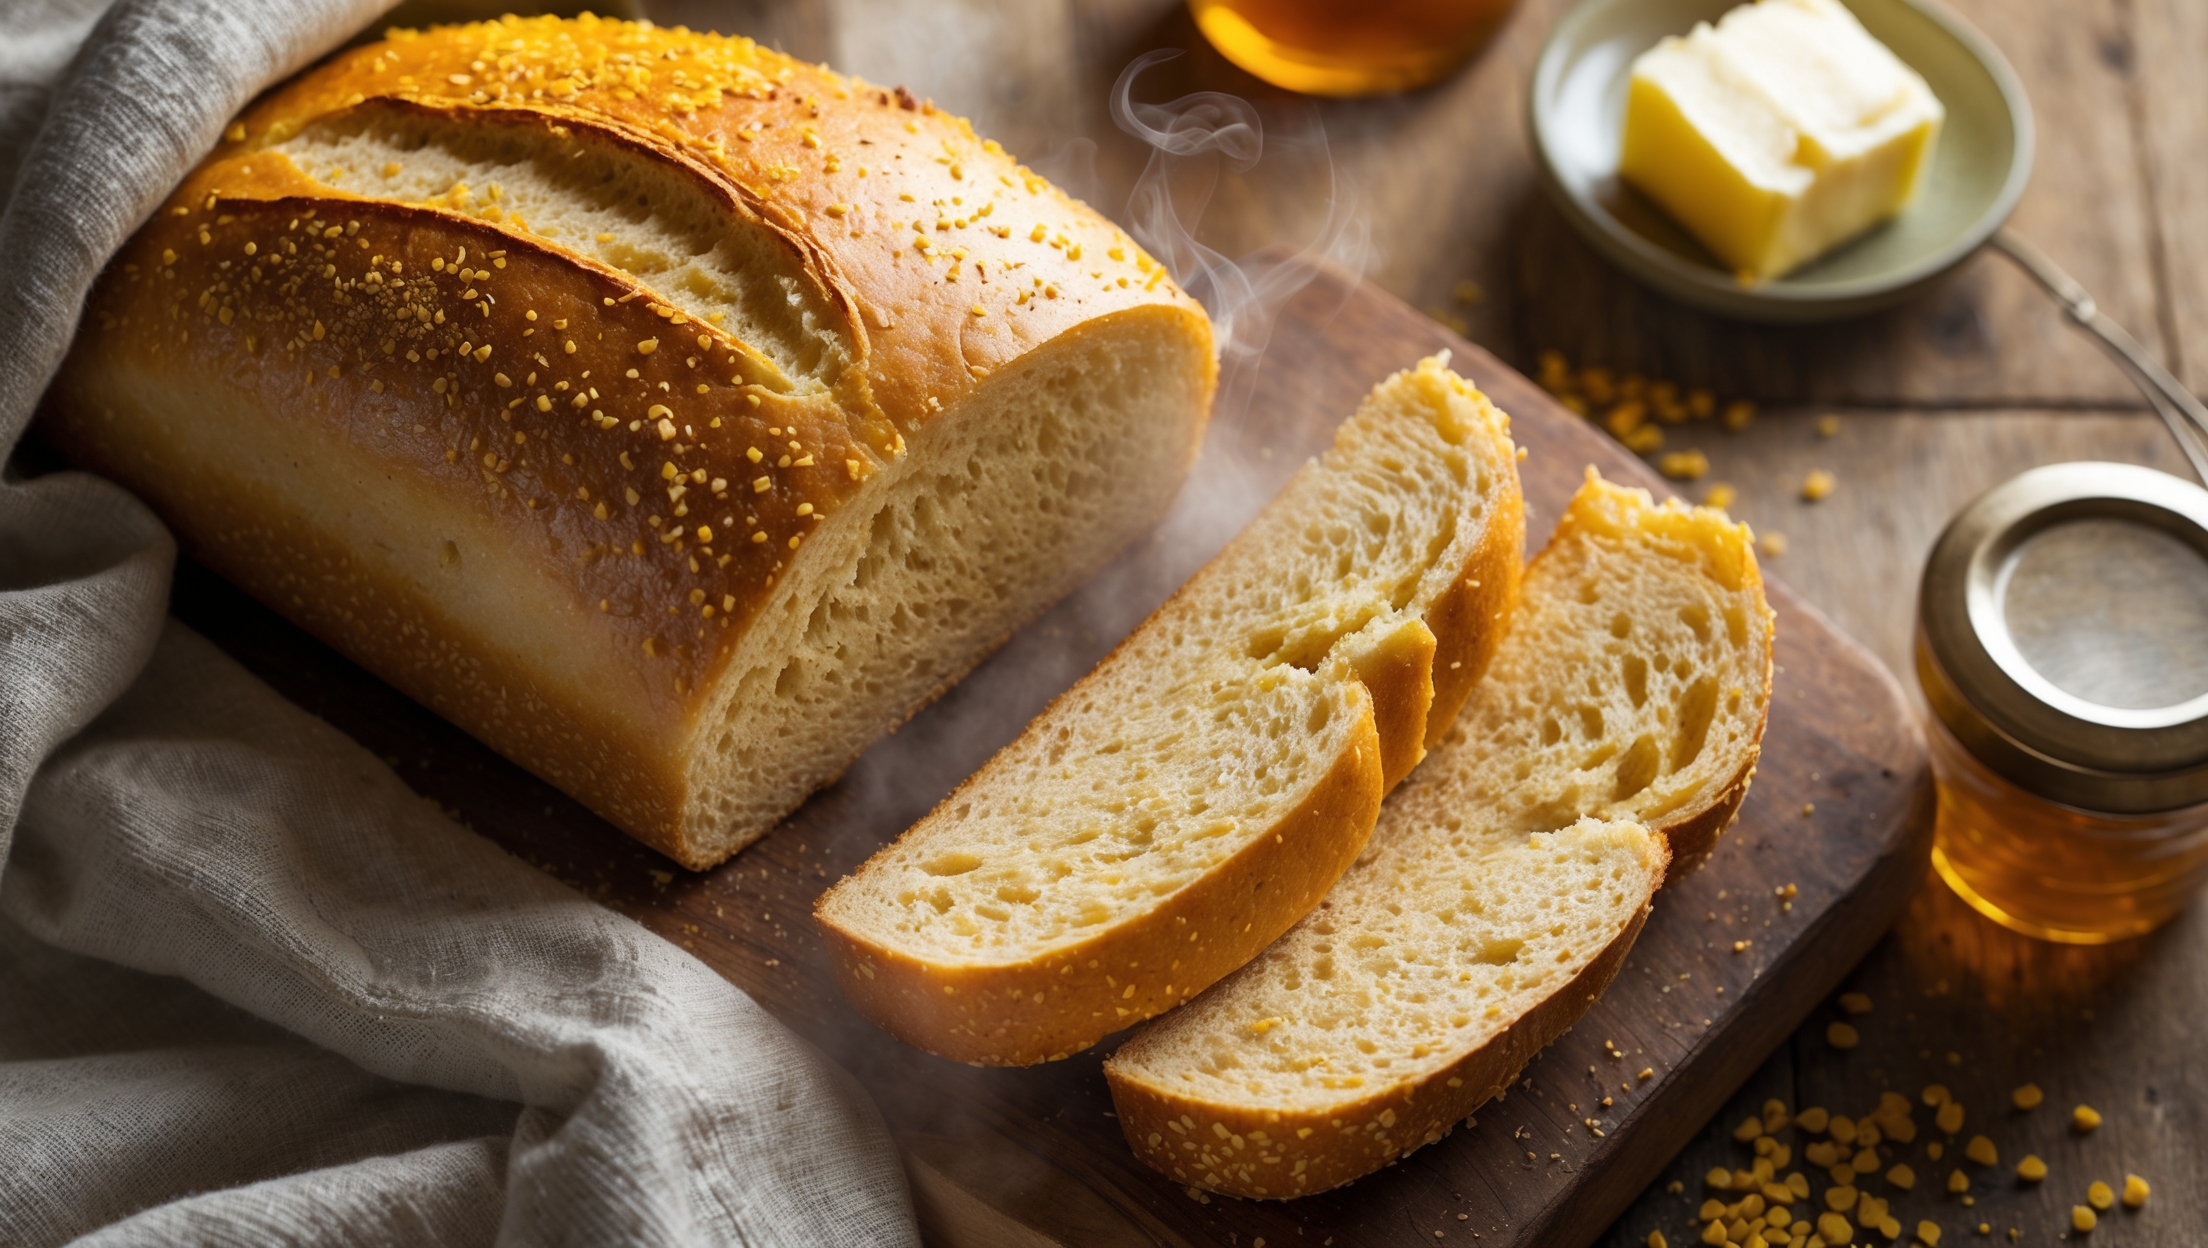
Directions
<ol class="no-list-style"><li class="MethodStepper"><h4 class="step-title">Step 1</h4>Begin by warming your milk to about 43°C (110°F) – it should feel warm to the touch but not hot. Add the yeast and 1 teaspoon of the sugar to the warm milk, stir gently, and let it stand for 5-10 minutes until foamy. This activation step ensures your yeast is alive and will help your bread rise properly.</li><li class="MethodStepper"><h4 class="step-title">Step 2</h4>While the yeast activates, prepare your carrots. Peel and finely grate them using the small holes of a box grater. Place the grated carrots in a clean kitchen towel or cheesecloth and squeeze firmly to remove excess moisture. This is crucial – too much moisture will throw off the bread's texture and hydration levels.</li><li class="MethodStepper"><h4 class="step-title">Step 3</h4>In the bowl of a stand mixer fitted with the dough hook (or a large mixing bowl if kneading by hand), combine the flour, remaining sugar, salt, cinnamon, and nutmeg. Whisk these dry ingredients together to ensure even distribution of the spices.</li><li class="MethodStepper"><h4 class="step-title">Step 4</h4>Add the softened butter, egg, prepared carrots, and the yeast mixture to the dry ingredients. Mix on low speed until the dough comes together, then increase to medium speed and knead for 7-8 minutes until smooth and elastic. The dough should be slightly tacky but not sticky – it will pull away from the sides of the bowl but may still stick slightly to the bottom. If kneading by hand, this will take 10-12 minutes of consistent work.</li><li class="MethodStepper"><h4 class="step-title">Step 5</h4>Transfer the dough to a lightly oiled bowl, turning once to coat all sides. Cover with plastic wrap or a damp kitchen towel and place in a warm, draft-free spot until doubled in size, about 1-1.5 hours. Proper proofing develops flavor and texture, so be patient here.</li><li class="MethodStepper"><h4 class="step-title">Step 6</h4>Once doubled, gently punch down the dough to release excess air bubbles. Turn it out onto a lightly floured surface and pat into a rectangle roughly the width of your loaf pan. Roll the dough tightly from one short end, pinching the seam and ends to seal. The tight rolling creates a good structure that will support the bread as it rises again.</li><li class="MethodStepper"><h4 class="step-title">Step 7</h4>Place the shaped dough seam-side down in a greased 23cm x 13cm (9" x 5") loaf pan. Cover loosely with oiled plastic wrap and let rise again until the dough crests about 2.5cm (1 inch) above the rim of the pan, approximately 45-60 minutes. Meanwhile, preheat your oven to 180°C (350°F).</li><li class="MethodStepper"><h4 class="step-title">Step 8</h4>Just before baking, gently brush the top of the loaf with milk for a golden crust. Bake in the preheated oven for 35-40 minutes until deep golden brown. The bread should sound hollow when tapped on the bottom, and an instant-read thermometer inserted into the center should register 90-95°C (195-205°F).</li><li class="MethodStepper"><h4 class="step-title">Step 9</h4>Remove from the oven and allow the bread to cool in the pan for 10 minutes before transferring to a wire rack to cool completely. It's tempting to slice warm bread, but waiting until it's fully cooled (at least 1 hour) allows the structure to set properly and prevents a gummy texture.</li><li class="MethodStepper"><h4 class="step-title">Step 10</h4>Once completely cooled, slice with a serrated knife and store in an airtight container or bread bag at room temperature for up to 3 days. For longer storage, slice the entire loaf and freeze with parchment paper between slices for easy toasting directly from frozen.</li></ol>