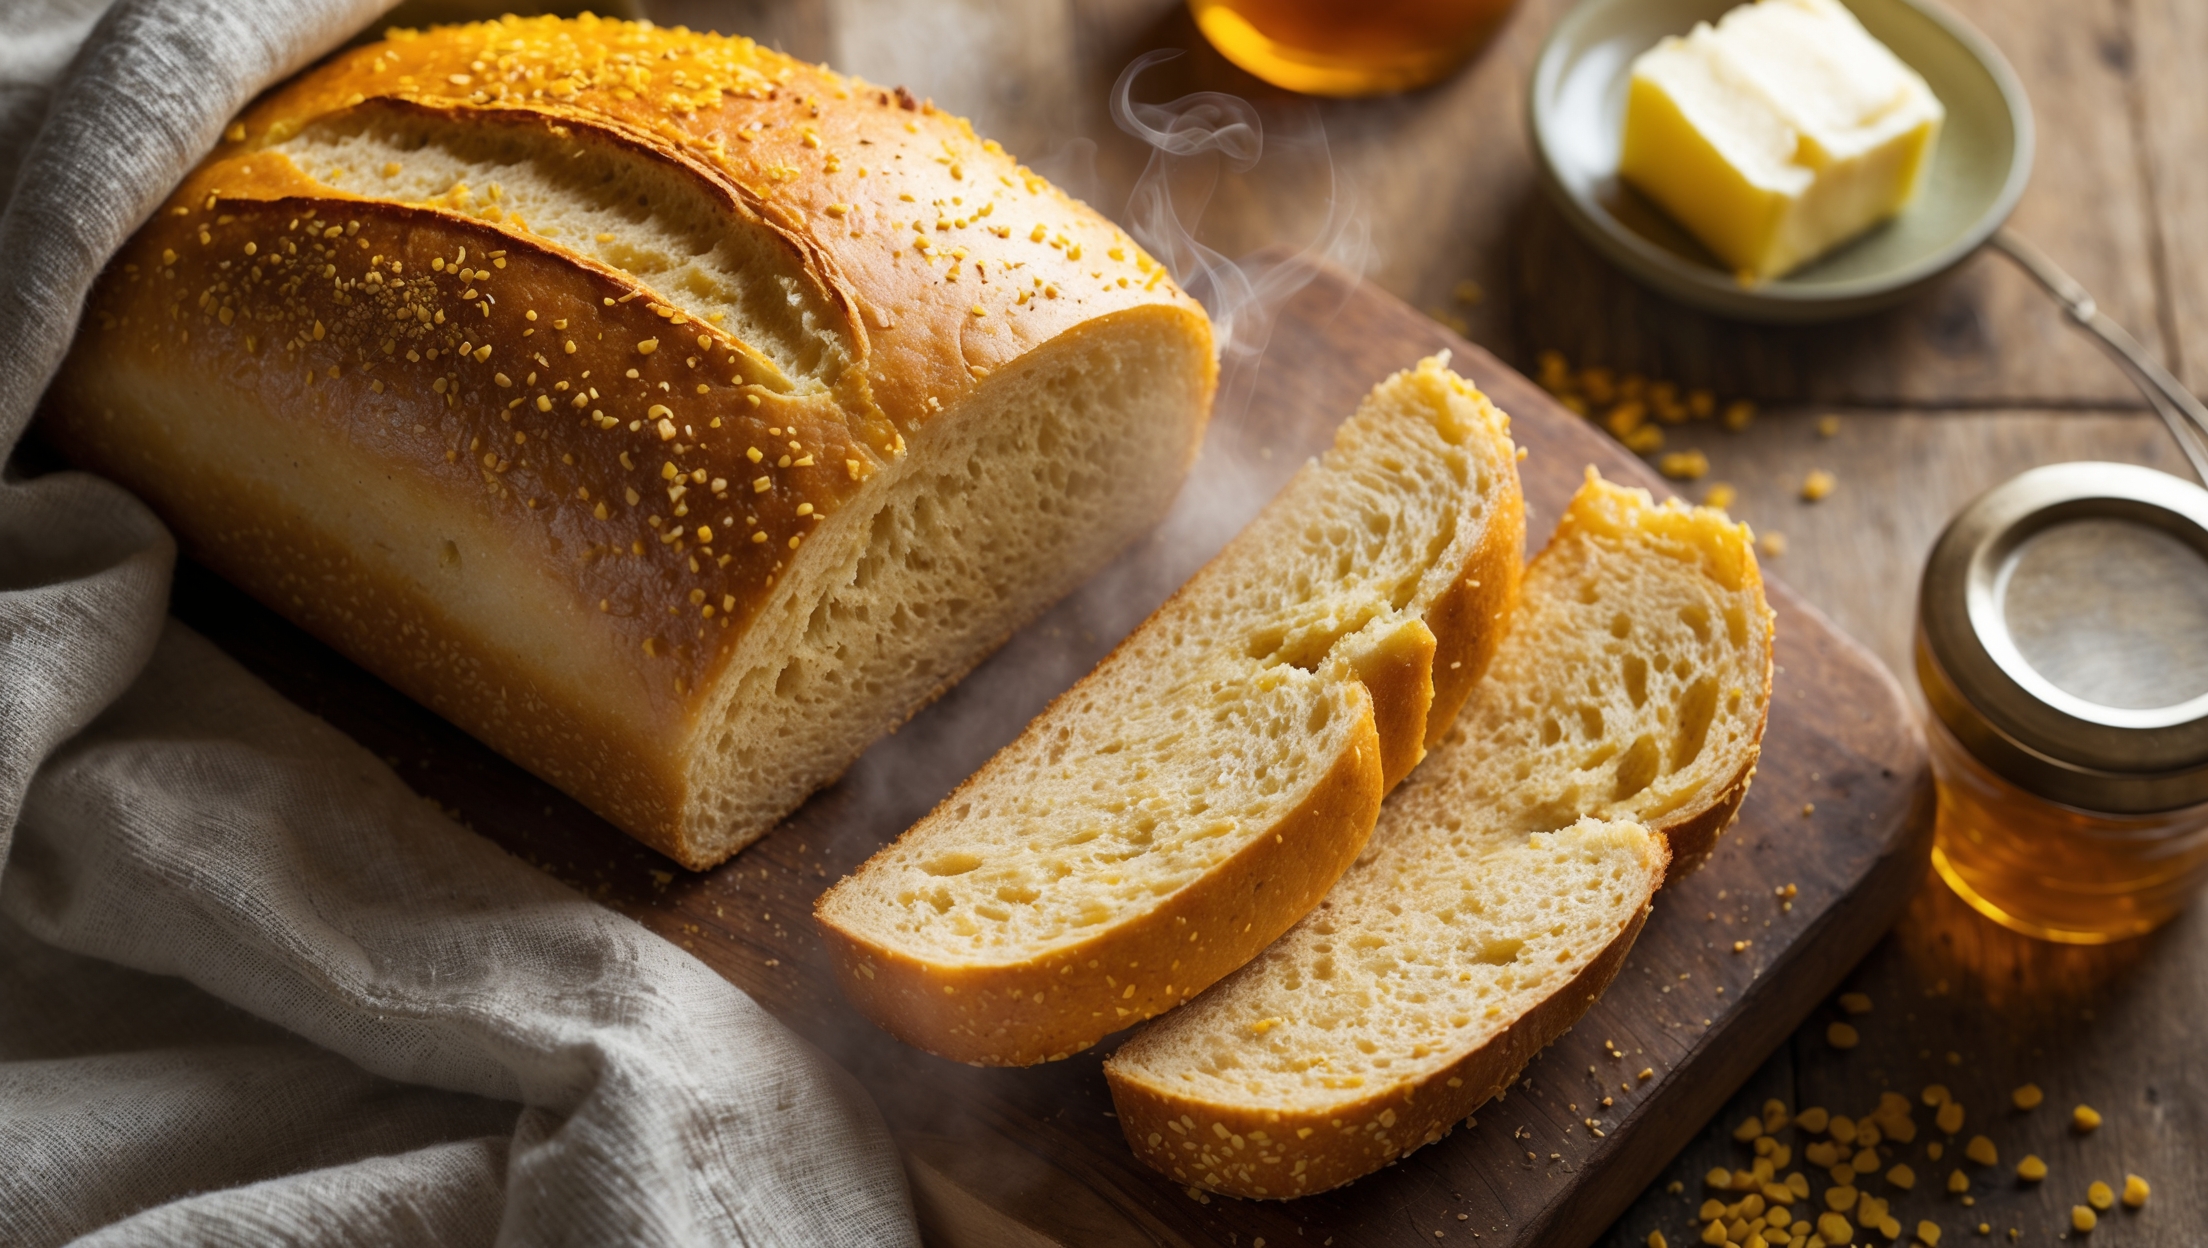
Buttermilk Sandwich Bread Recipe
Ingredients
Equipment
Directions
FAQs
Find answers to your most pressing questions about this delicious recipe right here.
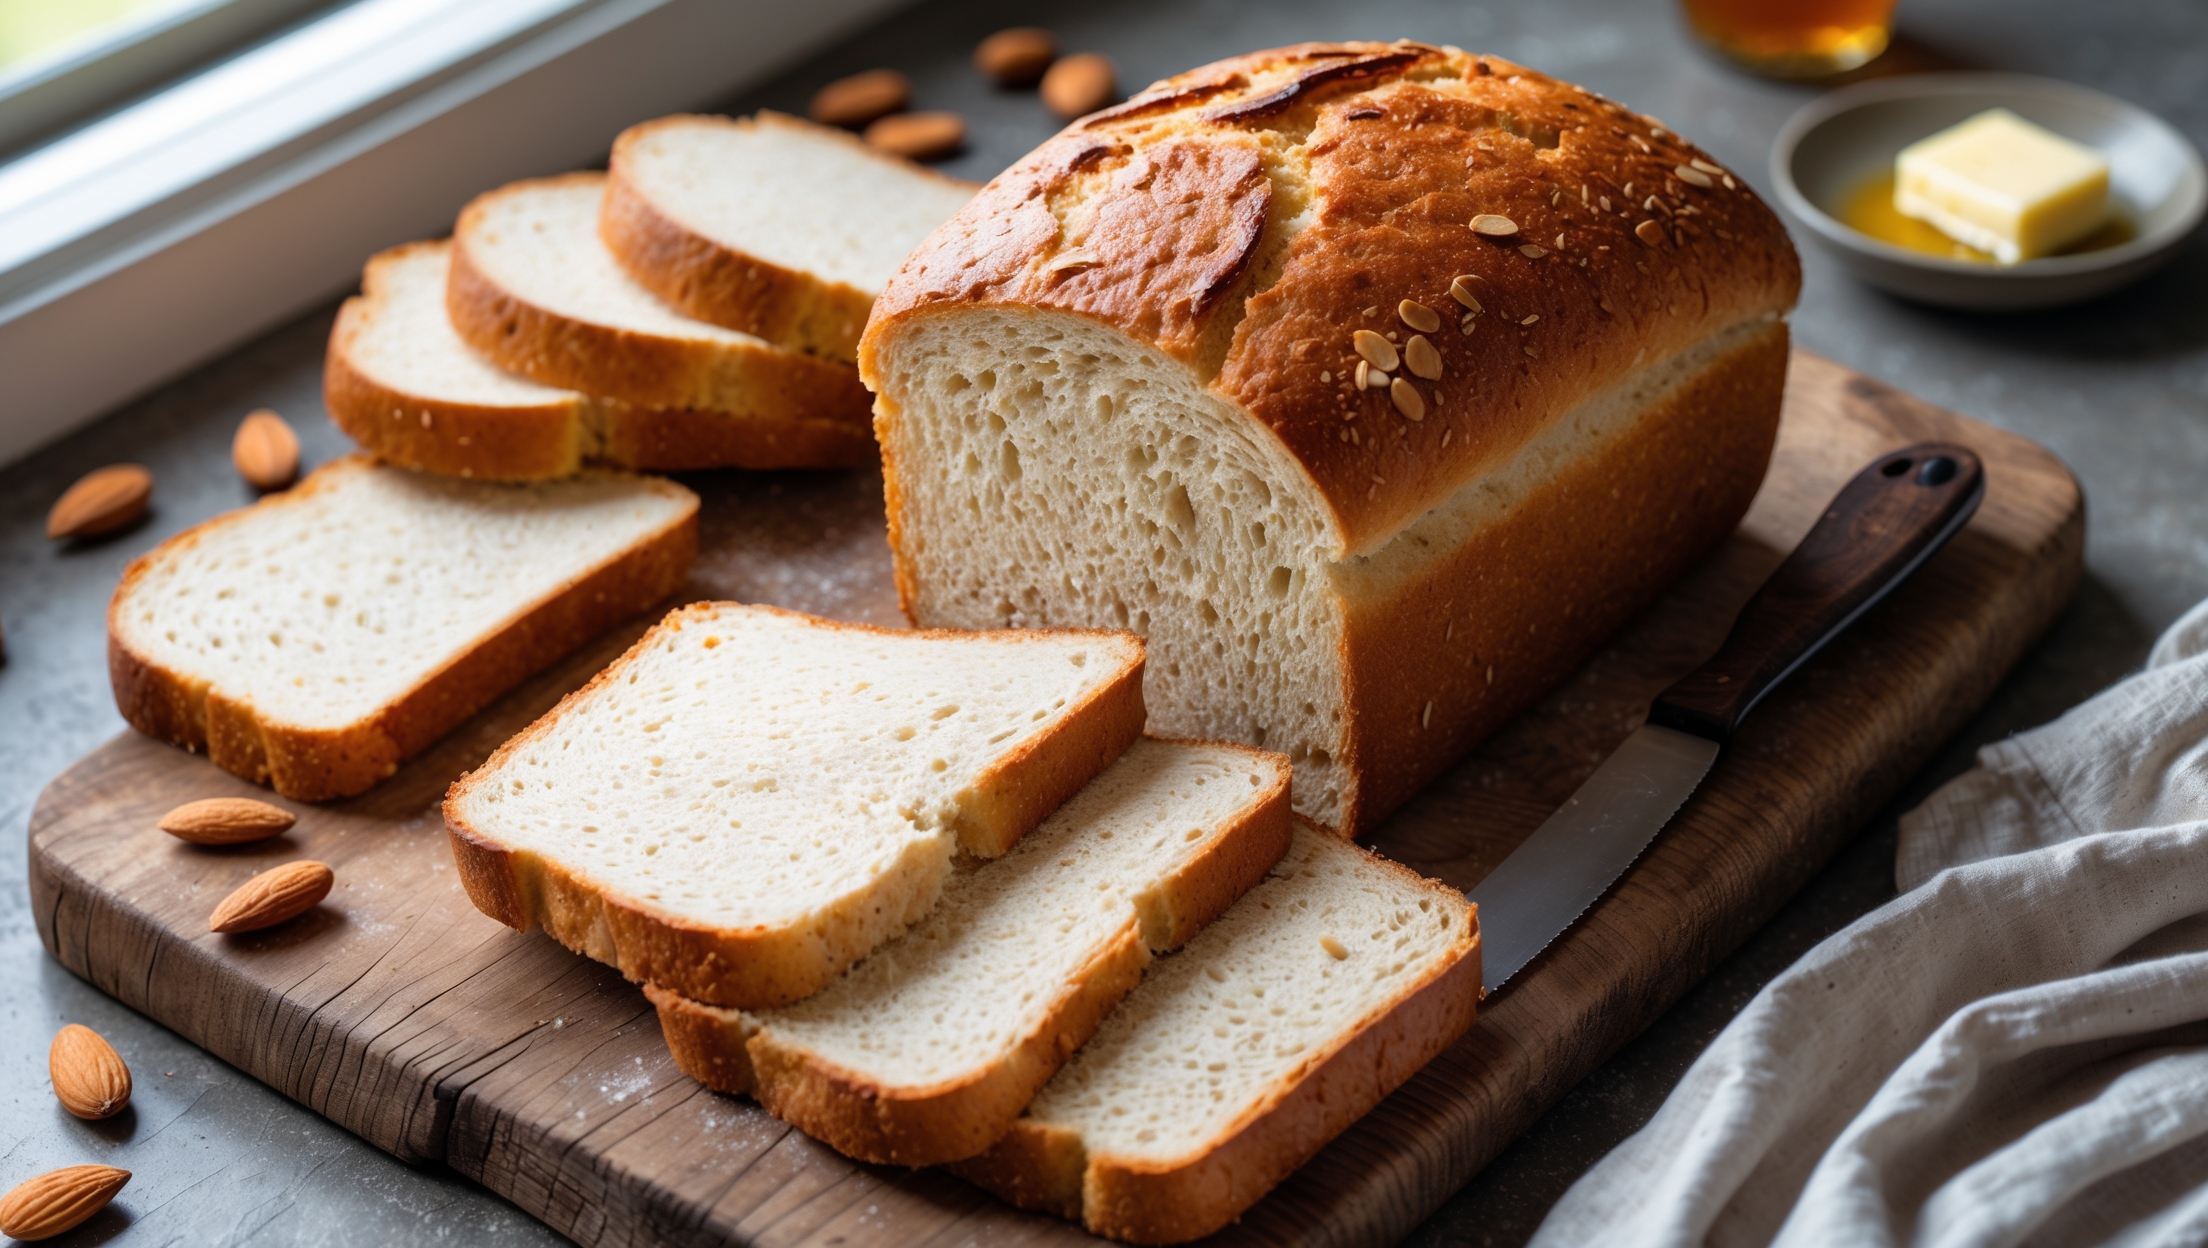
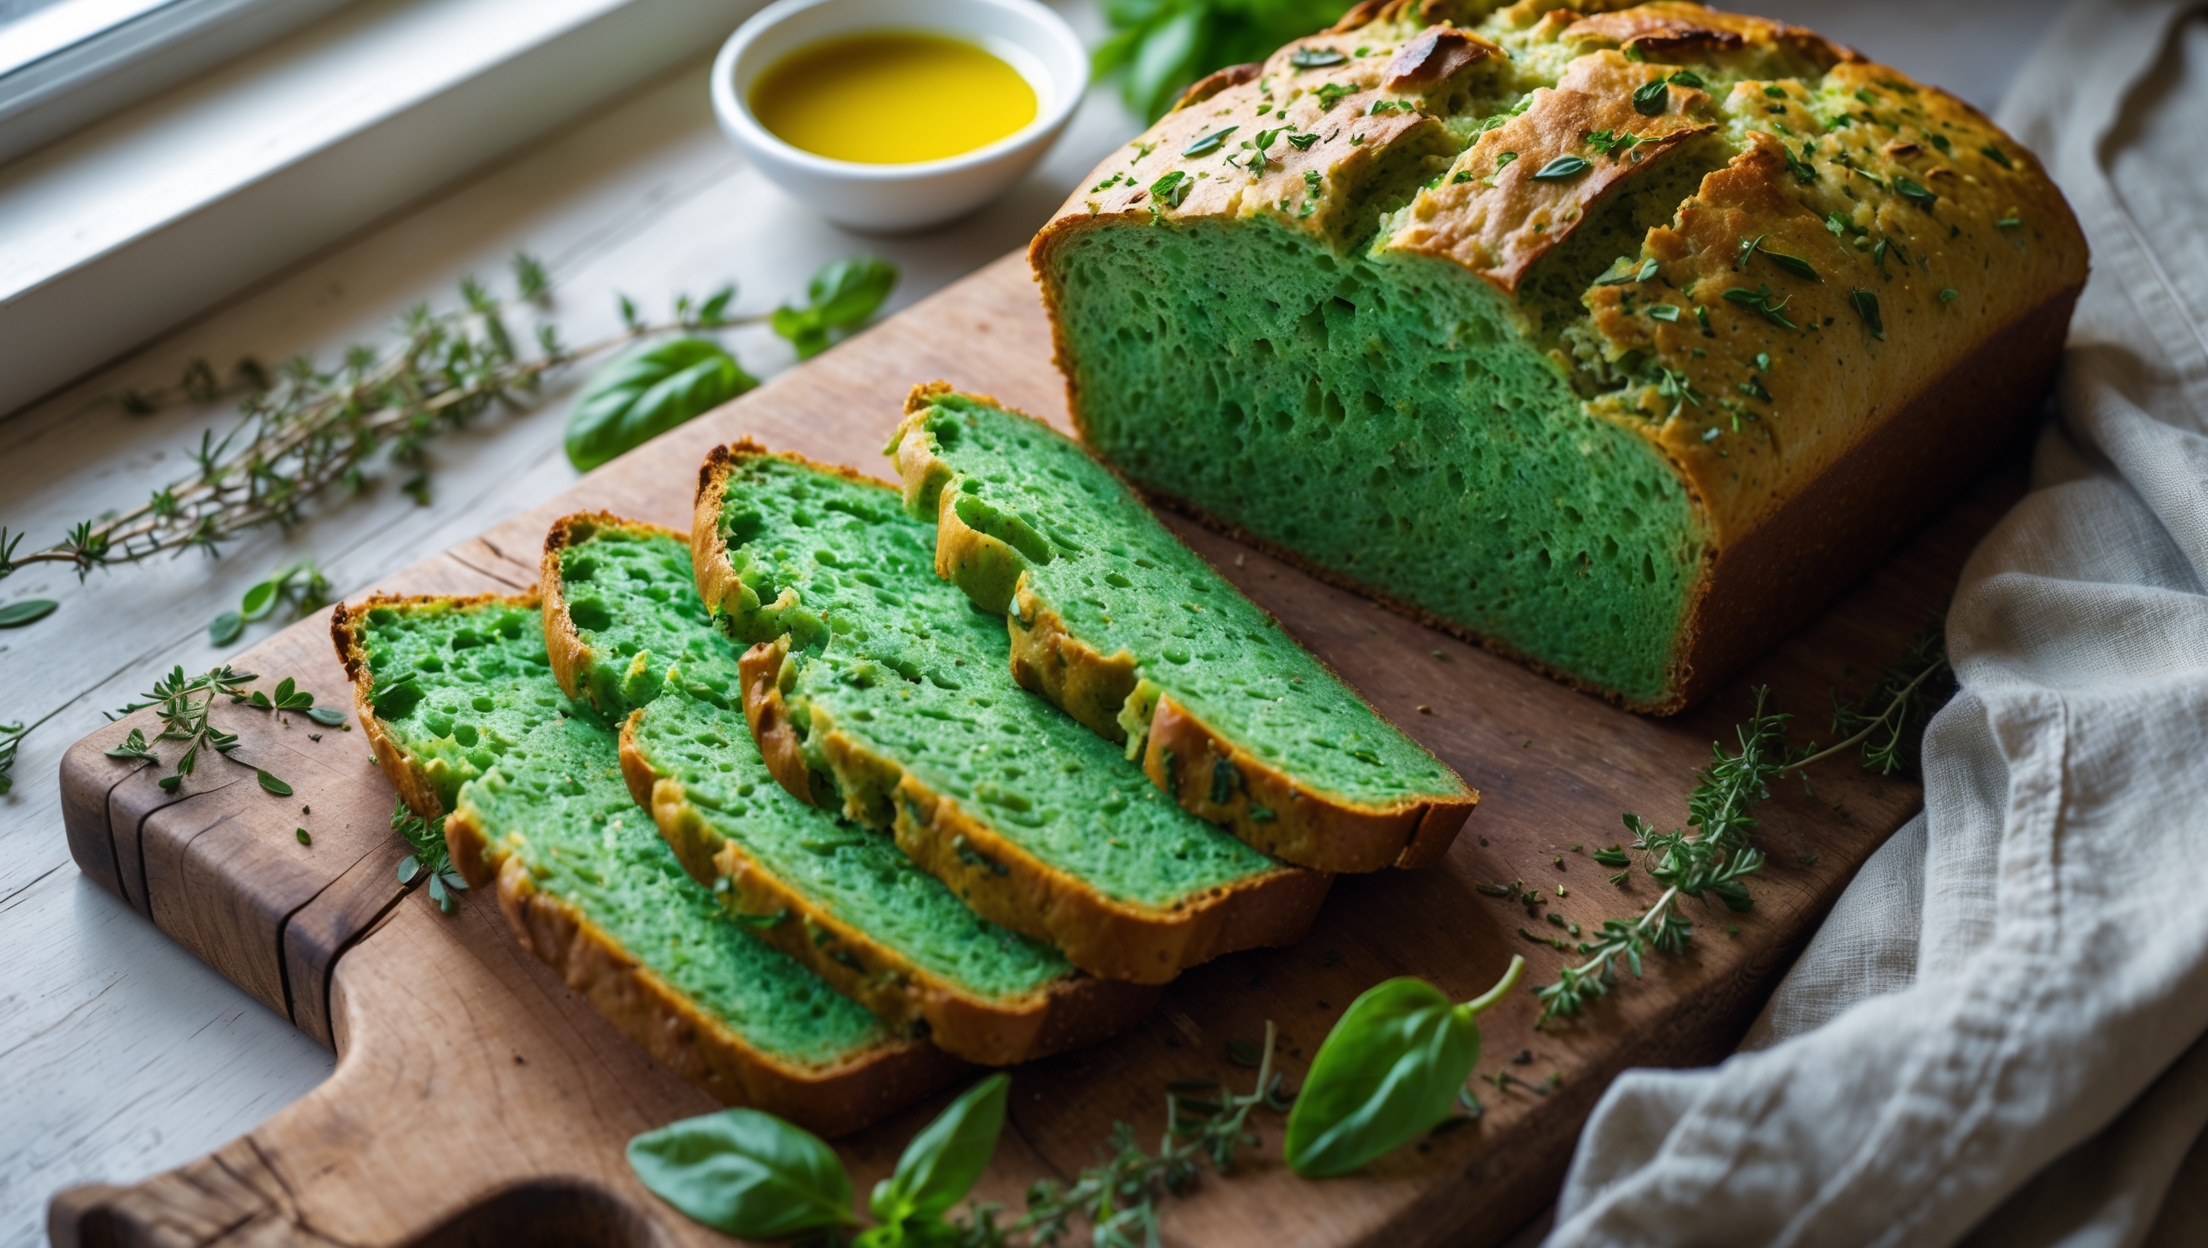
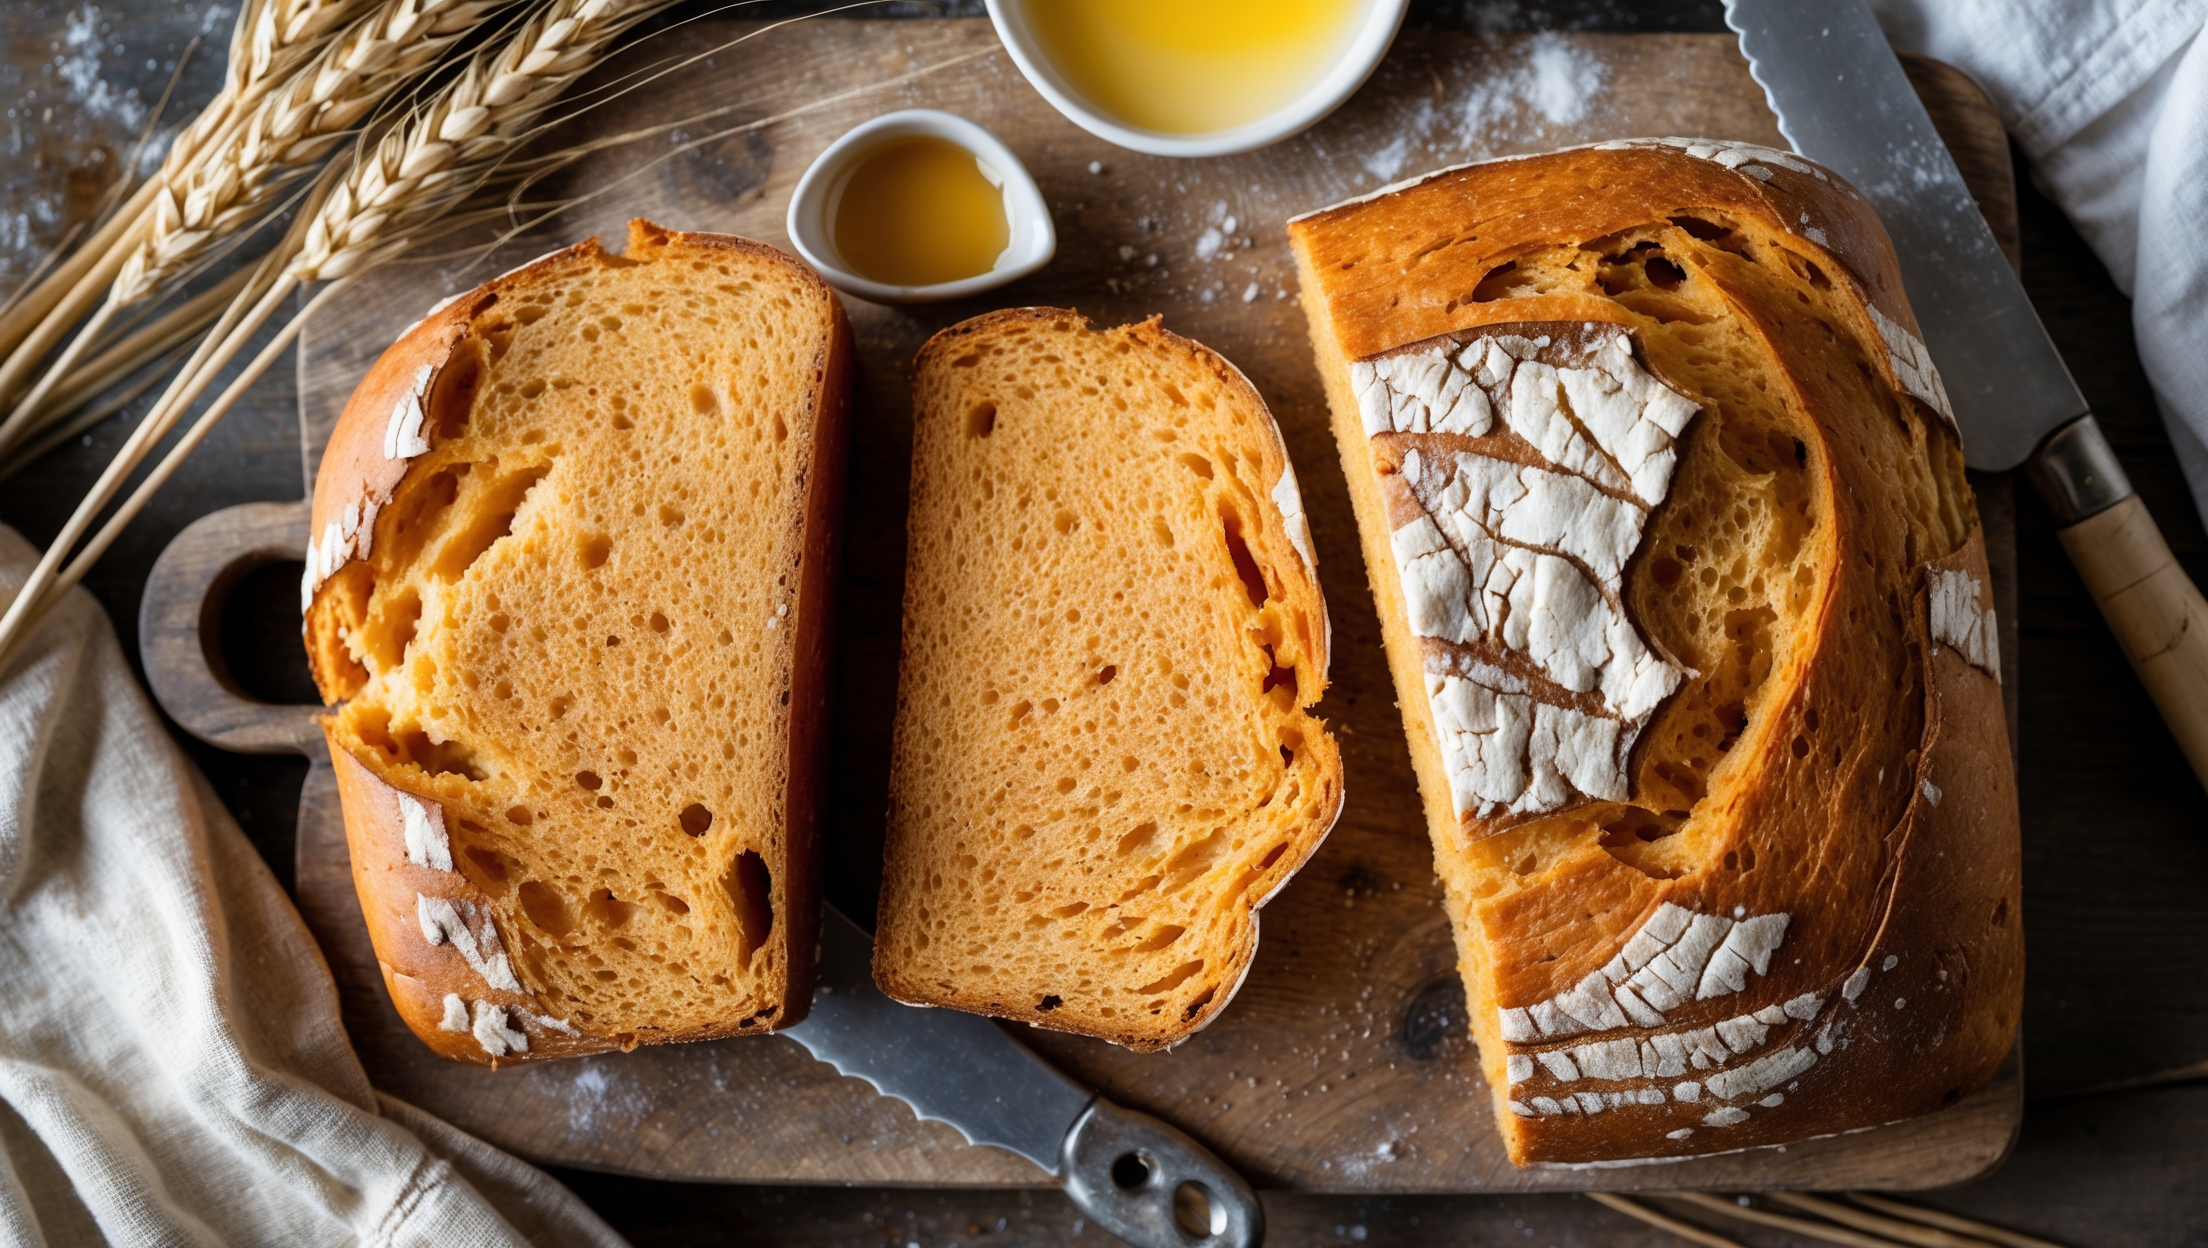
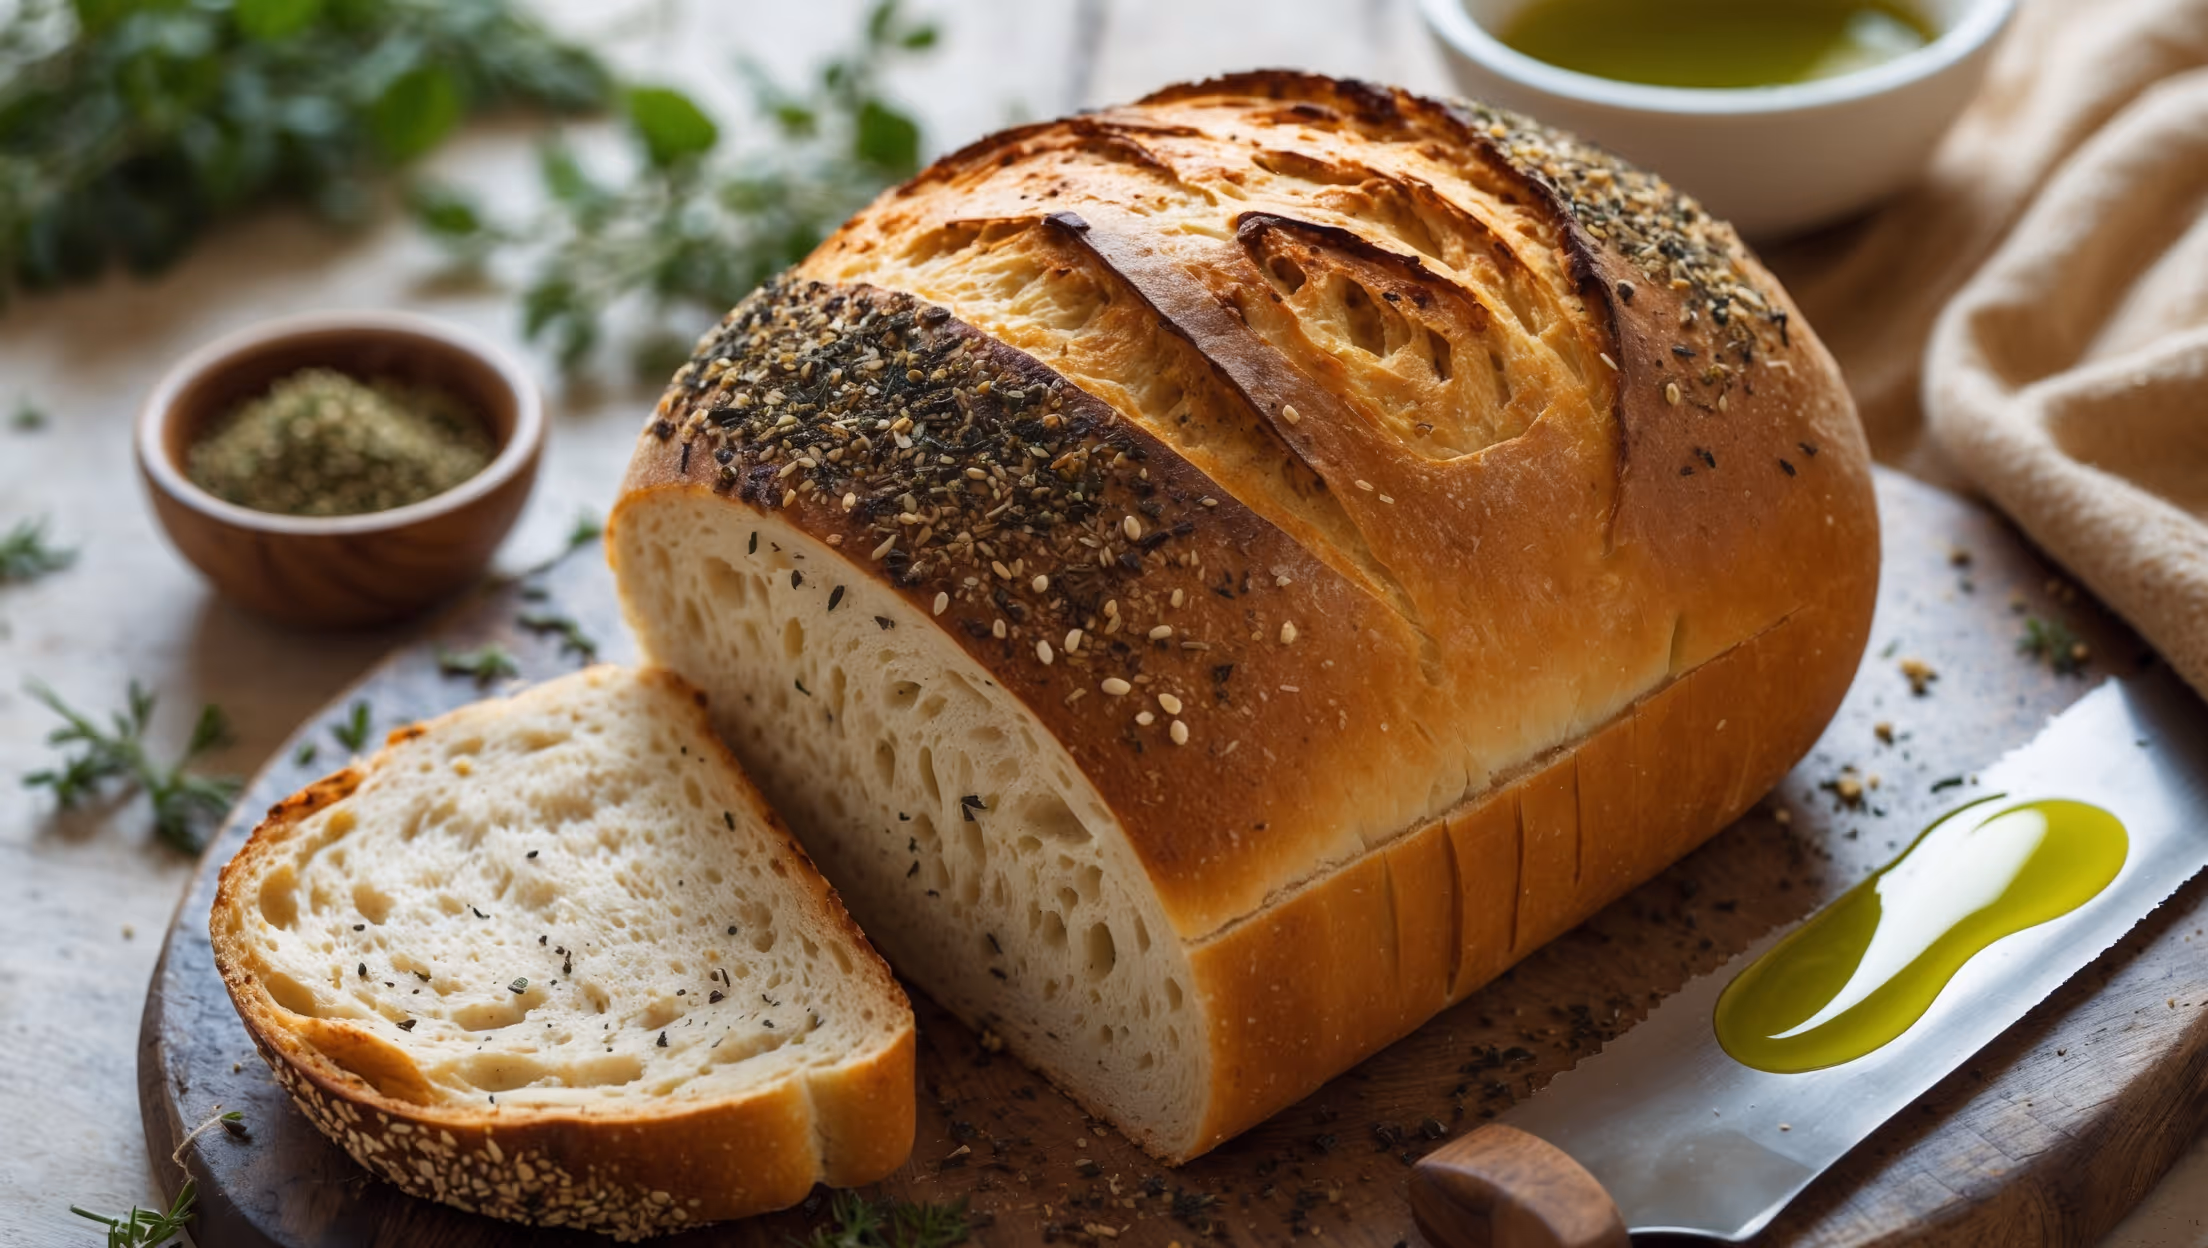
This homemade bread requires bread flour, buttermilk, warm water, unsalted butter, granulated sugar, active dry yeast, salt, vegetable oil for greasing, and an egg for the wash. The buttermilk provides a subtle tang while contributing to the soft texture.
Learn how to cook Buttermilk Sandwich Bread by activating yeast with warm water and sugar, mixing with flour, salt, buttermilk and butter, kneading until elastic, then allowing two rises before baking at 180°C for 30-35 minutes until golden brown with an internal temperature of 90-95°C. The result is a perfect sandwich loaf with a tender crumb and slight tang.
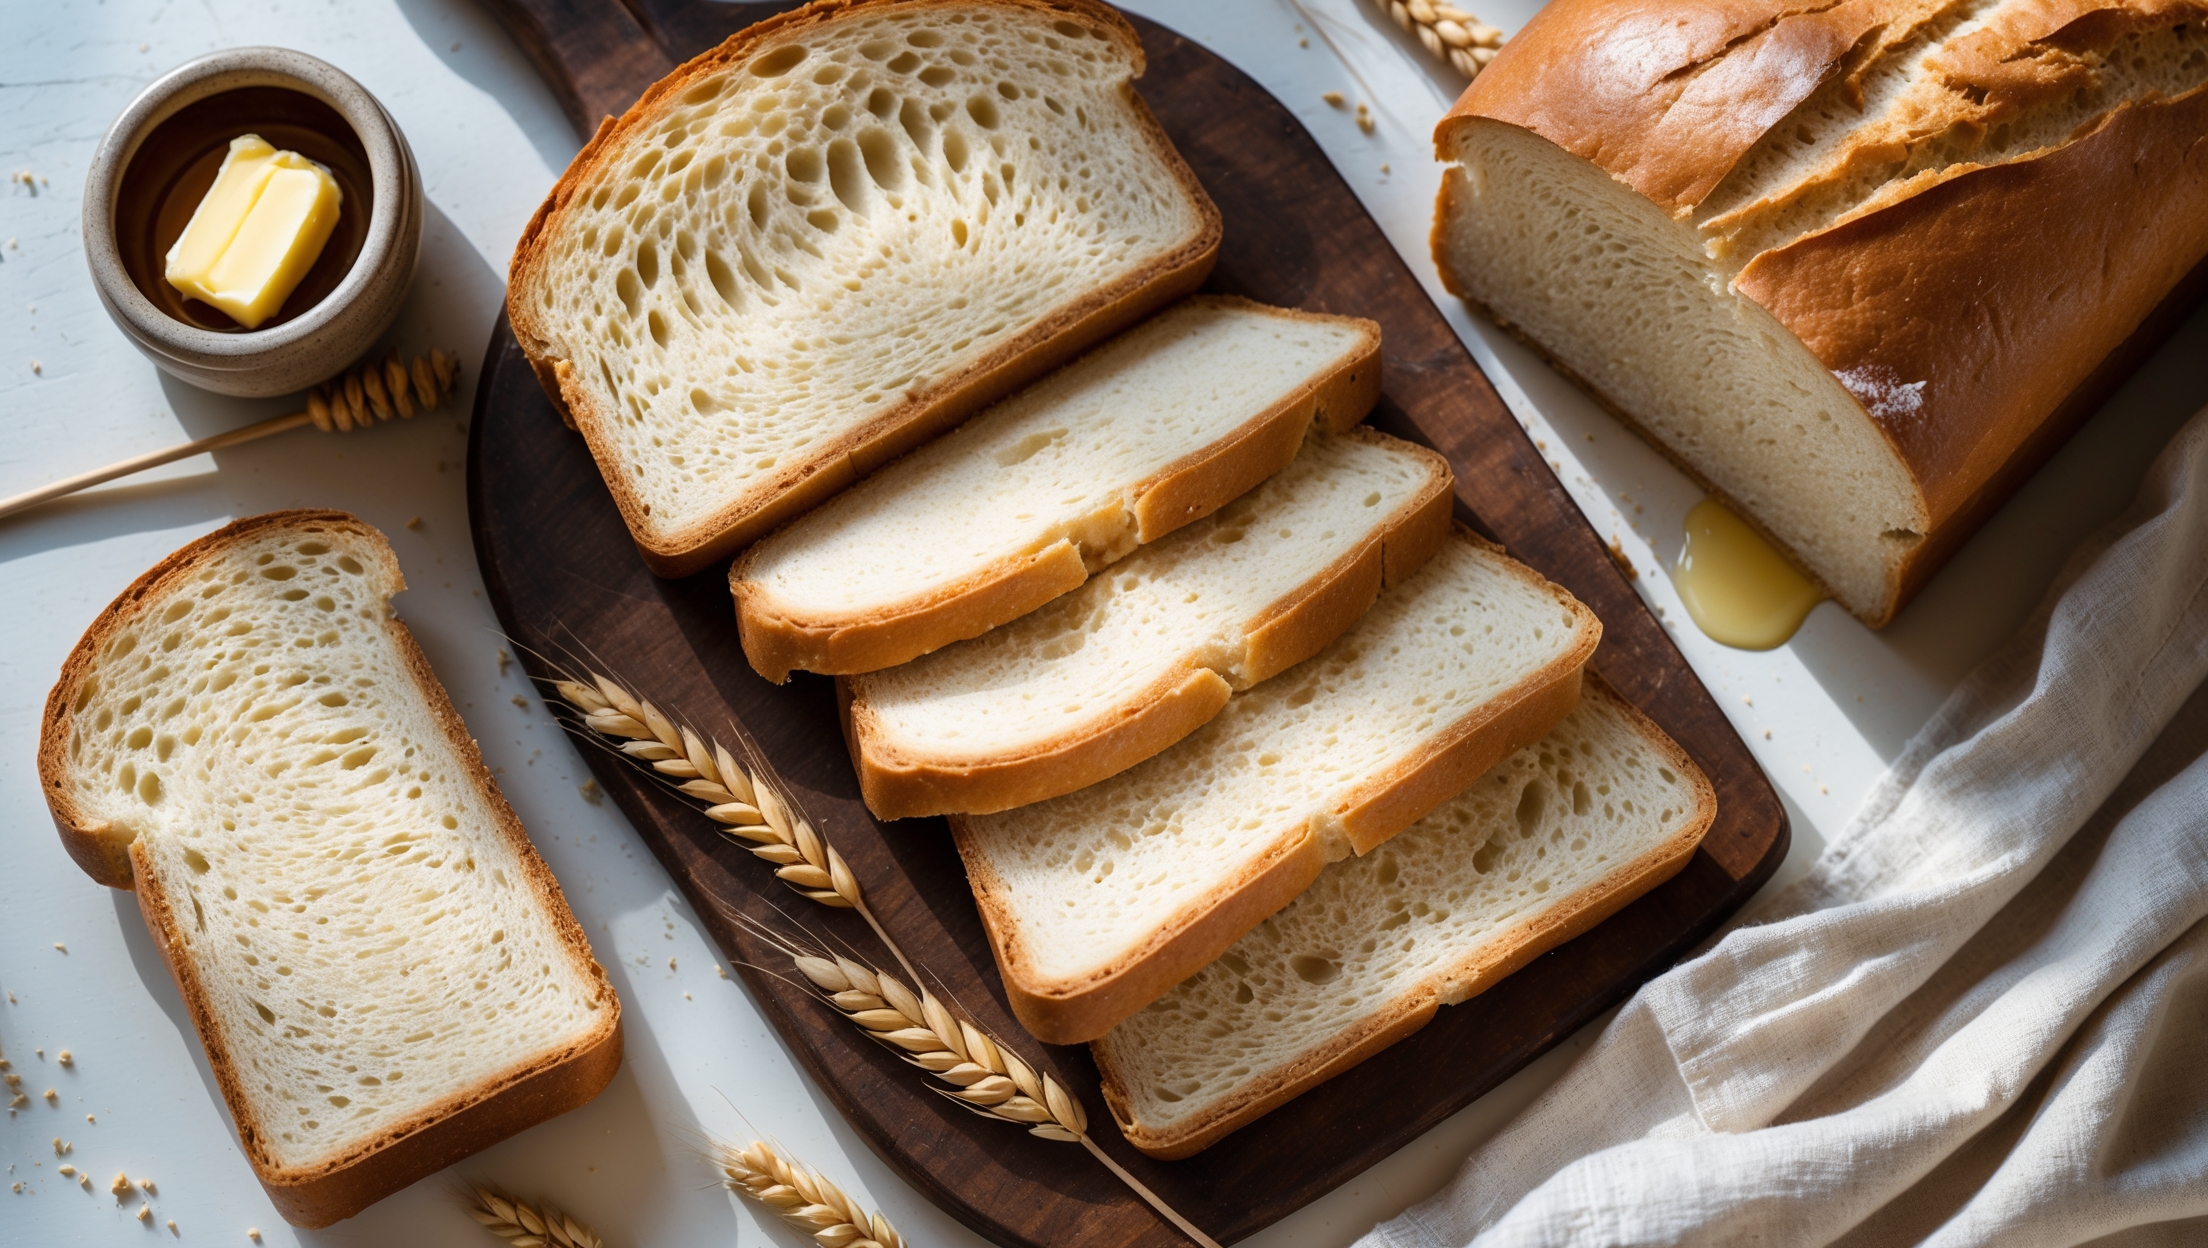
Allowing bread to cool completely (1-2 hours) is crucial as the baking process continues after removal from the oven. Cutting too soon releases steam that can make the texture gummy and dense. Patience during cooling ensures the perfect sandwich-ready slice with proper structure.
While you can substitute regular milk with 1 tablespoon of lemon juice or vinegar added (let stand 5 minutes), real buttermilk provides superior results with better flavour, softer texture and improved keeping quality due to its acidity which tenderises the gluten structure.
Store completely cooled bread in an airtight container or bread bag at room temperature for up to 3 days. For longer storage, slice the entire loaf and freeze individual slices wrapped in cling film or freezer bags for up to 3 months. Frozen slices can go directly into the toaster.
Sandwich Bread
Try following recommended recipes