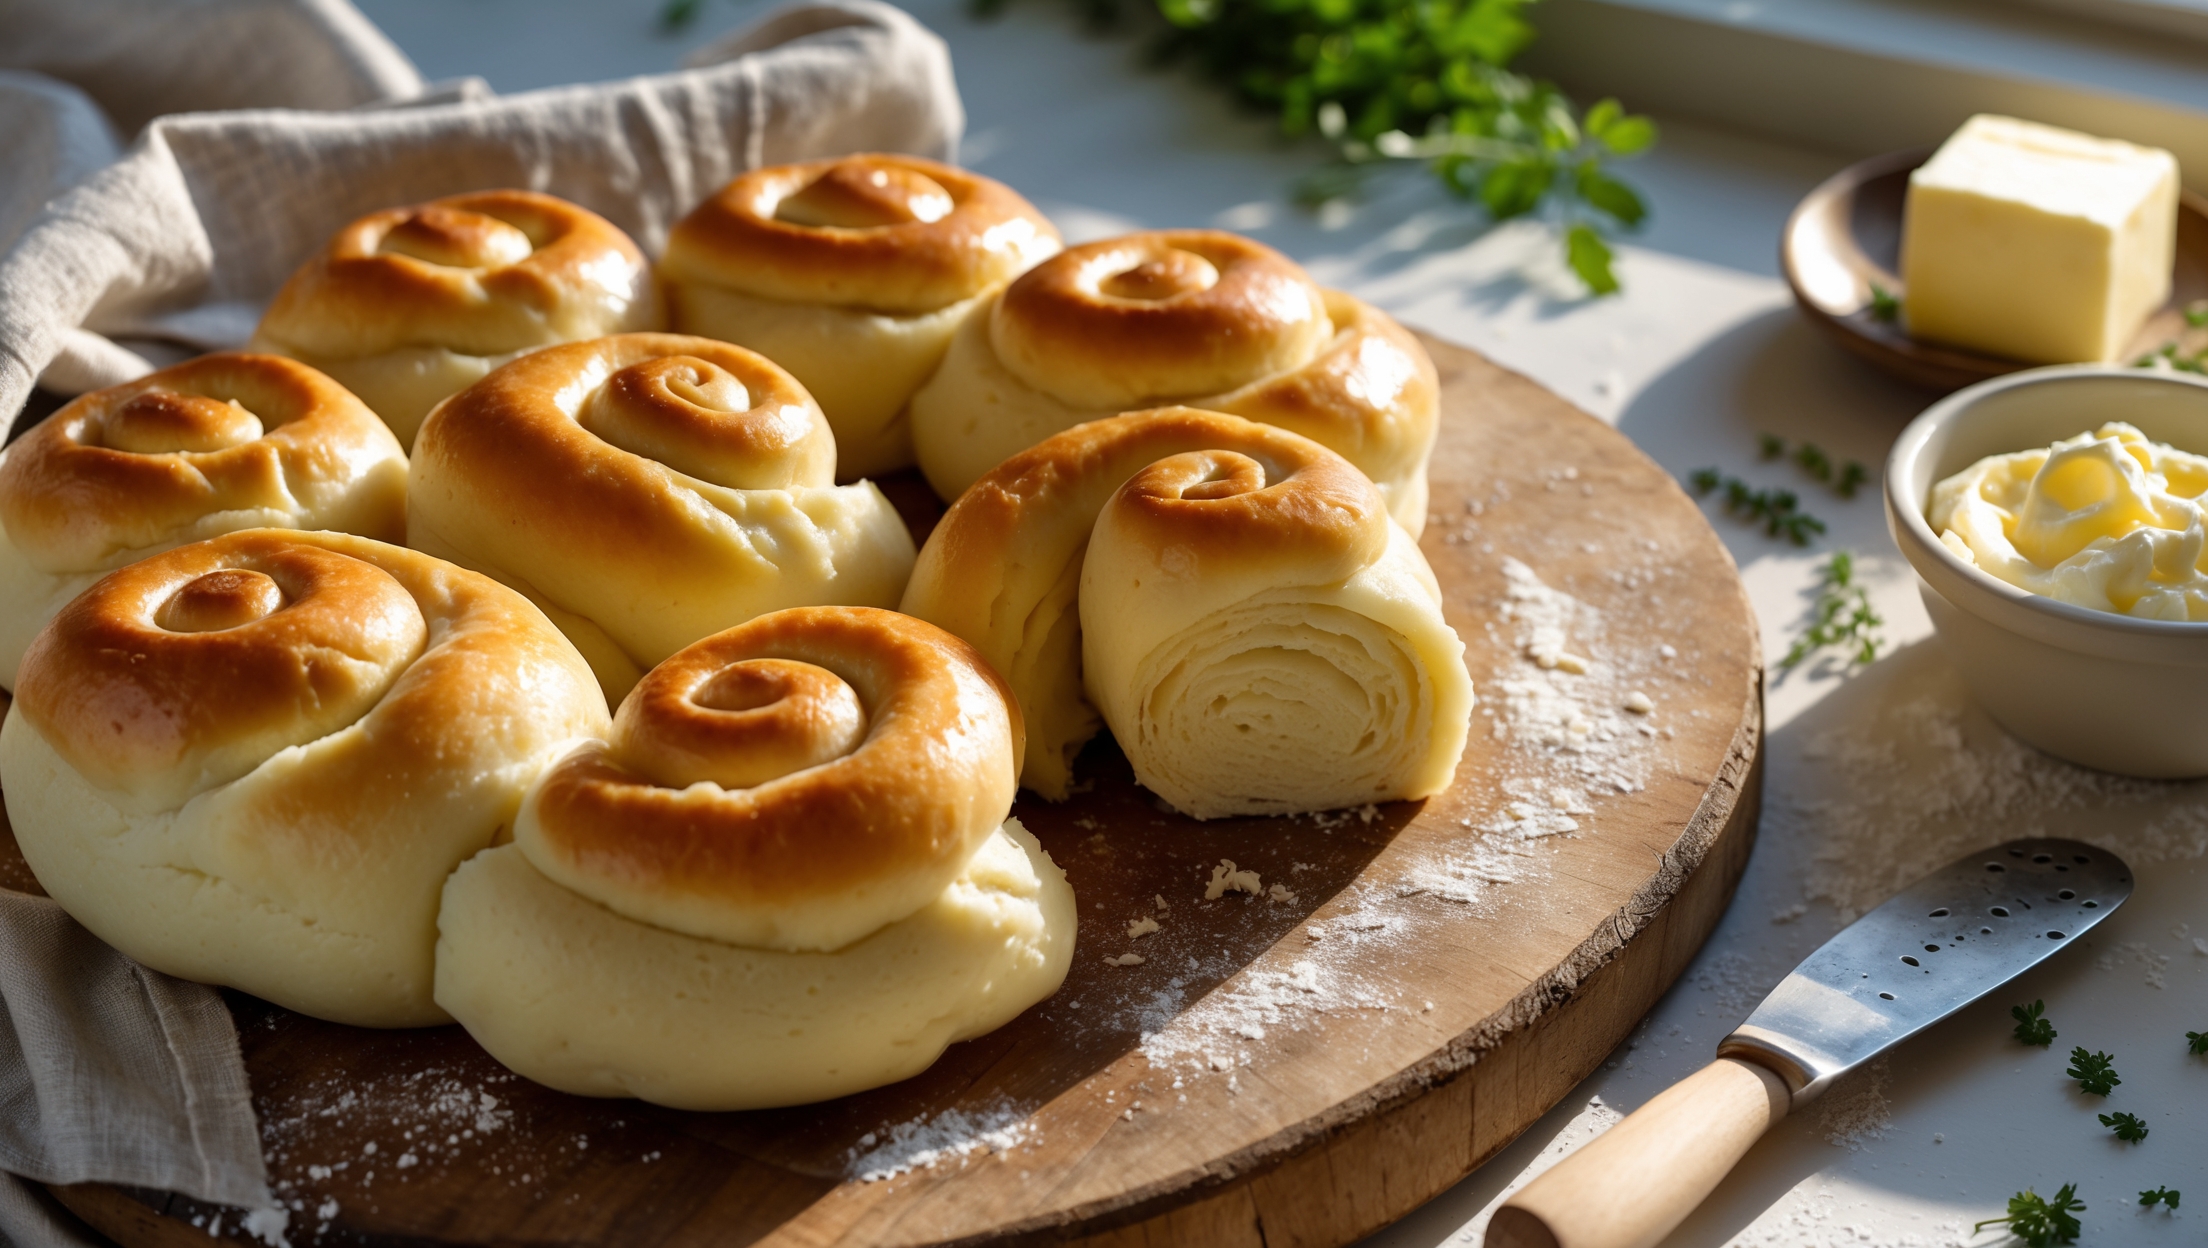
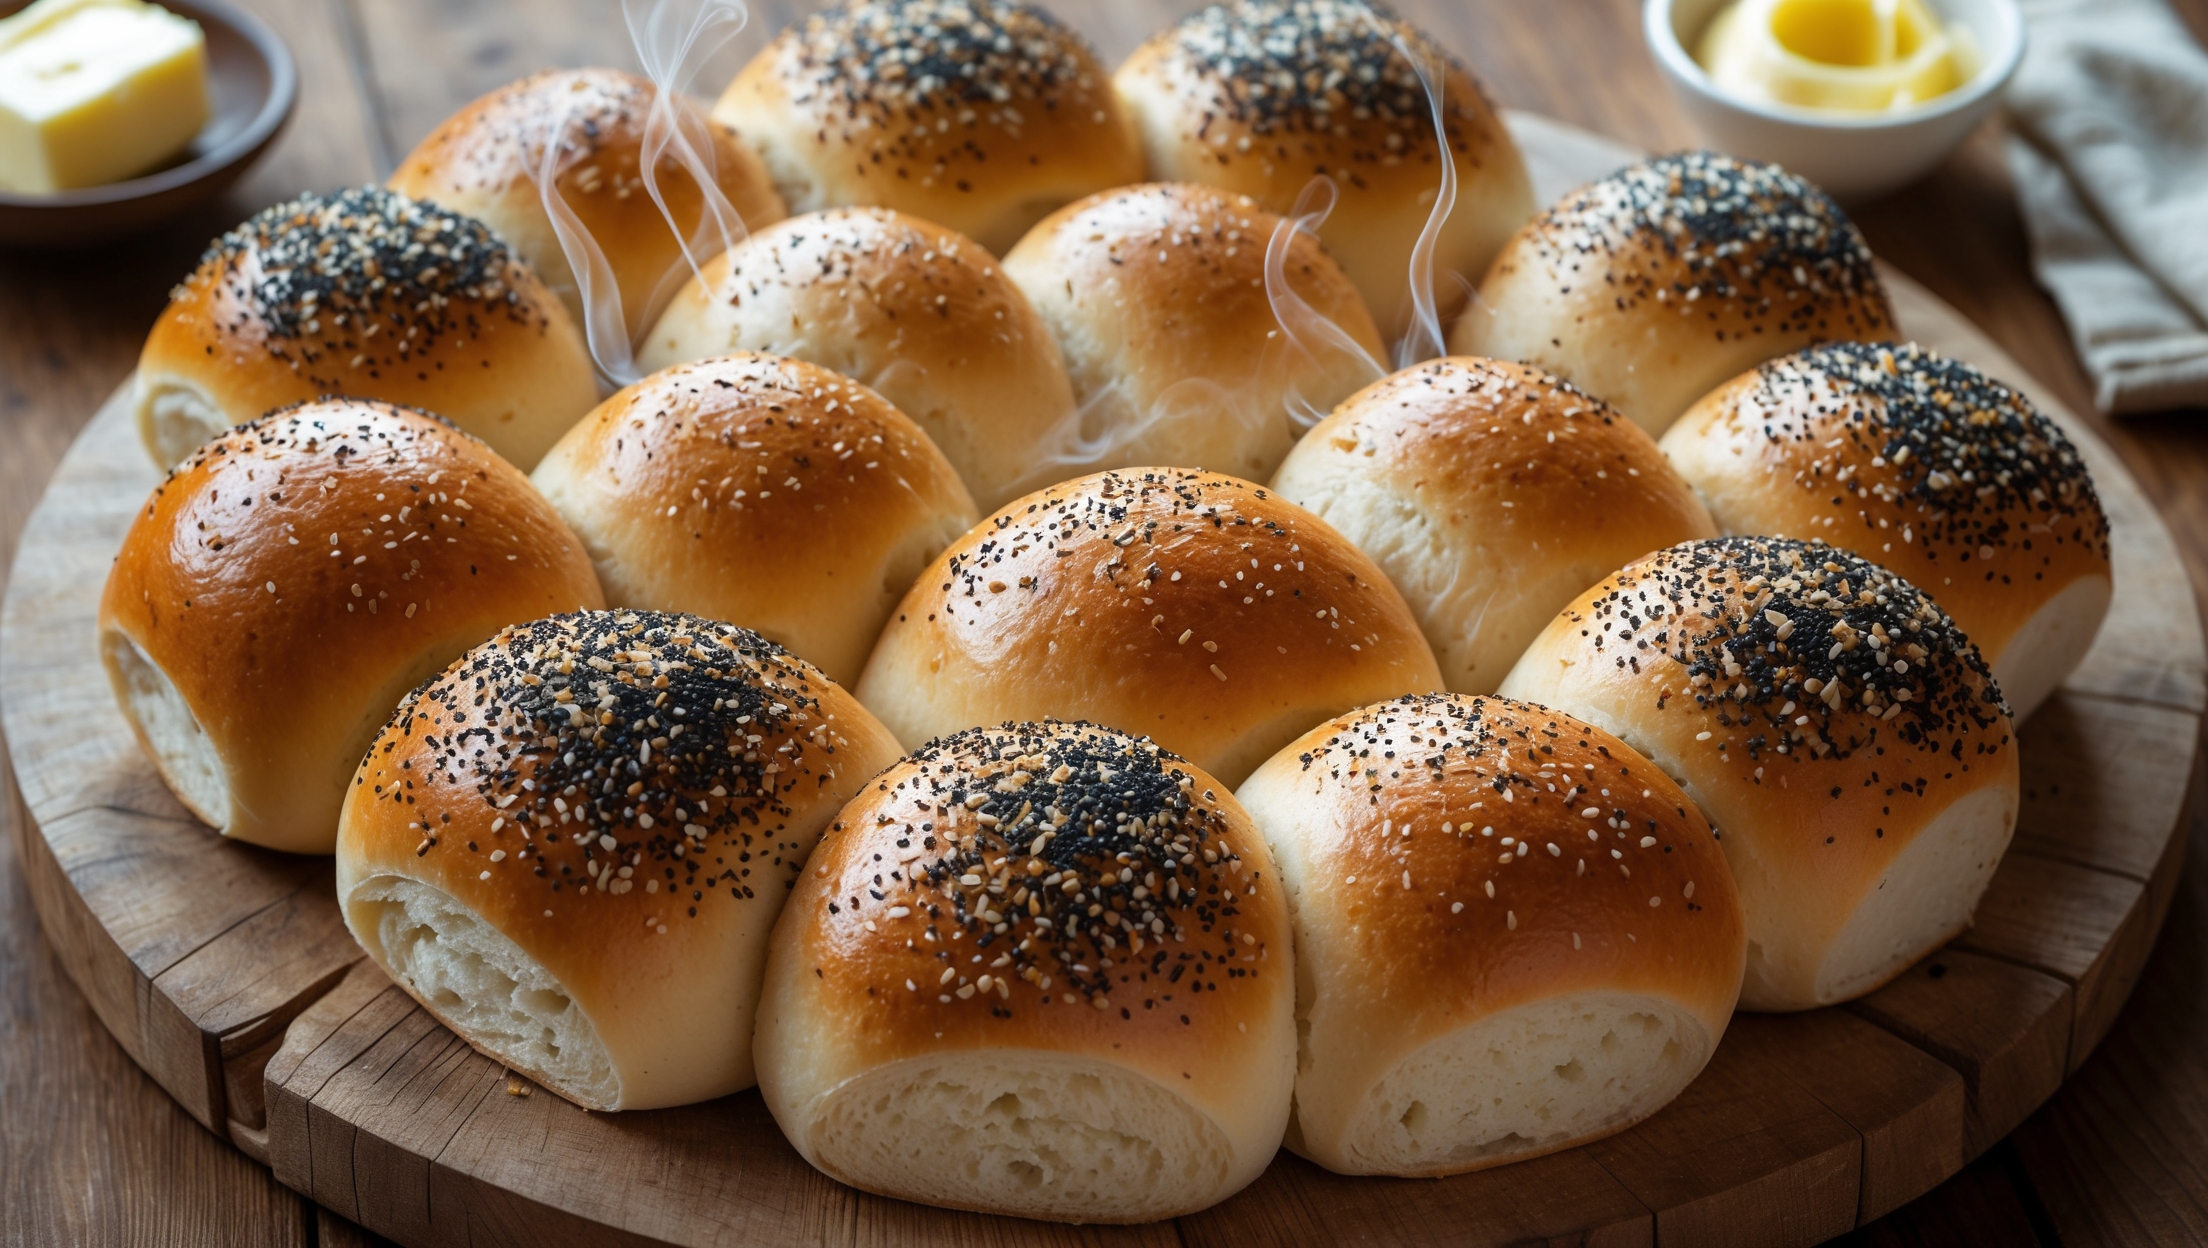
Brioche Buns Recipe
Ingredients
Equipment
Directions
FAQs
Find answers to your most pressing questions about this delicious recipe right here.
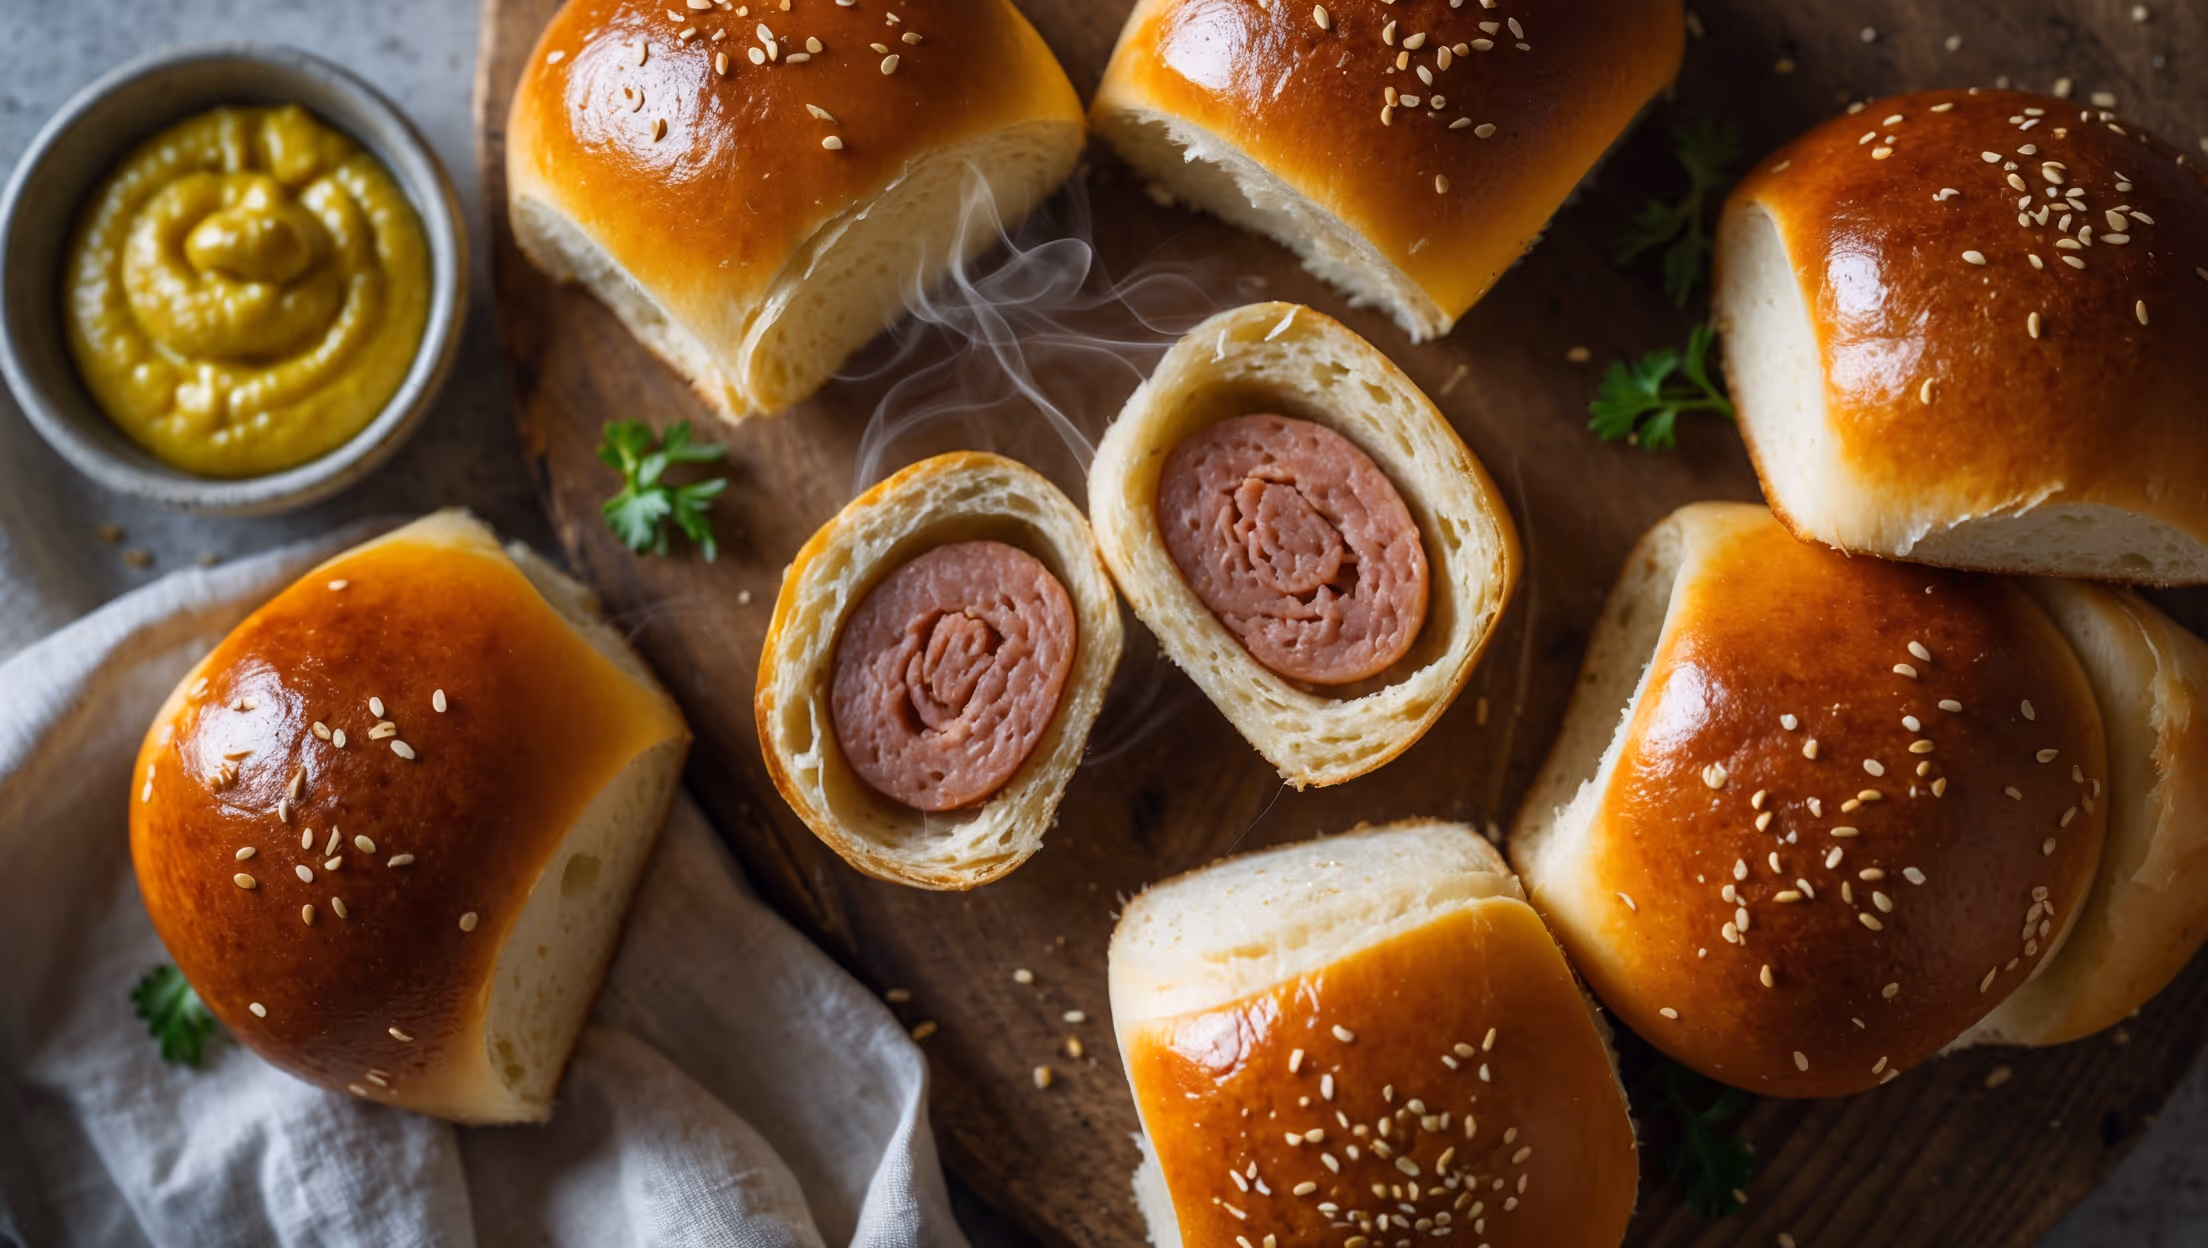
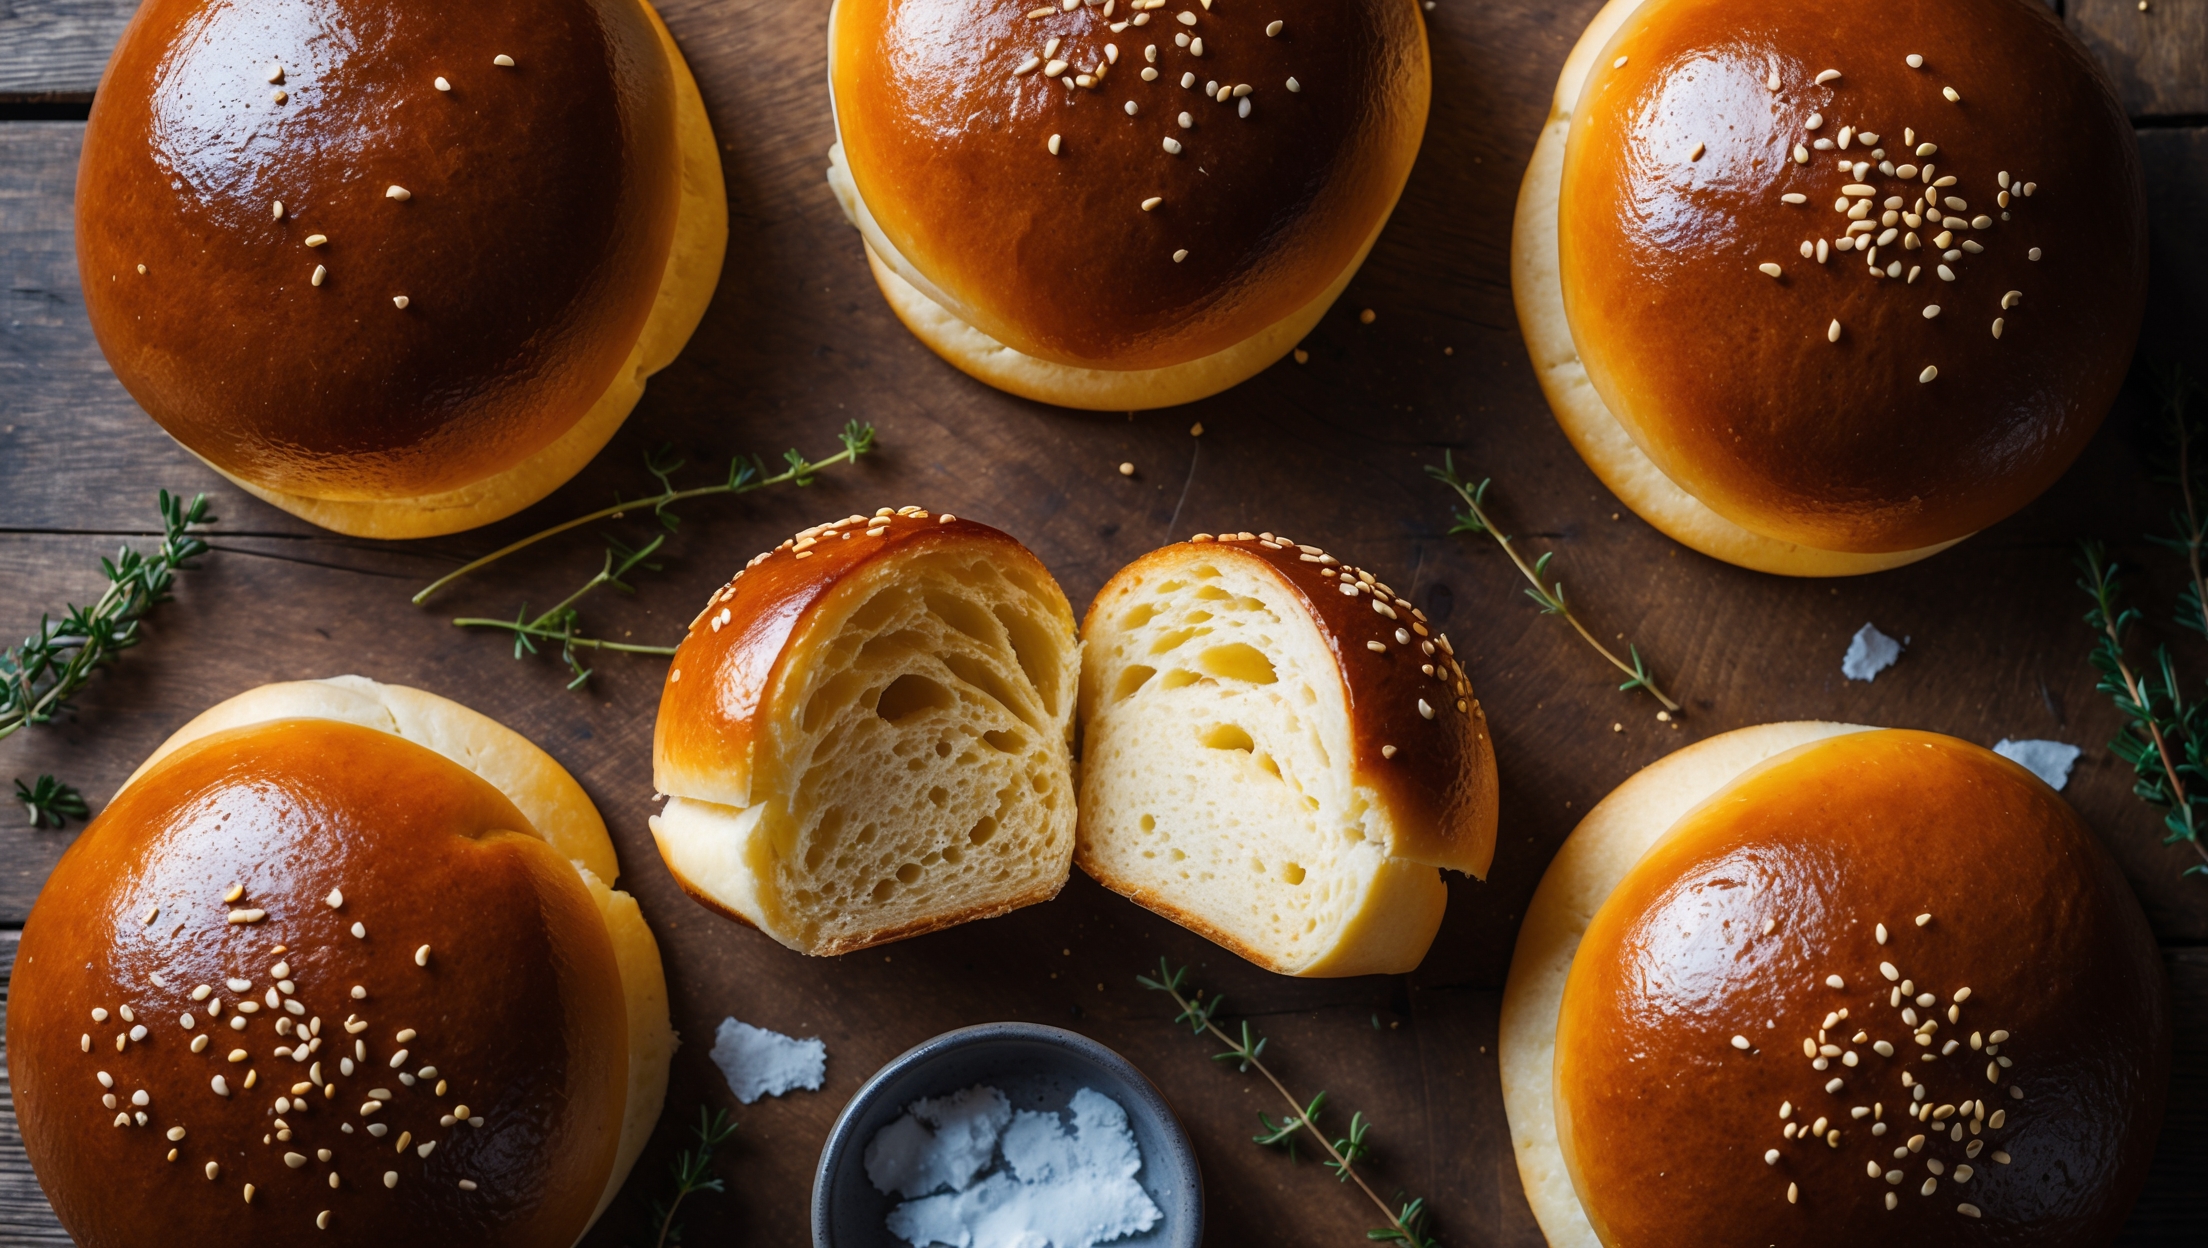
The main ingredients for brioche buns include bread flour, instant dry yeast, sugar, salt, eggs, warm milk, unsalted butter, and optional sesame seeds for topping. These create the signature rich, buttery texture and golden colour that make brioche special.
Learn how to cook Brioche Buns Recipe by first mixing the dry ingredients, then incorporating eggs and milk before slowly adding butter. After proofing the dough twice, shape into balls, brush with egg wash, and bake at 190°C for 18-20 minutes until golden brown. The process creates pillowy-soft, buttery buns perfect for burgers or breakfast treats.
Refrigerating brioche dough overnight (cold fermentation) enhances flavour development, improves texture, and makes the butter-rich dough easier to handle when shaping. This step isn't mandatory but creates a more complex, developed flavour profile and better structure in the finished buns.
Yes, brioche buns freeze beautifully for up to one month. Cool completely, then wrap individually in cling film and place in a freezer bag. Thaw at room temperature and refresh in a 160°C oven for 5 minutes to restore their soft texture and warm buttery flavour.
Brioche buns stand out with their higher egg and butter content, creating a rich, tender crumb and slightly sweet flavour. They have a distinctive golden colour, pillowy texture, and glossy top that elevates sandwiches and burgers, offering more depth of flavour than standard buns.
Rolls and Buns
Try following recommended recipes