Directions
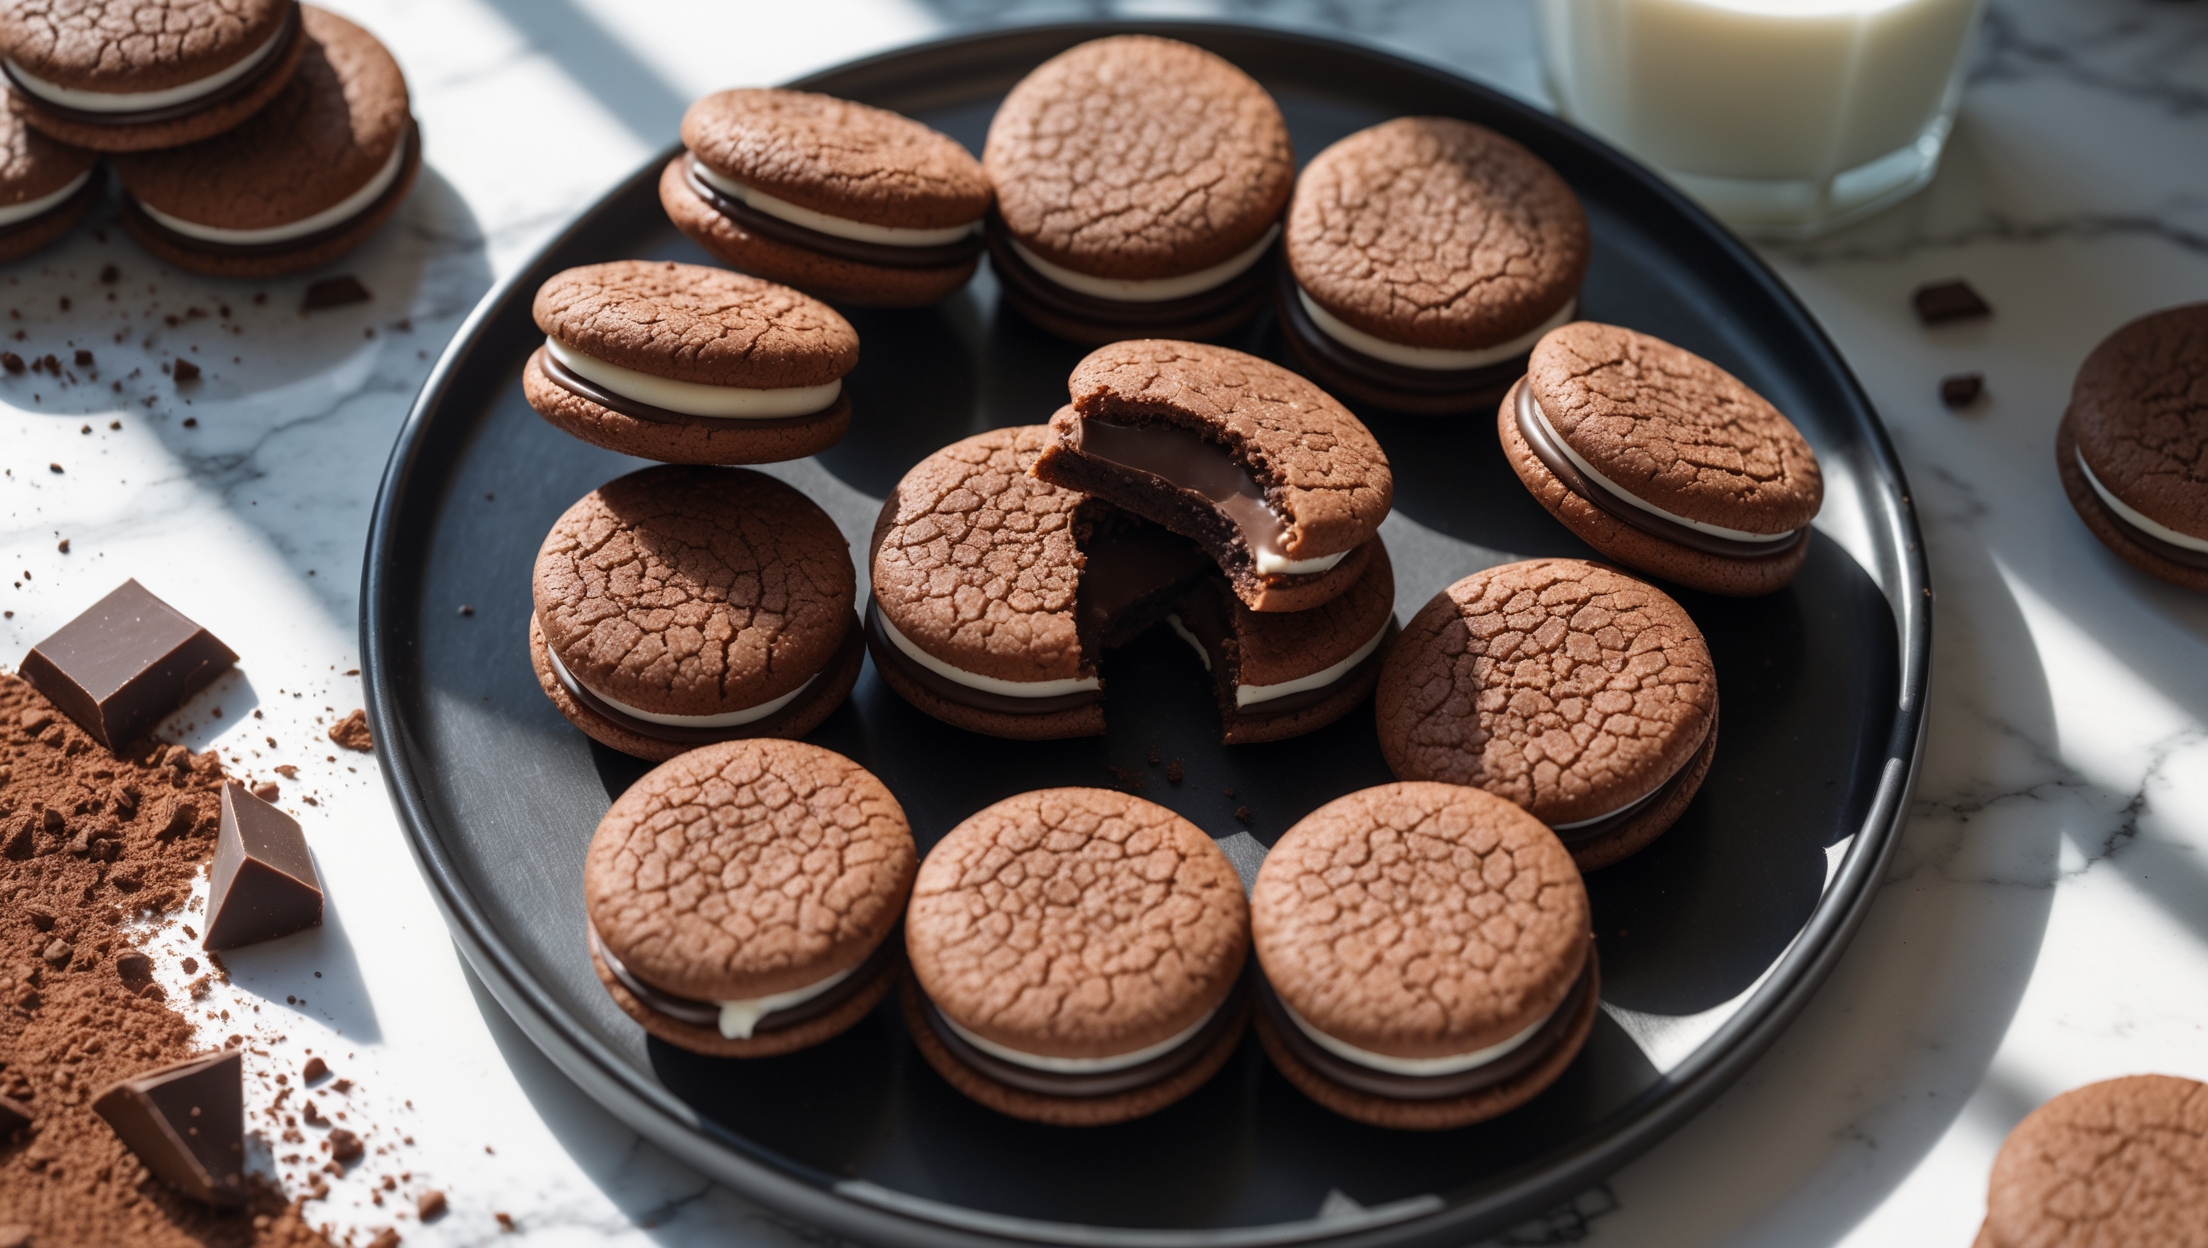
<ol class="no-list-style"><li class="MethodStepper"><h4 class="step-title">Step 1</h4>Begin by preparing your cookie dough. In a large bowl, cream together the softened butter and sugar until light and fluffy, about 3-4 minutes. This extended creaming process incorporates air into the mixture, resulting in a tender cookie texture.</li><li class="MethodStepper"><h4 class="step-title">Step 2</h4>Add the egg and vanilla extract to the butter mixture and beat until well combined, scraping down the sides of the bowl as needed.</li><li class="MethodStepper"><h4 class="step-title">Step 3</h4>In a separate bowl, sift together the flour, cocoa powder, baking powder, and salt. The sifting removes any lumps in the cocoa powder and ensures even distribution of the leavening agent throughout the dough.</li><li class="MethodStepper"><h4 class="step-title">Step 4</h4>Gradually add the dry ingredients to the wet ingredients, mixing on low speed just until combined. Be careful not to overmix as this can develop the gluten in the flour and make your cookies tough rather than tender.</li><li class="MethodStepper"><h4 class="step-title">Step 5</h4>Divide the dough into two equal portions, flatten into discs, wrap in plastic wrap, and refrigerate for at least 1 hour or until firm. Chilling the dough prevents excessive spreading during baking and makes it easier to handle.</li><li class="MethodStepper"><h4 class="step-title">Step 6</h4>Preheat your oven to 180°C and line two baking sheets with parchment paper. Remove one disc of dough from the refrigerator and roll it out on a lightly floured surface to about 5mm thickness.</li><li class="MethodStepper"><h4 class="step-title">Step 7</h4>Cut out circles using your 5cm cookie cutter, and transfer them to the prepared baking sheets, leaving about 2cm between cookies. These cookies won't spread much due to the chilled dough, but they still need some room.</li><li class="MethodStepper"><h4 class="step-title">Step 8</h4>Bake for 10-12 minutes until the edges are set but the centers still appear slightly soft. They will continue to firm up as they cool. Allow the cookies to cool on the baking sheet for 5 minutes before transferring to a wire rack to cool completely.</li><li class="MethodStepper"><h4 class="step-title">Step 9</h4>While the cookies are cooling, prepare the cream filling. In a chilled mixing bowl, beat the heavy cream until it begins to thicken. Add the powdered sugar and vanilla extract and continue beating until stiff peaks form. Be careful not to overbeat, or you'll end up with butter!</li><li class="MethodStepper"><h4 class="step-title">Step 10</h4>Transfer the whipped cream to a piping bag fitted with a round tip. If the cream seems too soft, refrigerate it for 15-20 minutes before piping.</li><li class="MethodStepper"><h4 class="step-title">Step 11</h4>To assemble the cookies, pair them up by similar size. Spread about 1 teaspoon of cherry preserves on the flat side of half the cookies. The preserves act as a moisture barrier between the cookie and cream, helping maintain the cookie's texture.</li><li class="MethodStepper"><h4 class="step-title">Step 12</h4>Pipe a ring of whipped cream around the edge of the preserves, then fill the center with a small amount of cream. This piping technique creates a dam that prevents the cherry preserves from leaking out.</li><li class="MethodStepper"><h4 class="step-title">Step 13</h4>Gently press the flat side of the remaining cookies on top to create sandwiches. Press lightly to avoid squeezing out the filling.</li><li class="MethodStepper"><h4 class="step-title">Step 14</h4>For the finishing touch, pipe a small dollop of whipped cream on top of each sandwich cookie. Sprinkle with grated dark chocolate and top with a fresh cherry if using.</li><li class="MethodStepper"><h4 class="step-title">Step 15</h4>Refrigerate the assembled cookies for at least 30 minutes to allow the flavors to meld and the filling to set. For the best texture contrast, serve within 4 hours of assembly. The cookies can be stored in the refrigerator for up to 2 days, though the texture will gradually soften.</li></ol>