Directions
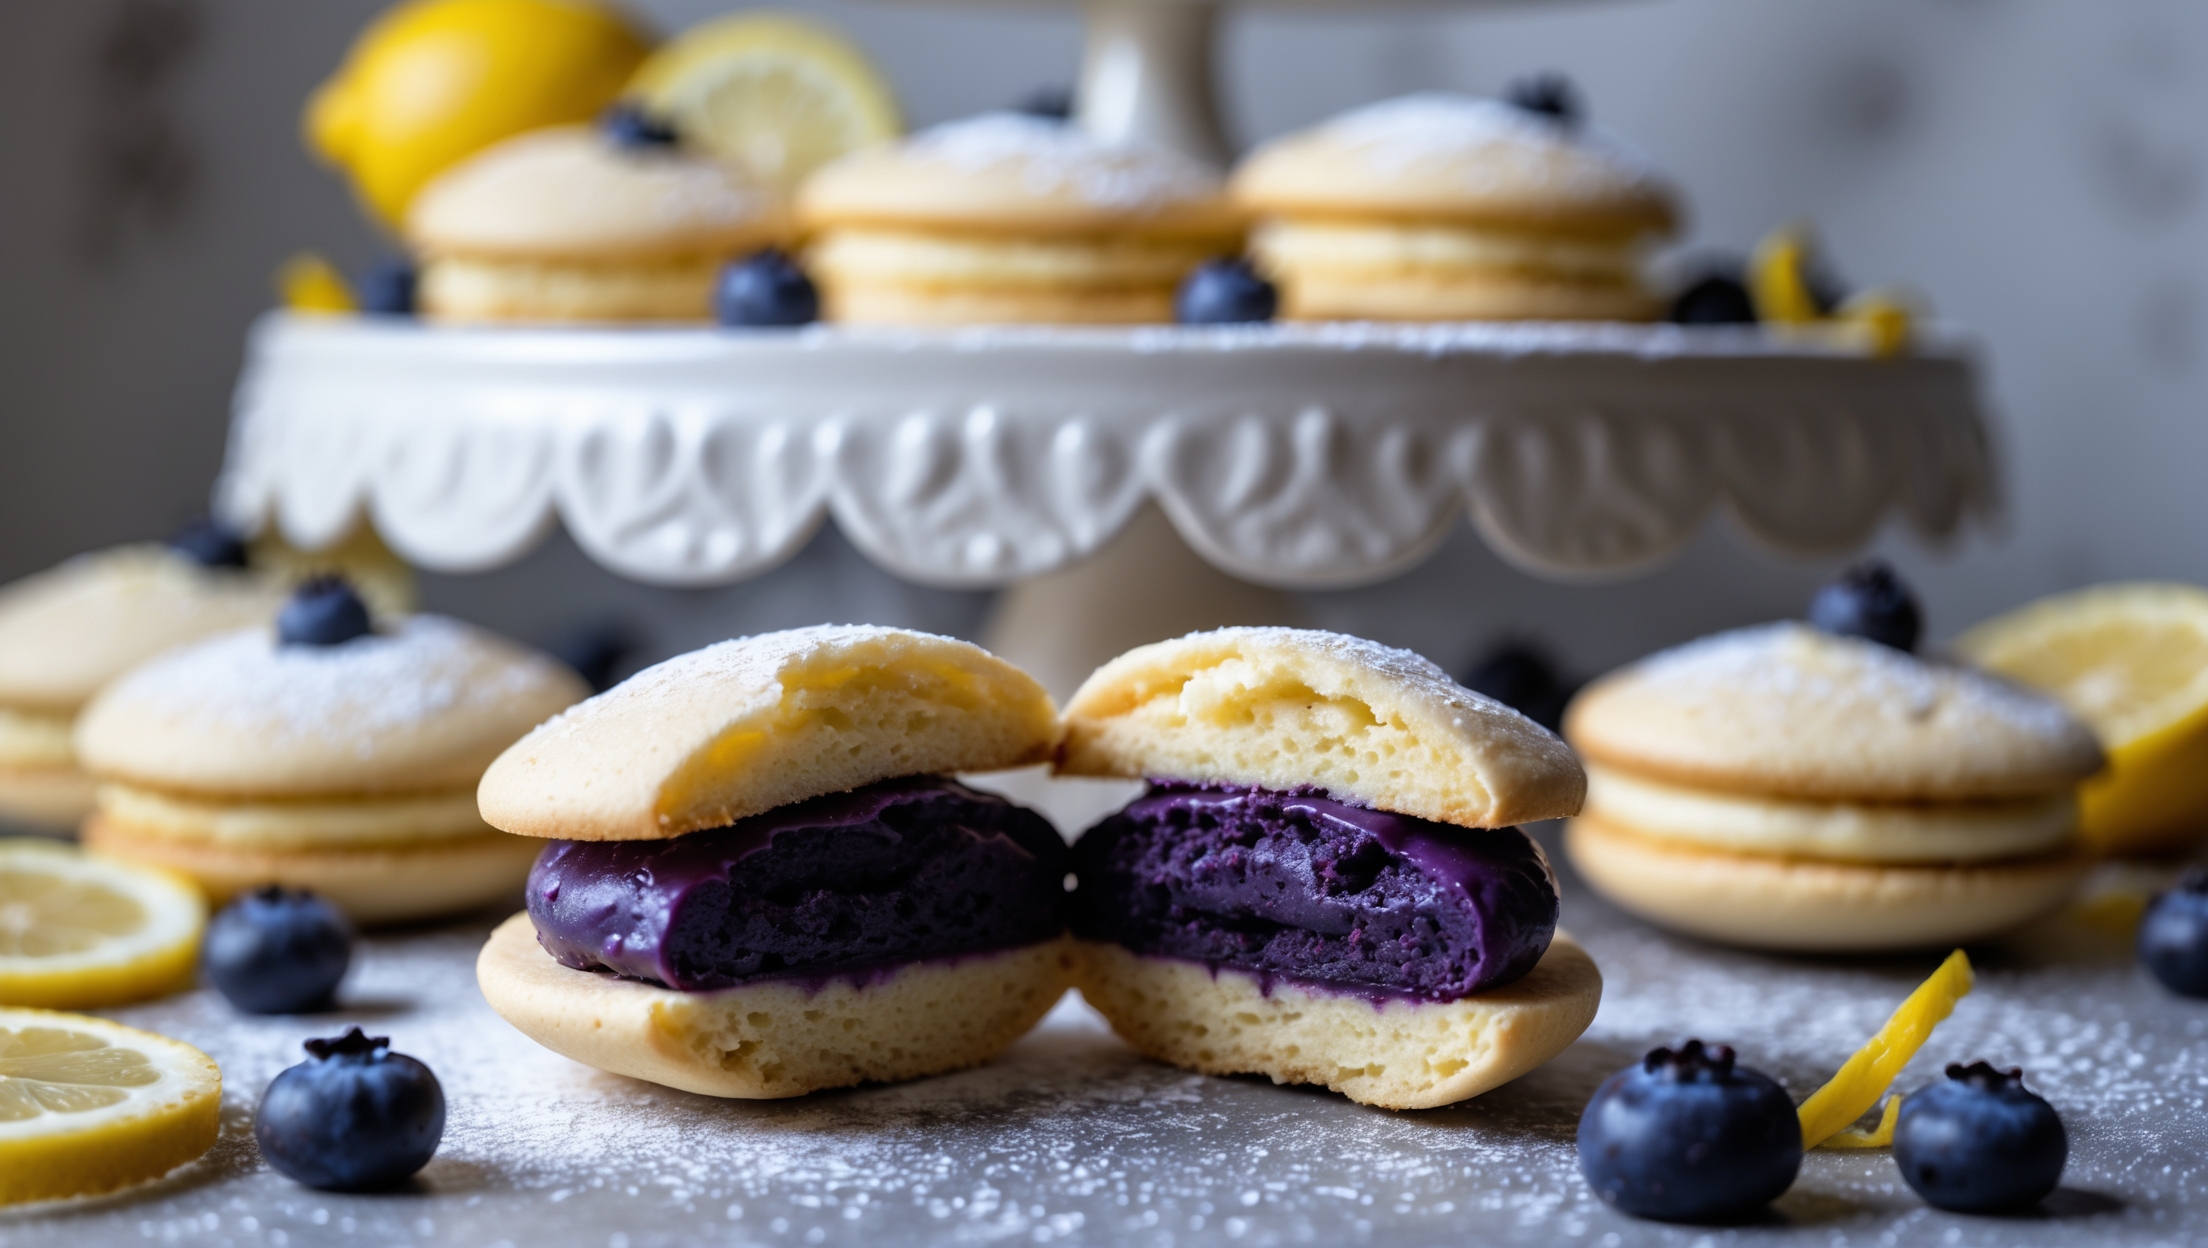
<ol class="no-list-style"><li class="MethodStepper"><h4 class="step-title">Step 1</h4>Start with the berry filling as it needs time to cool completely. In a medium saucepan, combine the mixed berries, sugar, and lemon juice. Bring to a simmer over medium heat and cook for 10-15 minutes, gently mashing the berries as they soften. The acid in the lemon juice helps break down the fruit and balances the sweetness.</li><li class="MethodStepper"><h4 class="step-title">Step 2</h4>In a small bowl, mix the cornstarch with cold water until smooth. Add this slurry to the simmering berry mixture, stirring constantly. Cook for another 2-3 minutes until the mixture has thickened significantly – it should coat the back of a spoon and leave a clear path when you run your finger through it. The cornstarch acts as a thickening agent by gelatinizing when heated with the fruit juices.</li><li class="MethodStepper"><h4 class="step-title">Step 3</h4>Transfer the jam to a heat-proof container and allow to cool completely, then refrigerate for at least 1 hour. The jam will continue to thicken as it cools, reaching a spreadable consistency that won't squish out when sandwiched between cookies.</li><li class="MethodStepper"><h4 class="step-title">Step 4</h4>For the cookies, preheat your oven to 170°C and line two baking sheets with parchment paper. In the bowl of your stand mixer fitted with the paddle attachment, beat the softened butter and icing sugar on medium speed for 3-4 minutes until light and fluffy. The long beating time incorporates air, creating a more tender cookie.</li><li class="MethodStepper"><h4 class="step-title">Step 5</h4>Add the vanilla extract and mix until incorporated. In a separate bowl, whisk together the flour, cornstarch, and salt. The cornstarch helps create that melt-in-your-mouth texture characteristic of shortbread.</li><li class="MethodStepper"><h4 class="step-title">Step 6</h4>Add the dry ingredients to the butter mixture in two additions, mixing on low speed just until combined. Be careful not to overmix, as this develops gluten and toughens the cookies. The dough should be soft but not sticky.</li><li class="MethodStepper"><h4 class="step-title">Step 7</h4>Transfer about two-thirds of the dough to a piping bag fitted with a 1cm round tip. Pipe straight lines about 8cm long onto the prepared baking sheets, spacing them at least 3cm apart. These will form the distinctive ribbon pattern when baked.</li><li class="MethodStepper"><h4 class="step-title">Step 8</h4>With the remaining dough, roll out to about 5mm thickness between two sheets of parchment paper. Cut out 5cm circles and transfer to the baking sheets. These will form the bottom halves of your sandwich cookies. If the dough becomes too soft to work with, refrigerate it for 15 minutes to firm up.</li><li class="MethodStepper"><h4 class="step-title">Step 9</h4>Bake the cookies for 10-12 minutes, until they're just starting to turn golden at the edges but still pale on top. Watch carefully – the high butter content means they can brown quickly. The cookies should be set but not browned for that classic shortbread color and texture.</li><li class="MethodStepper"><h4 class="step-title">Step 10</h4>Allow the cookies to cool on the baking sheets for 5 minutes before transferring to a wire rack to cool completely. They're extremely delicate when hot due to the high butter content.</li><li class="MethodStepper"><h4 class="step-title">Step 11</h4>Once cooled, spread a teaspoon of the berry filling on the flat side of each round cookie. Top with a ribbon cookie, pressing gently to adhere. The filling should be visible through the gaps in the ribbon pattern, creating a beautiful contrast.</li><li class="MethodStepper"><h4 class="step-title">Step 12</h4>Allow the assembled cookies to set for about 30 minutes before serving. This gives the filling time to slightly firm up and bond with the cookies. Store in an airtight container with parchment paper between layers for up to 5 days, or freeze for up to 3 months.</li></ol>