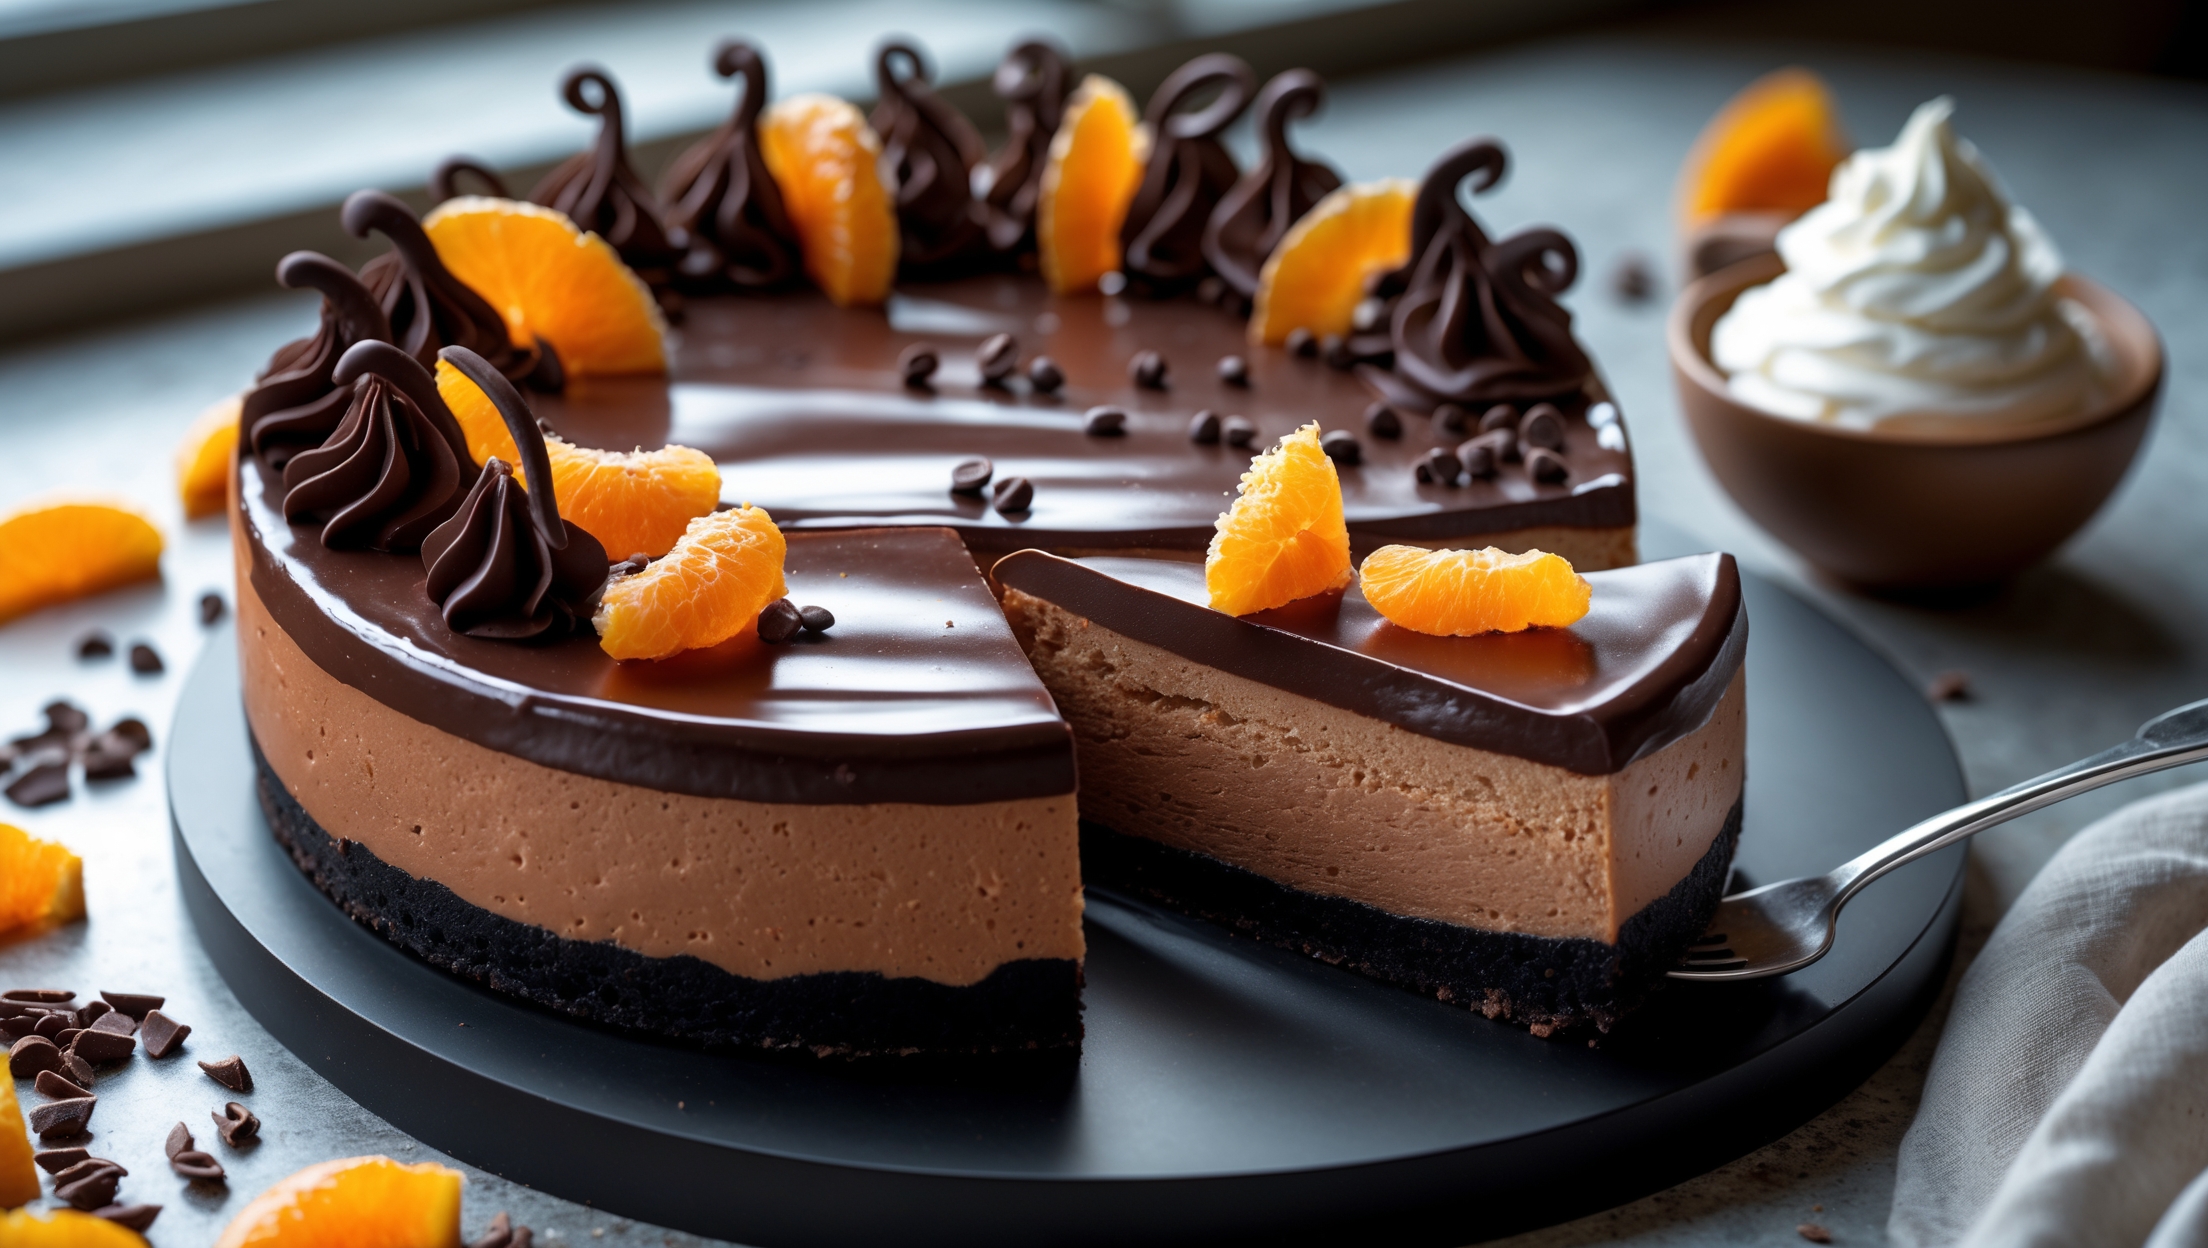
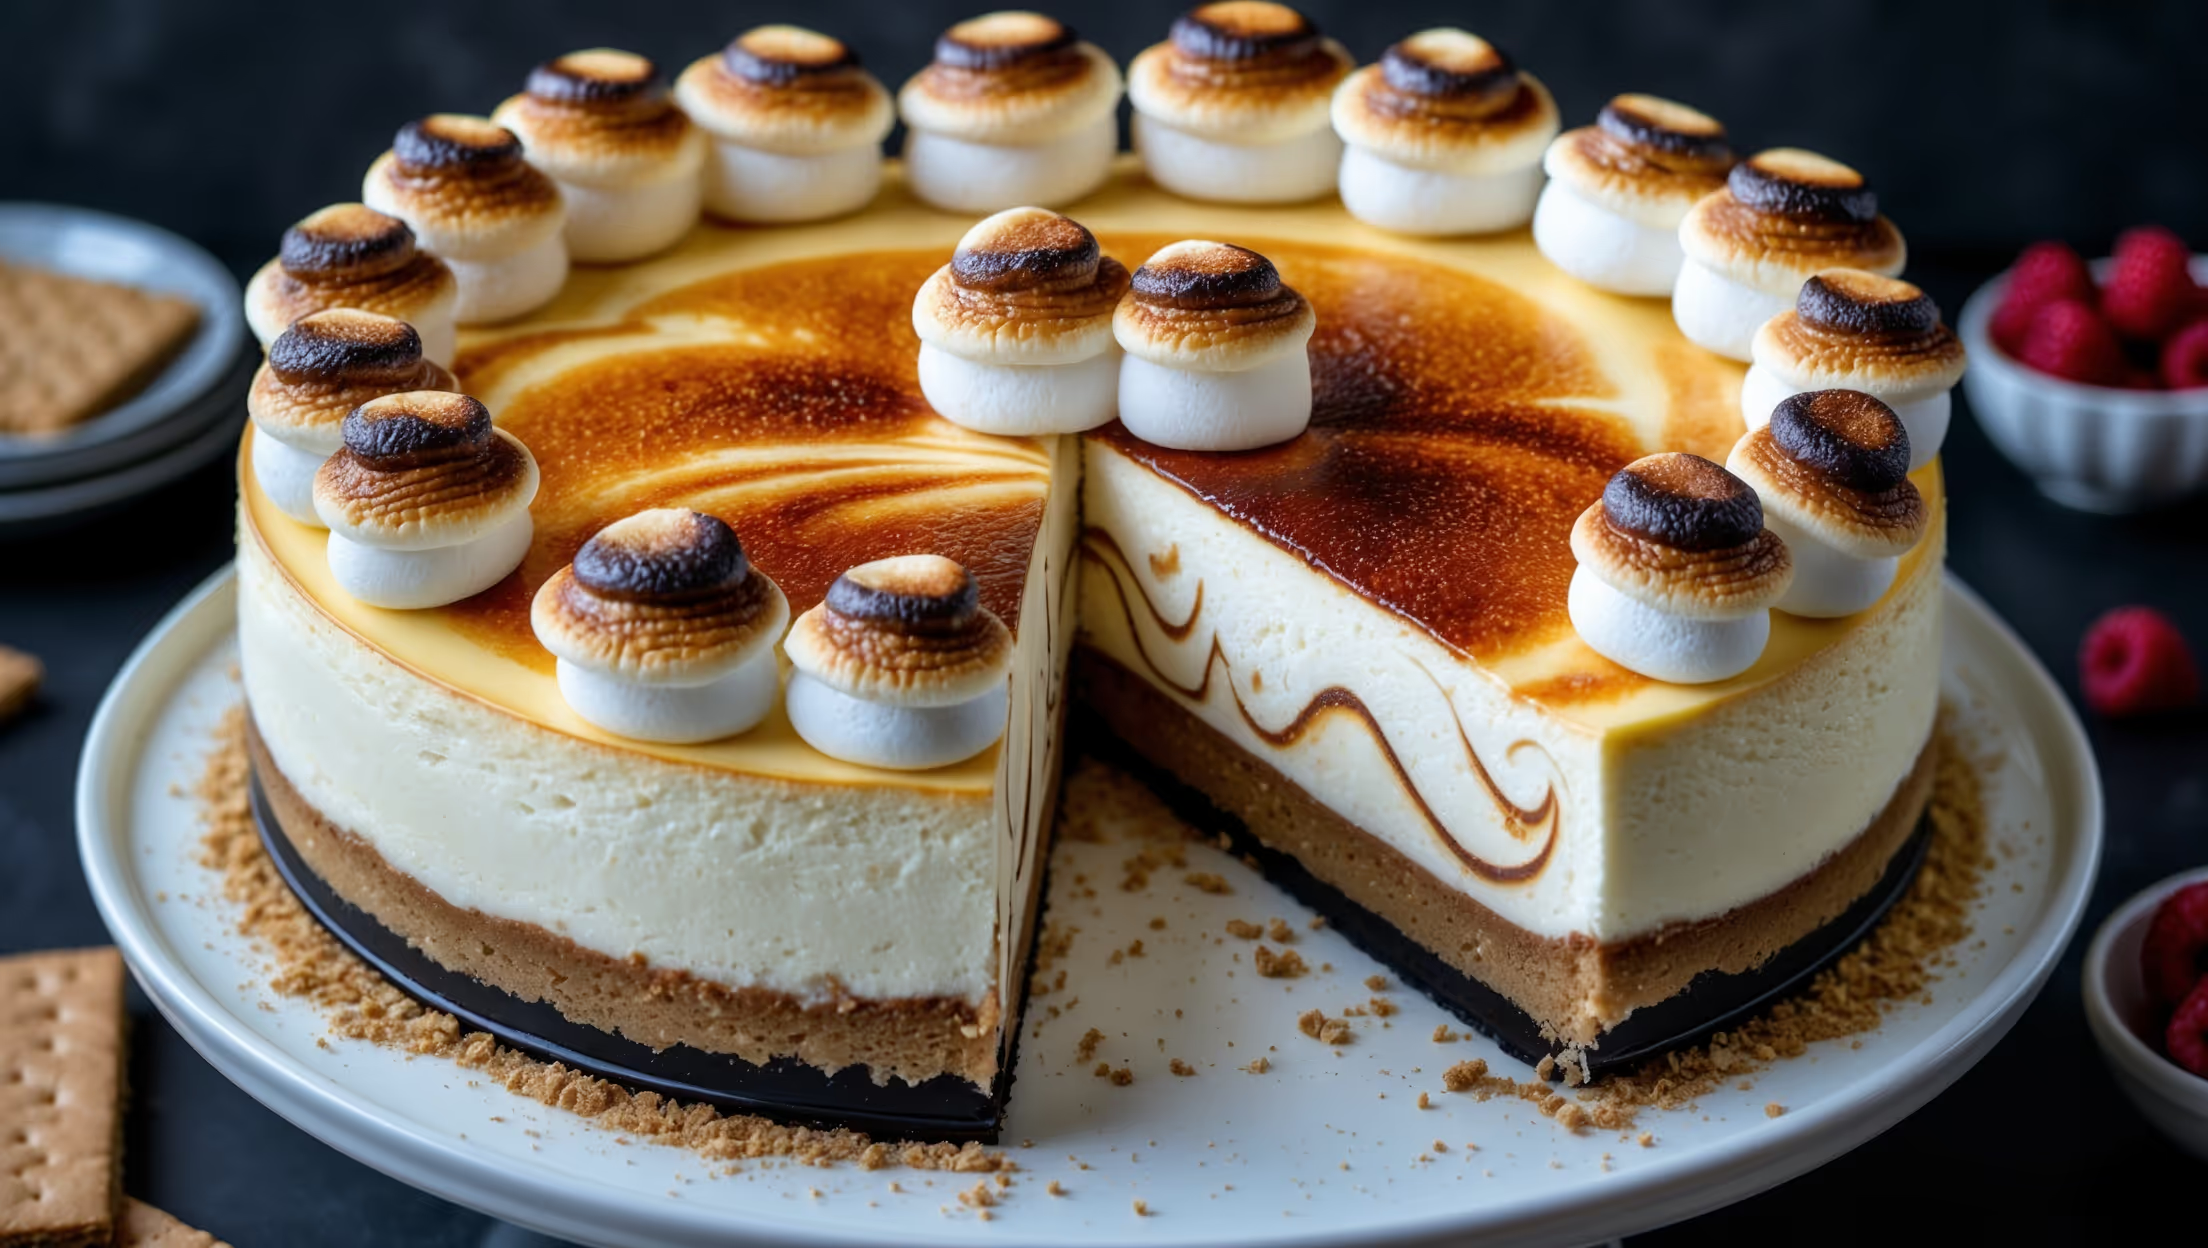
Directions
<ol class="no-list-style"><li class="MethodStepper"><h4 class="step-title">Step 1</h4>Place your oven rack in the middle position and preheat to 210°C (410°F). This high temperature is crucial for achieving that signature burnt top while maintaining a creamy interior.</li><li class="MethodStepper"><h4 class="step-title">Step 2</h4>Prepare your springform pan by lining it with two overlapping sheets of parchment paper, making sure they extend at least 5cm above the rim of the pan. Don't worry about smoothing out the wrinkles – these characteristic folds are part of the rustic charm of a Basque cheesecake!</li><li class="MethodStepper"><h4 class="step-title">Step 3</h4>In the bowl of your stand mixer fitted with the paddle attachment (or using a hand mixer), beat the cream cheese on medium-low speed until completely smooth with no lumps, about 2 minutes. Scrape down the sides of the bowl frequently. Room temperature cream cheese is essential here to prevent lumps in your batter.</li><li class="MethodStepper"><h4 class="step-title">Step 4</h4>Gradually add the sugar to the cream cheese while mixing on medium-low speed until fully incorporated and the mixture looks silky, about 2 minutes. The sugar crystals help aerate the cream cheese, creating a lighter texture.</li><li class="MethodStepper"><h4 class="step-title">Step 5</h4>Add eggs one at a time, mixing well after each addition on low speed, allowing each egg to fully incorporate before adding the next. This gradual addition prevents the batter from curdling and ensures a smooth, homogenous mixture.</li><li class="MethodStepper"><h4 class="step-title">Step 6</h4>Pour in the heavy cream and vanilla extract, mixing until just combined. Over-mixing at this stage can incorporate too much air, which might cause your cheesecake to rise too much and then collapse dramatically.</li><li class="MethodStepper"><h4 class="step-title">Step 7</h4>Sift the flour and salt over the batter to avoid lumps, then mix on low speed until just incorporated. The small amount of flour provides just enough structure to help the cheesecake set while maintaining that signature creamy texture.</li><li class="MethodStepper"><h4 class="step-title">Step 8</h4>Pour the batter through a fine-mesh sieve into your prepared pan to catch any small lumps of cream cheese or flour. This extra step ensures your cheesecake will have that silky-smooth texture it's famous for.</li><li class="MethodStepper"><h4 class="step-title">Step 9</h4>Gently tap the pan on the counter several times to release any large air bubbles trapped in the batter. Look closely at the surface and pop any visible bubbles with a toothpick.</li><li class="MethodStepper"><h4 class="step-title">Step 10</h4>Bake for 45-50 minutes, until the top is deeply browned (yes, it should look burnt!) and the center still has a significant wobble when you gently shake the pan. Don't be alarmed by how jiggly it seems – the cheesecake will continue to set as it cools. If you're nervous, the internal temperature should reach about 70-75°C (160-170°F) in the center.</li><li class="MethodStepper"><h4 class="step-title">Step 11</h4>Remove from the oven and let cool completely at room temperature for at least 2 hours. The cheesecake will dramatically sink as it cools – this is normal and creates that characteristic dense, creamy texture!</li><li class="MethodStepper"><h4 class="step-title">Step 12</h4>Once completely cool, refrigerate for at least 4 hours or preferably overnight. This resting time allows the flavors to meld and the texture to set perfectly.</li><li class="MethodStepper"><h4 class="step-title">Step 13</h4>To serve, carefully remove the springform ring and gently peel back the parchment paper. For the cleanest slices, dip your knife in hot water and wipe it clean between cuts. Serve at room temperature for the most luscious texture and complex flavor profile. The contrast between the bitter caramelized top and the sweet, creamy interior is what makes this cheesecake so special!</li></ol>